A condenser for a Beck

This Beck had no lacquer left although it was in good condition, not only did the owner want the microscope re-lacquered; he wanted a new condenser made so he didn’t need to use the original, separate bullseye condenser. This presented quite a challenge as there is very limited space under the microscope stage and any condenser would have to be in keeping with Beck microscopes of the period.

Construction

A 1/4″ objective was used as a condenser lens and a tiny aperture iris was obtained. The aperture iris and condenser were fixed inside a ring with centering screws (see gallery below for images) and the objective was attached via an RMS thread. The rack which carries the condenser unit was attached to another ring clamped onto the bottom of the stage (which originally carried the aperture wheel). This was convenient because the new condenser could be removed easily and the original aperture wheel reattached, no permanent alterations are required.

The original mirror was positioned in such a way that there was insufficient travel for the condenser on the rack, insufficient travel made the whole thing rather pointless so to overcome this a small sliding tube was inserted inside the tube which carried the original mirror – once again avoiding the need to make any permanent changes to the microscope. The new tube was turned down so that it had a marginally smaller outer diameter than the original one in the manner of an aerial. The new tube can be pulled down from inside the original tube when required and pushes back up to allow the microscope to be stored in the upright position.

A coat of lacquer and the new condenser was magically transformed! I think Beck would be happy.

Drawing of part of condenser

Happy New Year

Happy New Year! What will 2022 hold for us I wonder? For me there will certainly be more microscopes and plenty of lacquer. By the end of the year I should have completed my MA in preventive conservation too. I have been doing my MA part time and the first year went very well, my grades were good and I enjoyed it. I know more about relative humidity and antique conservation than I ever wanted to know and I am currently obsessing over the relative humidity in my workshop.

When the workshop was first built it had a few small leaks, the relative humidity was too high and mould developed around the edges of the room. I started monitoring the temperature and relative humidty and I bought a small dehumidifier which helped a great deal. Recently my dehumidifer broke down so I have a new one (a Meaco DD8L) which is much more energy efficient and generally more snazzy. Rather than running constantly like my old one did, it takes a sample of the air every 30 minutes and turns on if necessary saving a great deal of electricity. It certainly does what it says. You can see the humidity gradually increase and then drop again as the machine switches on. My humidity sensor is reading about 5% too low, but you get the idea.

Such things bring me joy!

New condenser for Oberhaeuser

This Oberhauser drum microscope needed a new mirror and a new condenser. The condenser arm and holder have been made using a coping saw and hand files and special screws were made which allow the condenser arm to be repositioned whilst remaining firm. The condenser mount was made on the lathe. It just needs painting olive green now to match the rest of the microscope. It can be removed and fits neatly into the box with the rest of the microscope as the original would have done.

This microscope does not need any relacquering as the original lacquer  is still 99% intact. I have taken some pictures using the microscope – one is of a xylophyte stem and the other is of radiolarians.

Another day, another microscope

This is a Watson Edinburgh that has been mistreated. I have taken it apart now and starting removing the traces of old lacquer with ultrafine wire wool and ethanol. Once that is complete I will have to decorrode and polish. I have recruited my husband to help me with thepolishing.

The Watson Edinburgh doesn’t need any new parts, the rack and pinion are fine and no screws are missing. It’s all down to the lacquer. I’m not going to to much to the foot or other chemically blackened areas, just a clean for them.

Let’s see what we can do for this little one…

Interesting mechanism inside the little brown Merz

The Merz has an interesting design, and not one I have seen before. Most microscopes of this age and style have a solid round  bar through which a triangular bar passes. The triangular bar has a screw at one end and a spring at the other and it’s a very effective, simple fine focus mechanism.

The Merz has a rather different set up – it also has a triangular block with a screw at one end and a spring at the other, but instead of passing through a round bar, the triangular block passes through another triangular piece. The outer triangle is constructed from pieces of flat brass which have been joined together by brazing – this might explain why Merz painted these parts rather than lacquering them I think. Using brazed pieces of brass would have saved a lot of wastage and money and it would easily have been strong enough.

A “typical” round Baker fine focus block on the left, the Merz brazed, triangular fine focus mechanism on the right.

Travel could only have occurred in a small area. The solid triangular bar has a cut out area and a small bar is inserted through the corner of the brazed piece which acts as a stop. The pictures make it much easier to understand.


Child in a sweet shop…

I have so many lovely microscopes that need work and I am like a child in a sweet shop, I don’t know which to do first! I’m overwhelmed with wonderful choices and I need to make a decision. I would like to get something underway this week. I have a beautiful double pillar microscope which needs a screw making and a bit of a clean but I don’t really think it needs re-lacquering. Do let me know if you agree/disagree with this opinion.  I enjoy re-lacquering more than anything else so I shall probably leave the double pillar for another day when I’m in more of a making screws mood.

I have the Merz which is simple to do and in need of lacquering, I have “the Beast” which is huge and will take many months to do. a selection of small Hartnacks and the like and a rather nice jug handled microscope which has been painted completely black and really needs some love. When I say it has been painted black, I mean completely painted black – even the objectives. Poor little thing.

I think I’ll start with the Merz and then move on to the jug handled microscope. Decision made. If I don’t post pictures of a dismantled microscope tomorrow feel free to come and beat me with a big stick.

A microscope under the microscope

There are lots of pictures to look at today, I have been putting the little Merz under the microscope to check whether it was painted brown or whether it was chemically coloured and then lacquered.  I compared the brown foot of the Merz with chemically blackened areas on the Merz and with the paint and lacquer of a very old Reichert that I had to hand. I also looked at a microscope I lacquered myself to see how my lacquering compares to the masters! I used a trinocular Olympus SZ stereomicroscope and a Canon EOS 1100D

First, two pictures of the brown areas on the Merz. Click thumbnails to enlarge.

The picture of the left shows what a small scraping of the “paint” looks like. This scraping was made near the area of corrosion which will have to be replaced anyway. The picture on the right show some intact “paint”


It certainly looks like paint although it is an extremely thin layer. For comparison here are another two pictures. On the left, a chemically blackened area on the Merz, on the right the paint on the foot of a Reichert.

BELOW: The rather interesting pattern made in the “paint” by the corrosion is shown on the left,  in the centre is the lacquer on a lovely old reichert and on the right is some of my own lacquering. I’m pleased to say that the surface looks correct. the underlying metal on the piece I did is in worse shape but that is to be expected. It was heavily corroded when I got it. I wouldn’t have needed to lacquer it if it had been in the same condition as the Reichert.


I’m thinking that the microscope was painted, I can see brush marks in one area which also makes me think it was painted rather than chemically coloured/lacquered but it is quite hard to be sure. It could be that the chemical colouring has somehow soaked into the lacquer and coloured it. I may have to consult Henley’s 20th century recipes to check a few old methods of chemically colouring brass before I start doing anything drastic.

I wish I had a mass spectrometer.  I asked my husband, he said he’d put it on the shopping list and that as long as they have them in Tesco he’ll get me one.

Making paint

Pb or not Pb? that is the question. Pb is the chemical symbol for lead, today I shall be talking about lead. Hilarious aren’t I? ( please don’t answer that).

I have a new baby to work on.  You can see below that it has a patch of corrosion on the foot which has to be treated before if spreads. I shall treat it with a gentle rust remover, sand the area and prime before painting. Here’s the tricky bit – I like to use ingredients and techniques that are as authentic as possible. I am pretty sure that the original maker would have used a lead oxide primer. I can’t buy lead oxide primer and although I can buy lead oxide powder, it is very expensive and it’s not a clever thing to be working with. Also, the chances of me ingesting some are quite high, because I tend to lick things if I don’t have a damp cloth to hand.  I shall be using a commercially available non-ferrous metals primer instead, it won’t show underneath the paint anyway. Interestingly, I can see brush marks in the original paintwork so they weren’t being all that fussy.

20170807_150151

I shall be starting on it as soon as some brown paint pigments arrive from my chums at Ingilby. I need to mix my own paint for this one. For a bog standard black and chrome 1950s – 1970’s microscope I tend to use black enamel paint. either Japlac or a reasonably high temperature coach enamel, sometimes with lacquer on top, sometimes not. This baby is special, it is also much older than 1950 and painted brown not black.  Below is my paint mixing kit: pigments, linseed oil, a large ground glass sheet and a muller. Hopefully the brown pigments will arrive tomorrow.

20170807_145118

Brass stamp

My stamp arrived yesterday, it fits into my fly press and allows me to stamp my mark onto any brass items I make. I’m very pleased with it. It was made by two lovely chaps at Chalco Stamp and Die engraving in Wellingborough and looks so professional.

I can’t wait to use it on something. I plan to make a bullseye condenser in the next few weeks. A traditional feel for a contemporary item. Splendid.

Chalco can be found at their website here; chalco dies

finished jug handled microscope

This lovely little Baker jug handled microscope came to me in need of repair. The coarse focus pinion was horribly bent and the mechanical stage was sticking. The paint on the handle and the chemically blackened stage were very worn and a small area of paint on the on the foot was badly chipped.

The pictures below show the microscope before and after repair. Paint work renewed, stage blackened, pinion straightened and stage “un-stuck.” Nothing was re-lacquered

Interesting chemistry of walnut hull inks and dye

Juglone, a brown dye, is found in several consumer products, including hair dye formulations and walnut oil stain. Juglone is an active ingredient in dietary supplements prepared from walnut hulls. Walnut hull extracts and poultices have been used for many years in folk remedies.

citation

Melting Point: 155 C (Merck, 1997)

Solubility: Slightly soluble in hot water; soluble in alcohol, acetone, chloroform, benzene, and acetic acid (Merck, 1997)

CHEMICAL IDENTIFICATION CAS Registry Number: 481-39-0 Chemical Abstracts Service Name: 1,4-Napthoquinone, 5-hydroxy-(8CI) Synonyms and Trade Names: Akhnot; C.I. 75500; C.I. Natural Brown 7; 5-hydroxy- 1,4-naphthalenedione;5-hydroxynaphthoquinone; juglone; regianin; walnut extract Structural Class: Bicyclic; napthoquinone

Image result for Juglone

It works!

So here we have it , black walnut dye in alcohol. It came out quite pale so I had to evaporate off the alcohol and resuspended in a smaller volume. I started with 100mls and ended up with about 5mls but it’s the colour I wanted. Tomorrow I shall add a few drops to some lacquer and job done!

Walnut adventures continued

The walnut hulls in alcohol have been on the magnetic stirrer for about 6 hours with intermittent heat. I’m not terribly impressed with the depth of colour. It looks okay unfiltered on paper but I am not convinced it will be dark enough once it is filtered. We shall see. I’ll give it until the end of the day before I filter.

Sadly , my magnetic stirrer heating element is not thermostatically controlled so I can’t leave it on the heat unattended. I have to keep an eye on it. Makes for a rather boring day. I may concentrate it down after filtering. ideally it will be dark enough that I can just add a few drops to my usual lacquers to tone them down when necessary. I hope it’s worth it. I had high hopes.

Walnut, yes!

Cloth is either made from plant material (cottons, flax) or animal materials (wool, silk, leather). When dying these materials you need mordants – additives that help the colour grab on to the material and set it in place. It’s a complex art and experts are known as Master Dyers for good reason. The colour you get depends on pH and the type of mordant used. Common mordants are alum, iron sulphate, copper sulphate, tin chloride and tannic acid.  A dye may be brown with one mordant but green when used with a different mordant, and the type of fabric used also effects the colour. There’s a lot of information out there about using natural dyes on both wood and textiles but getting the colours right on metal lacquer is rather different.

Natural dyes are usually used in water and can react very differently in an alcohol and shellac mixture. Some simply won’t work (onion skins for instance) and others colour the solvent incompletely, or float to the surface of the lacquer and wash off (wood dyes are particularly bad for this, even those that are sold as alcohol soluble). Bismarck brown, a common Victorian stain, produces a brown/red colour when used as a wood stain but is scarlet when used in lacquer. It doesn’t adhere well either…

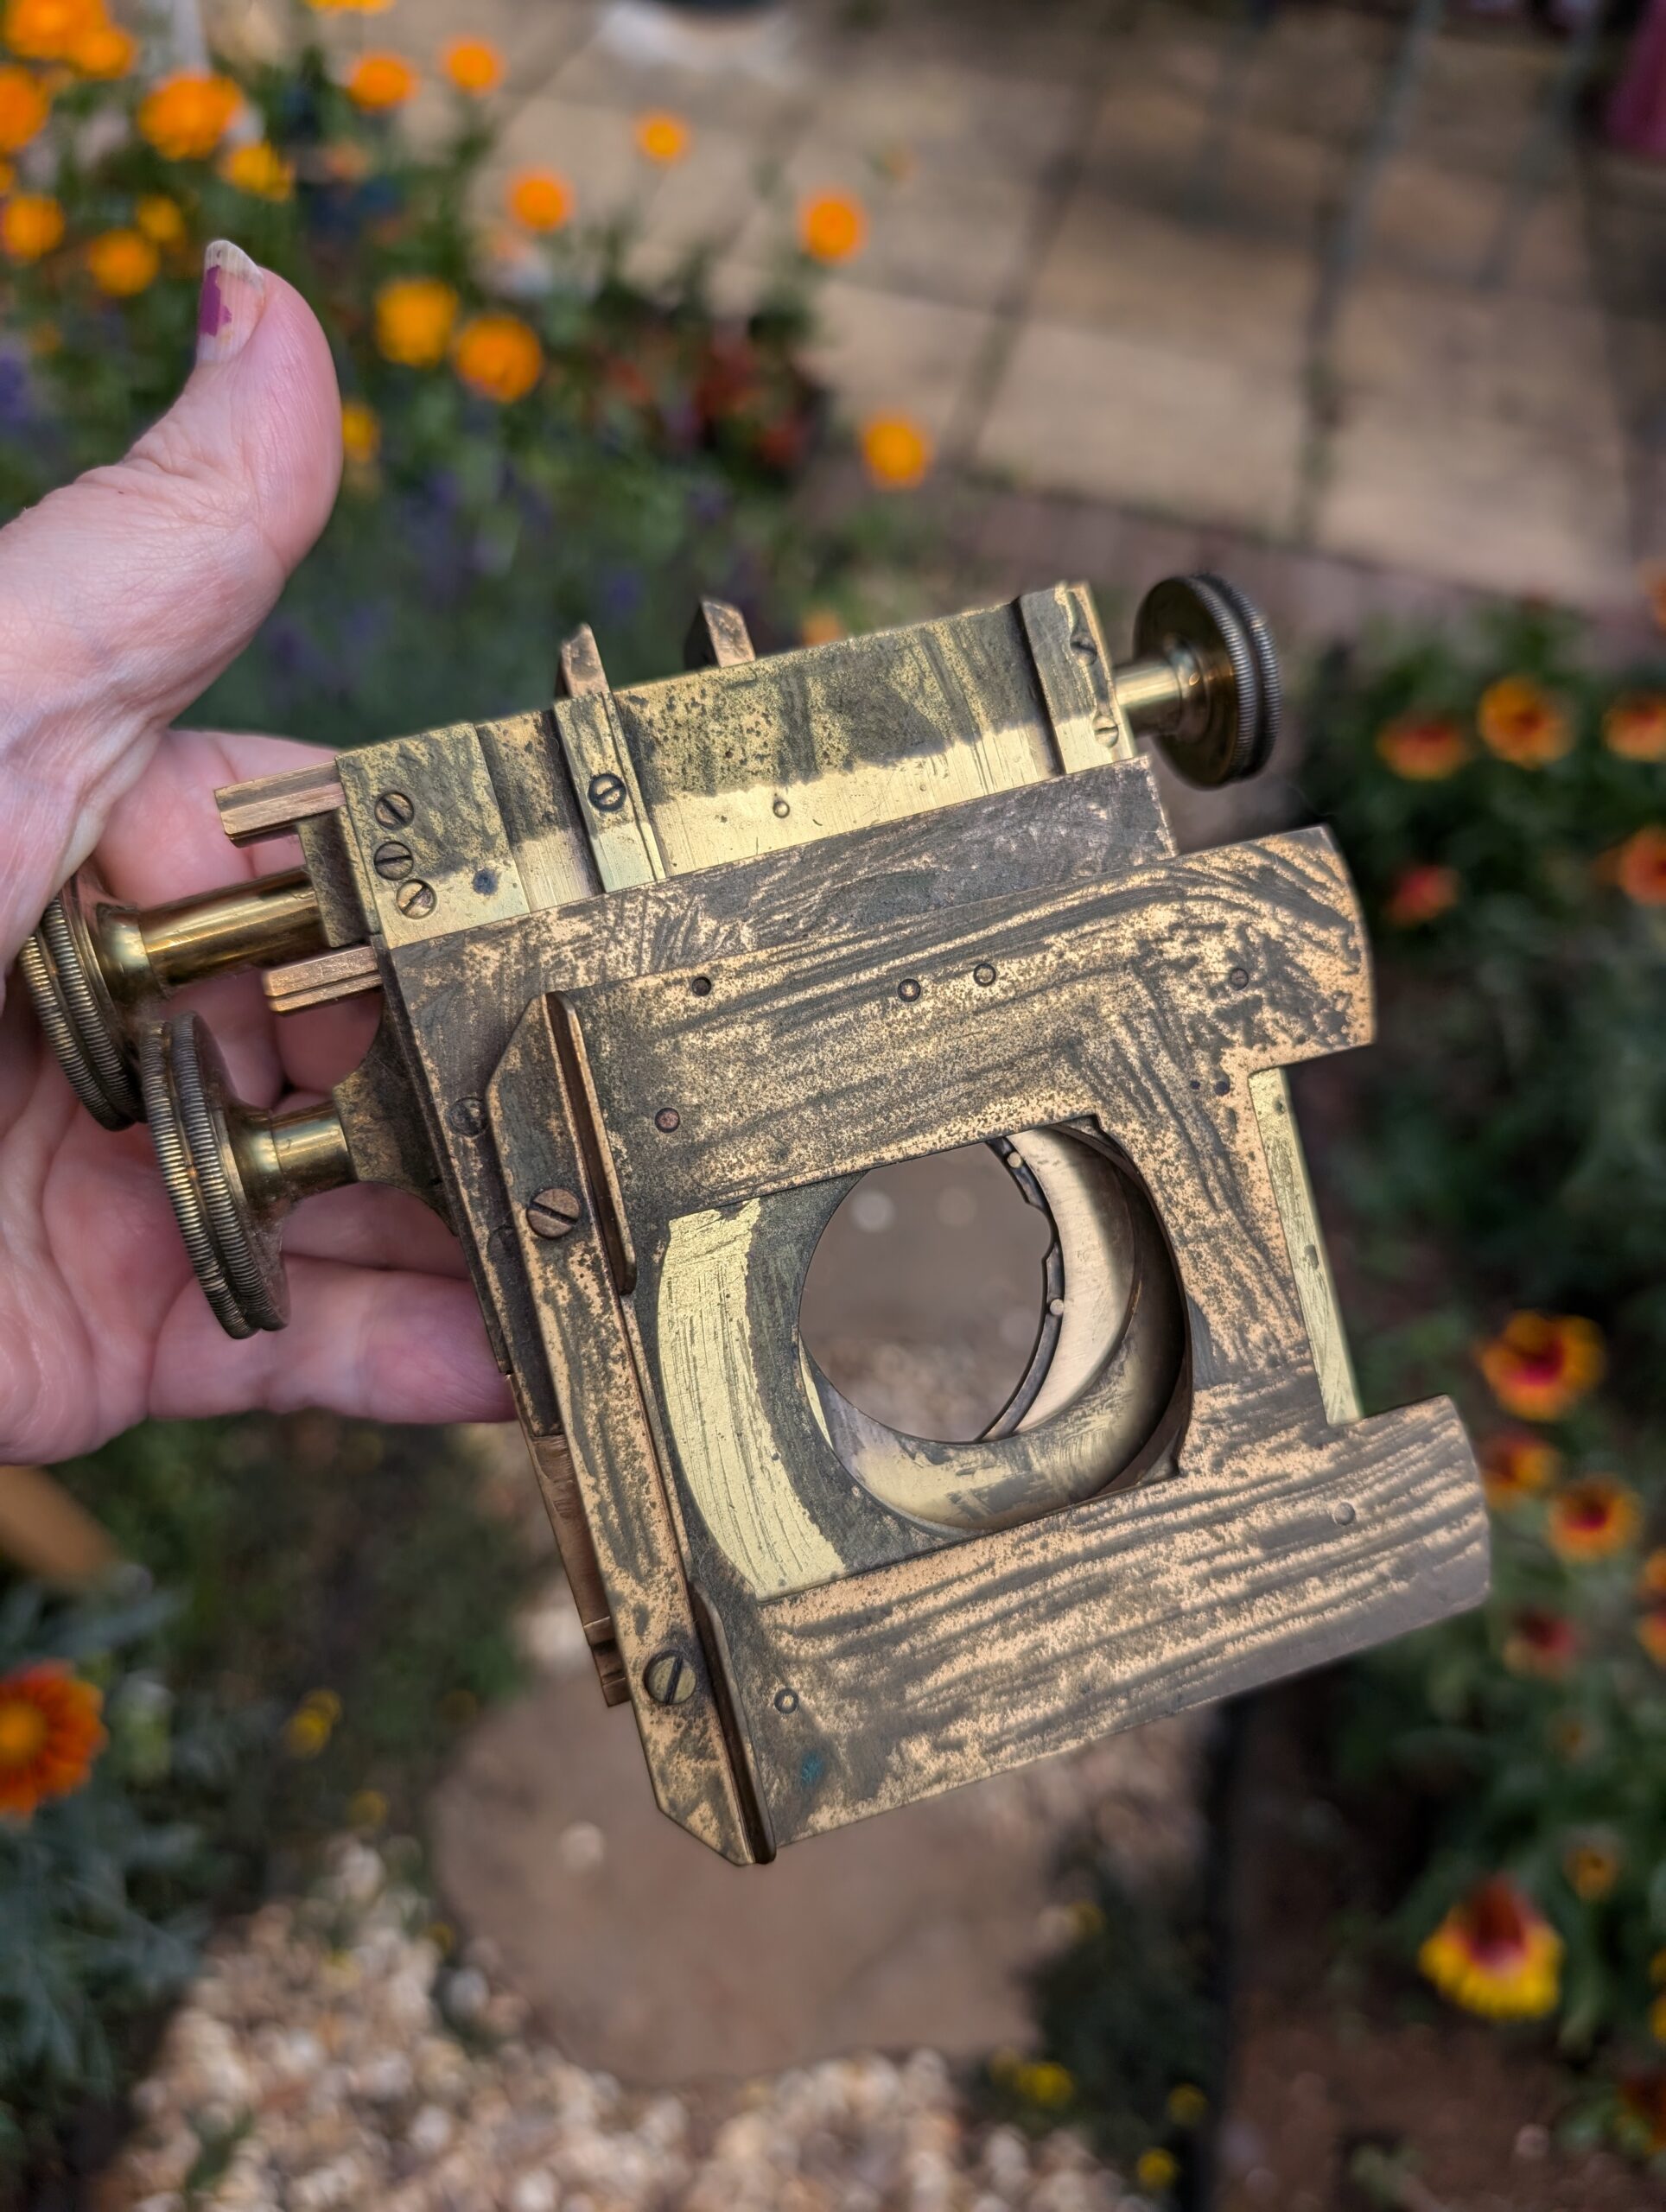
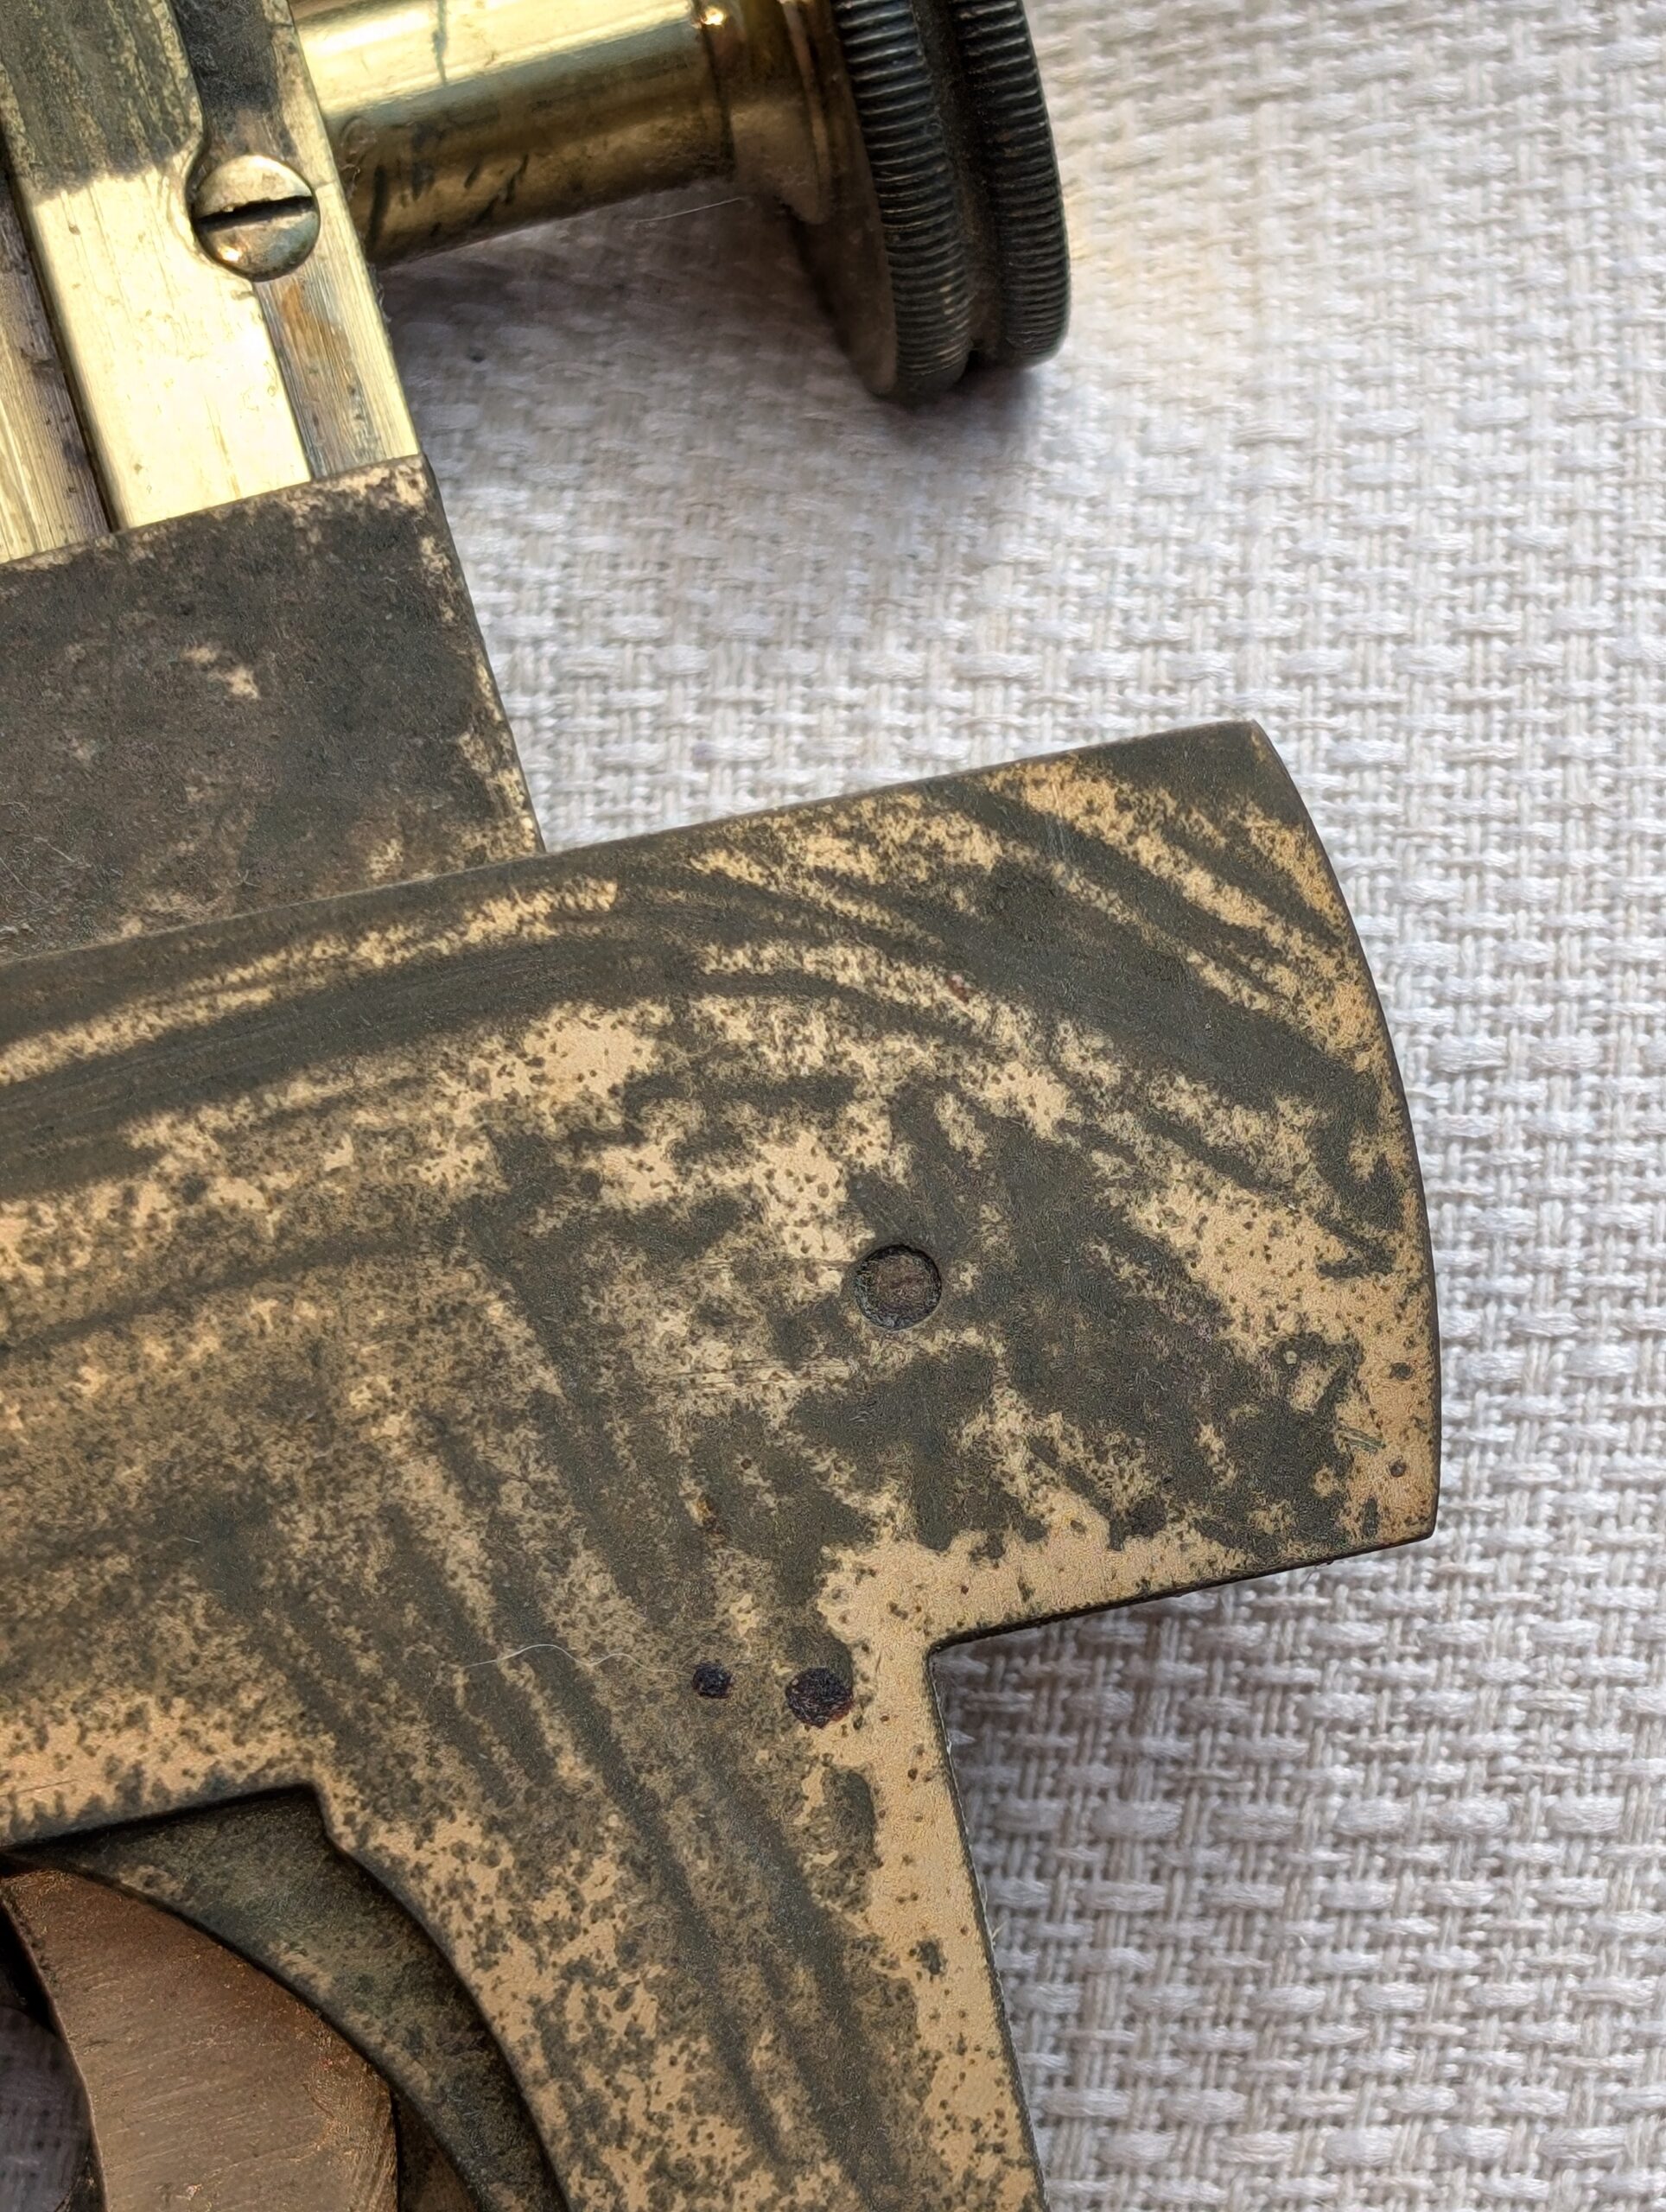
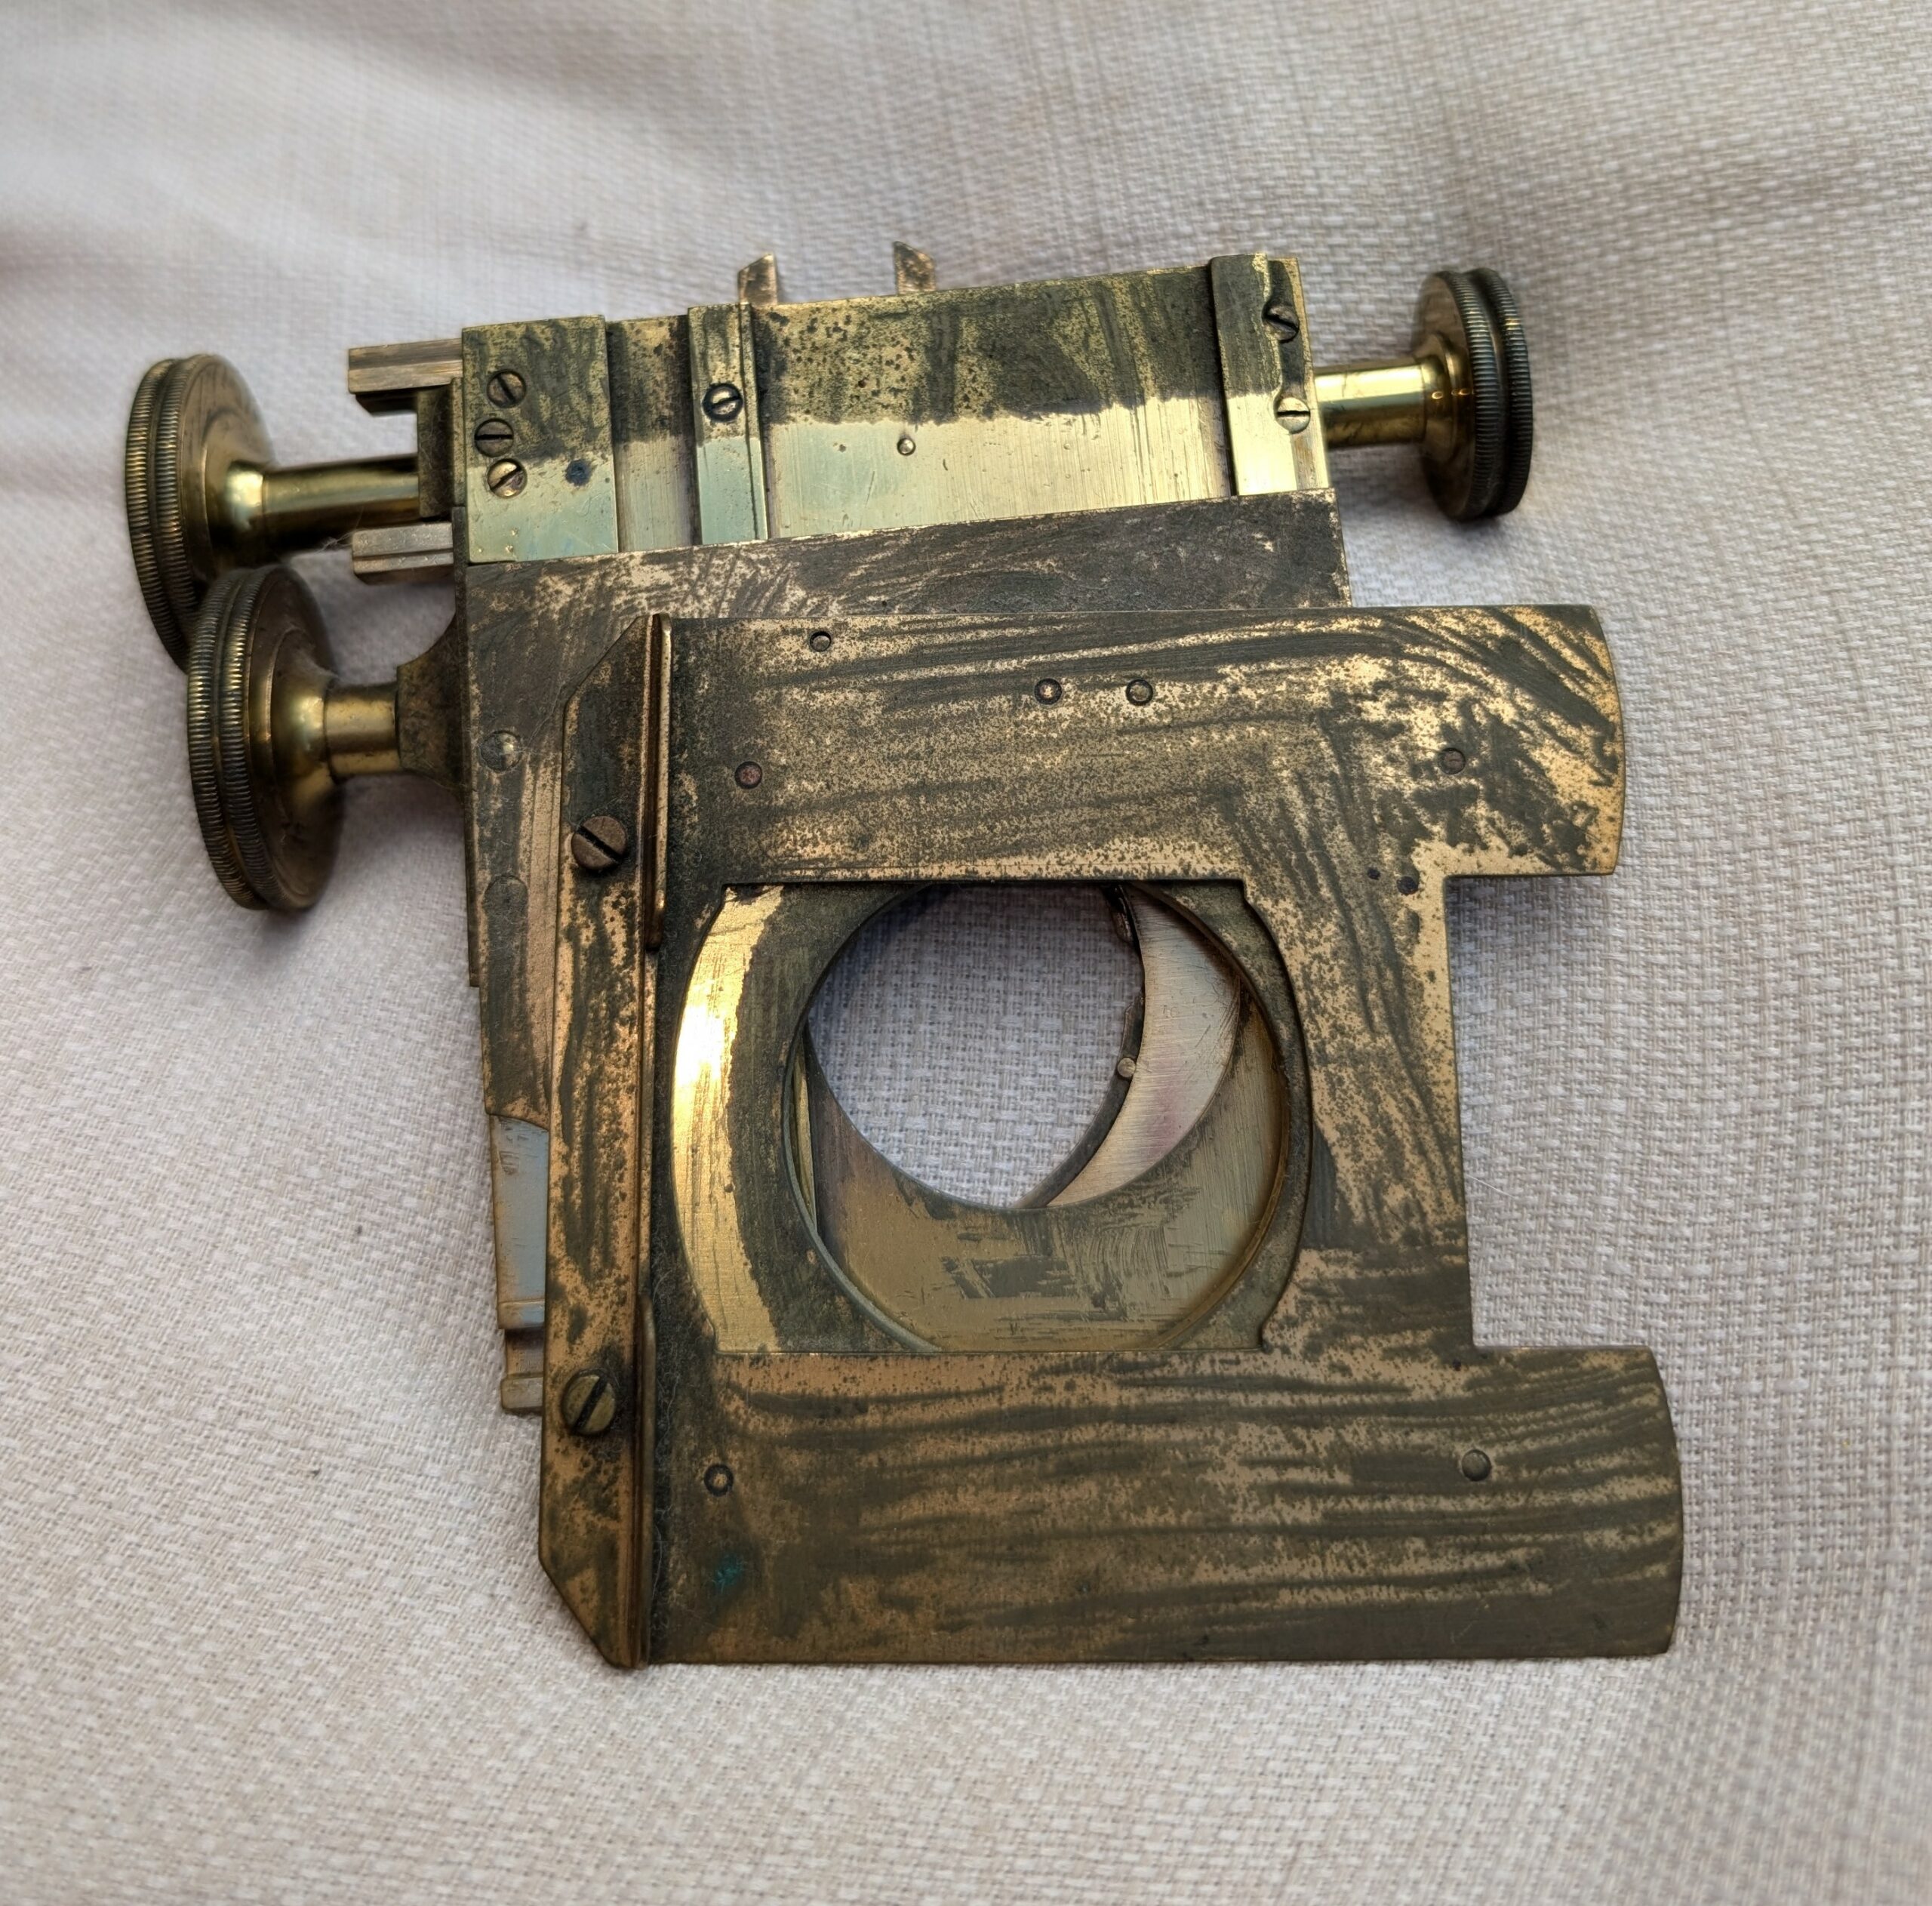
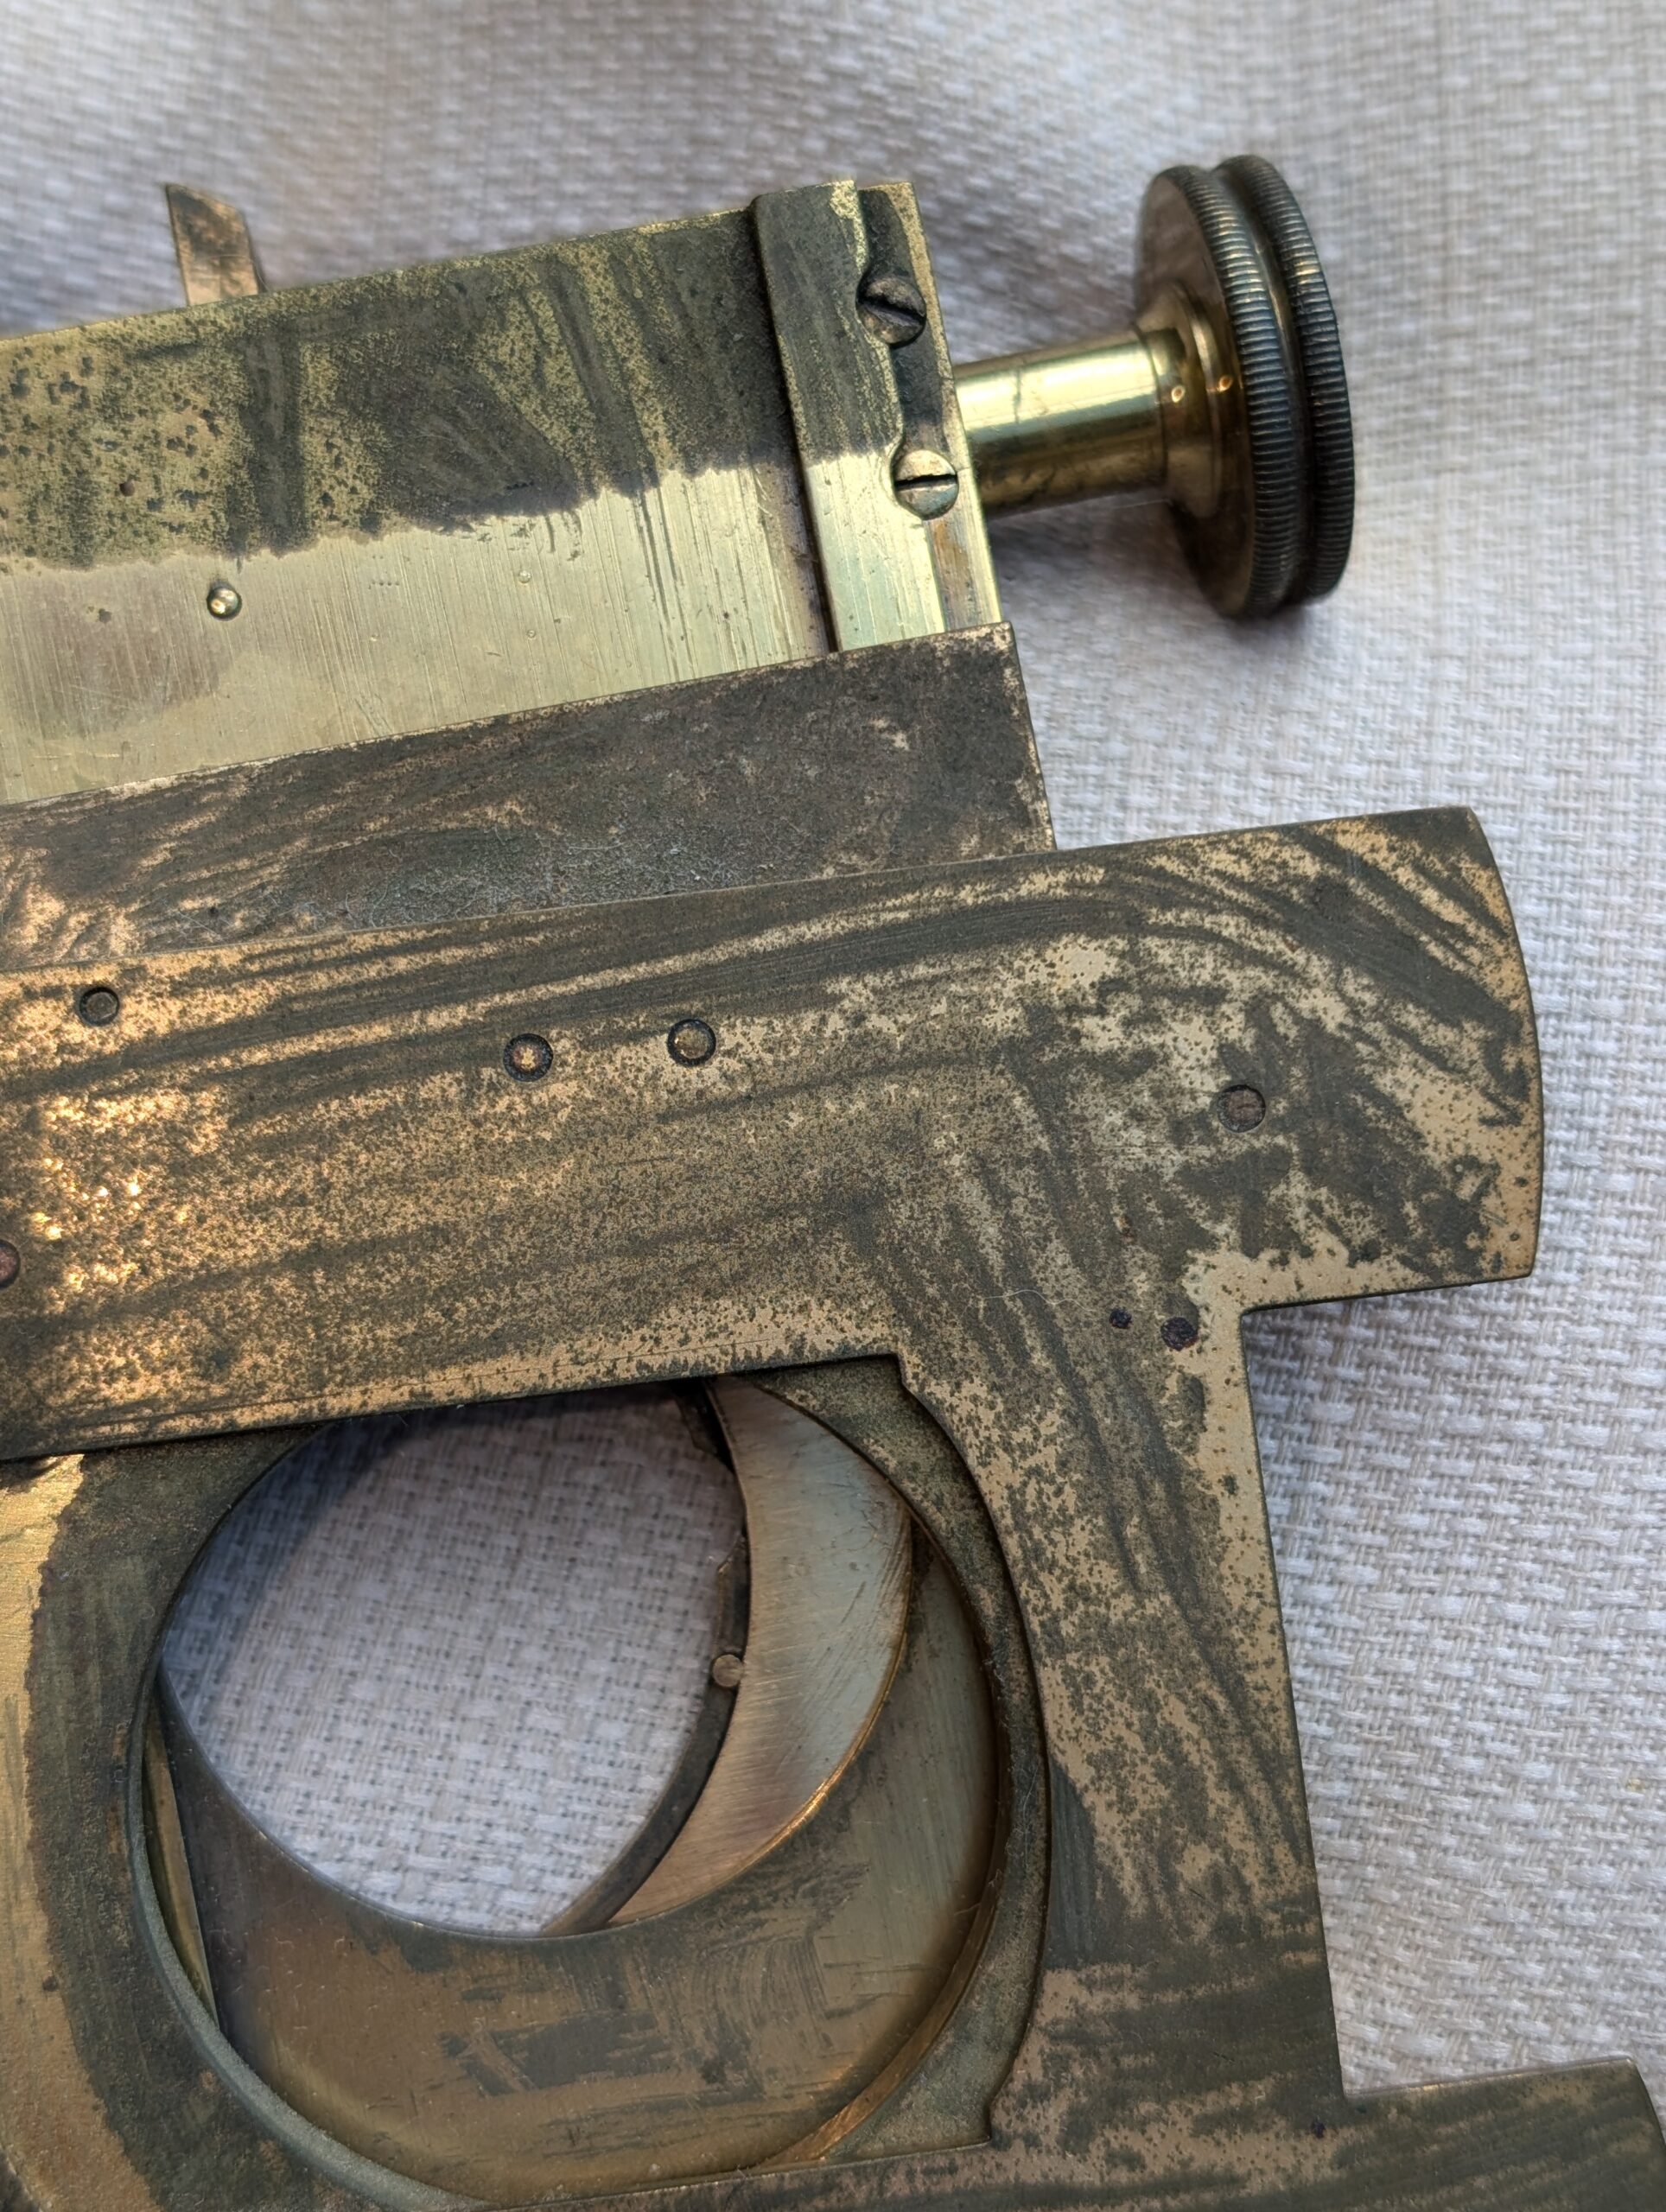
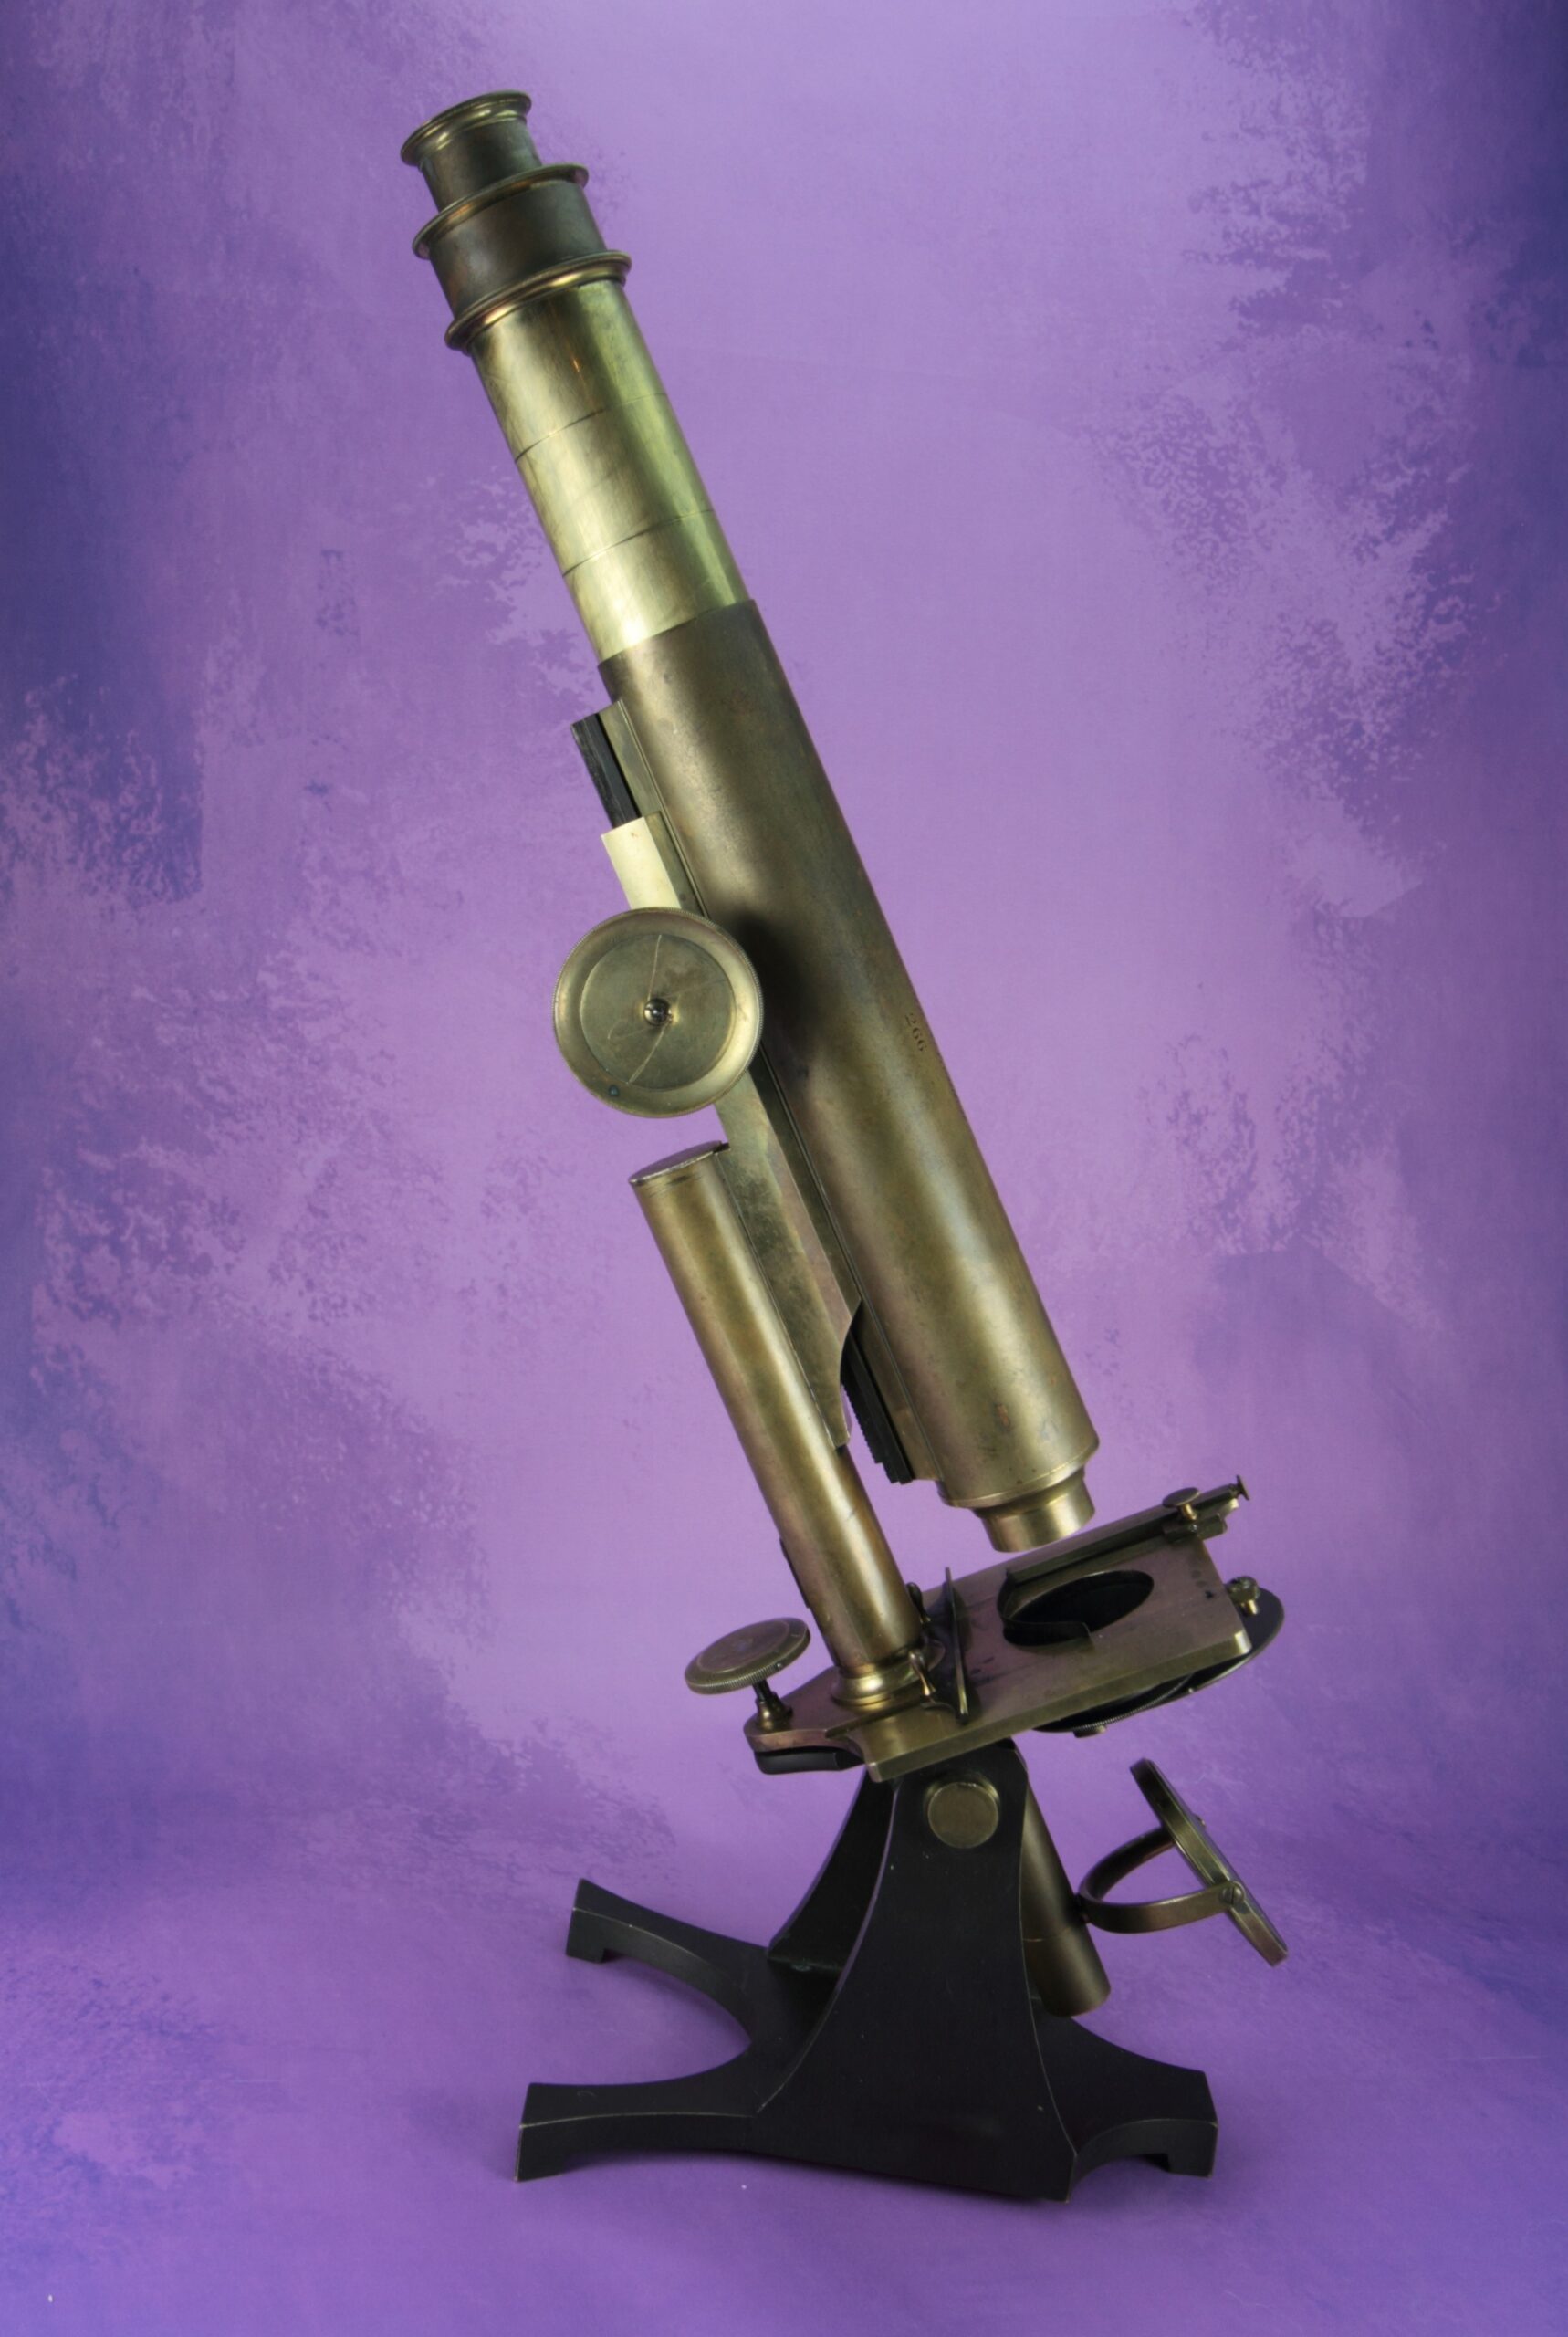
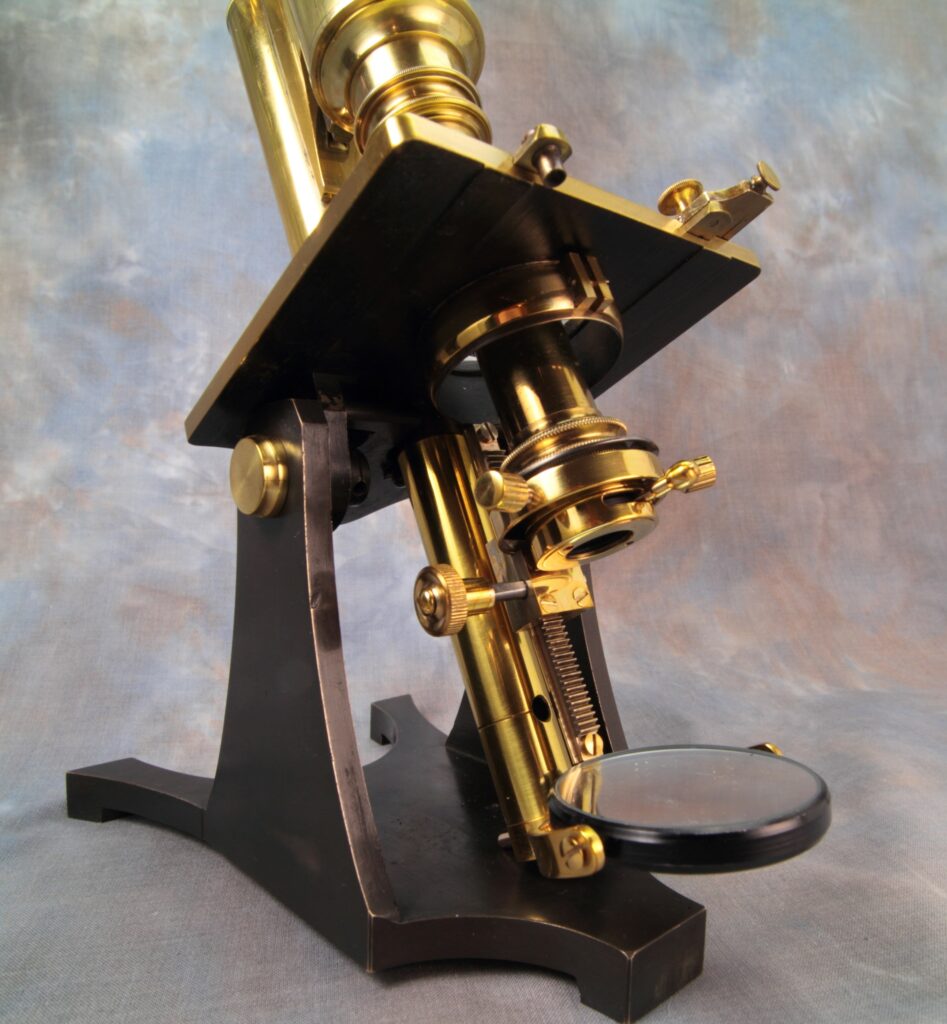
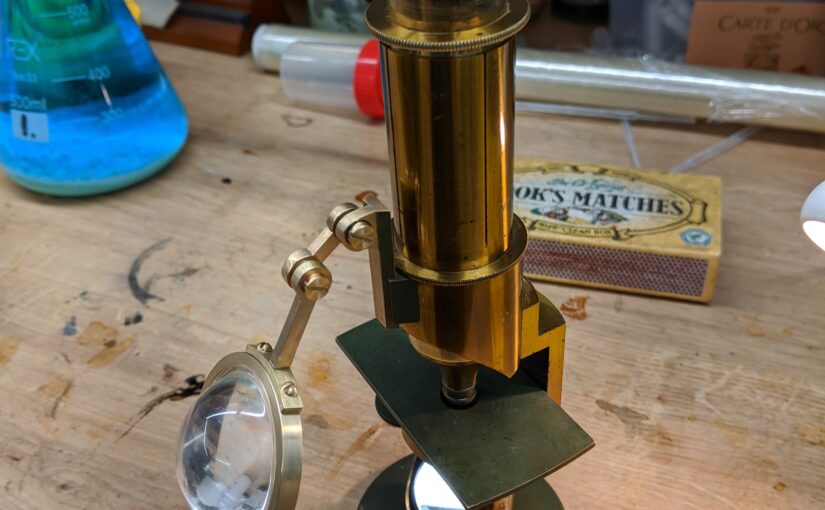
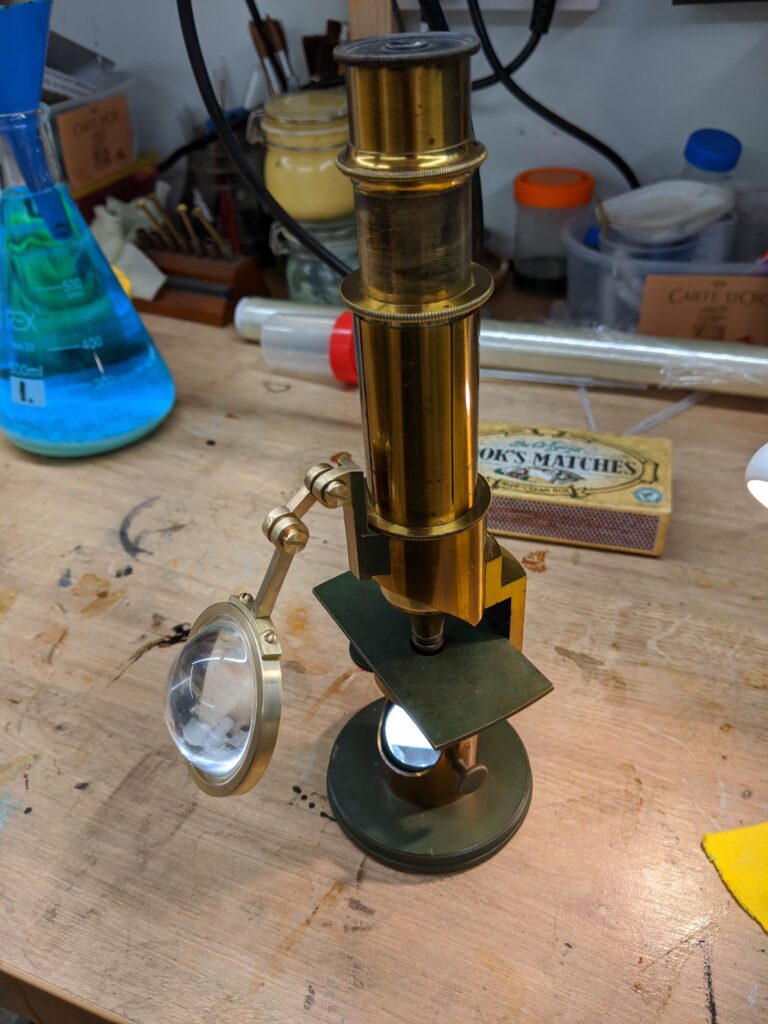
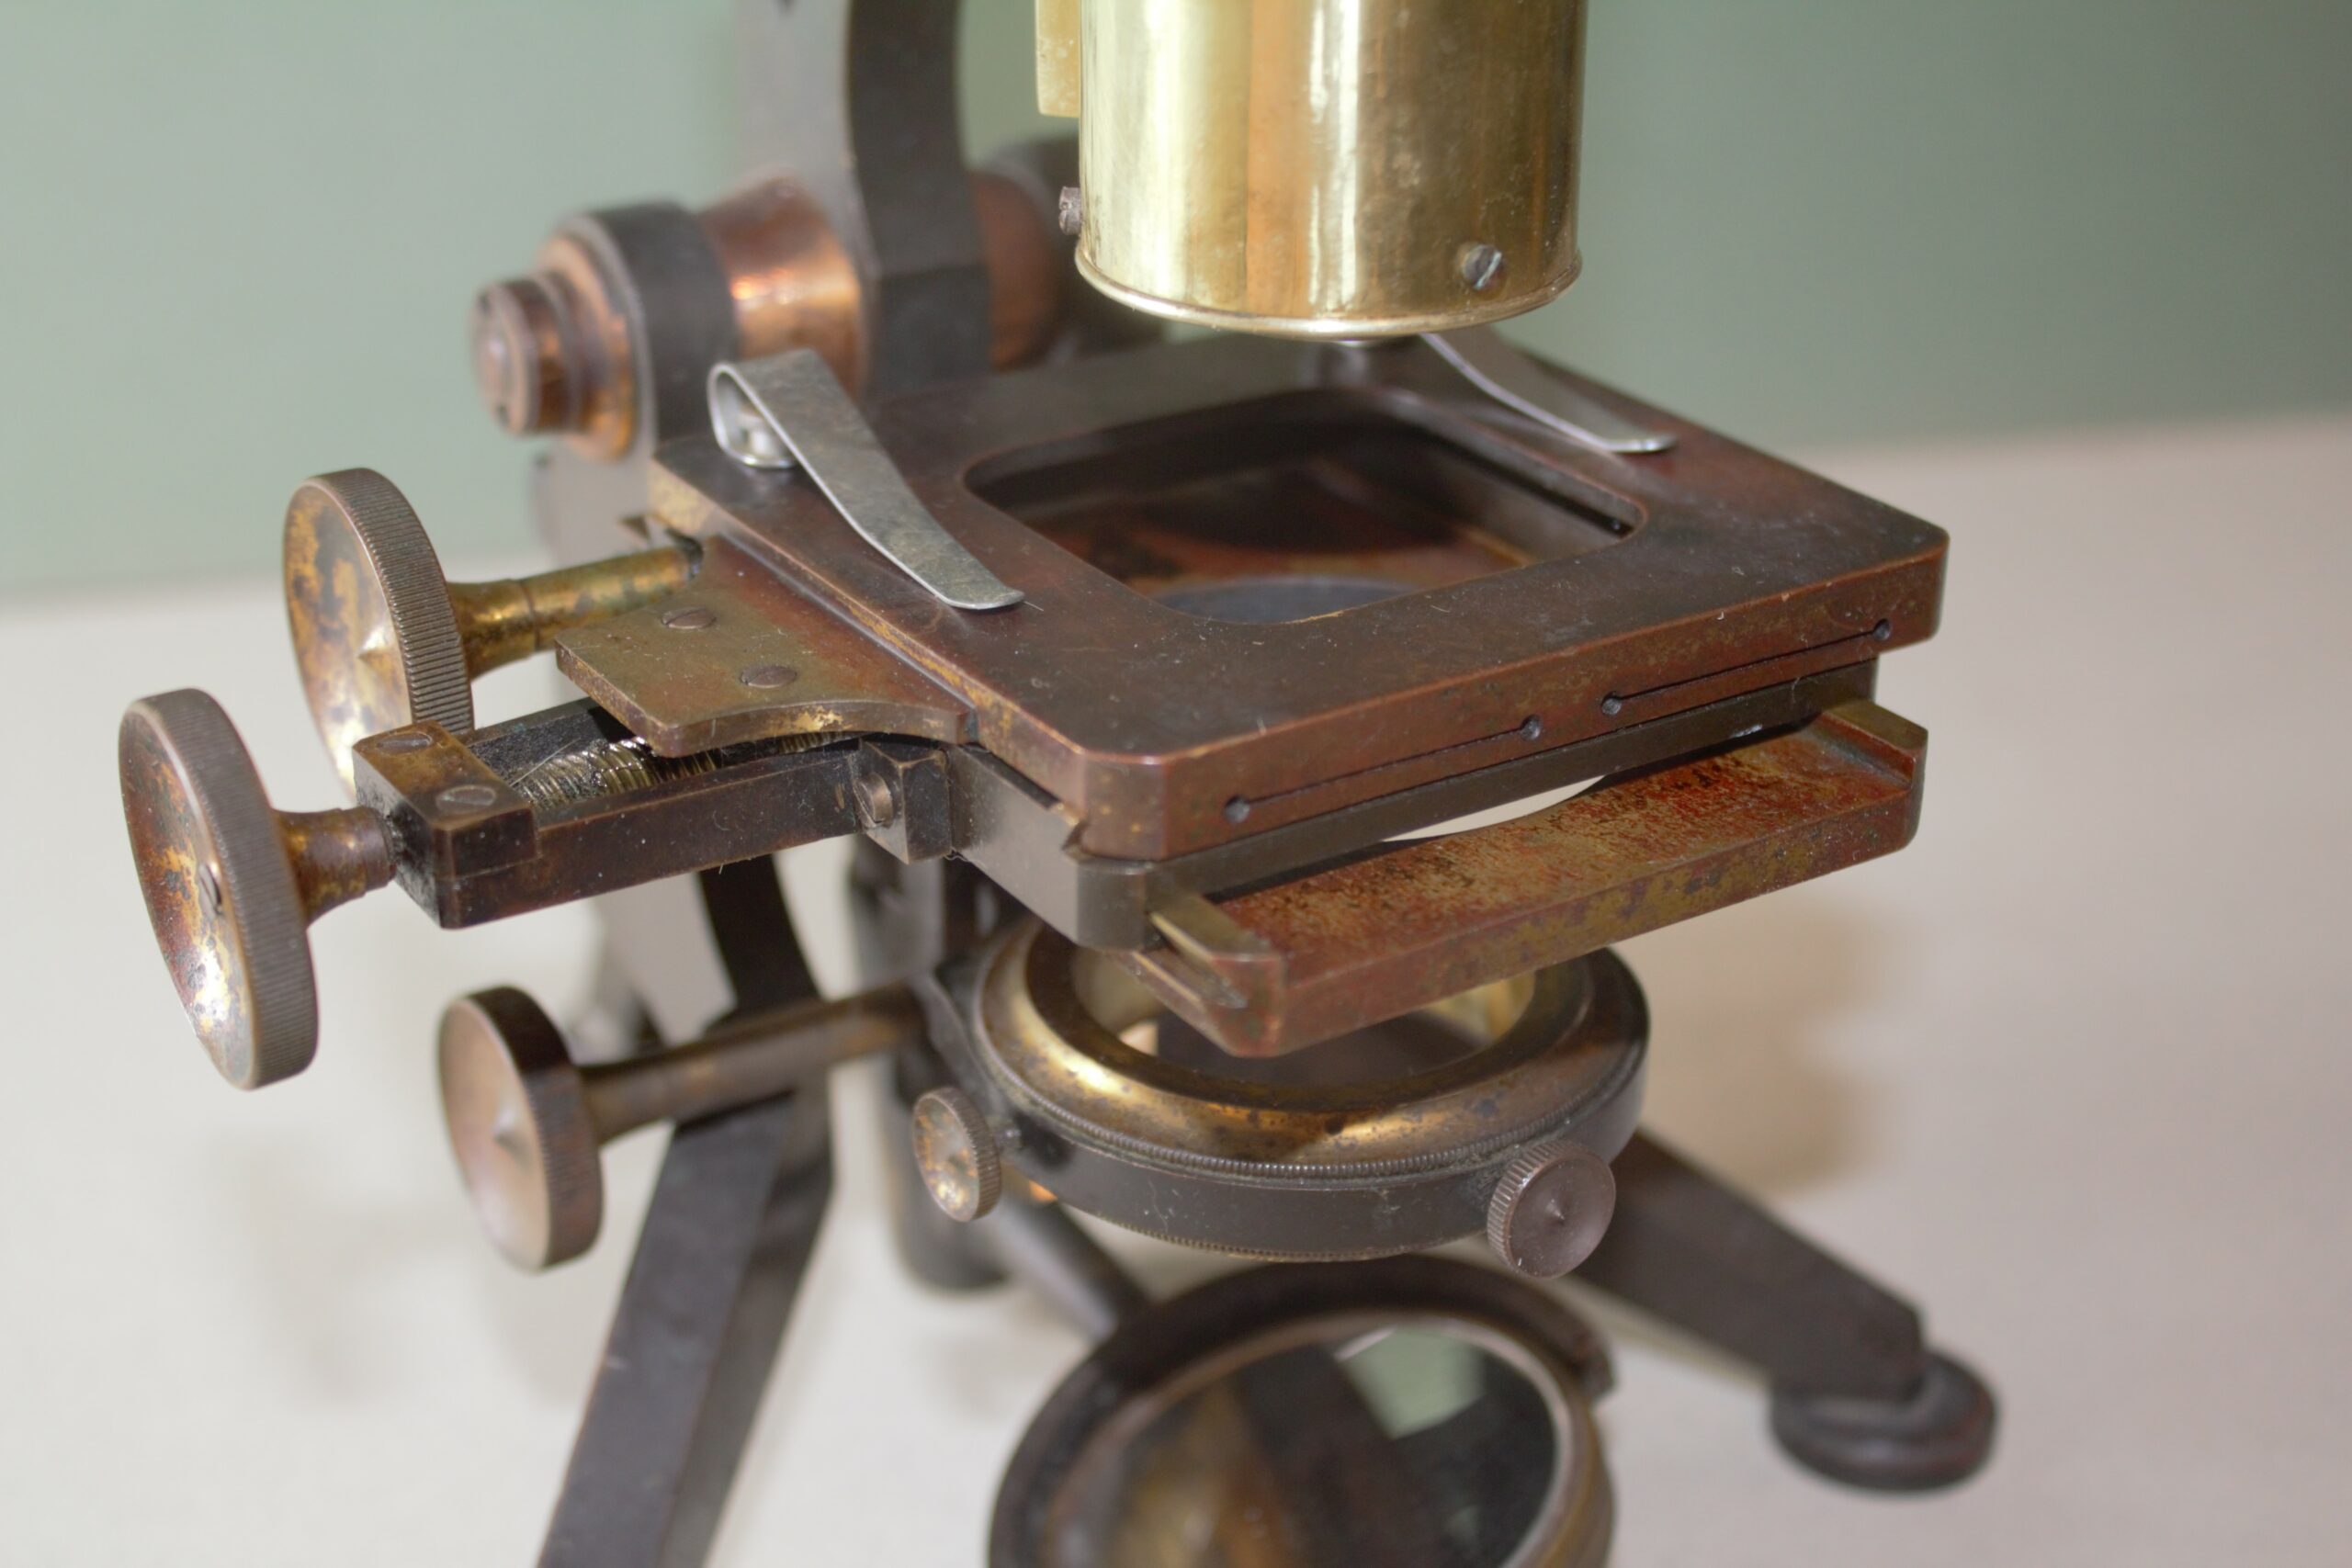
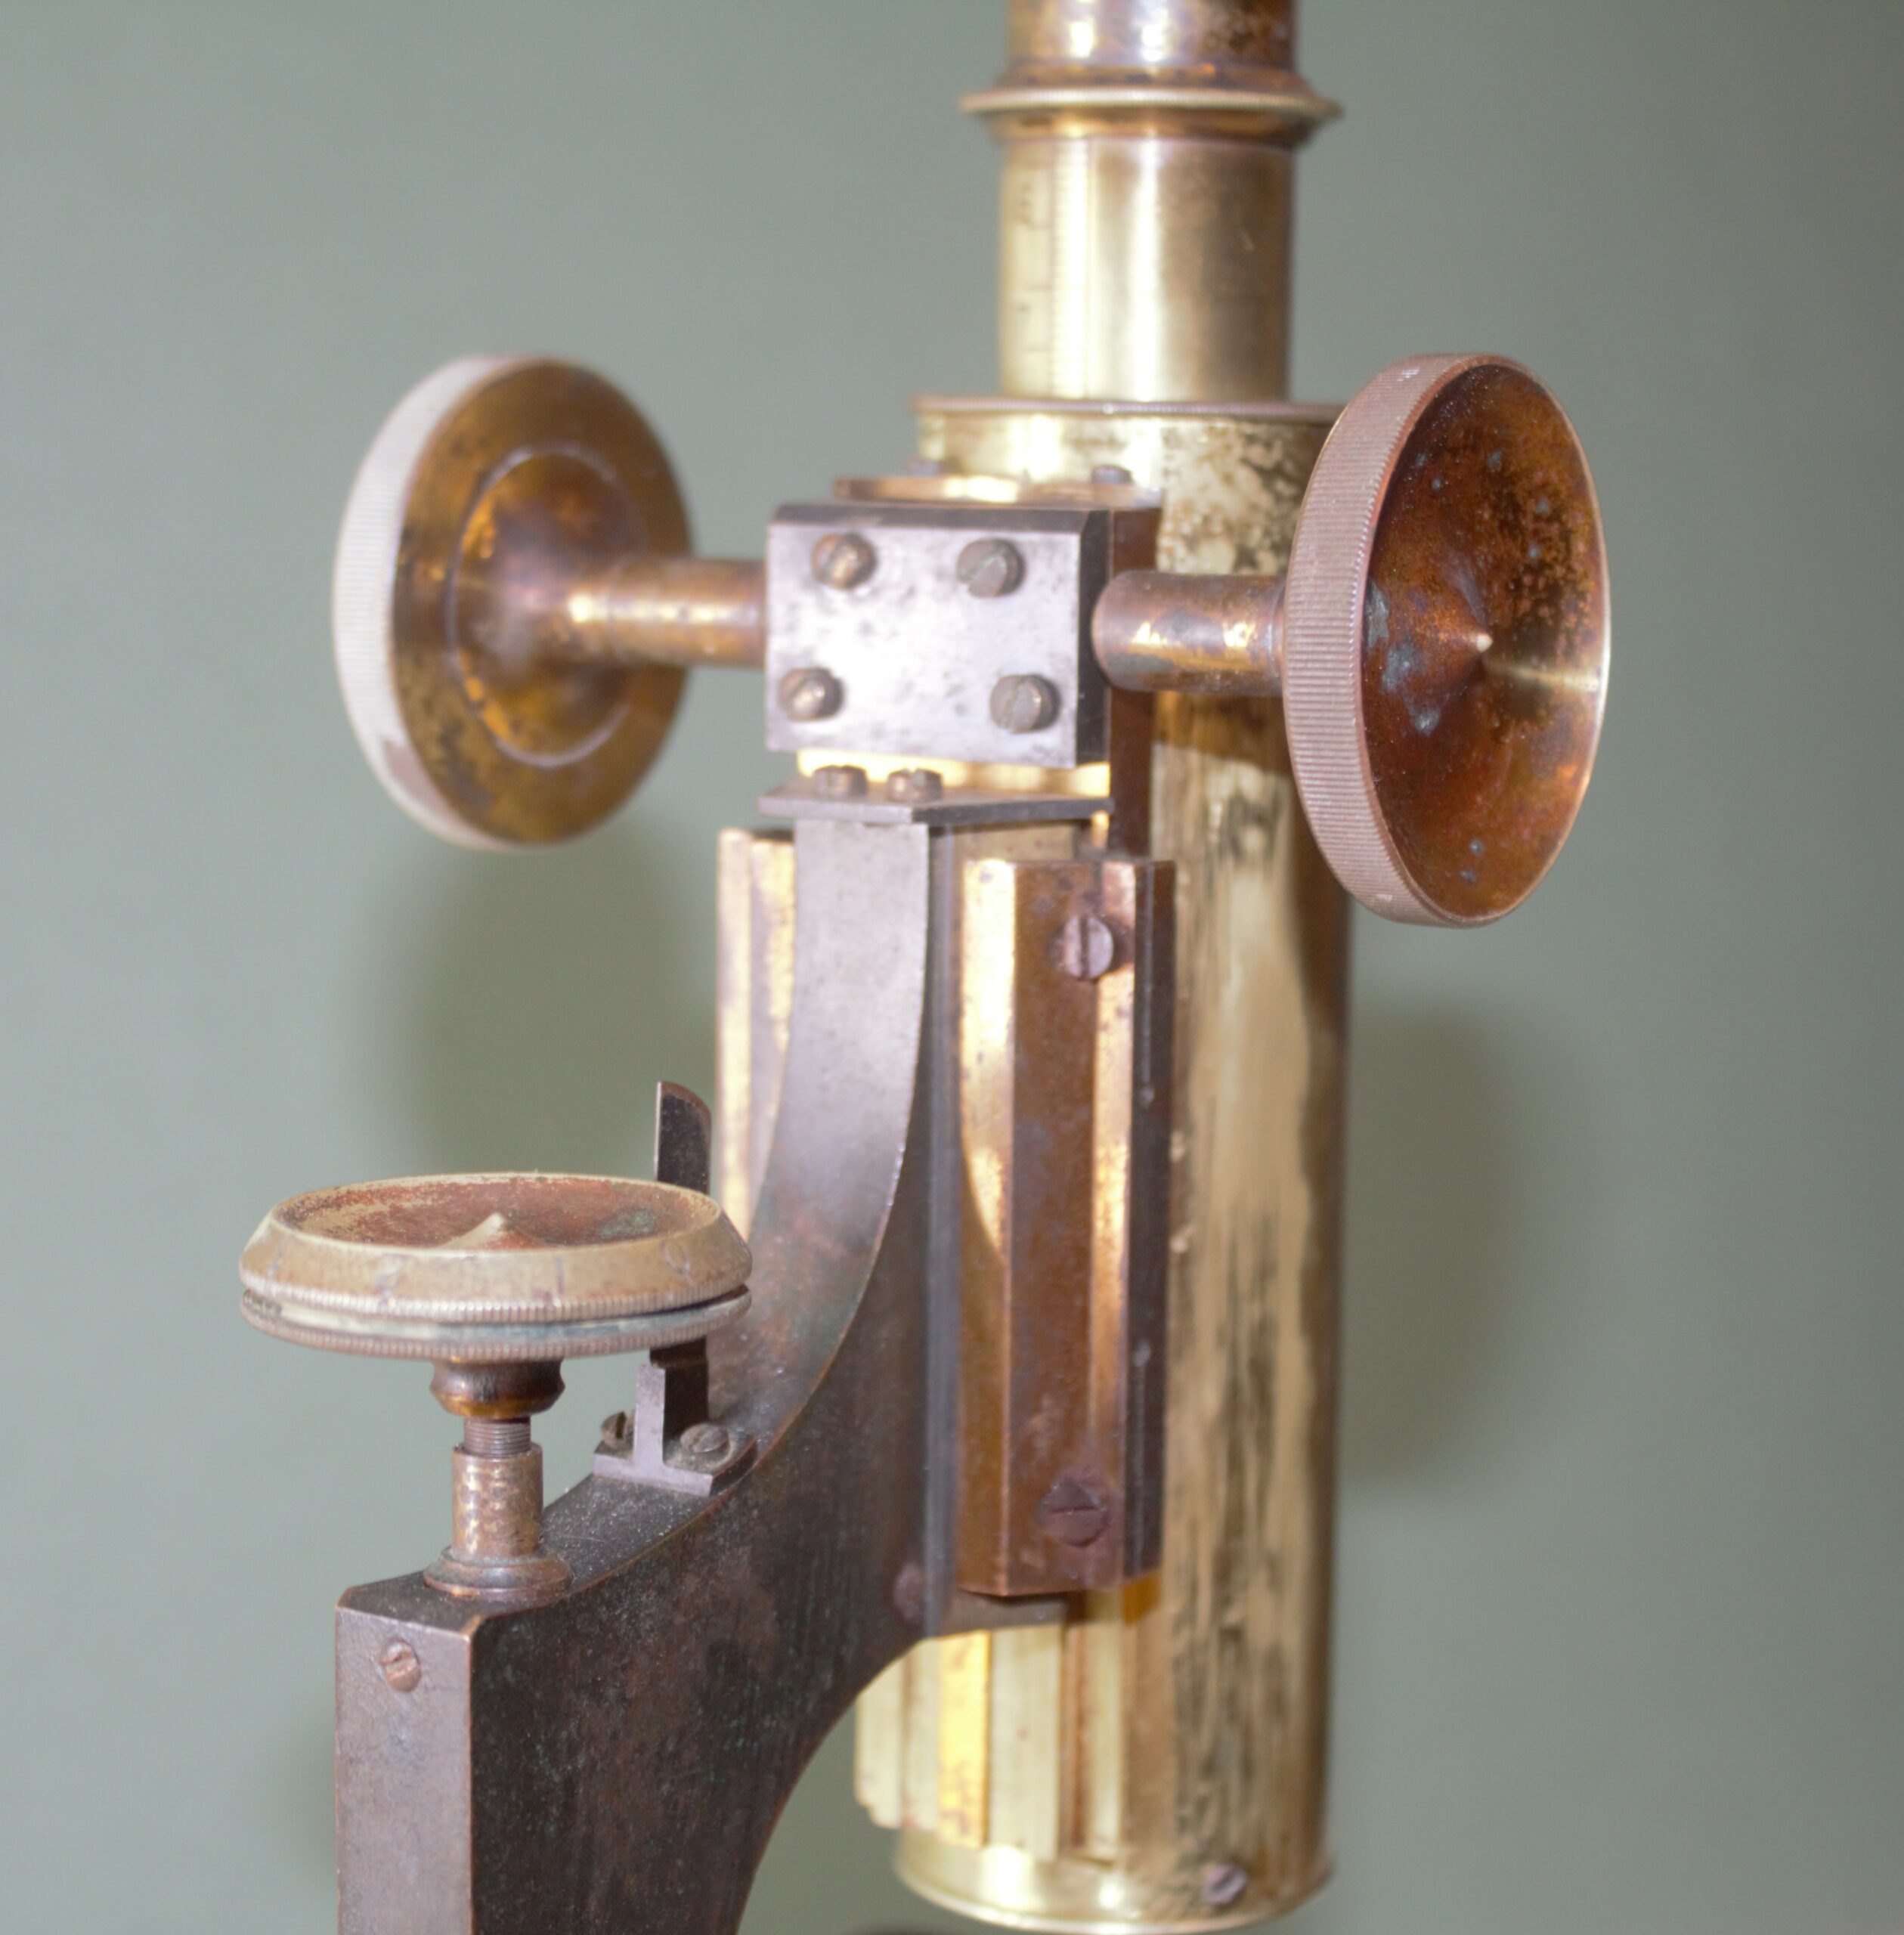
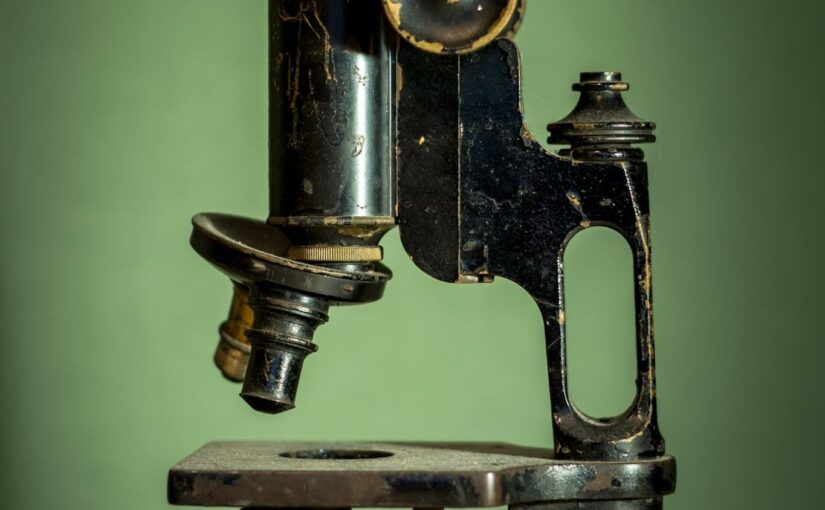
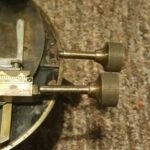
Brass contains copper and zinc but when you restore an old microscope you never know quite how much of each you are dealing with. Even though you are not really dying the metal, your lacquer sits on top of the metal, the zinc and copper content of the brass can still alter the colour of the lacquer. It can be tricky to know what will happen.  You might apply a lacquer that appears to be a rich gold on a test piece of brass, but when applied to the antique microscope it comes out a dull yellow. It’s a pain. I have one lacquer which when it first goes on has a slight green tinge to it (possibly a reaction with copper) but after a week or so the green tinge dissipates and it turns yellow again. I haven’t quite figured this out but I think the green copper complex is unstable. It degrades in daylight. It only happens on old brass, not new brass – just to add another layer of mystery.

Why bother, you ask? Why not buy a can of spray on nitrocellulose lacquer?

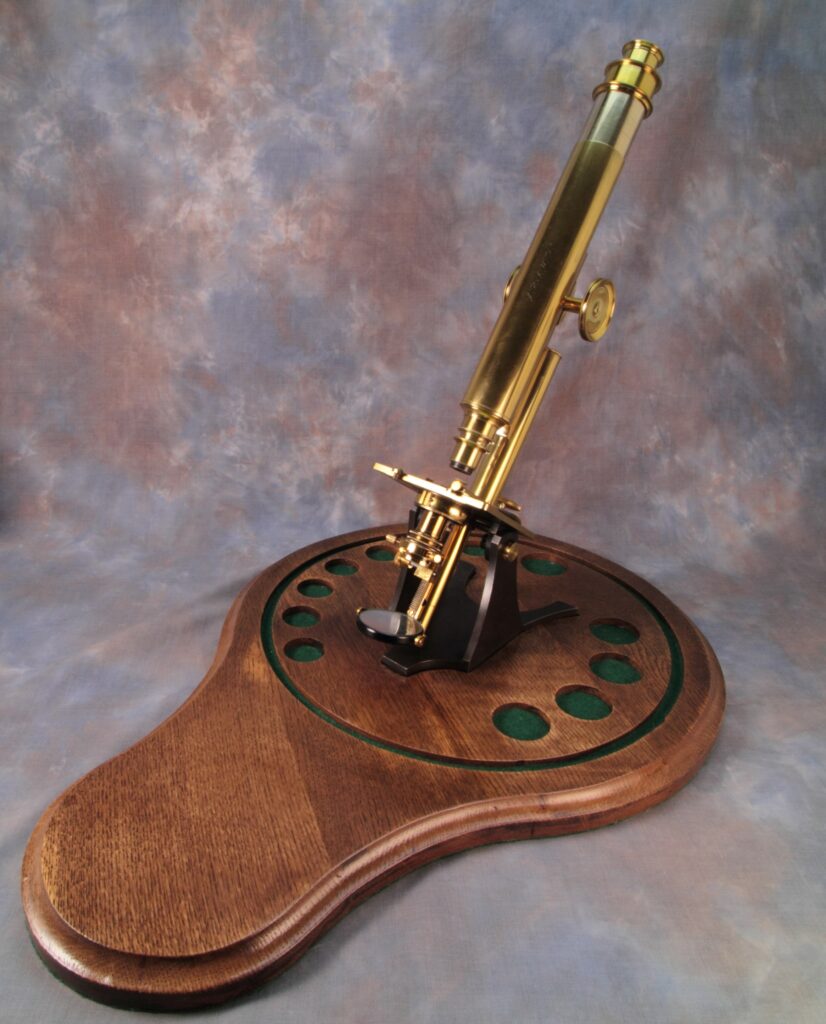
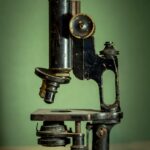
Why? because I like things to be done properly and I don’t want every microscope I restore to look exactly the same as the previous one. Different makers used different colours. Different lacquer batches from the same maker were different colours. Lacquer colours changed with fashion. Some early Watson microscopes used a deep orange gold lacquer, later ones were very pale. There was a lot of variation and considerable beauty. I like to restore things using the same ingredients as were used originally. If you don’t do that then you are not restoring anything, you are doing a bodge job. You wouldn’t use acrylic paint on the Mona Lisa would you? (God forbid she ever gets damaged). You might use a brush with a plastic handle, or maybe artificial bristles (if you can make the same brush strokes) but you wouldn’t use modern paints. Besides, it’s fun. Research is fun and experimentation is fun.

‘No synthetic dye has the lustre, that under-glow of rich colour, that delicious aromatic smell, that soft light and shadow that gives so much pleasure to the eye. These colours are alive.’ Violetta Thurston

As I have already said, not all dyes are created equal. Some are particularly wonderful. Dyes such as turmeric are known as substantive dyes, they don’t need mordants to adhere to fabric and they are not too temperamental in lacquer. In fact they are very, very reliable. Turmeric is the basis for almost every lacquer I make and it never fails to be yellow. Obviously, being a natural product there is some variation in the intensity of the yellow but it is always, without fail, yellow.

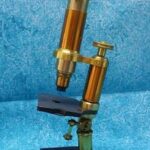
Today I had a small breakthrough, I have a tiny piece of a microscope which I repaired for a customer. The piece is repaired but the repair damaged the lacquer so I have to colour match and re-lacquer. This lacquer is a smoky gold colour. Warm gold with a tiny hint of brown. I have tried all sorts of ways to get browns and whilst I have had some success, I have not yet found a reliable source of brown which I can mix with other dyes. There are modern dyes, but I want to stick with products which were commonly used in the Victorian era.

I was browsing textile dying websites for inspiration when I stumbled across black walnut hulls. Walnut! Of course! They used to make ink for pens from walnut hulls. It was a VERY common ingredient in the Victorian era. I would be amazed if they didn’t use it. I have some water based walnut hull ink in the cupboard and it is a lovely nutty brown. A little research and I discovered that walnut is also a substantive dye that is brown in both alcohol and water. I’m waiting for walnut hulls to arrive from eBay. I am very keen to test it out. I don’t know why I didn’t think of it before!


walnut

Here we go…

Here is the Baker microscope with the bent pinion all taken apart. Since taking the photo I have cleaned it, sanded some areas and primed them ready for painting. Tomorrow I shall blacken the stage and do some more sanding and painting. I shall repeat this process about 10 times. It will be worth it in the end.

disassembled Baker

Stage and paintwork

A customer has asked me to partially restore his microscope, a jug handled Baker. He has specified certain areas that he wants repaired as he wishes to conserve as much of the original paint as possible. He wants me to re-do several areas of the handle, an area on the foot, and the stage. The stage is a little stiff in one direction so the movement needs looking at too.

As you can see, I will also have to make a new pinion as the original pinion attached to the coarse focus is badly bent. Here’s the before photograph – let’s see what we can do! I’ll start by giving it a good clean as it is very dirty.


Perfectionism

Today I have re-lacquered the same piece three times. The first time I did it it came out too orange. I stripped off the lacquer, diluted it and tried again. The colour was better but after staring at it for some time I decided it was still not quite right for the era.

I stripped one piece and I made a further dilution of my lacquer then did a rough and ready re-lacquering of a test area. The colour is better now but I shall have to do the piece properly next week. I am getting impatient and making mistakes now. It’s better to wait.

36131

Re-lacquering a piece numerous times seems to be par for the course. I seek perfection in colour, in shininess and in all round wow factor. No point lacquering a piece absolutely beautifully but in the wrong shade of yellow. I have to feel proud when I have finished. I never feel relaxed if I know there is an error, or the colour isn’t quite right. I don’t suppose this is a bad thing.


My workshop

Today I have been tidying my workshop, it might look a bit of a mess still but I have removed a whole car-boot load of old boxes, used nitrile gloves and bits of emery paper today. The room is looking much tidier even if the worktops themselves still need some work. I shall finish tidying tomorrow – I need to use the milling machine so there is no escape!

workshop

I am still not entirely happy with the little Baker microscope in the foreground of the picture, the brown lacquer comes out far too dark after it has been heated. I am making a new, much paler batch at this moment.  I want a muted earthy tone – not dark chocolate. I should have pictures to post at the weekend.

Polishing

I have been so busy polishing this week that I forgot to blog! I do all my polishing by hand and it can be quite therapeutic. The mind can wander a little while the hands are busy. Whilst polishing I tend to daydream about glistening golden microscopes and my next projects. Today I sanded and polished with various grades of pumice. I have one more extra  fine polish to do before I start lacquering this piece, and tomorrow evening I have another piece to finish which just needs heating and reassembling.

The excitement mounts. I hope I can get it all done, I have to do some gardening to do as well. The penstemon need urgent  attention.

Different lacquer colours

By varying the amounts of various ingredients, such as Dragon’s Blood, various lacquer colours can be achieved. Below is a picture showing three different batches of lacquer I have made applied to microscope parts.

I am about to make up a fresh batch of yellow as I have a piece to lacquer for a customer, I have some leftover yellow lacquer but I don’t want to risk using it. The lacquer ingredients are dissolved in pure ethanol, over time the ethanol takes up water and water is death to lacquer. Any water in your lacquer and you will get cloudiness and a nasty finish. It’s less trouble to make up fresh.

lacquer colours
Yellow, brown and gold lacquer