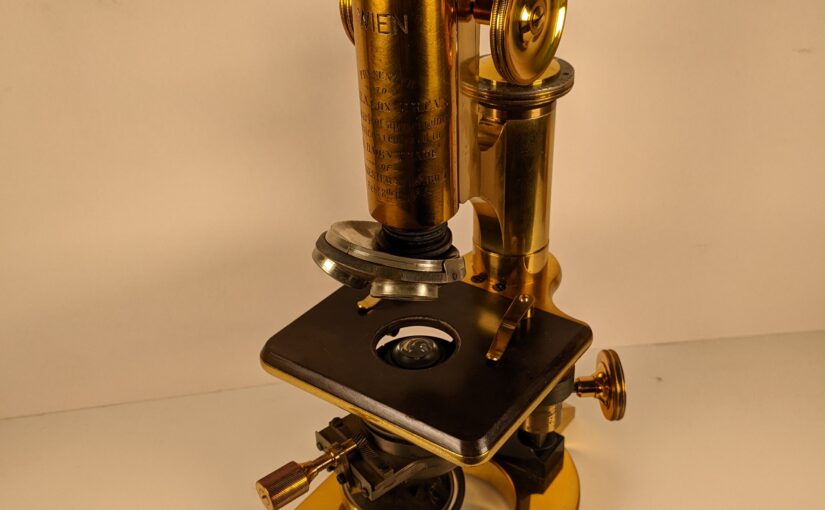
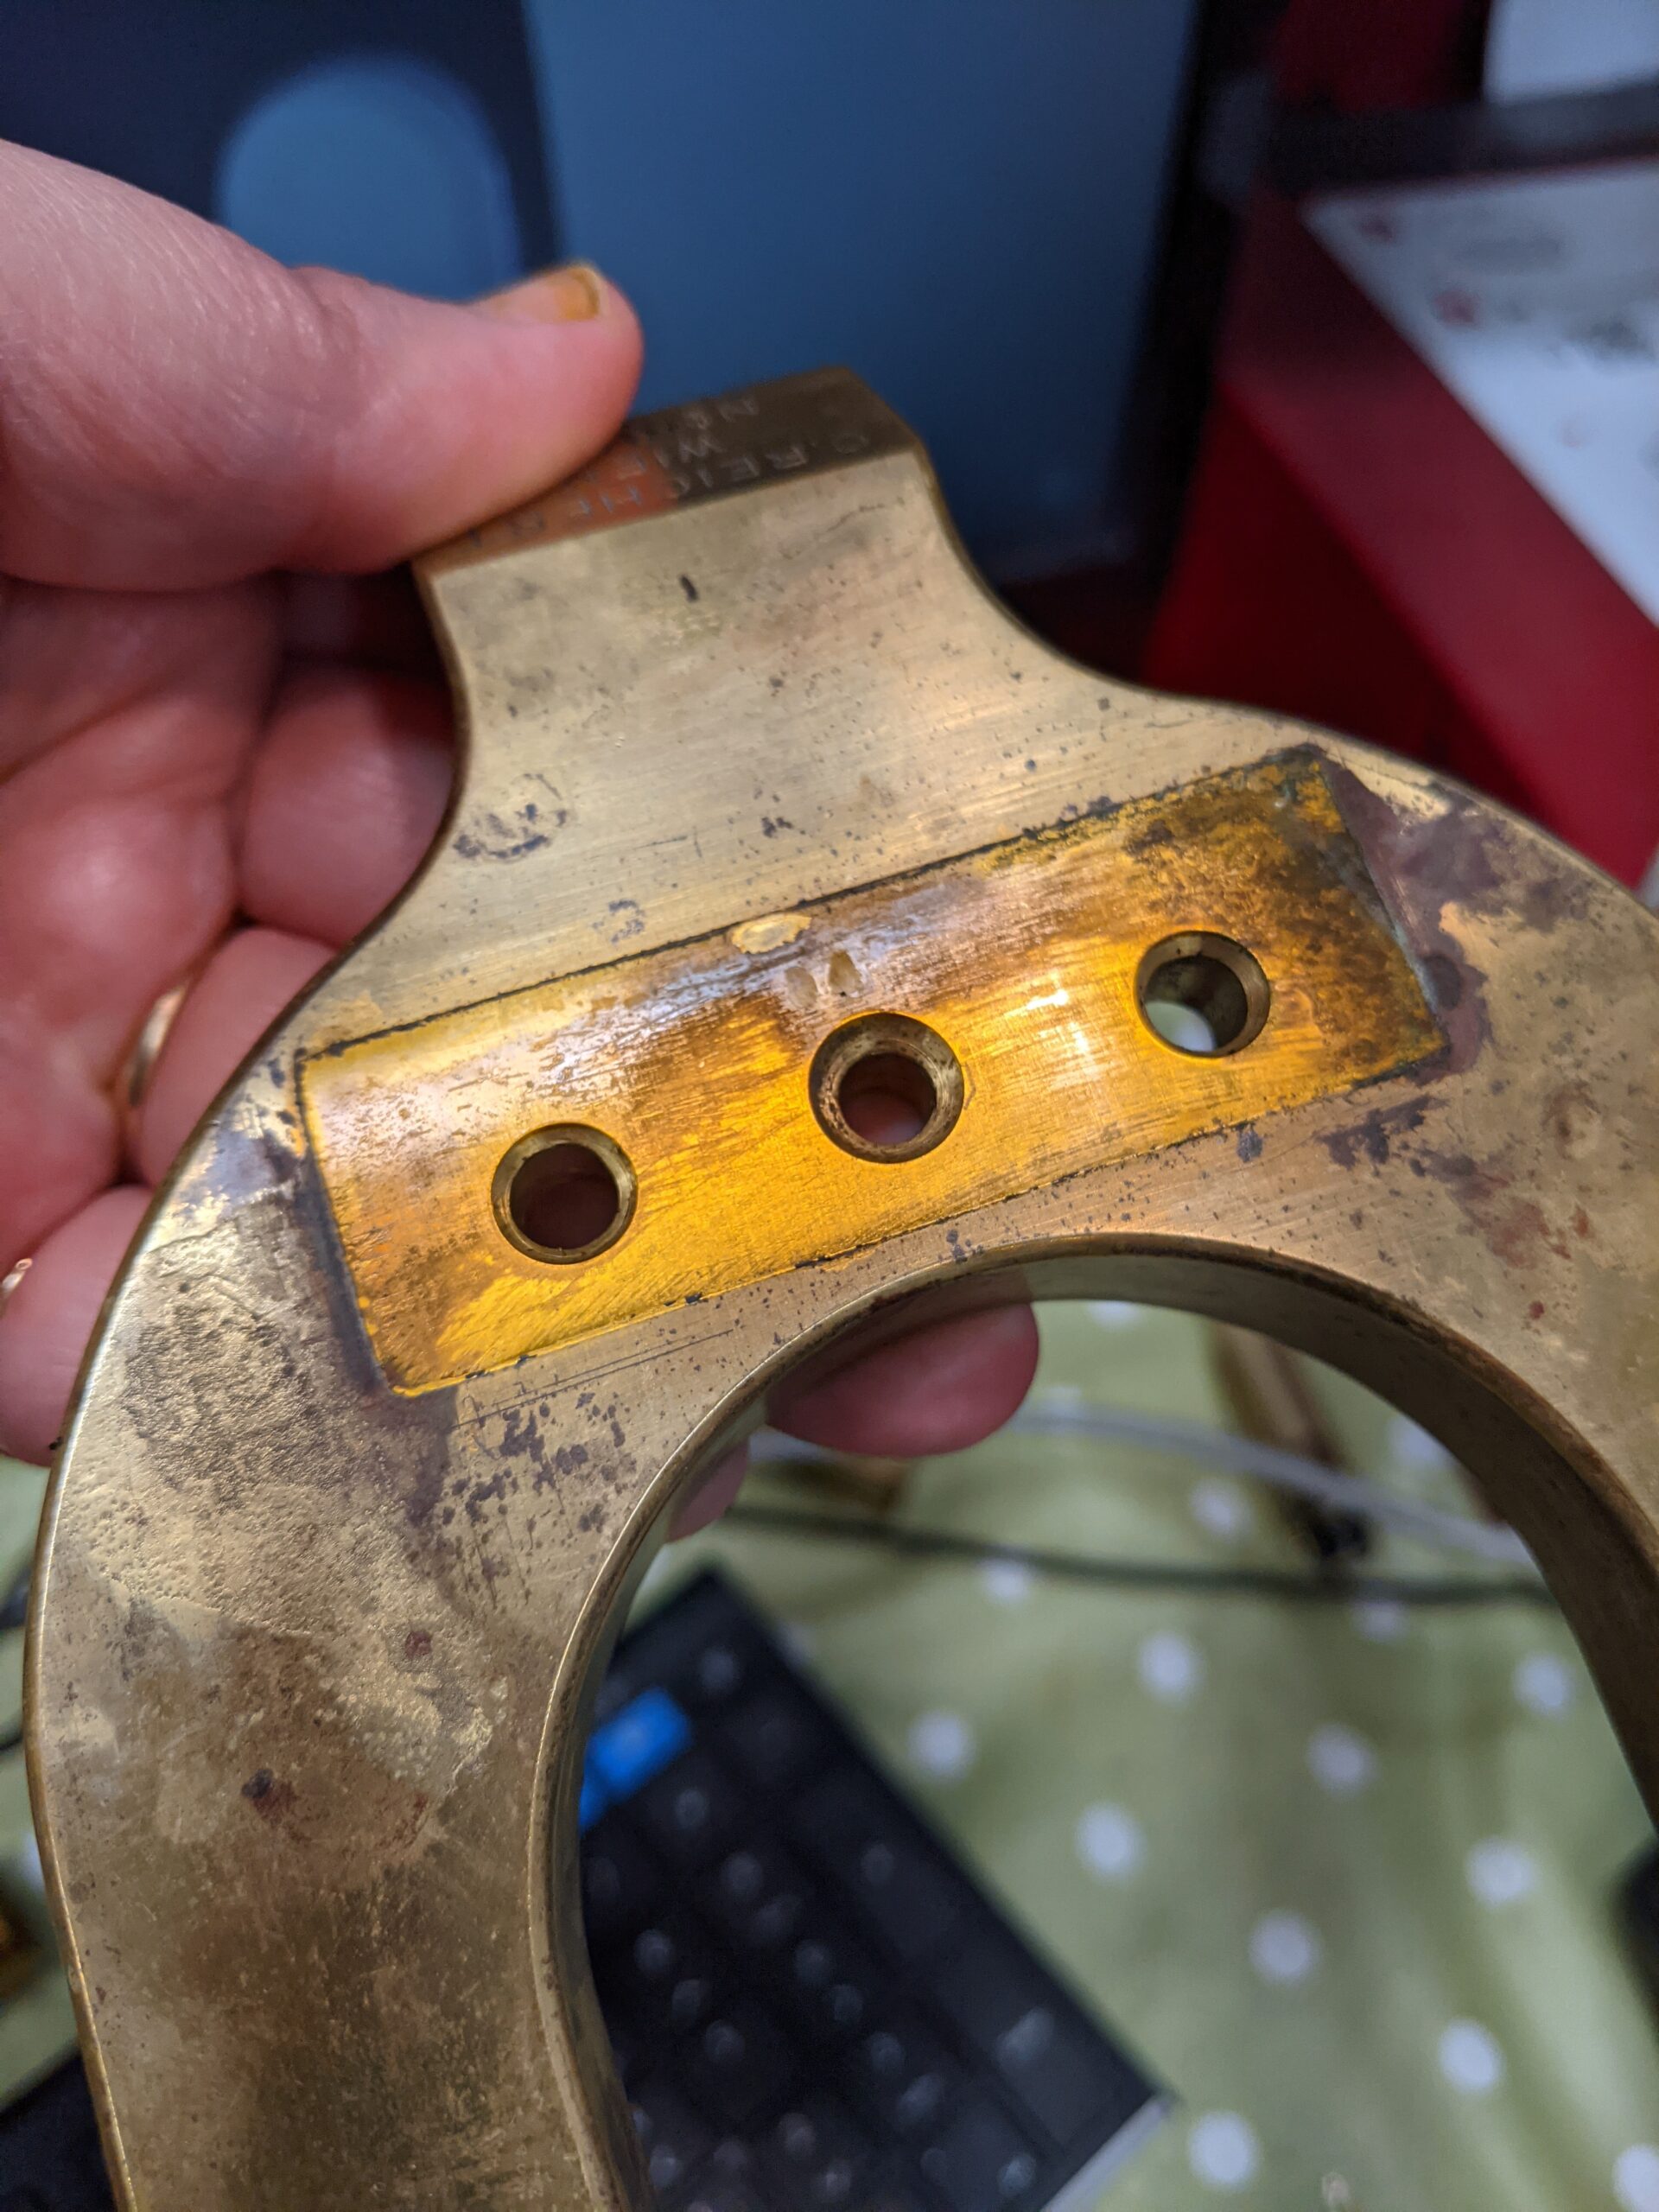
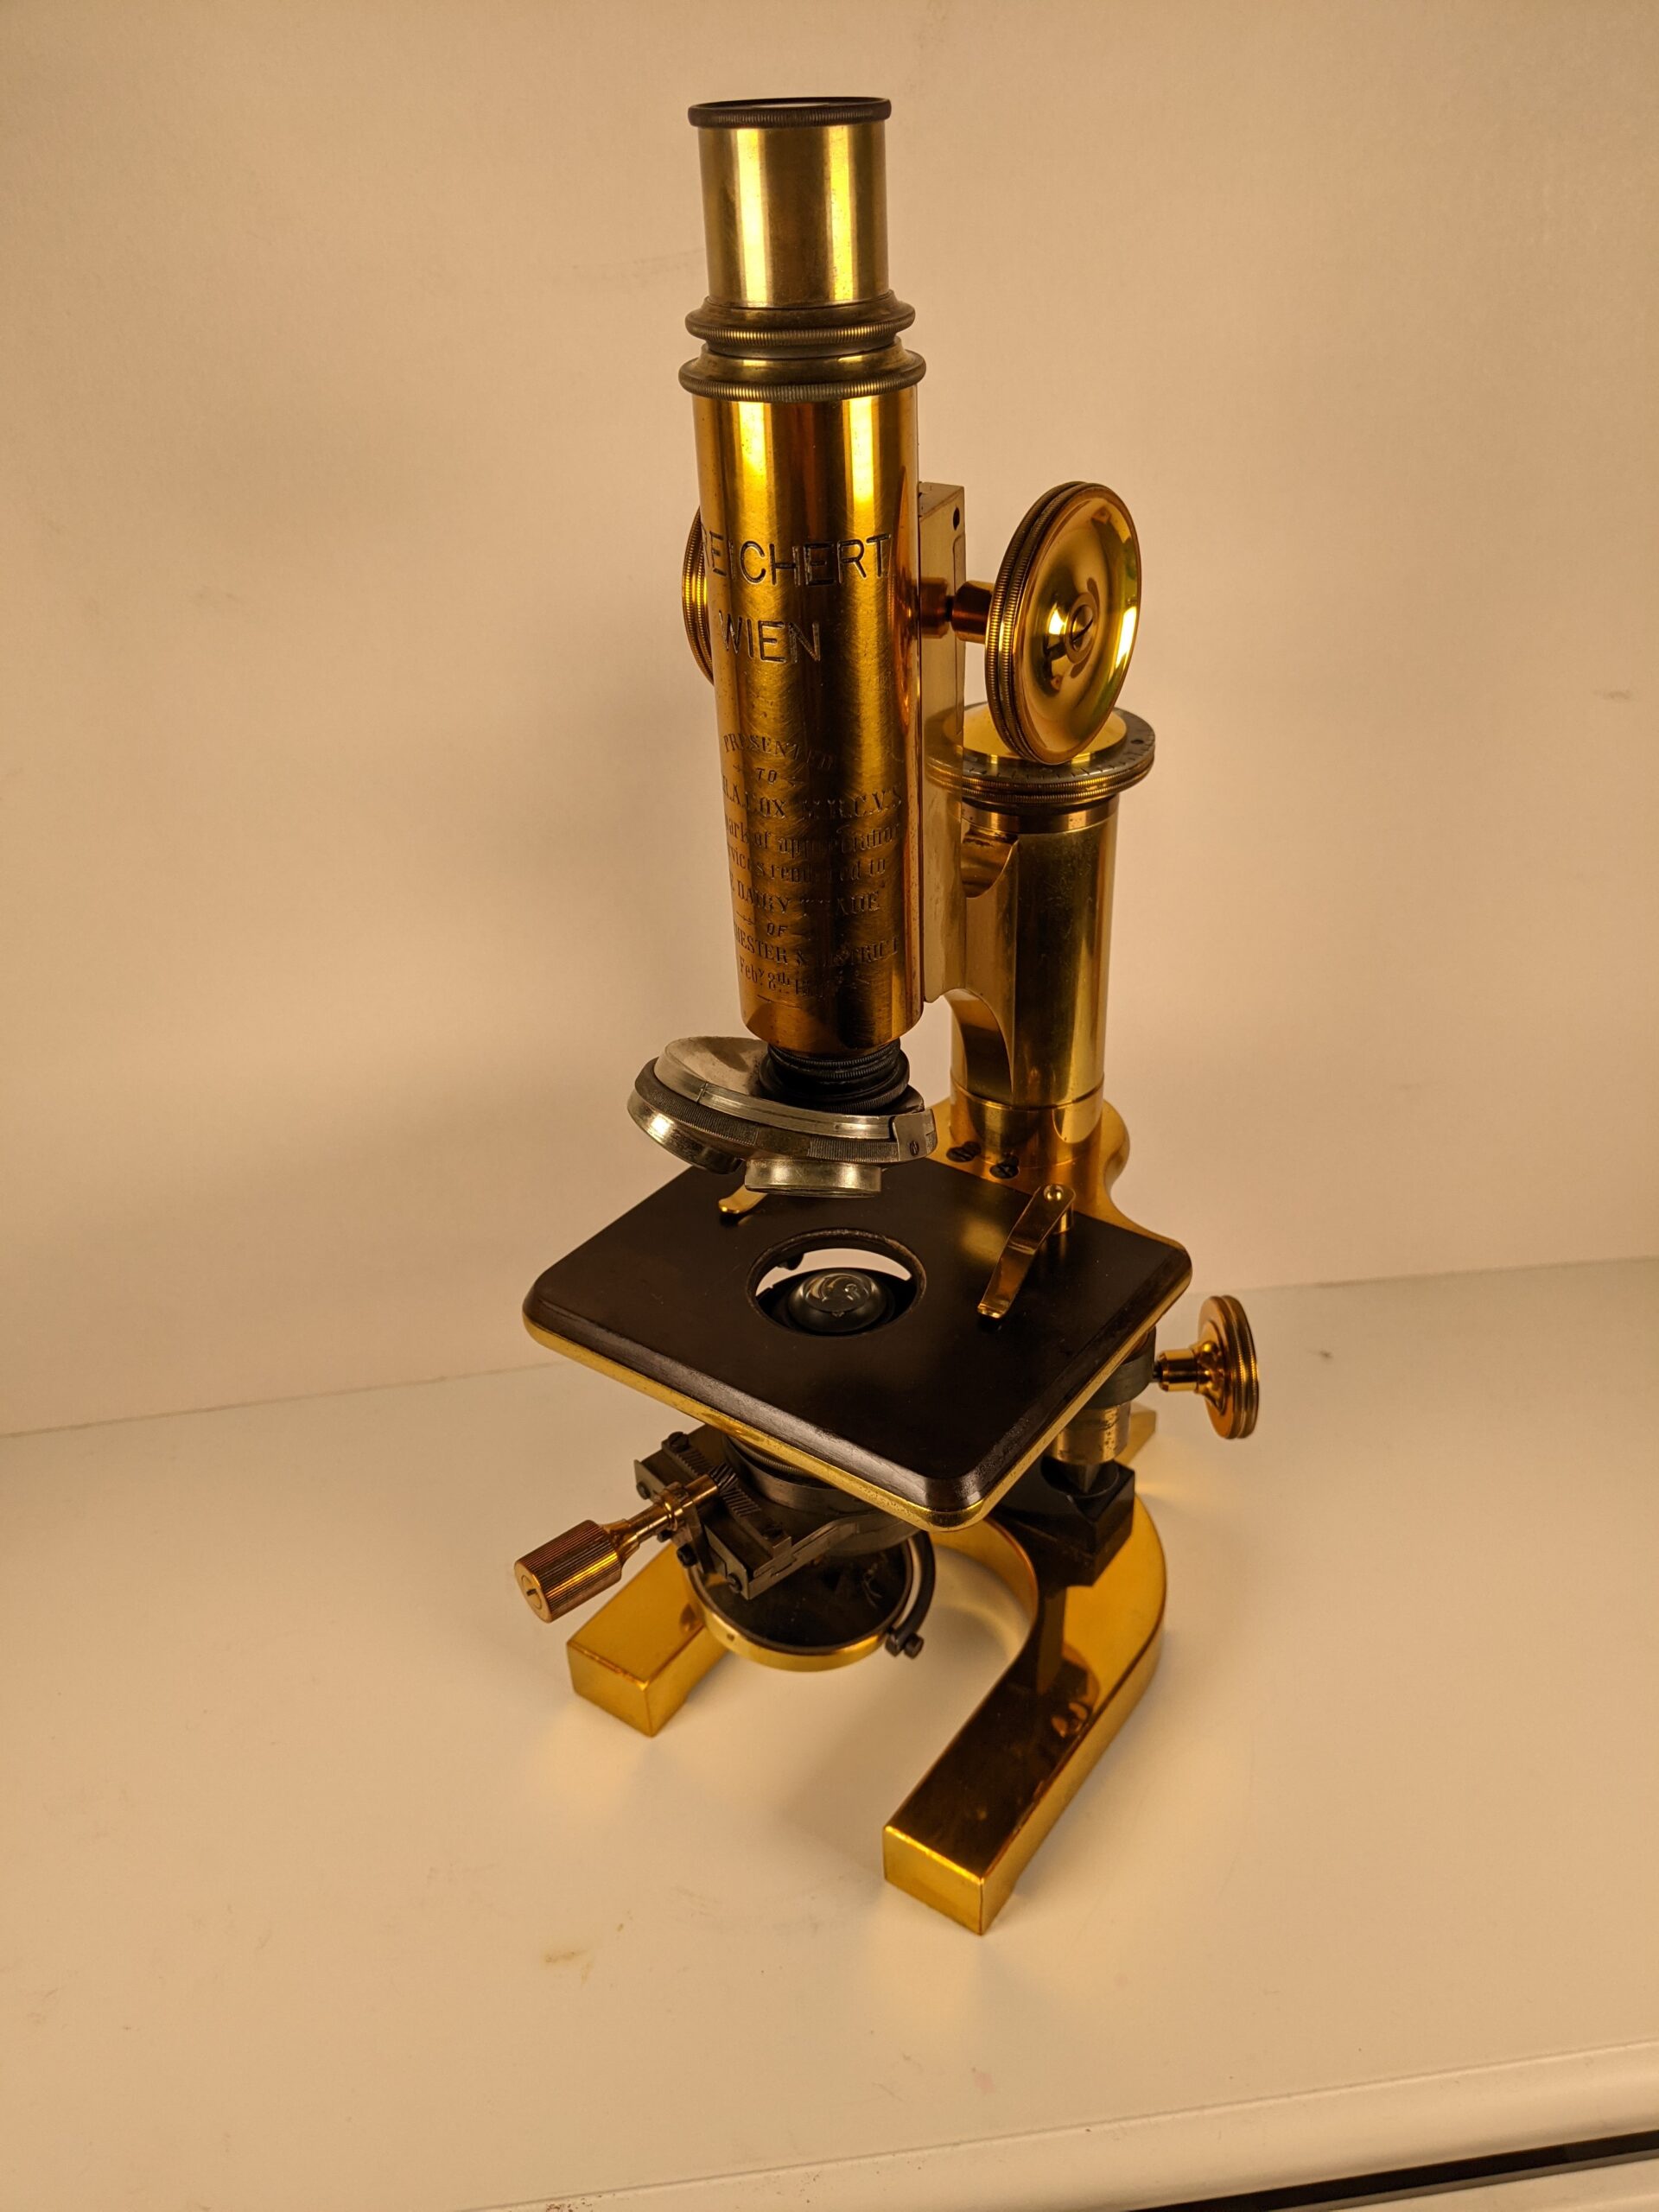
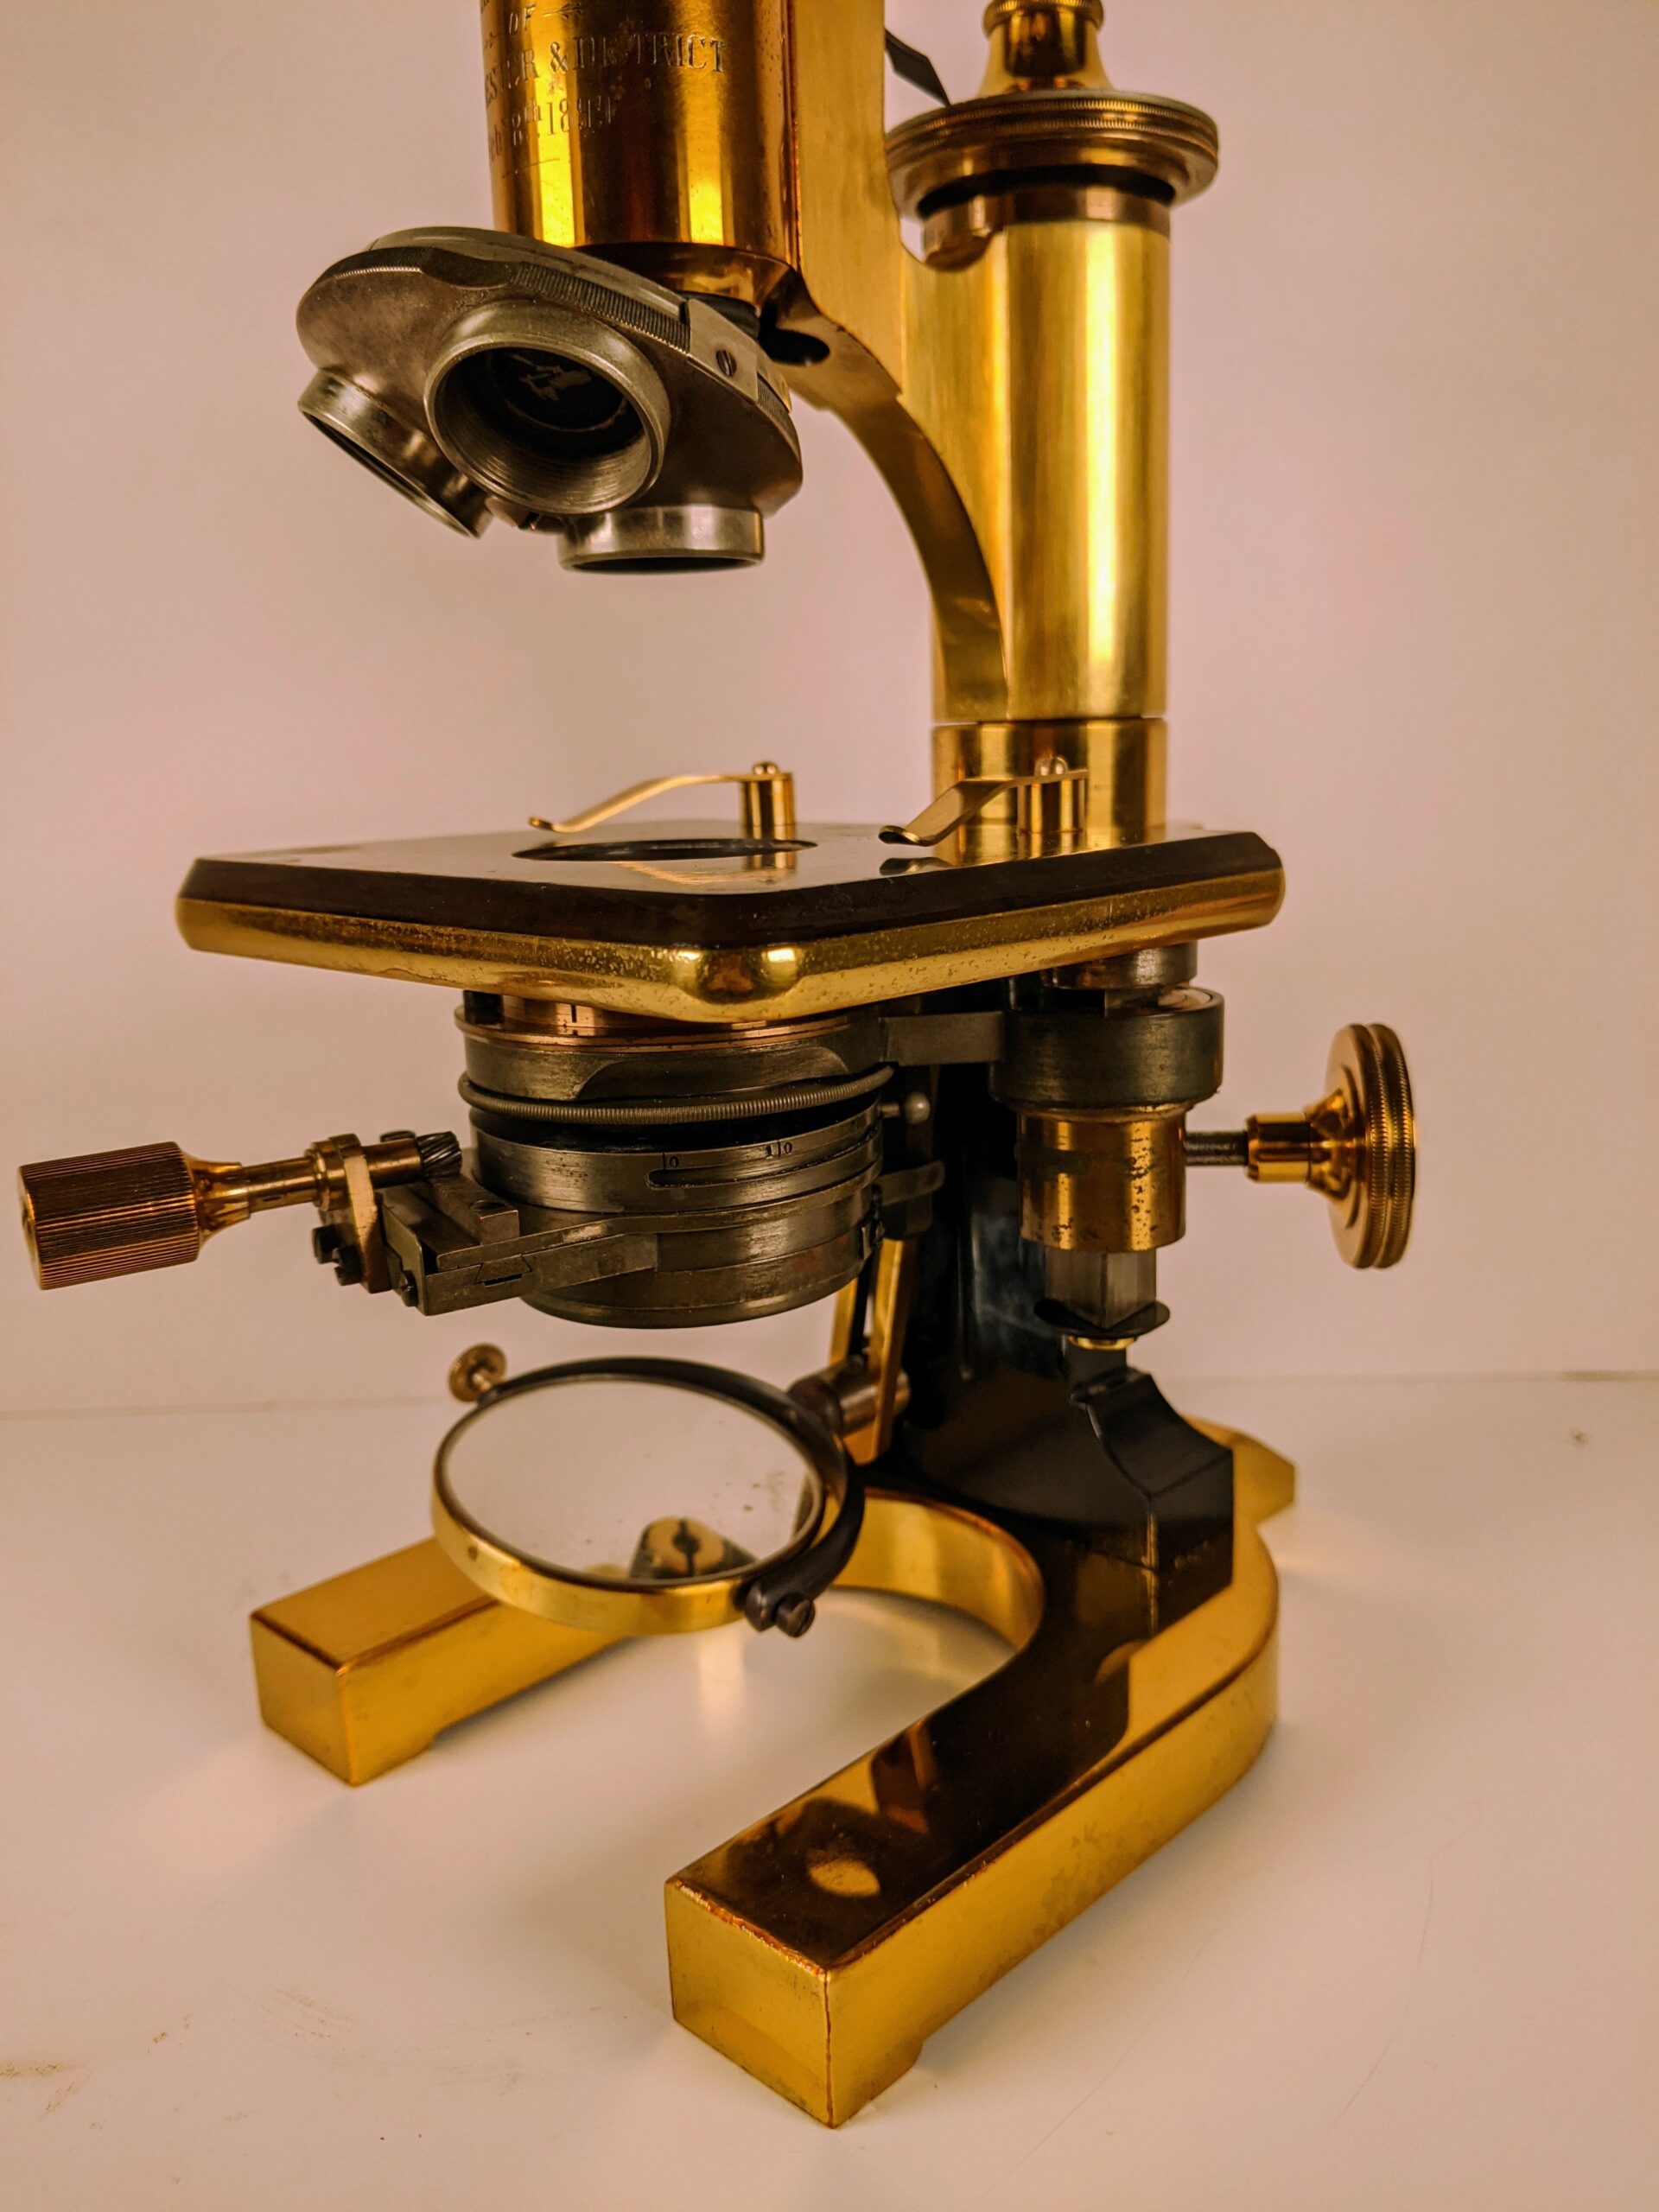
This is Ernie, he’s a Reichert and he used to work in milk testing. Unfortunately, I forgot to take a picture of him before lacquering. He had some deep scratches. I wasn’t able to get all of them out on the tube because of the enormous amount of engraving on the tube but I managed to get the really bad ones out of the foot.
I did take one picture of Ernie before he was lacquered, just the foot. I took the picture because I was impressed by the difference in colour between the faded and unfaded areas. Where the upright was attached to the foot, no light could penetrate resulting in a dramatic colour difference.
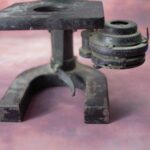
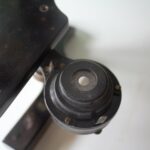
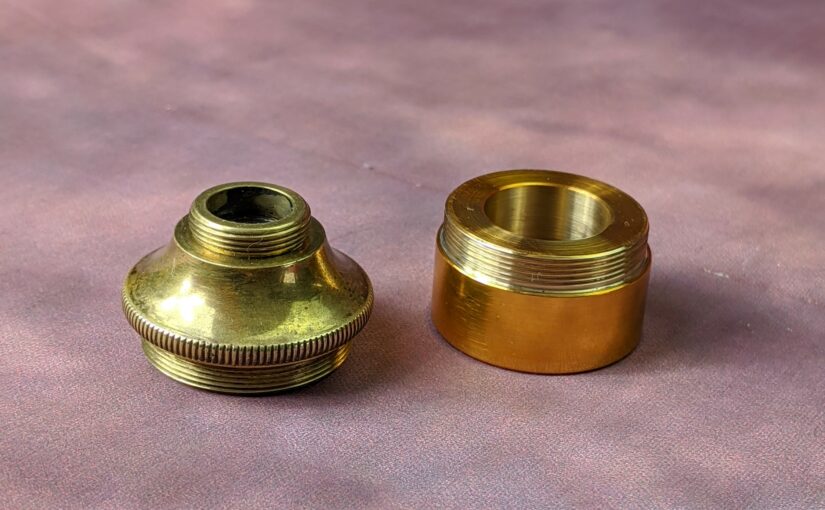
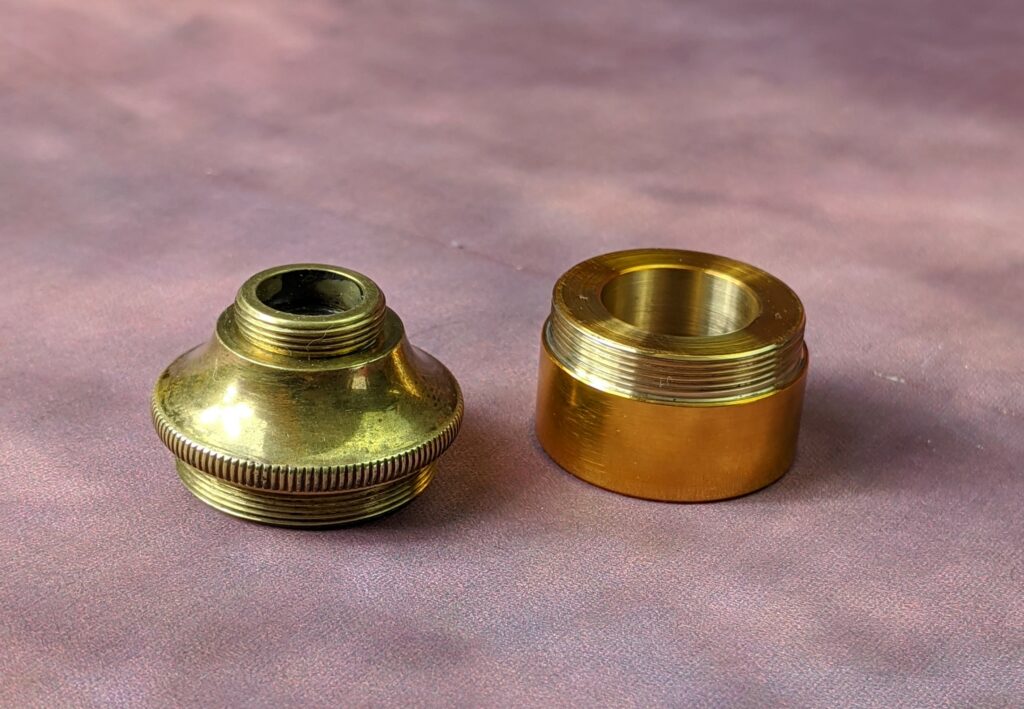
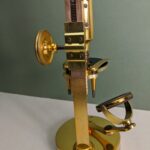
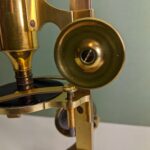
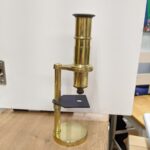
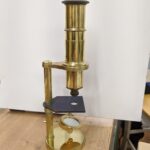
This Oberhauser drum microscope needed a new mirror and a new condenser. The condenser arm and holder have been made using a coping saw and hand files and special screws were made which allow the condenser arm to be repositioned whilst remaining firm. The condenser mount was made on the lathe. It just needs painting olive green now to match the rest of the microscope. It can be removed and fits neatly into the box with the rest of the microscope as the original would have done.
This microscope does not need any relacquering as the original lacquer is still 99% intact. I have taken some pictures using the microscope – one is of a xylophyte stem and the other is of radiolarians.
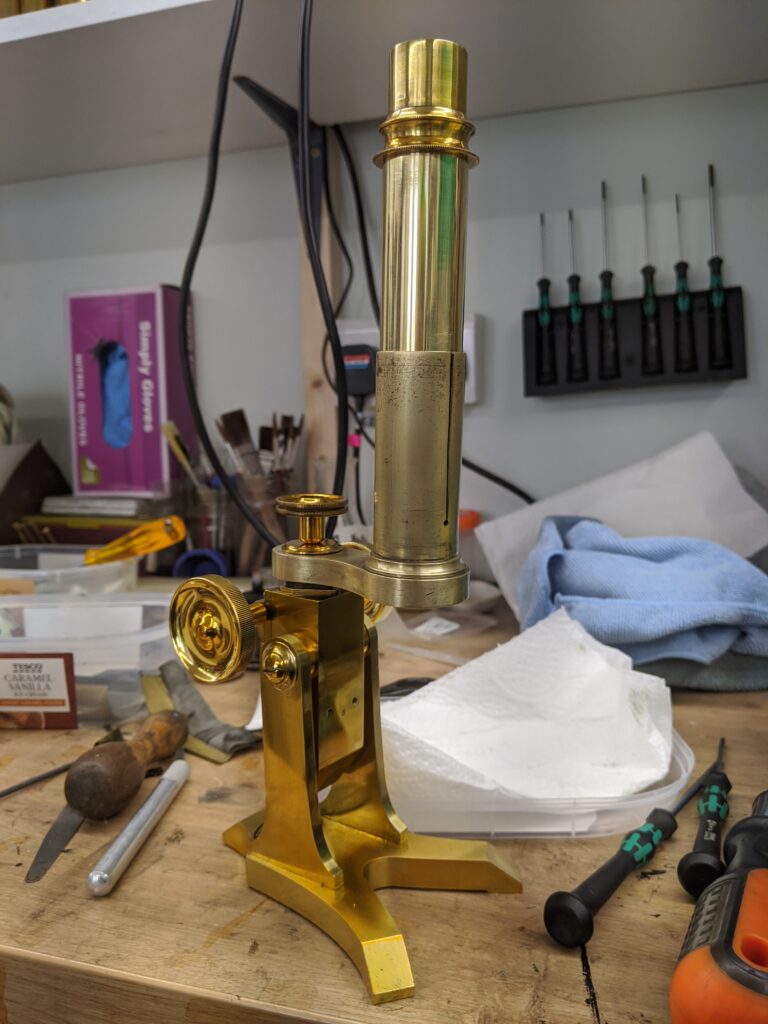
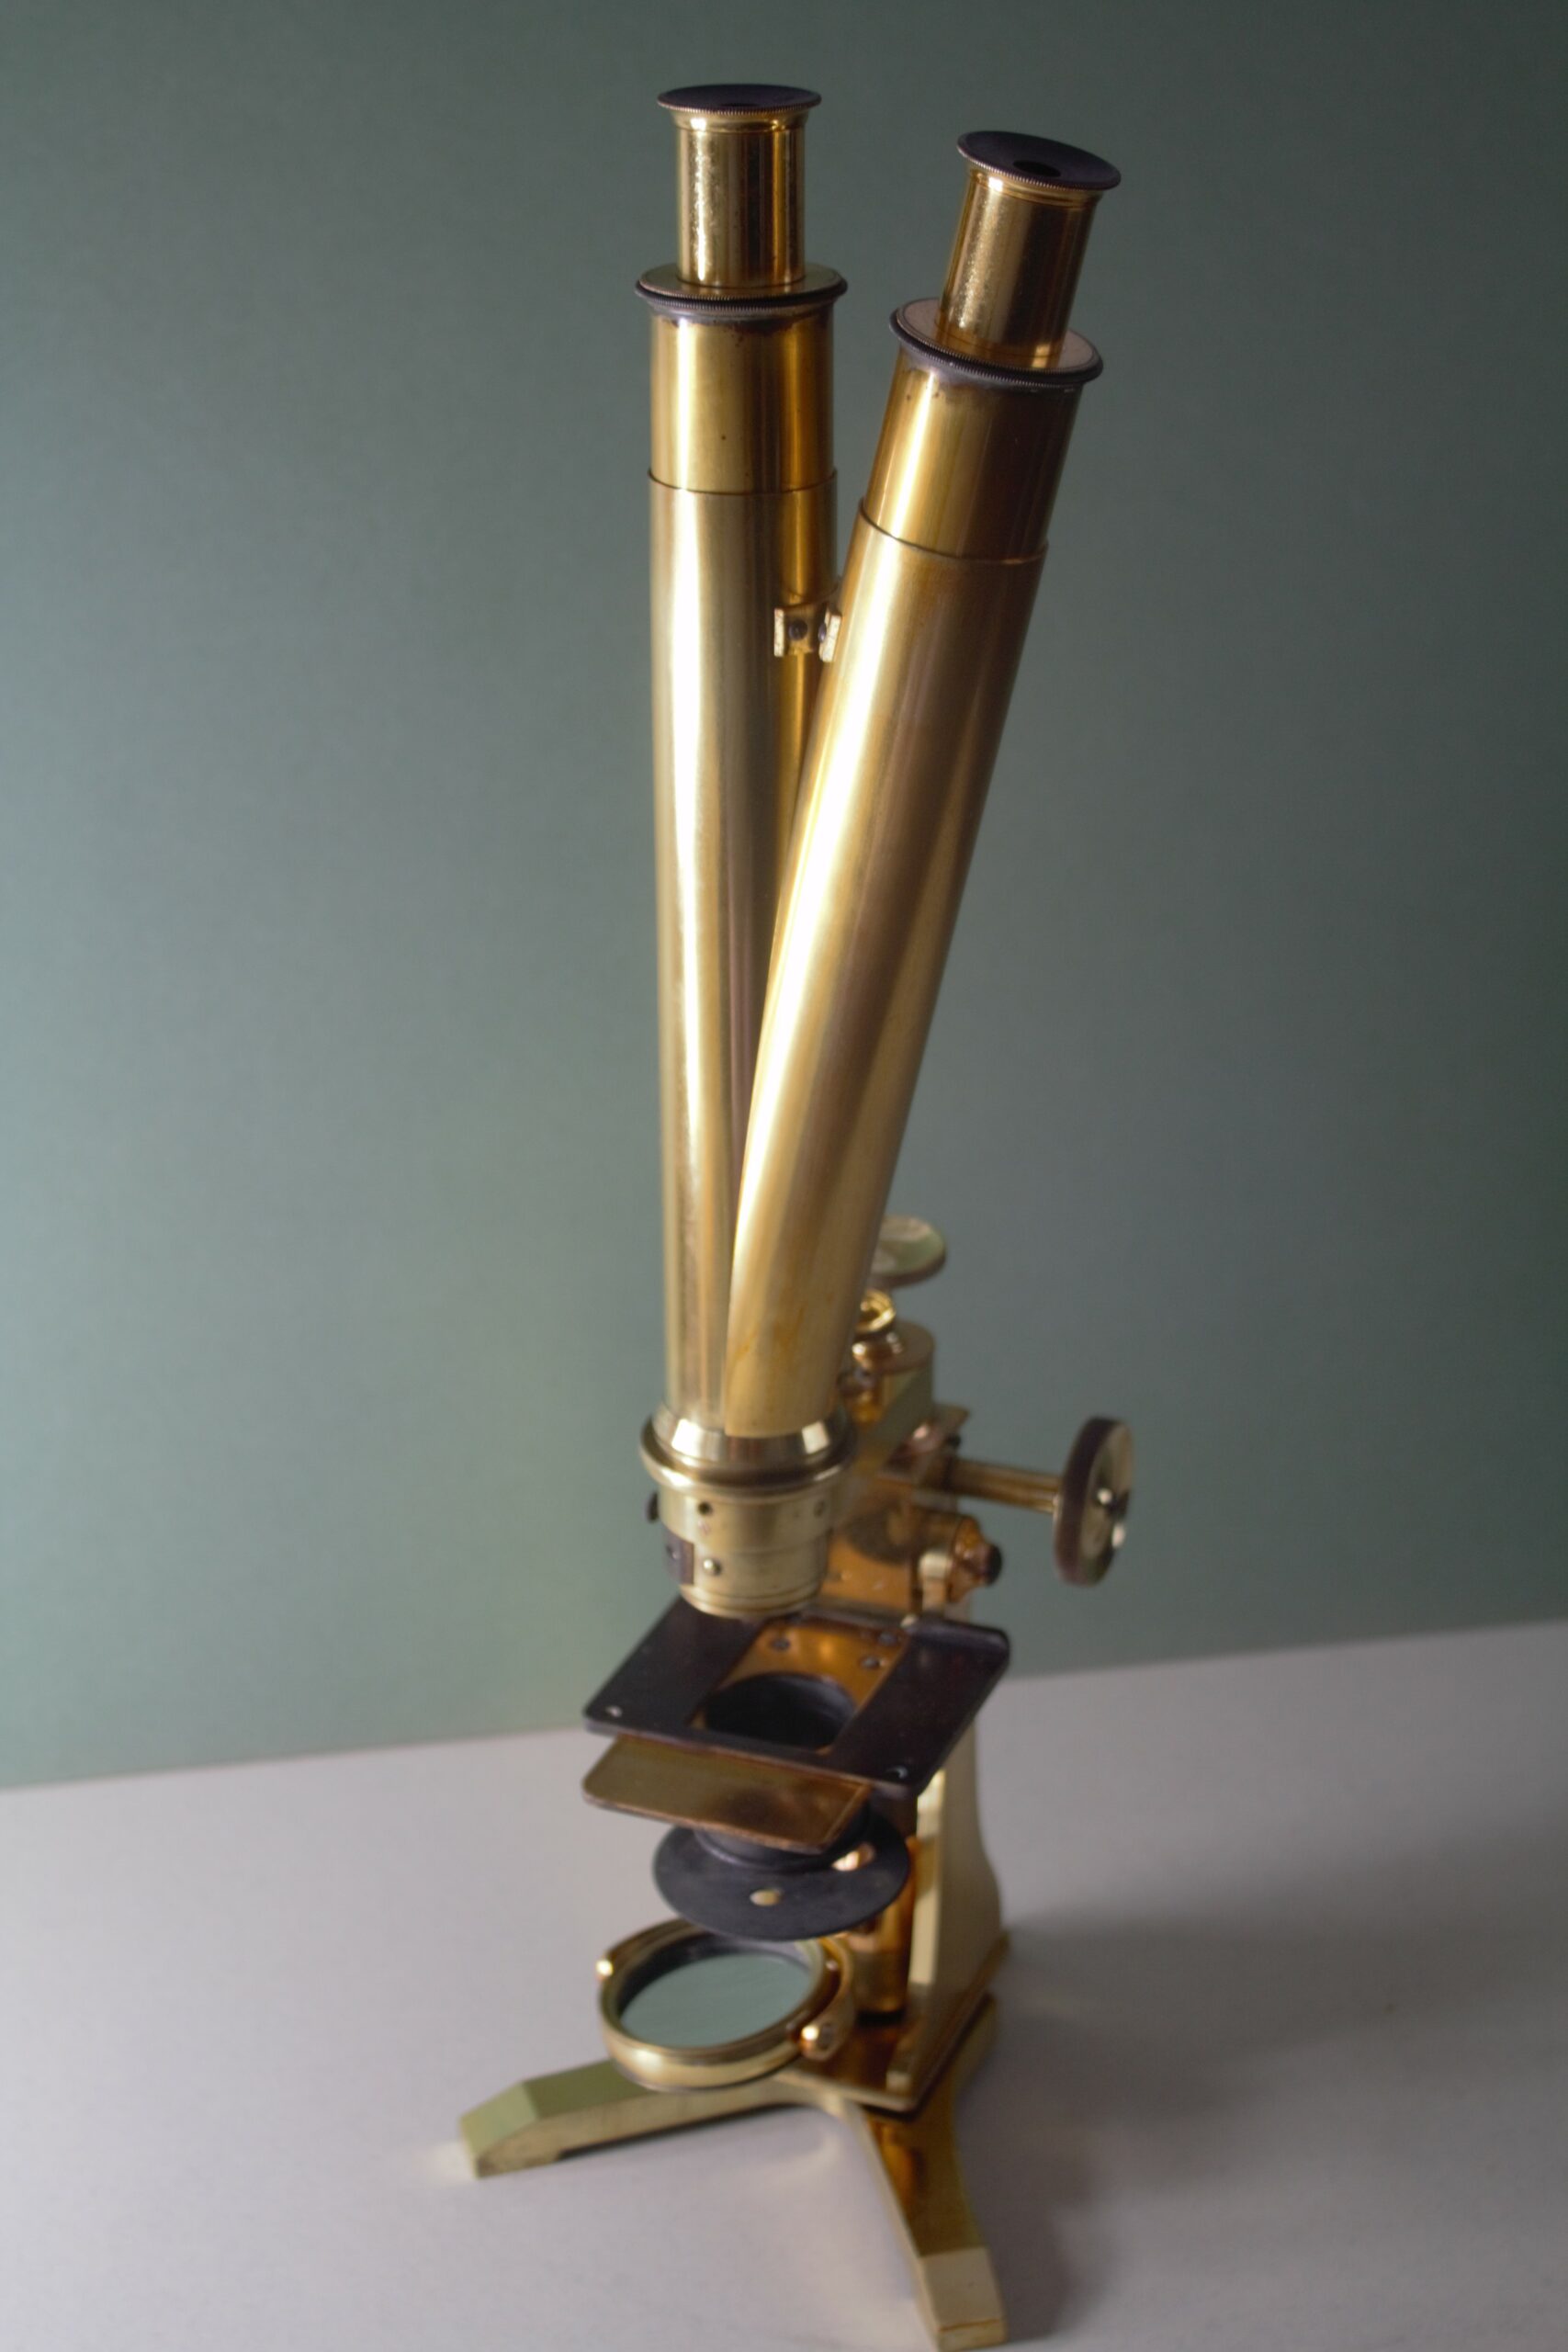
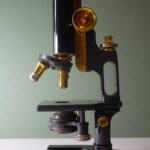
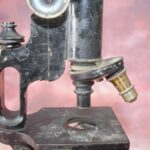
The Pillischer is coming along, as you can see I haven’t done the tube holder or bar yet because I have problems with them. The tube holder has been attacked with a wrench at some point and is distorted so that the tube is extremely stiff. I am not entirely sure how to sort it out. You can get the tube in and out but it takes the strength of Atlas.
There’s a spring missing from the fine focus mechanism too so that will have to be replaced. At least the paint is off. That took a lot of sandpaper and hard work.
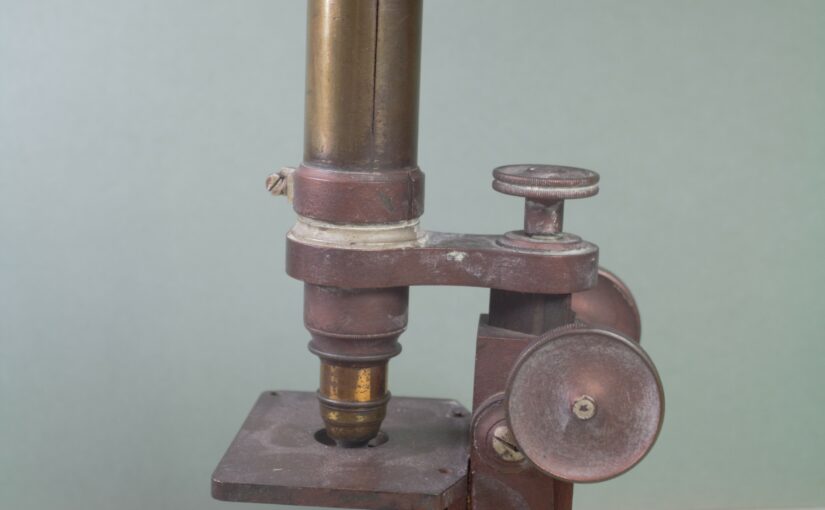
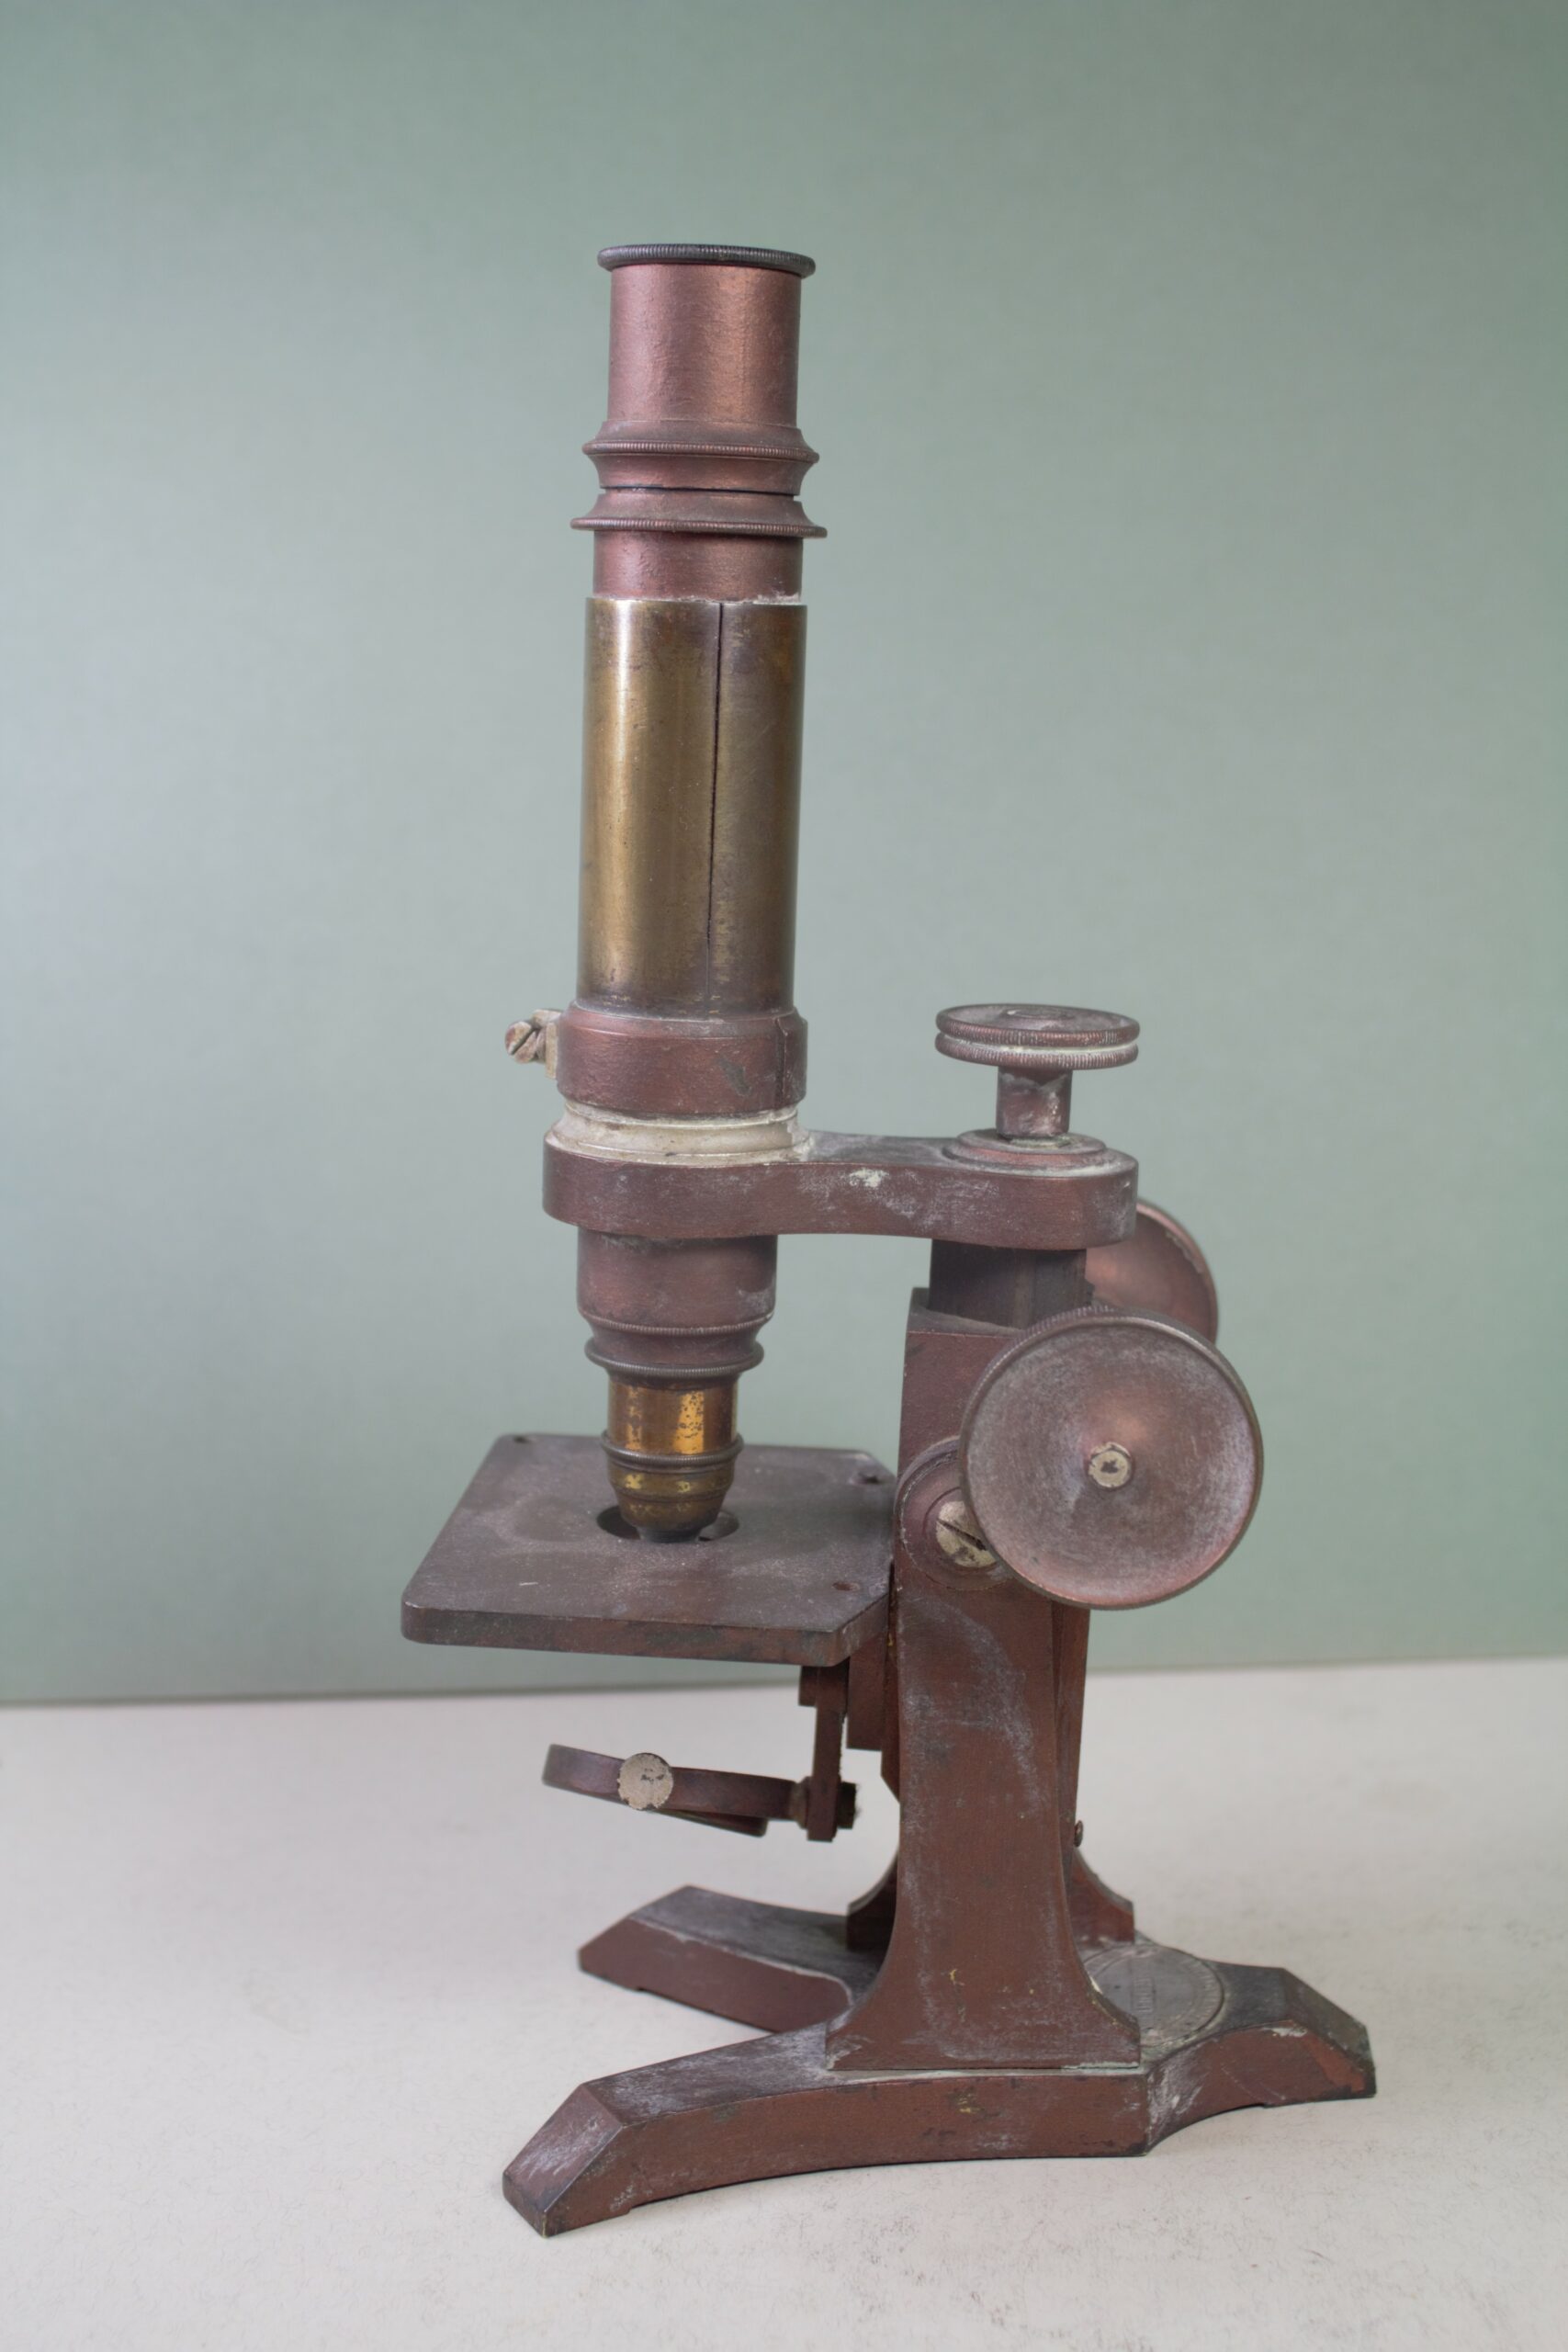
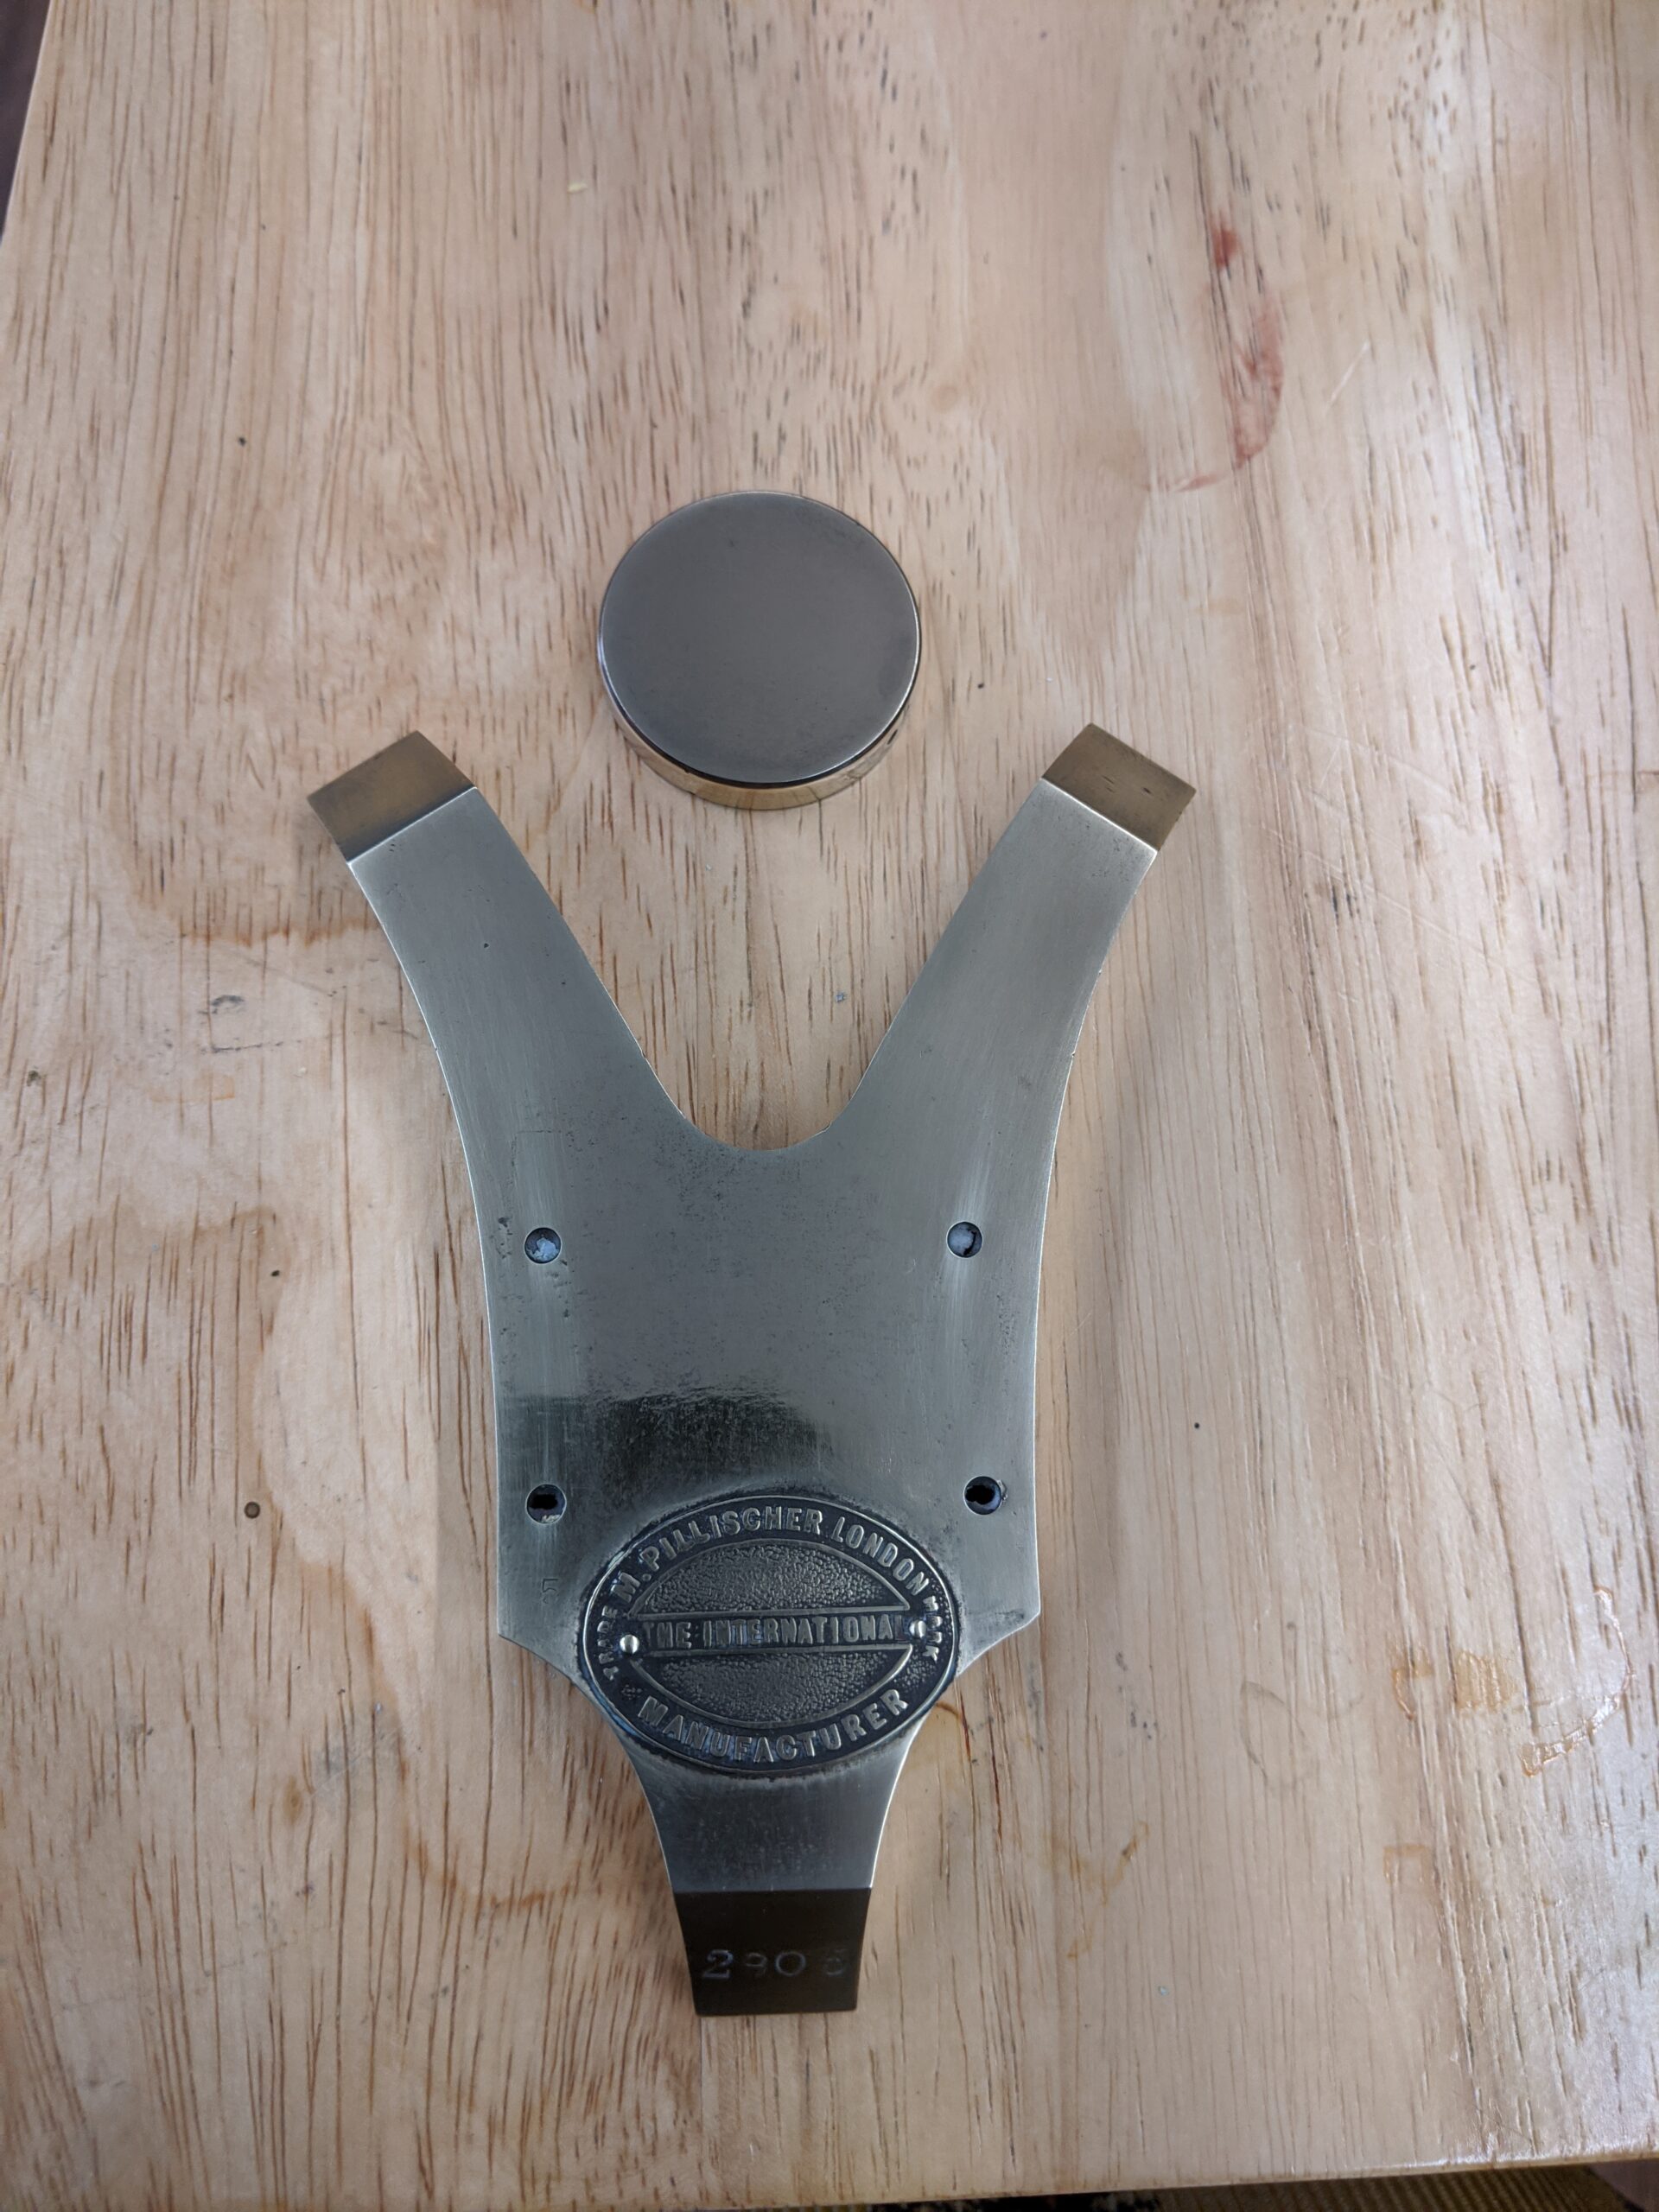
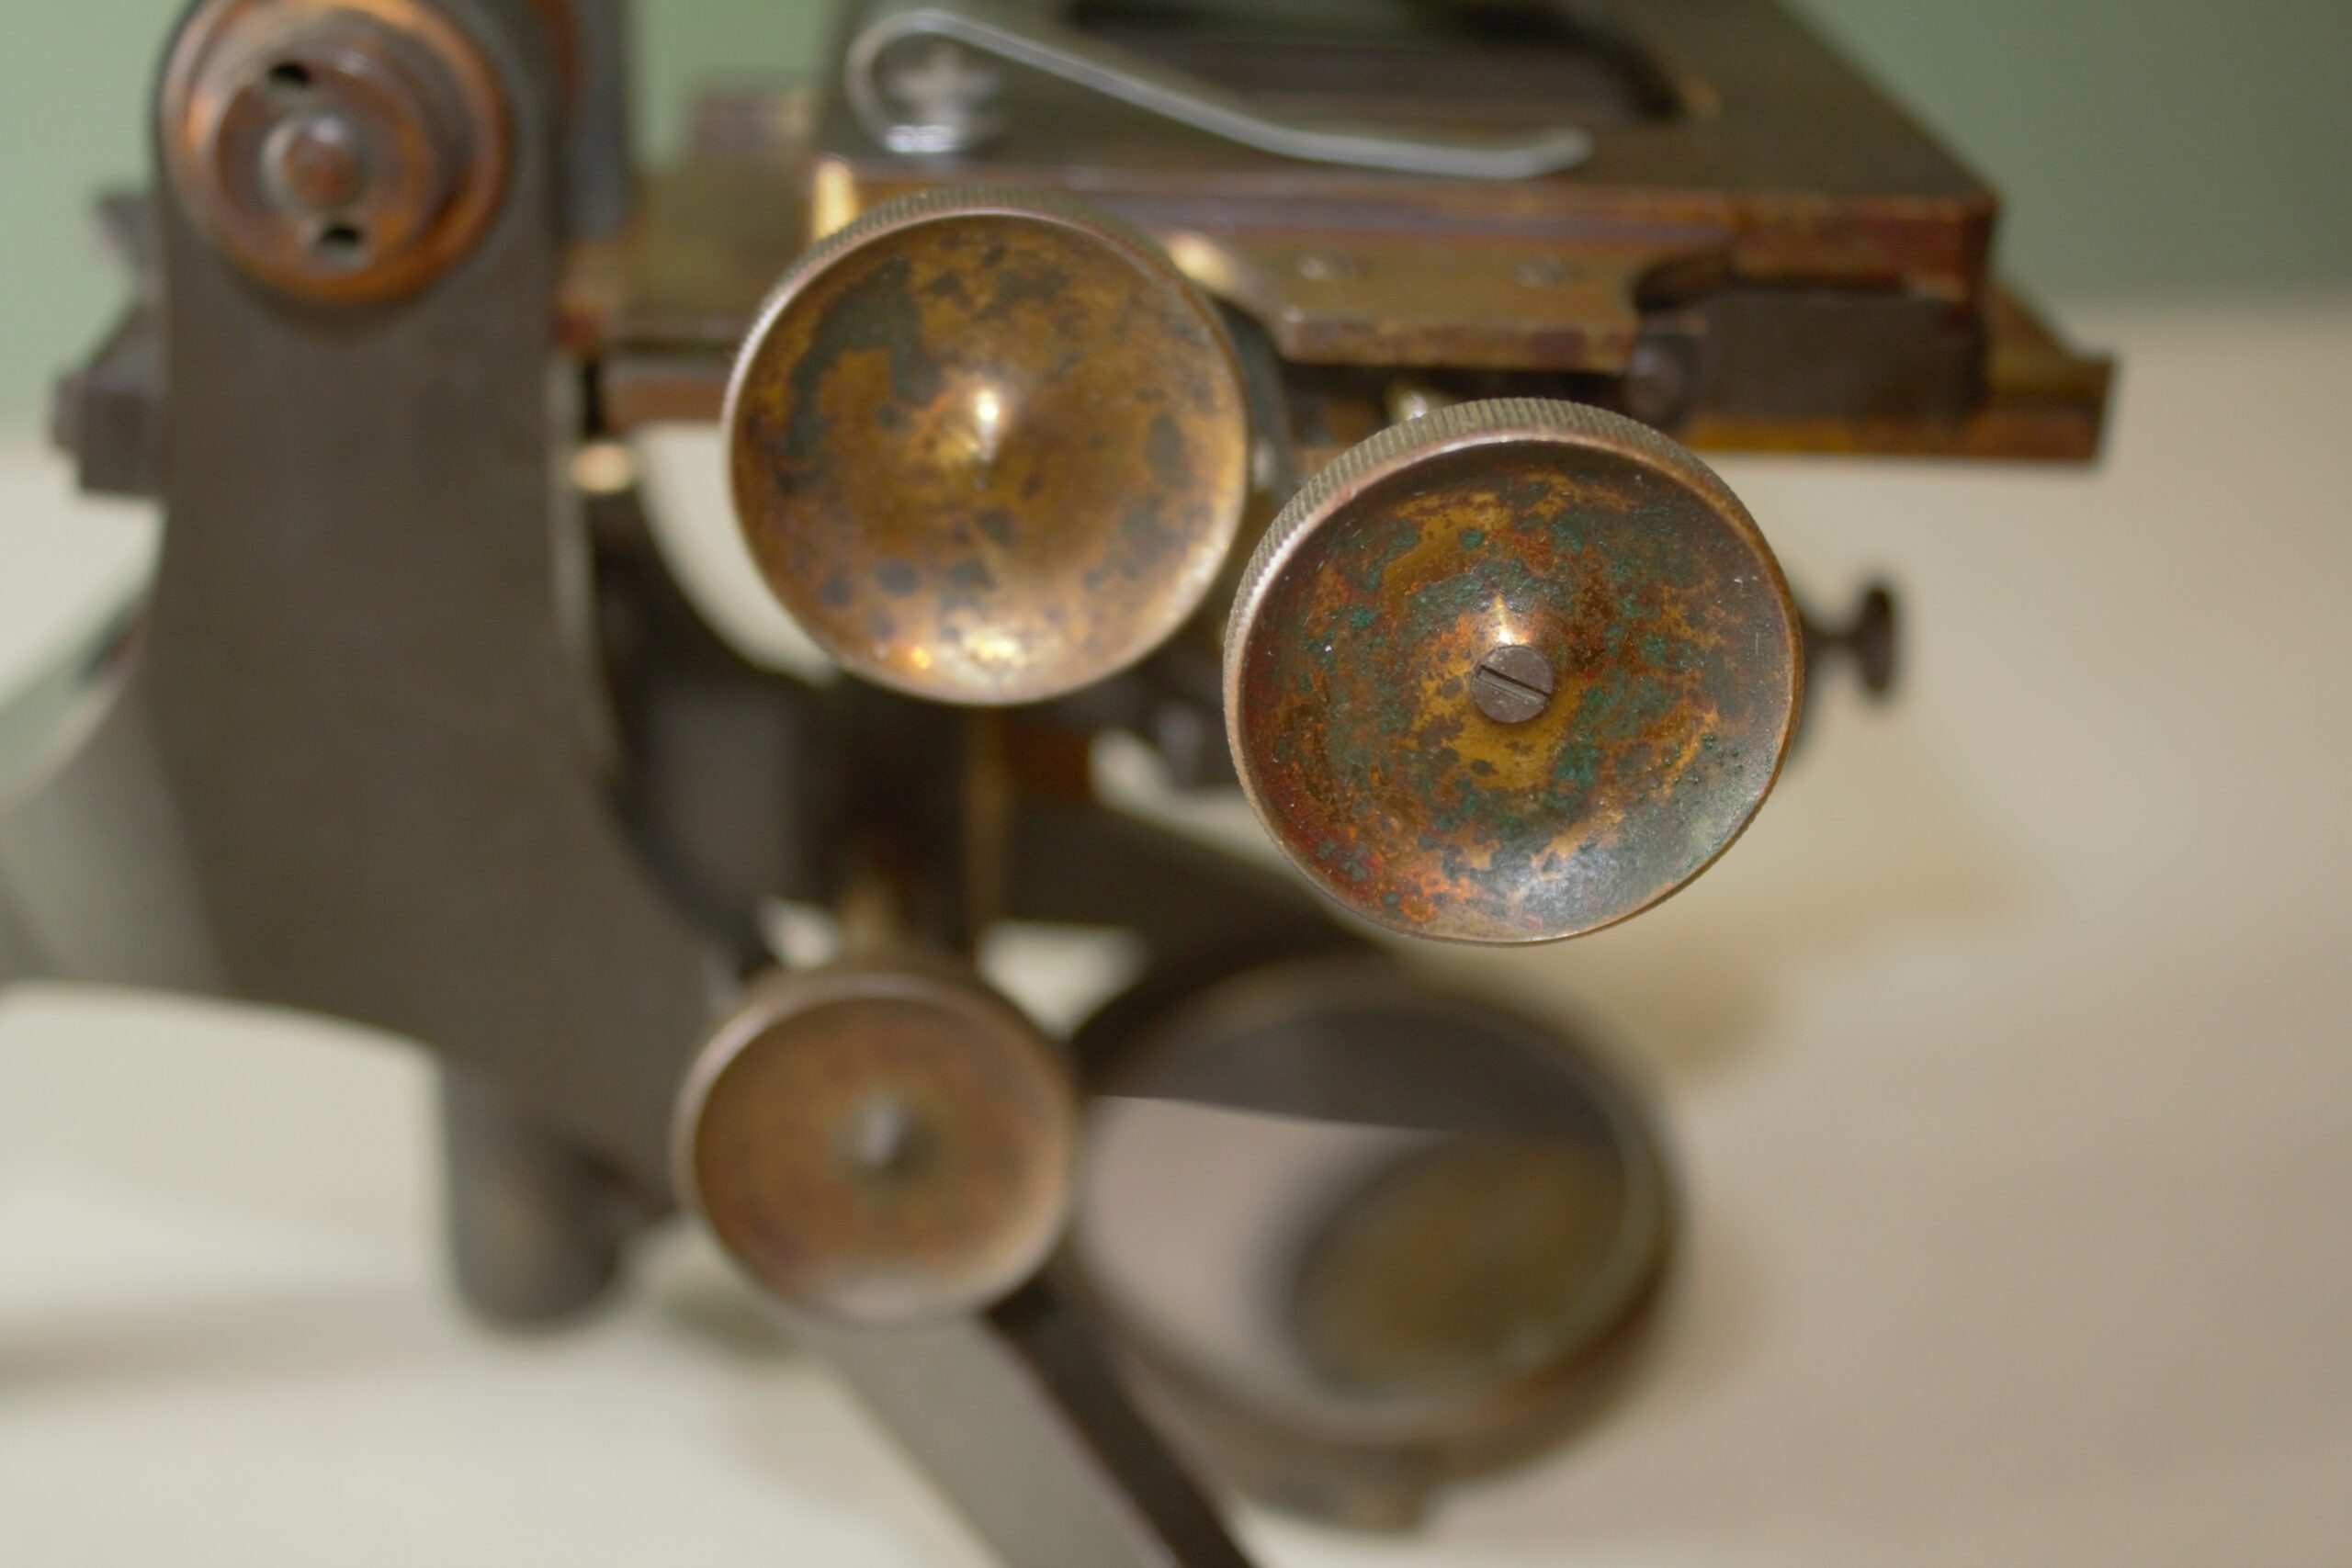
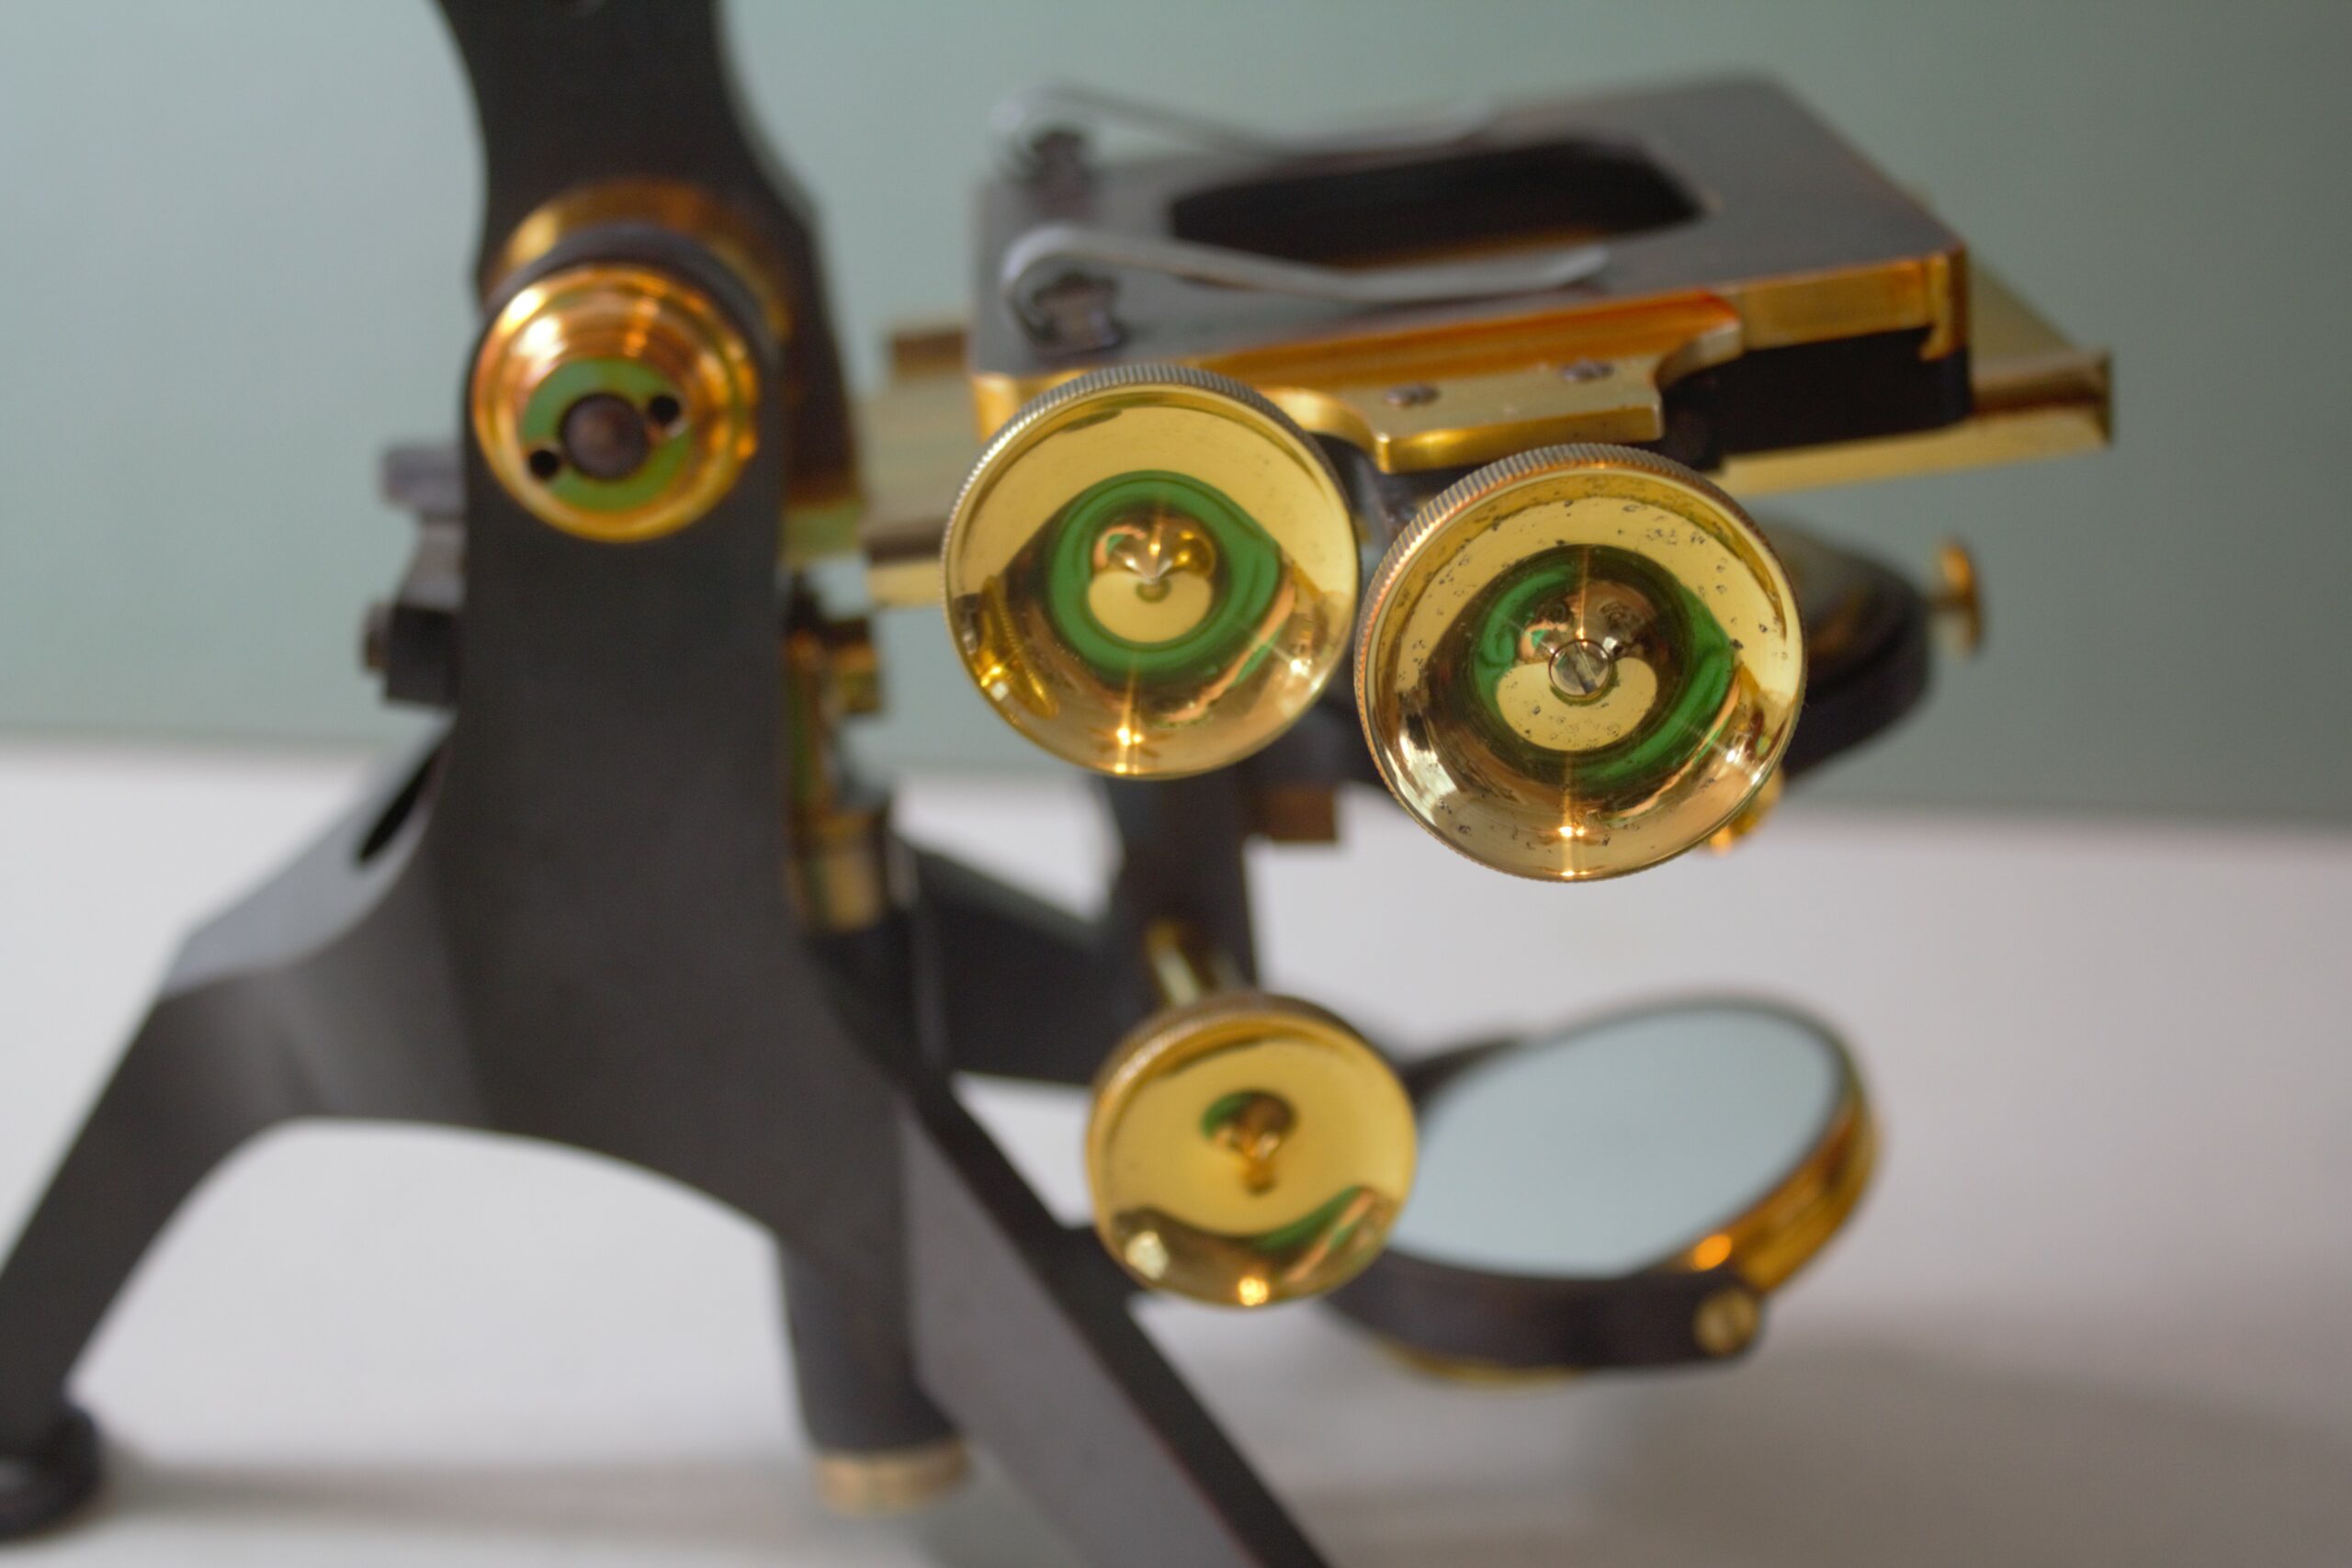
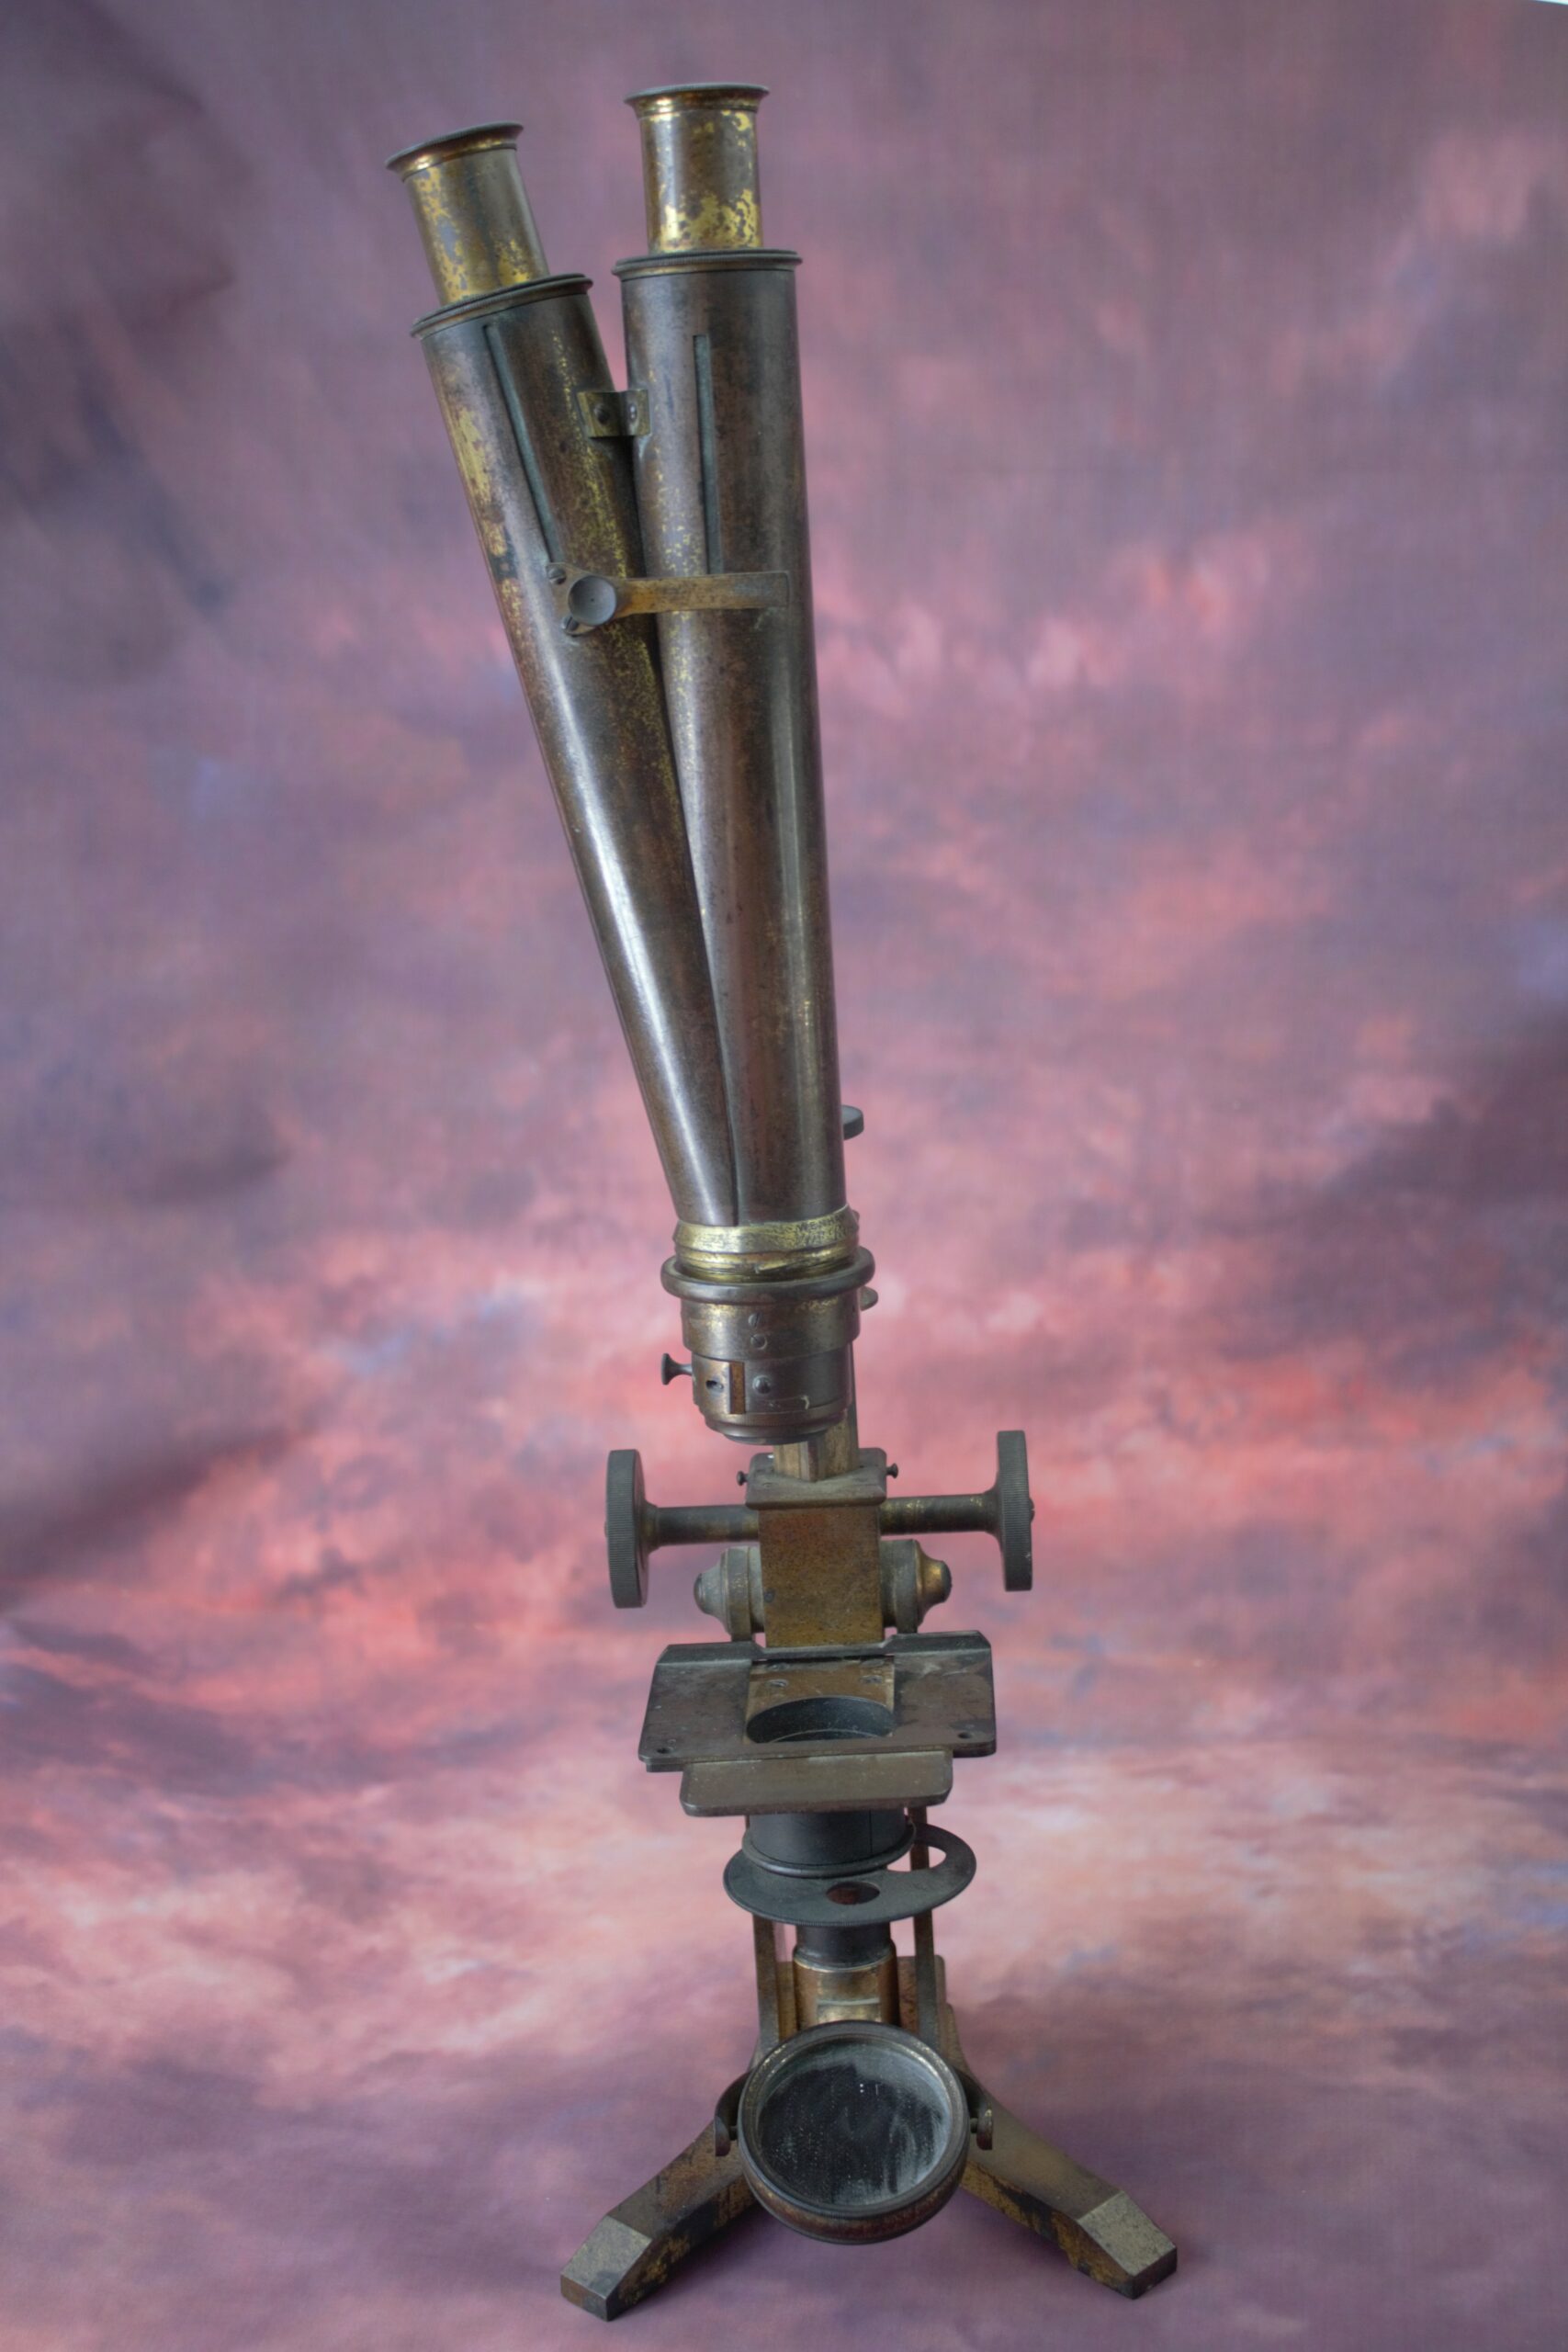
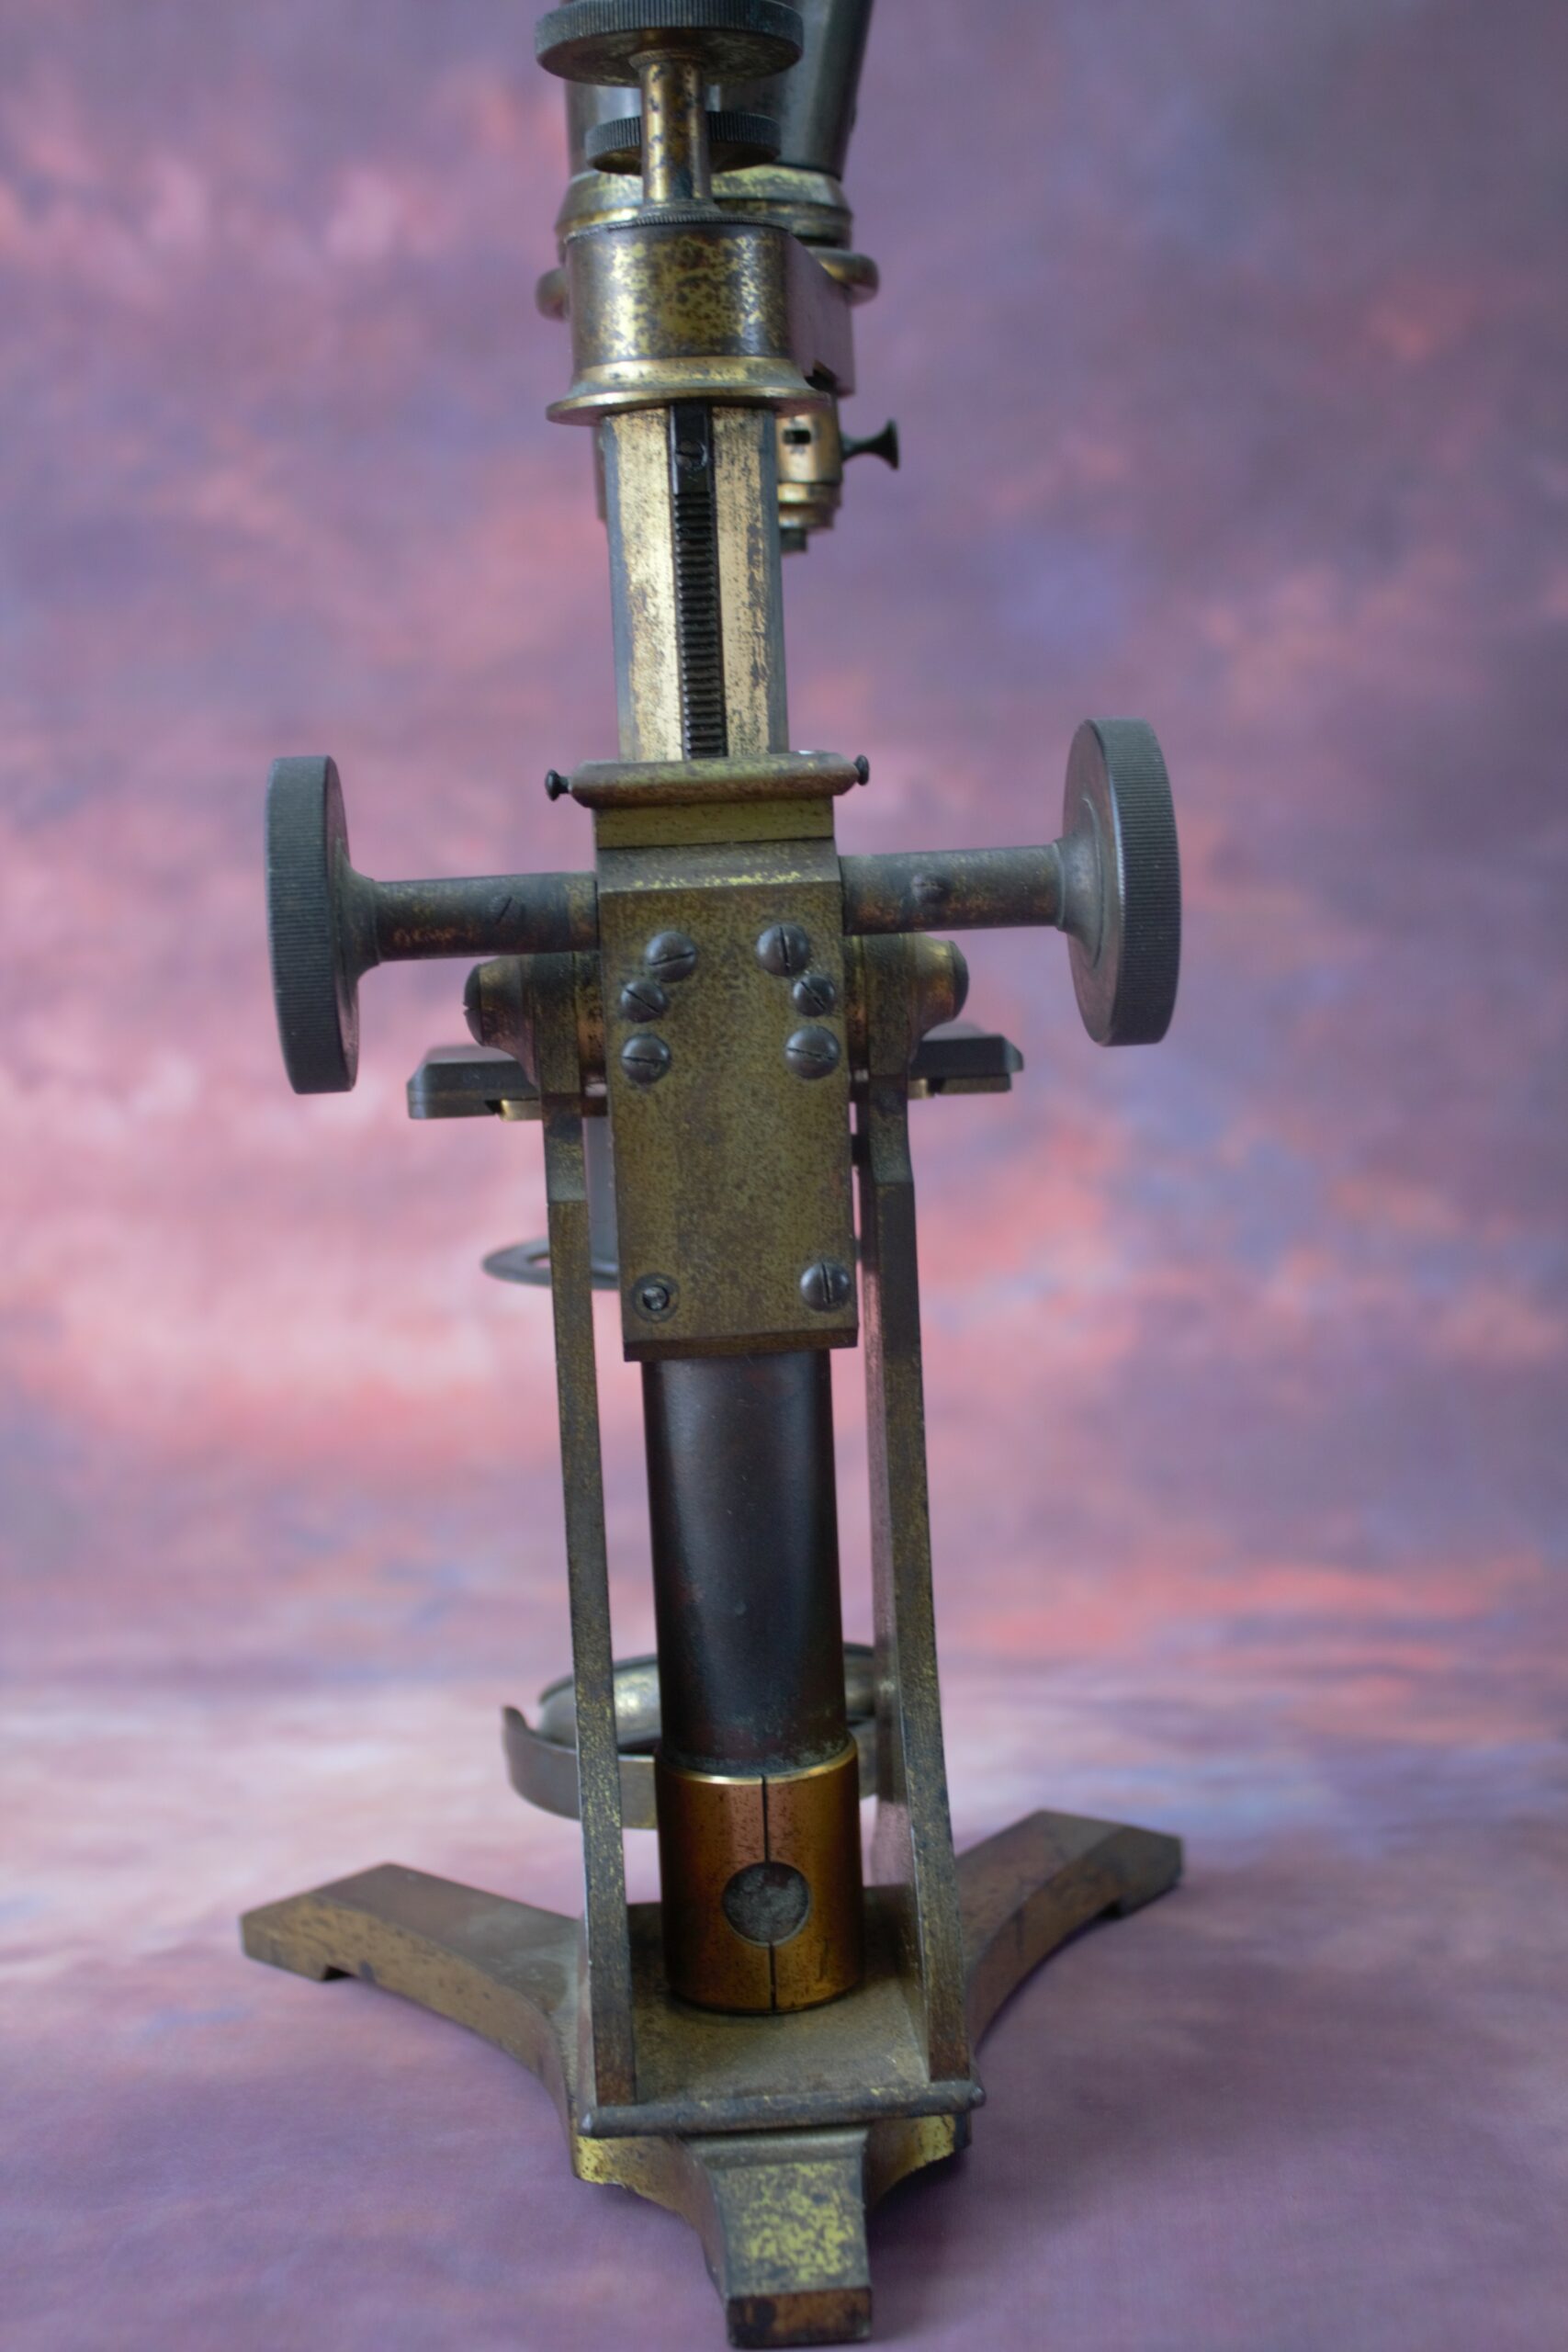
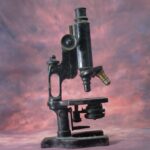
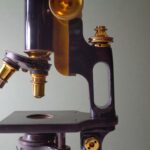
This one is going to take a long time for a small microscope. A Pillischer International, the serial number is 2905 for those that have records of such things. It’s my own microscope and I can only imagine I decided self torture was cool on the day I bought it. It has been spray painted a copper pink colour. The spray painter did quite a good job in that they took the microscope to pieces (mostly) but the paint has etched the surface really badly and stained it too. The metal is so badly damaged that I have spent a day just on the foot.
I have had to be quite aggressive, I have stripped the paint off with paint stripper and then I have filed the metal and used 600 grit sandpaper. I would usually not use such harsh abrasives. That was just enough to remove the last traces of paint. Once I had removed the paint I used pumice and rouge as normal. There are still some flaws in the metal but I have to console myself with the fact that the flaws are part of its history.
I have only done the foot so far. My hands are aching from polishing so it’s time for a break.
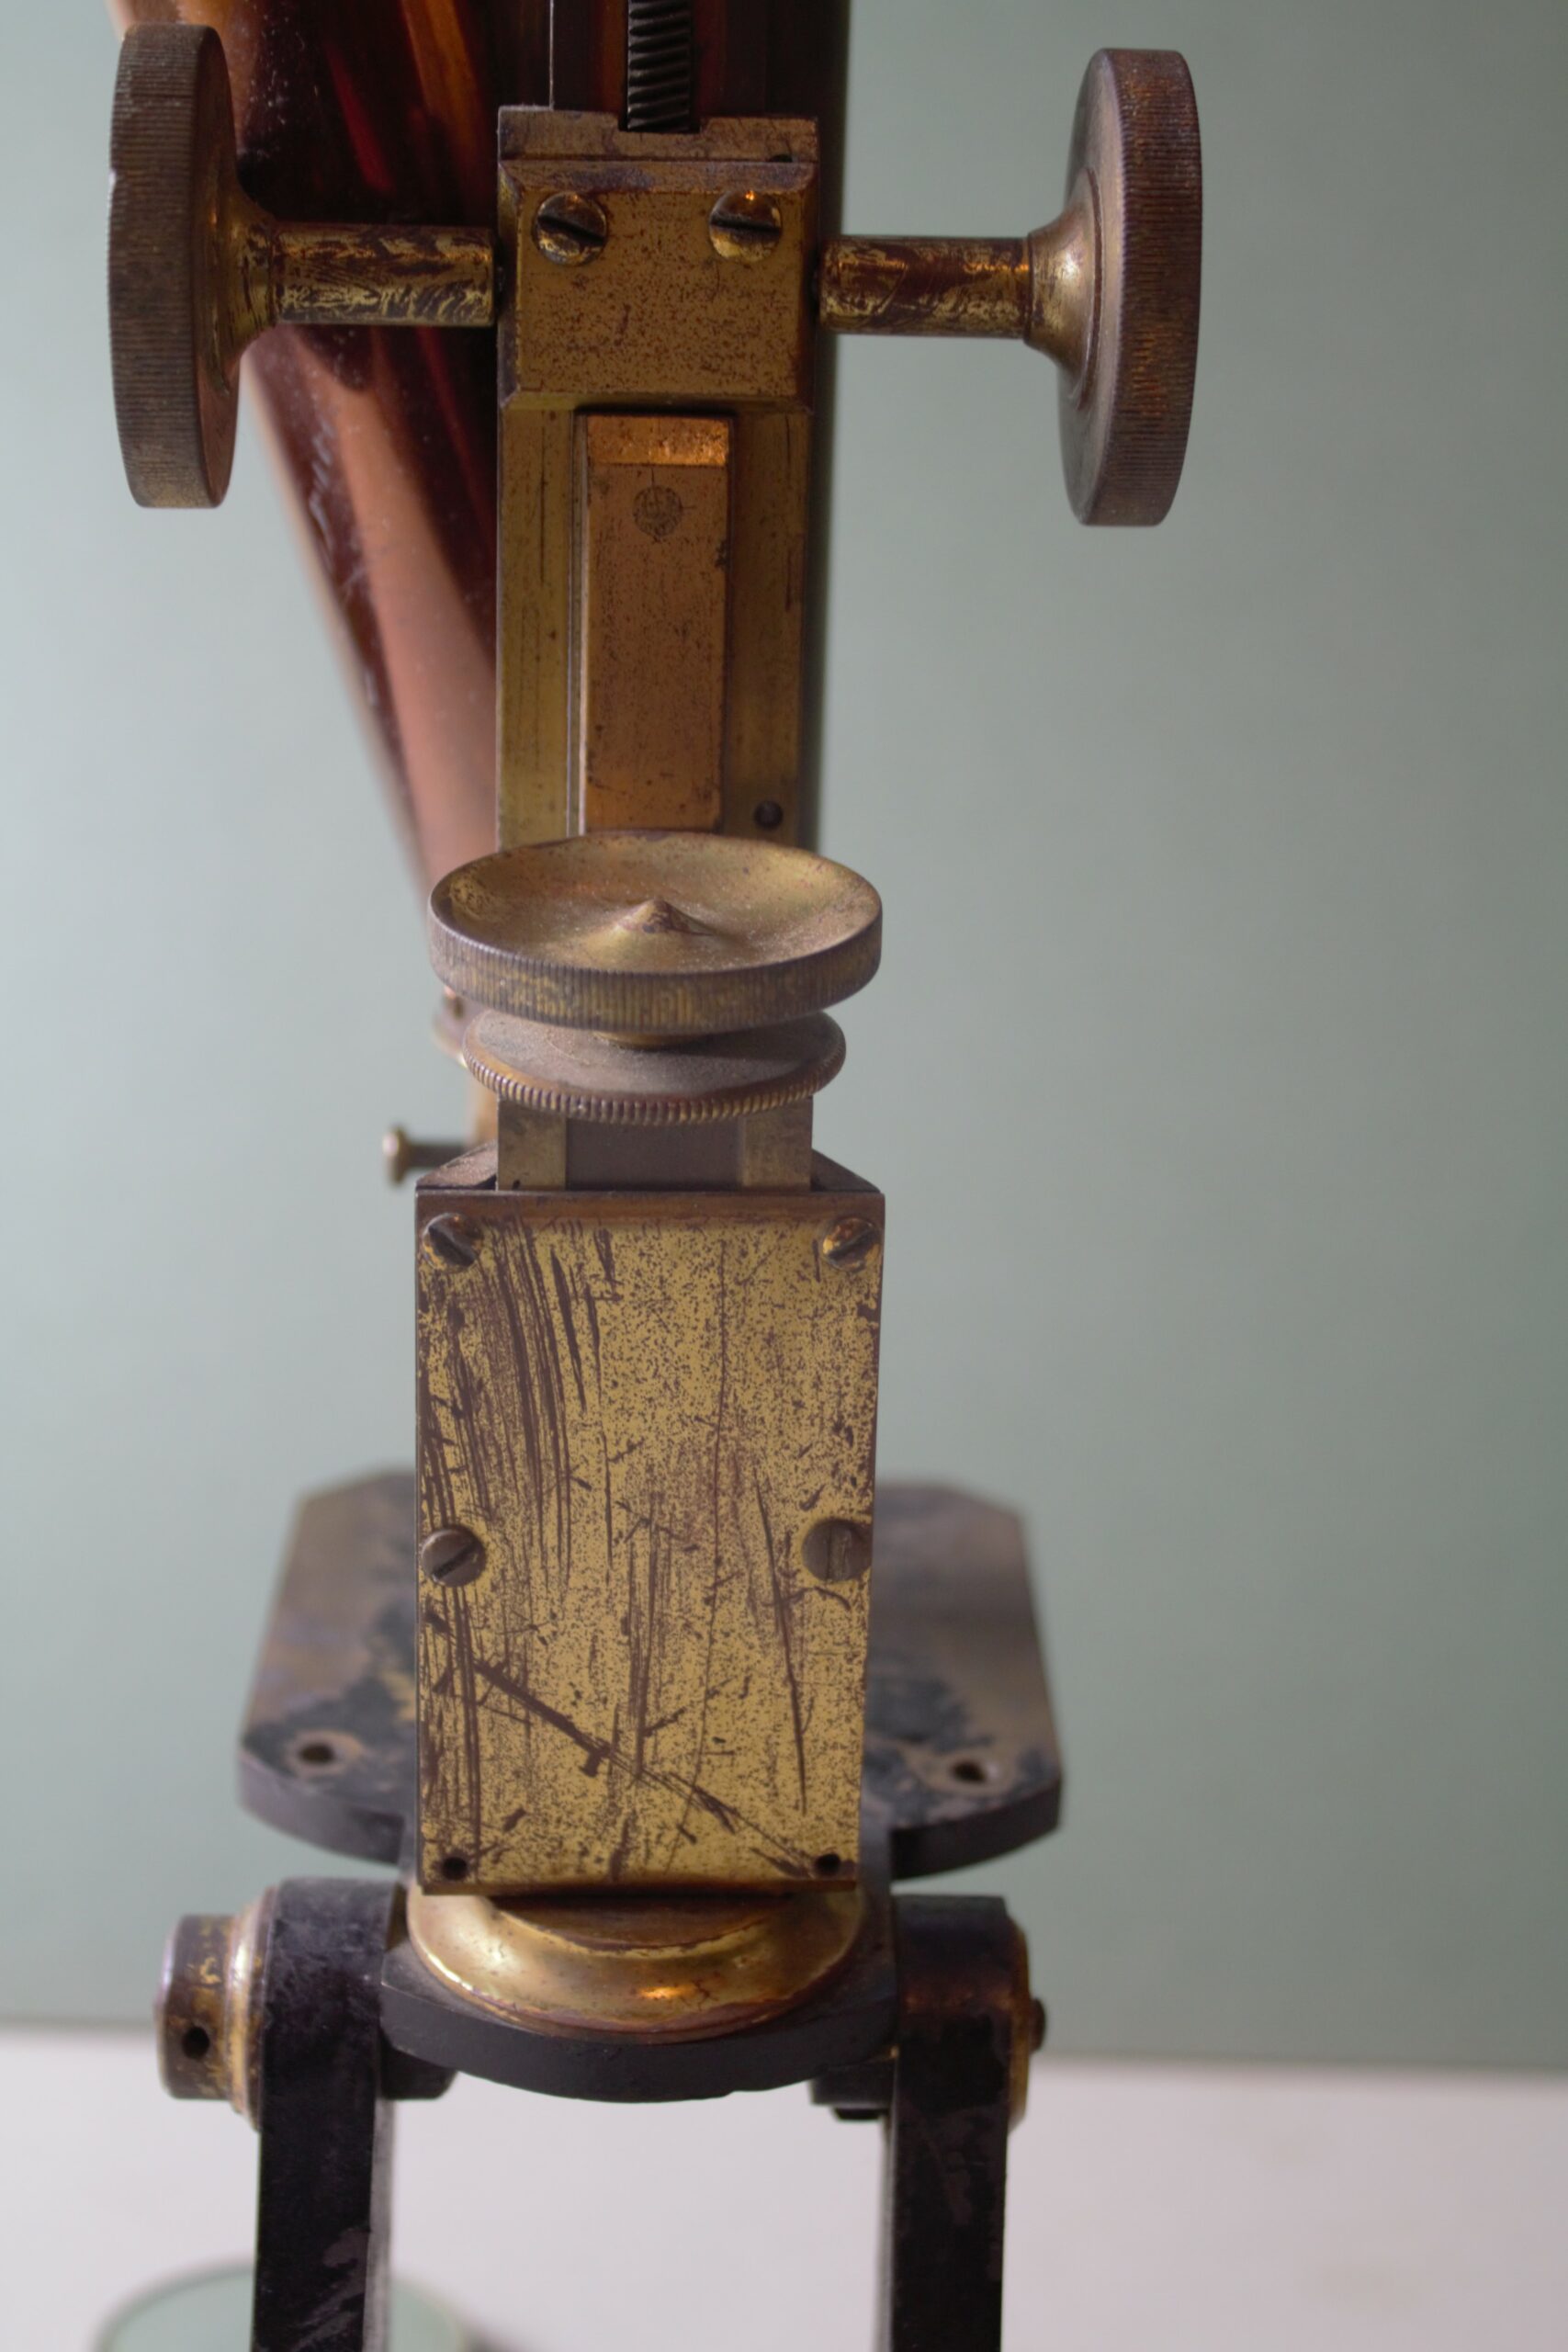
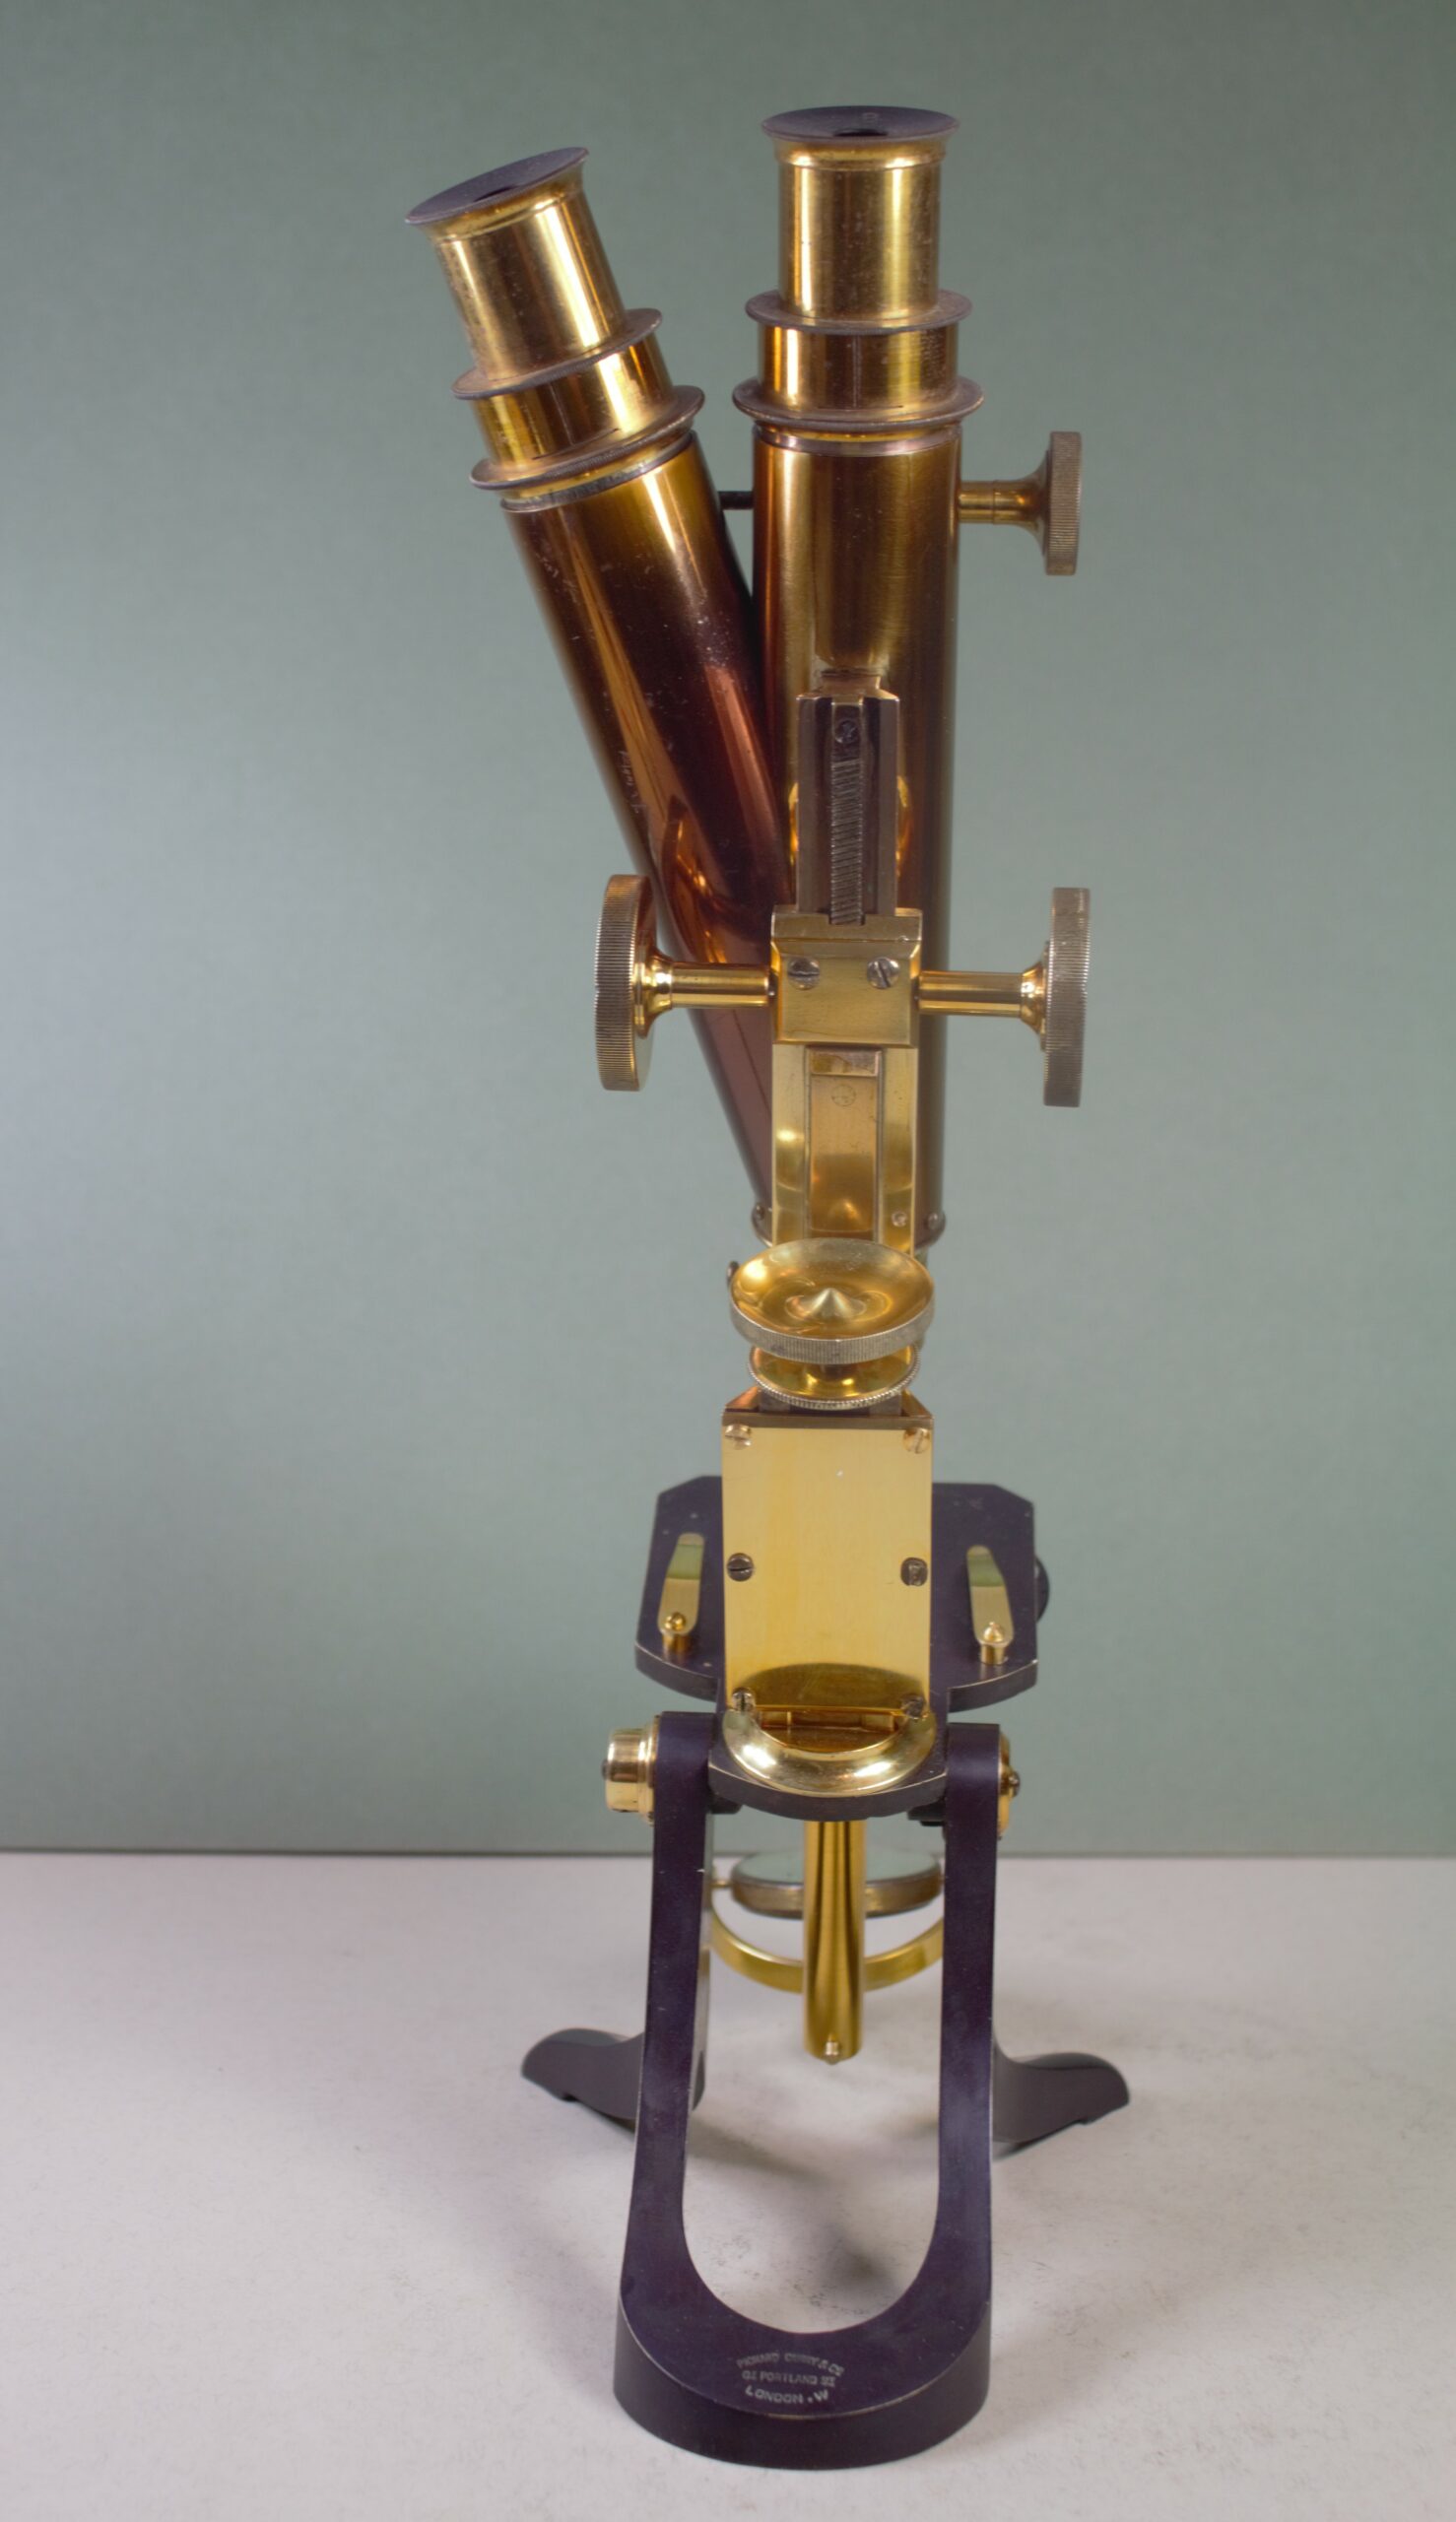
This Henry Crouch had been converted from monocular to binocular at some point in its history but the additional tube had never been lacquered. The lacquer on the original tube was mostly intact apart from a few knocks and bumps so it was only necessary to lacquer the one, unlacquered tube. The original lacquered tube was a beautiful colour, a rich yellow with a hint of chocolate brown. I was somewhat surprised when I saw this microscope because I have never seen such an eye catching colour before. The photos don’t do it justice, in some lights it appears chocolate brown and in other lights it appears yellow. I did wonder if I would be able to match the colour when I first saw it but the use of aniline dye made it much simpler than I first feared. Henry Crouch microscopes often used aniline dyes. The rest of the microscope was lacquered with yellow, a lovely two-tone specimen.
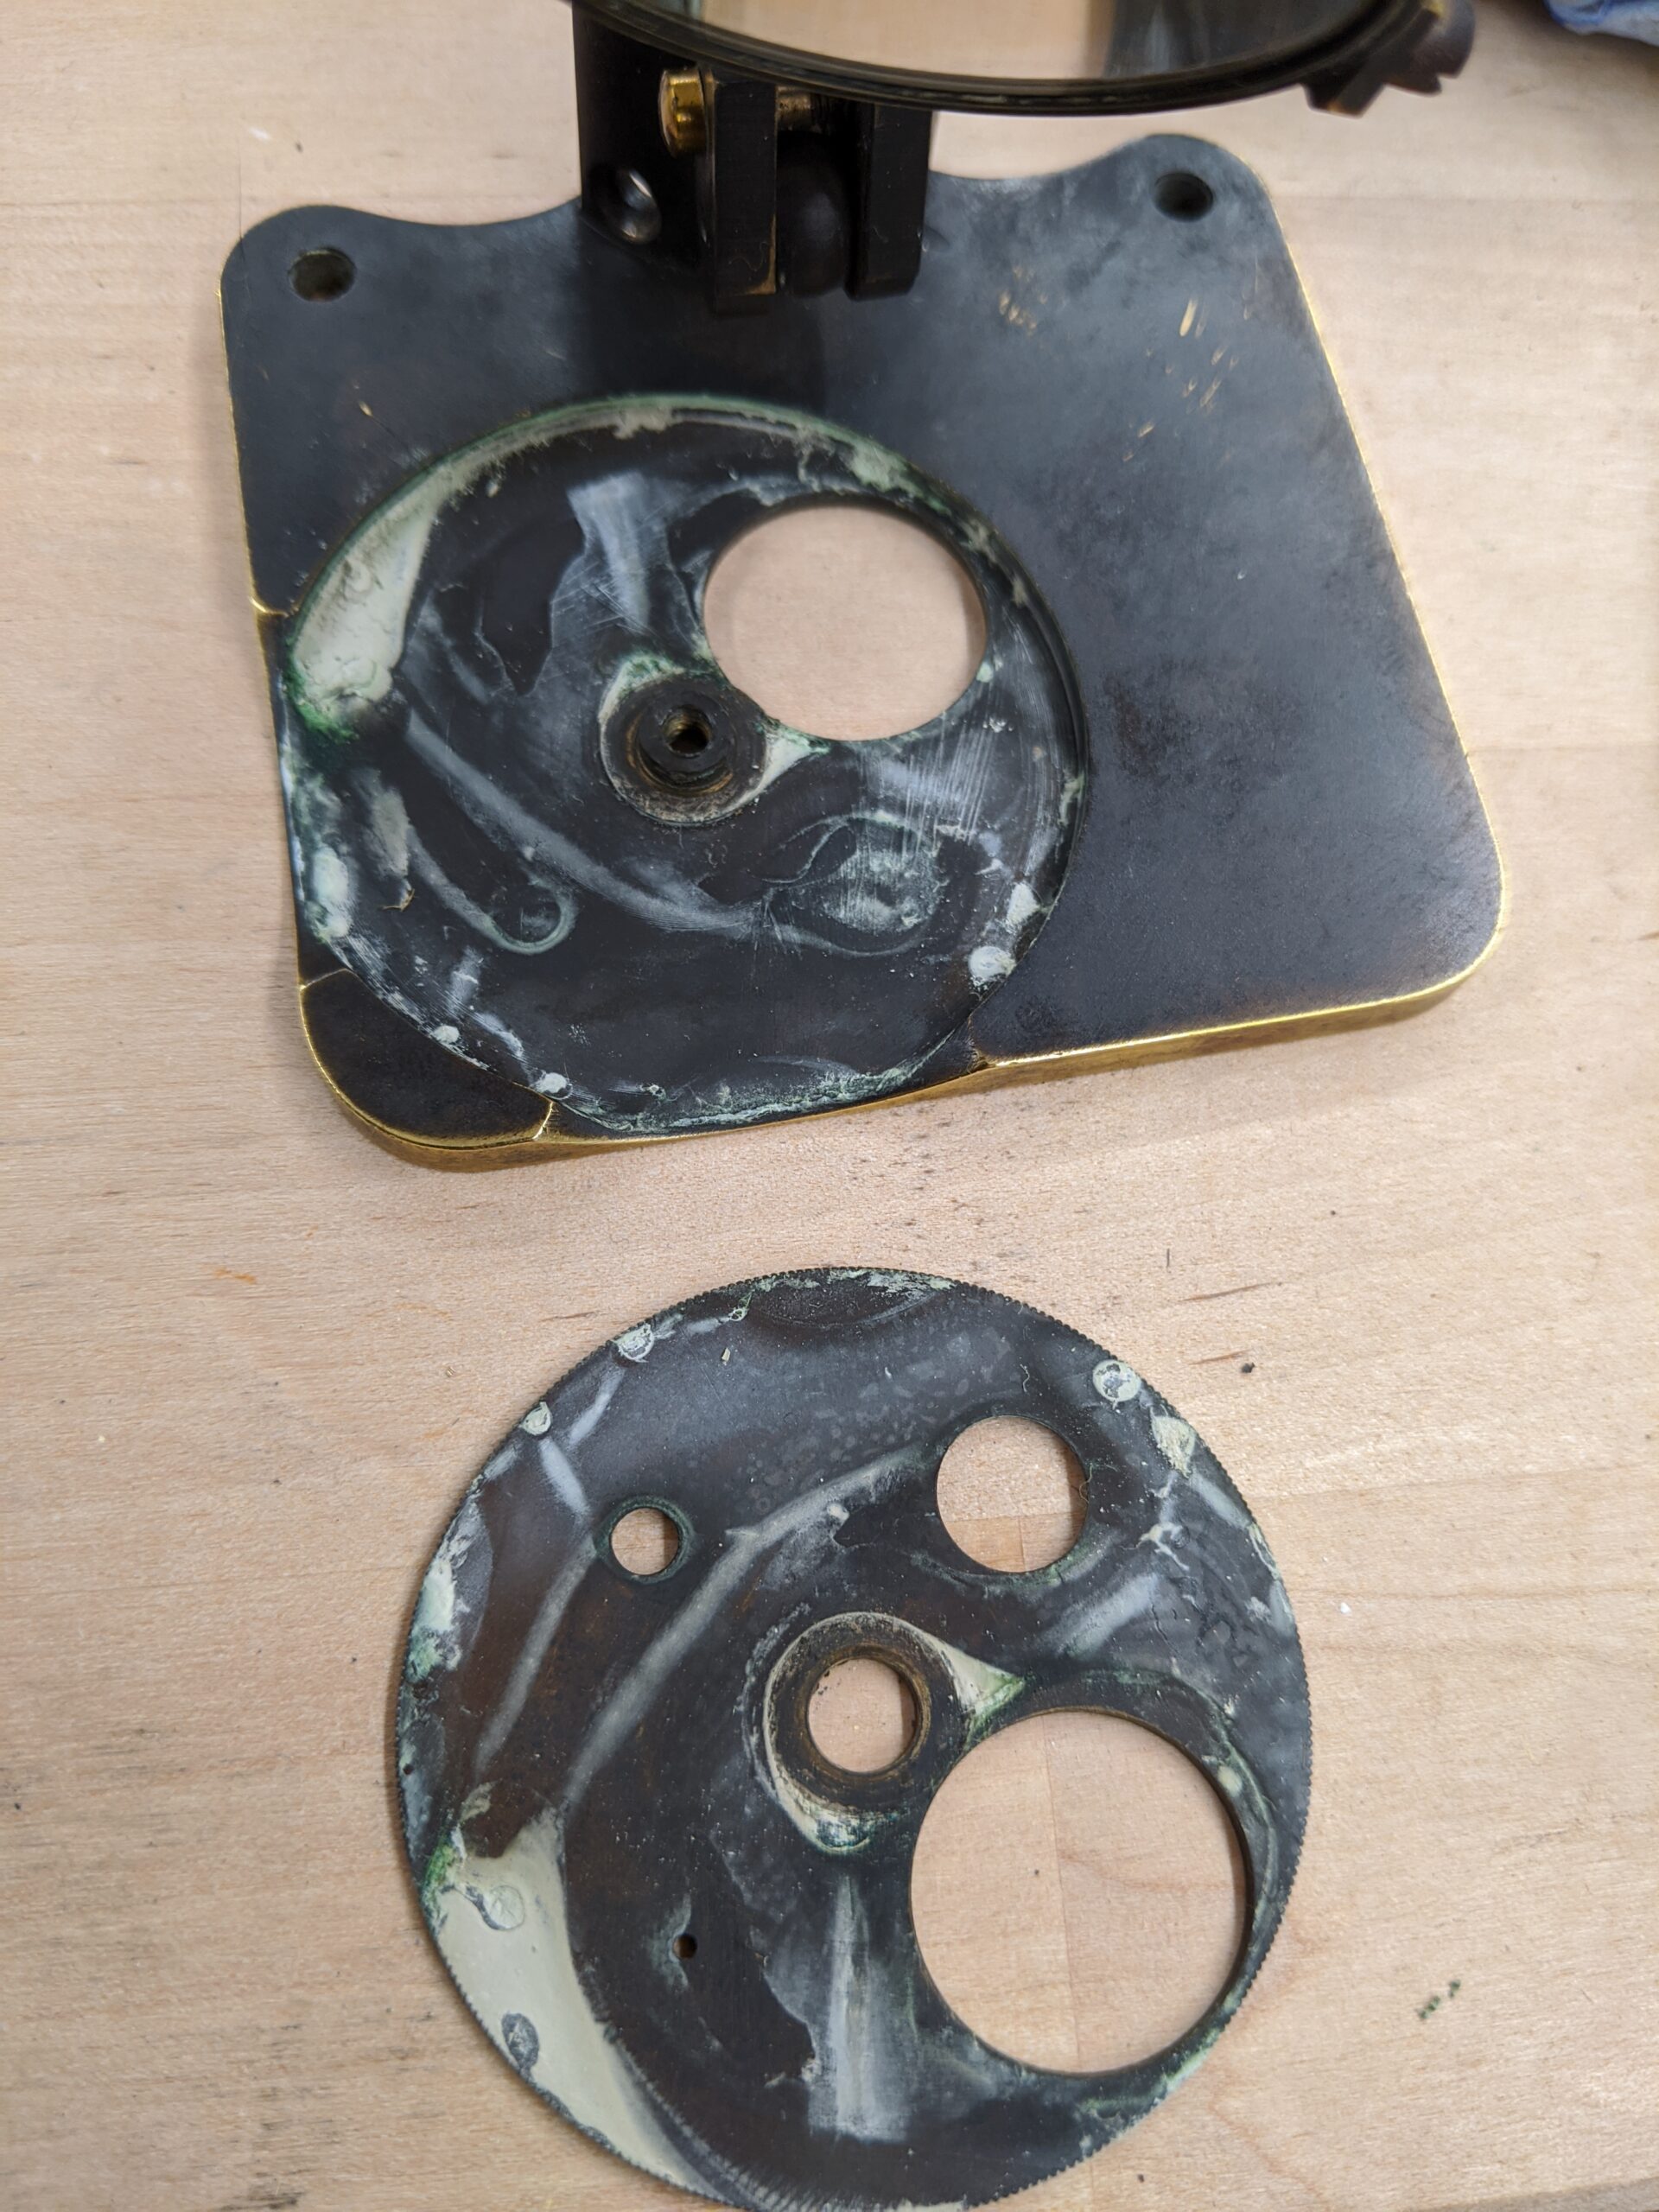
The microscope was missing an aperture wheel and tensioning screws for the rack. The mirror gimbal was broken in two (held together with string) and the mirror holder was thin and cracked. I made new screws, stage clips, an aperture wheel and a mirror gimbal and holder. The stage had lost all its colour so that was blackened and the foot which had peeling paint on it was stripped and chemically blackened as it would have been originally. The rack now moves as it should and it looks very smart indeed. The before and after pictures are below
Just some quick before and after pictures of the Watson Edinburgh I did this week. It just needed new lacquer, no spare parts. As always, I made the lacquer myself from turmeric and shellac and applied it by hand. No spray guns, no nitrocellulose lacquer.
Lots of people ask me where they can buy an adjustable pin wrench to undo the screws often seen on the pivot point of a microscope. Here’s my top tool recommendation. You will need two, one for each side.
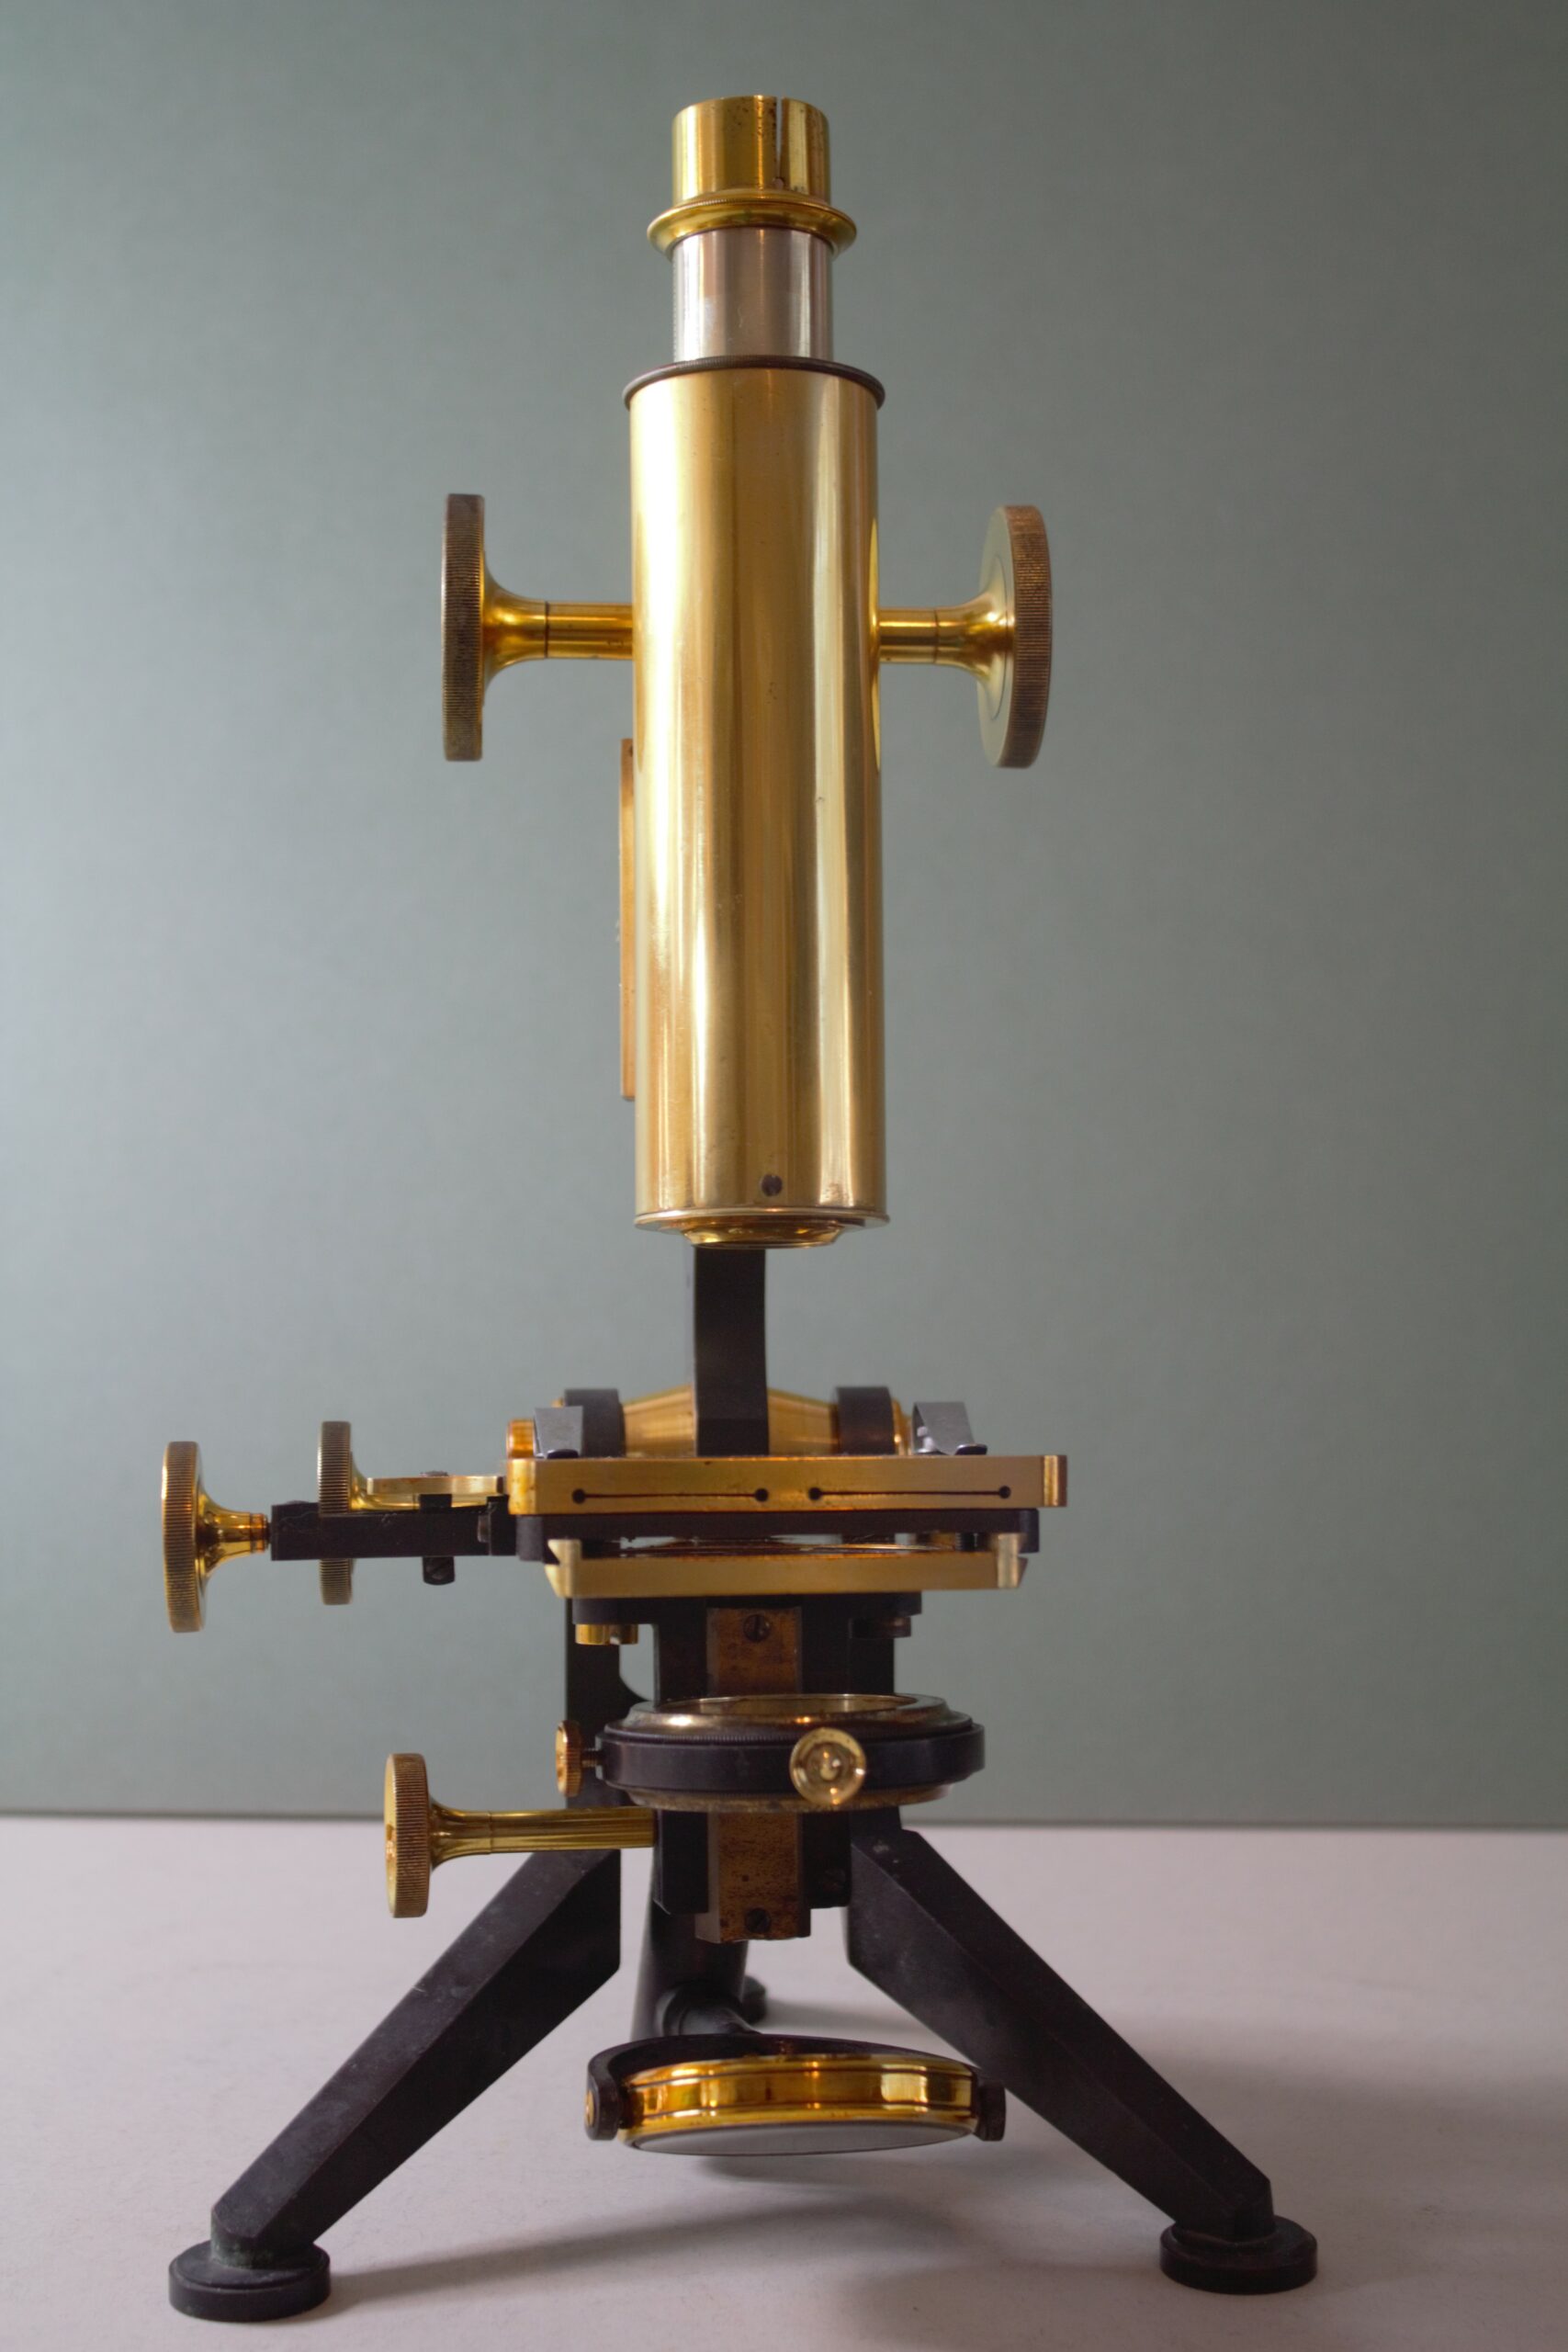
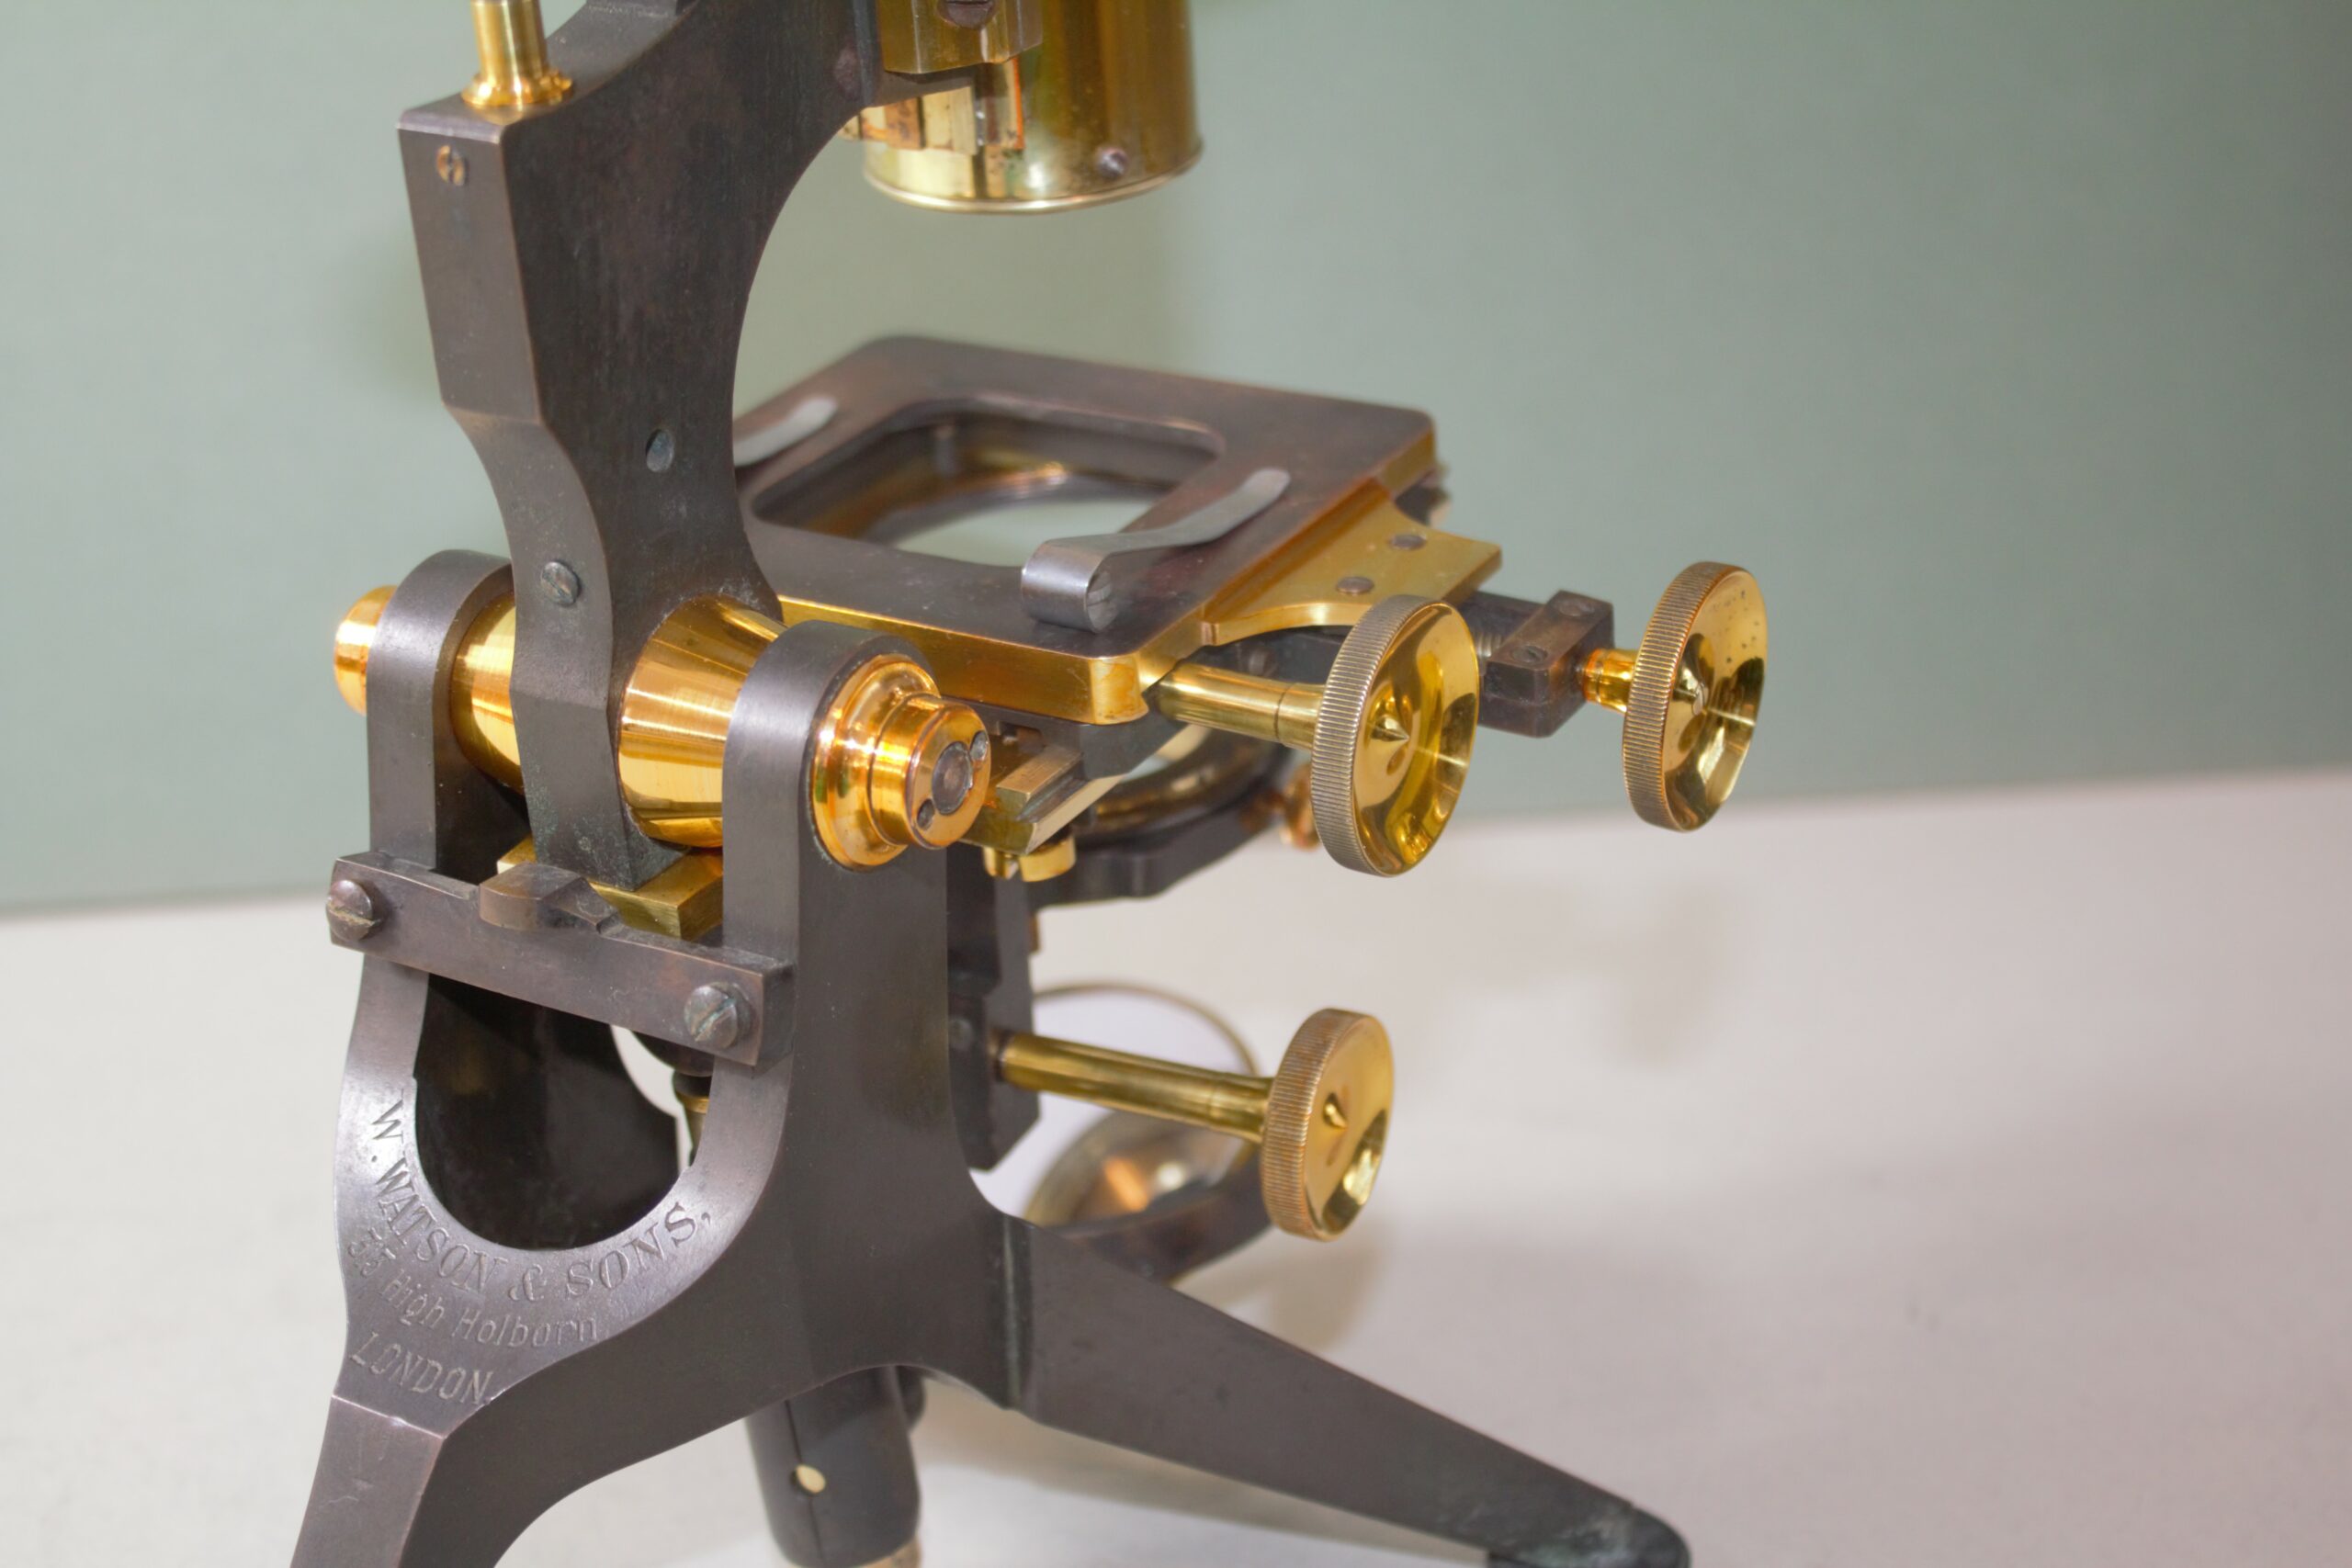
This is a Watson Edinburgh that has been mistreated. I have taken it apart now and starting removing the traces of old lacquer with ultrafine wire wool and ethanol. Once that is complete I will have to decorrode and polish. I have recruited my husband to help me with thepolishing.
The Watson Edinburgh doesn’t need any new parts, the rack and pinion are fine and no screws are missing. It’s all down to the lacquer. I’m not going to to much to the foot or other chemically blackened areas, just a clean for them.
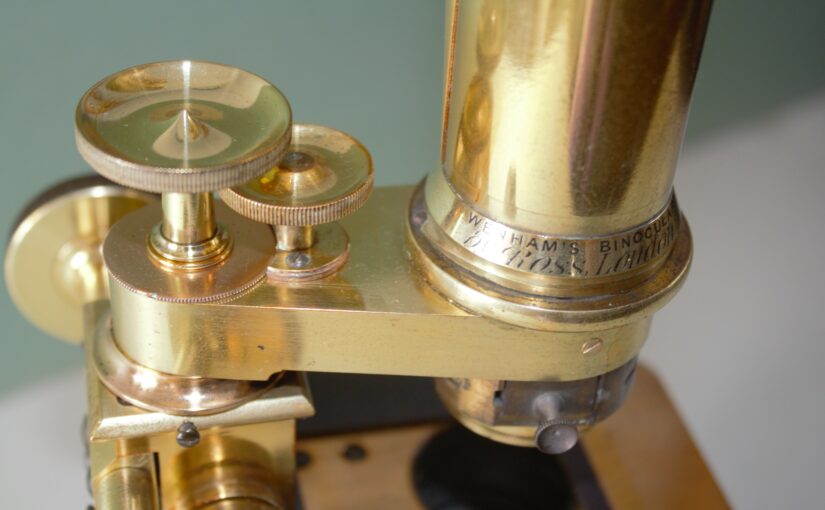
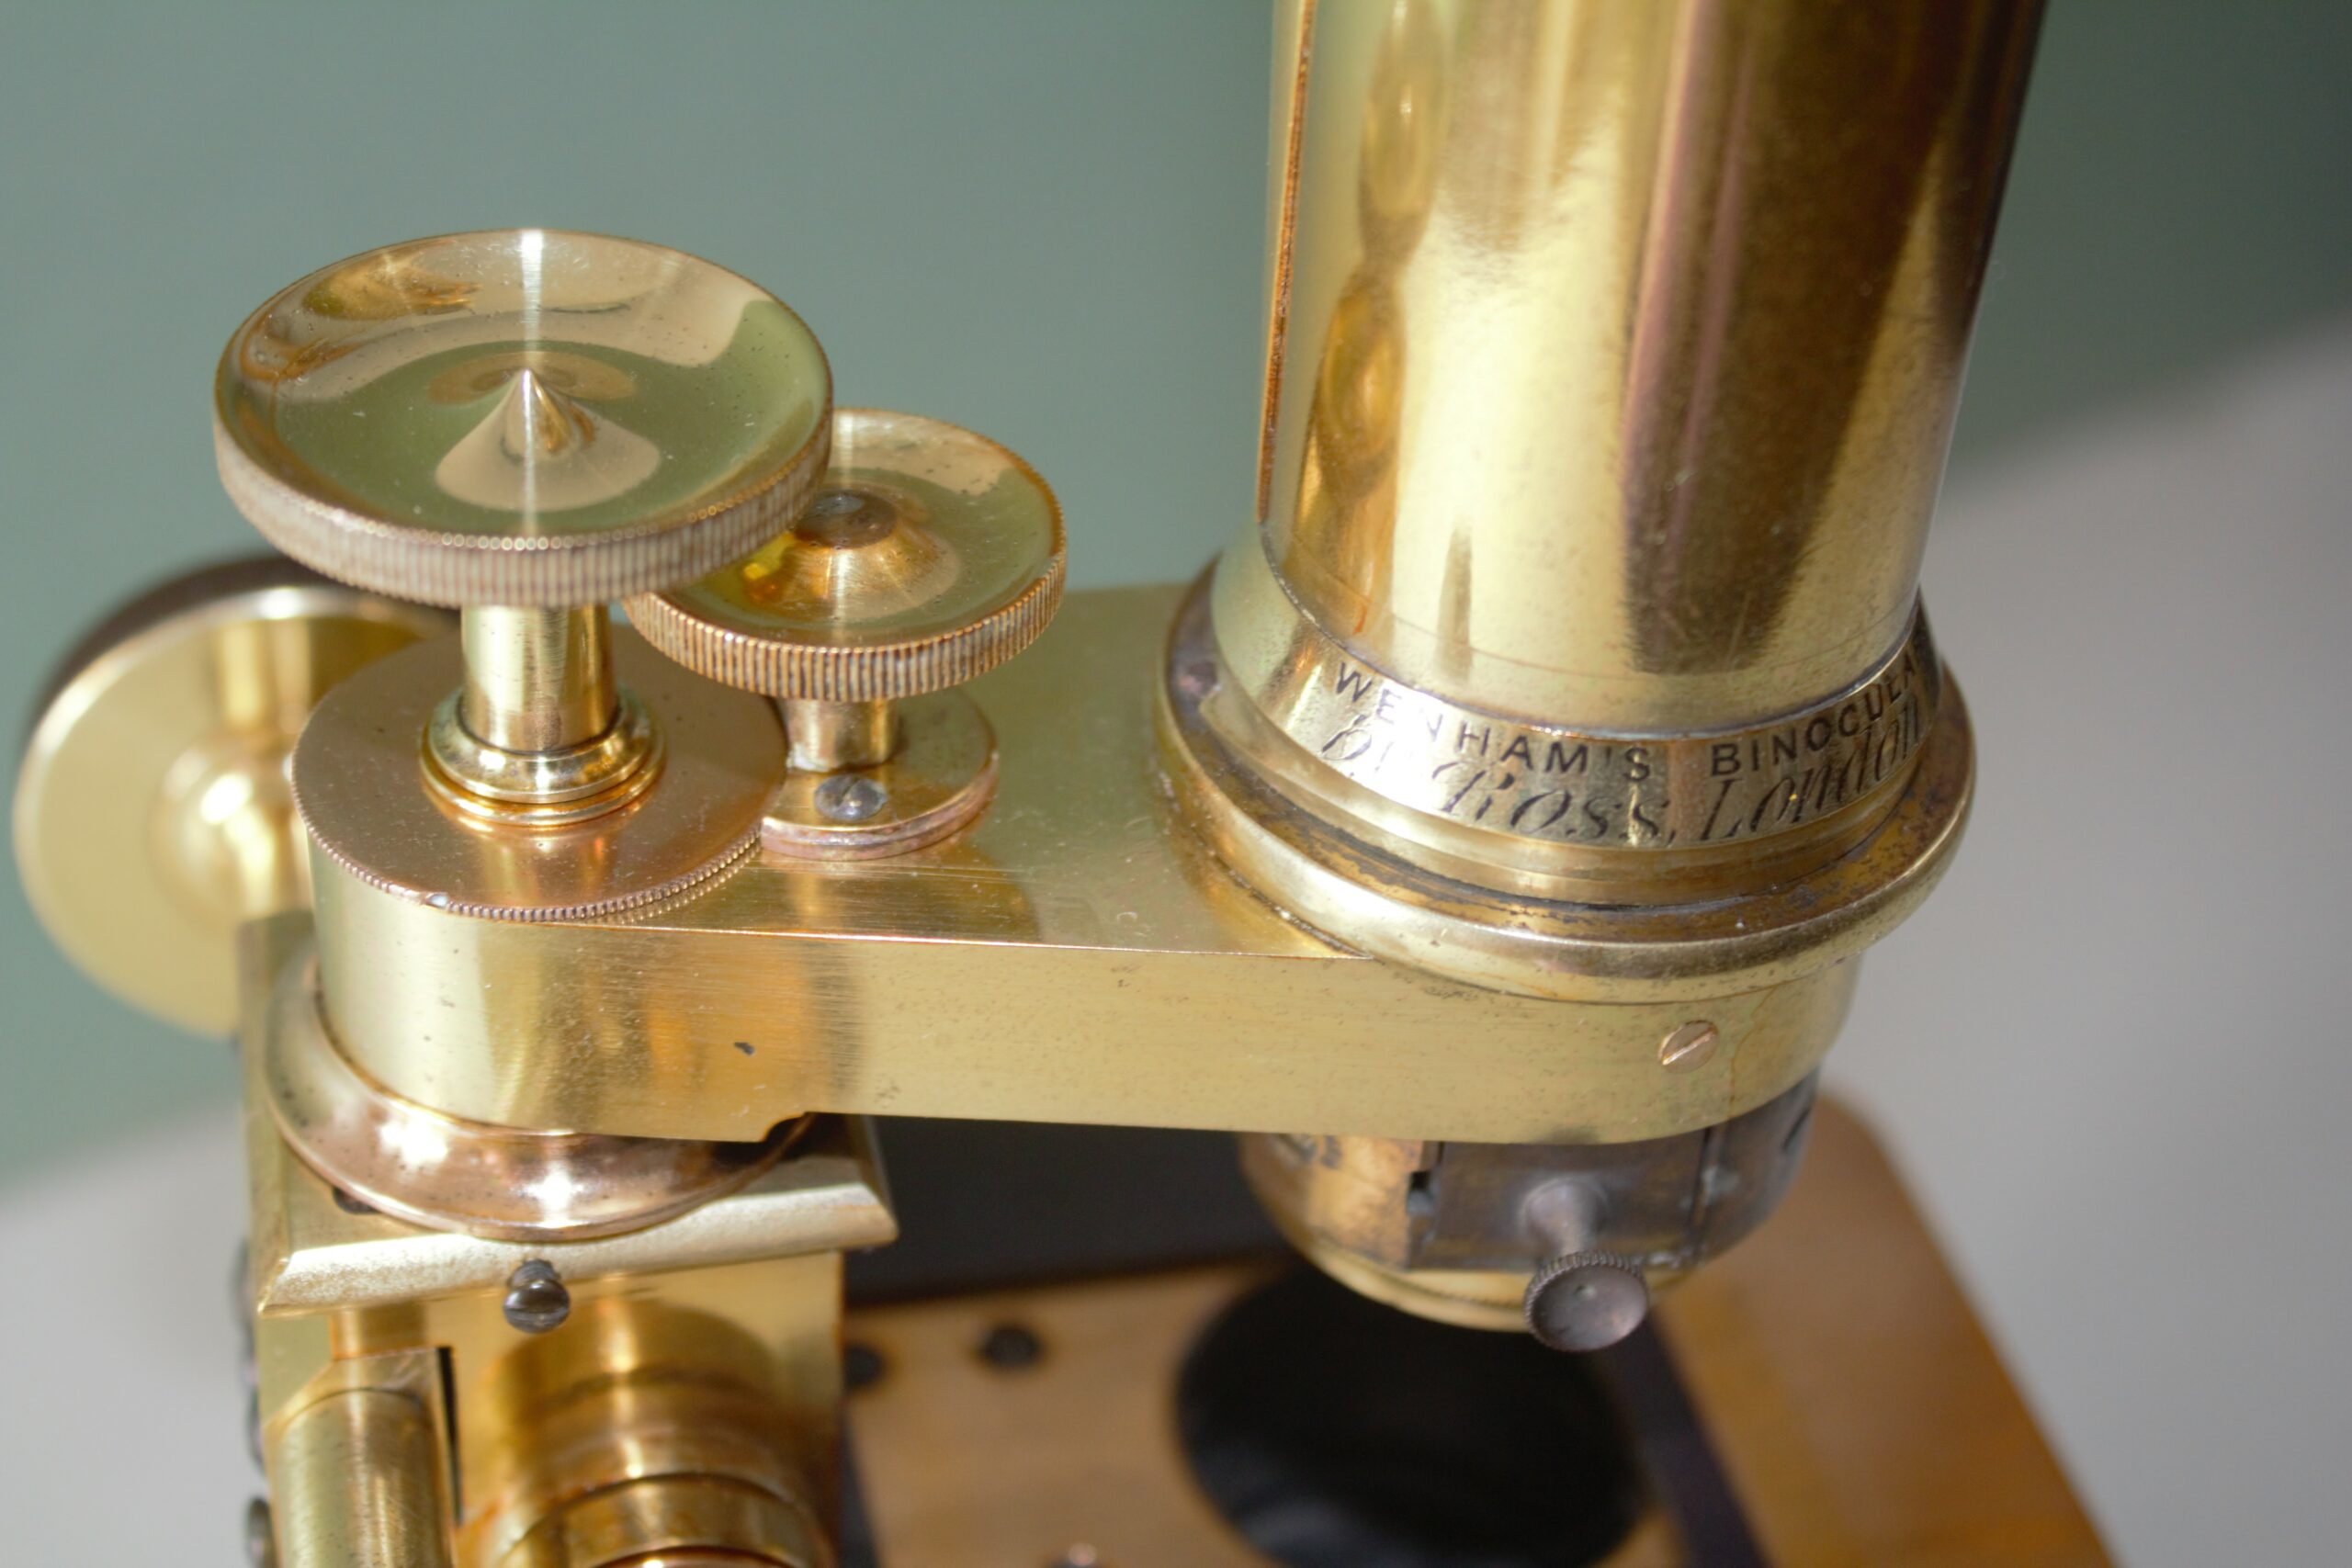
The Ross has turned out well, it had heavy pitting and took a lot of work. As you can see it does not look brand new, it still has signs of its age. The Ross was polished entirely by hand before lacquering. It needed several new screws at the rear and on the bar of the microscope as the original metal used contained a lot of lead which shears easily.
This is a complex microscope, every single screw was hand made to fit each screw hole. The left hand screw of a pair is not interchangeable with the right hand screw so it was important to write down and photograph where each and every screw came from as the microscope was taken apart. I’m a big fan of standardisation but that came later.
Not all of the screws were put in straight either! The legs which should be interchangeable, being identical shapes, were not interchangeable as whoever made the microscope screwed one of the screws in at an angle of about 20 degrees. Nobody could ever argue this was anything but completely handmade. A handmade microscope deserves hand polishing and hand lacquering. I have a new respect for (and a few new grudges against) Mr Ross.
The only parts I have not relacquered is the Wenham Prism. The heat involved in hot lacquering could easily damage the prism so it’s best left as it is. The mirror being very chunky acts as a great heat sink so I was able to relacquer that.
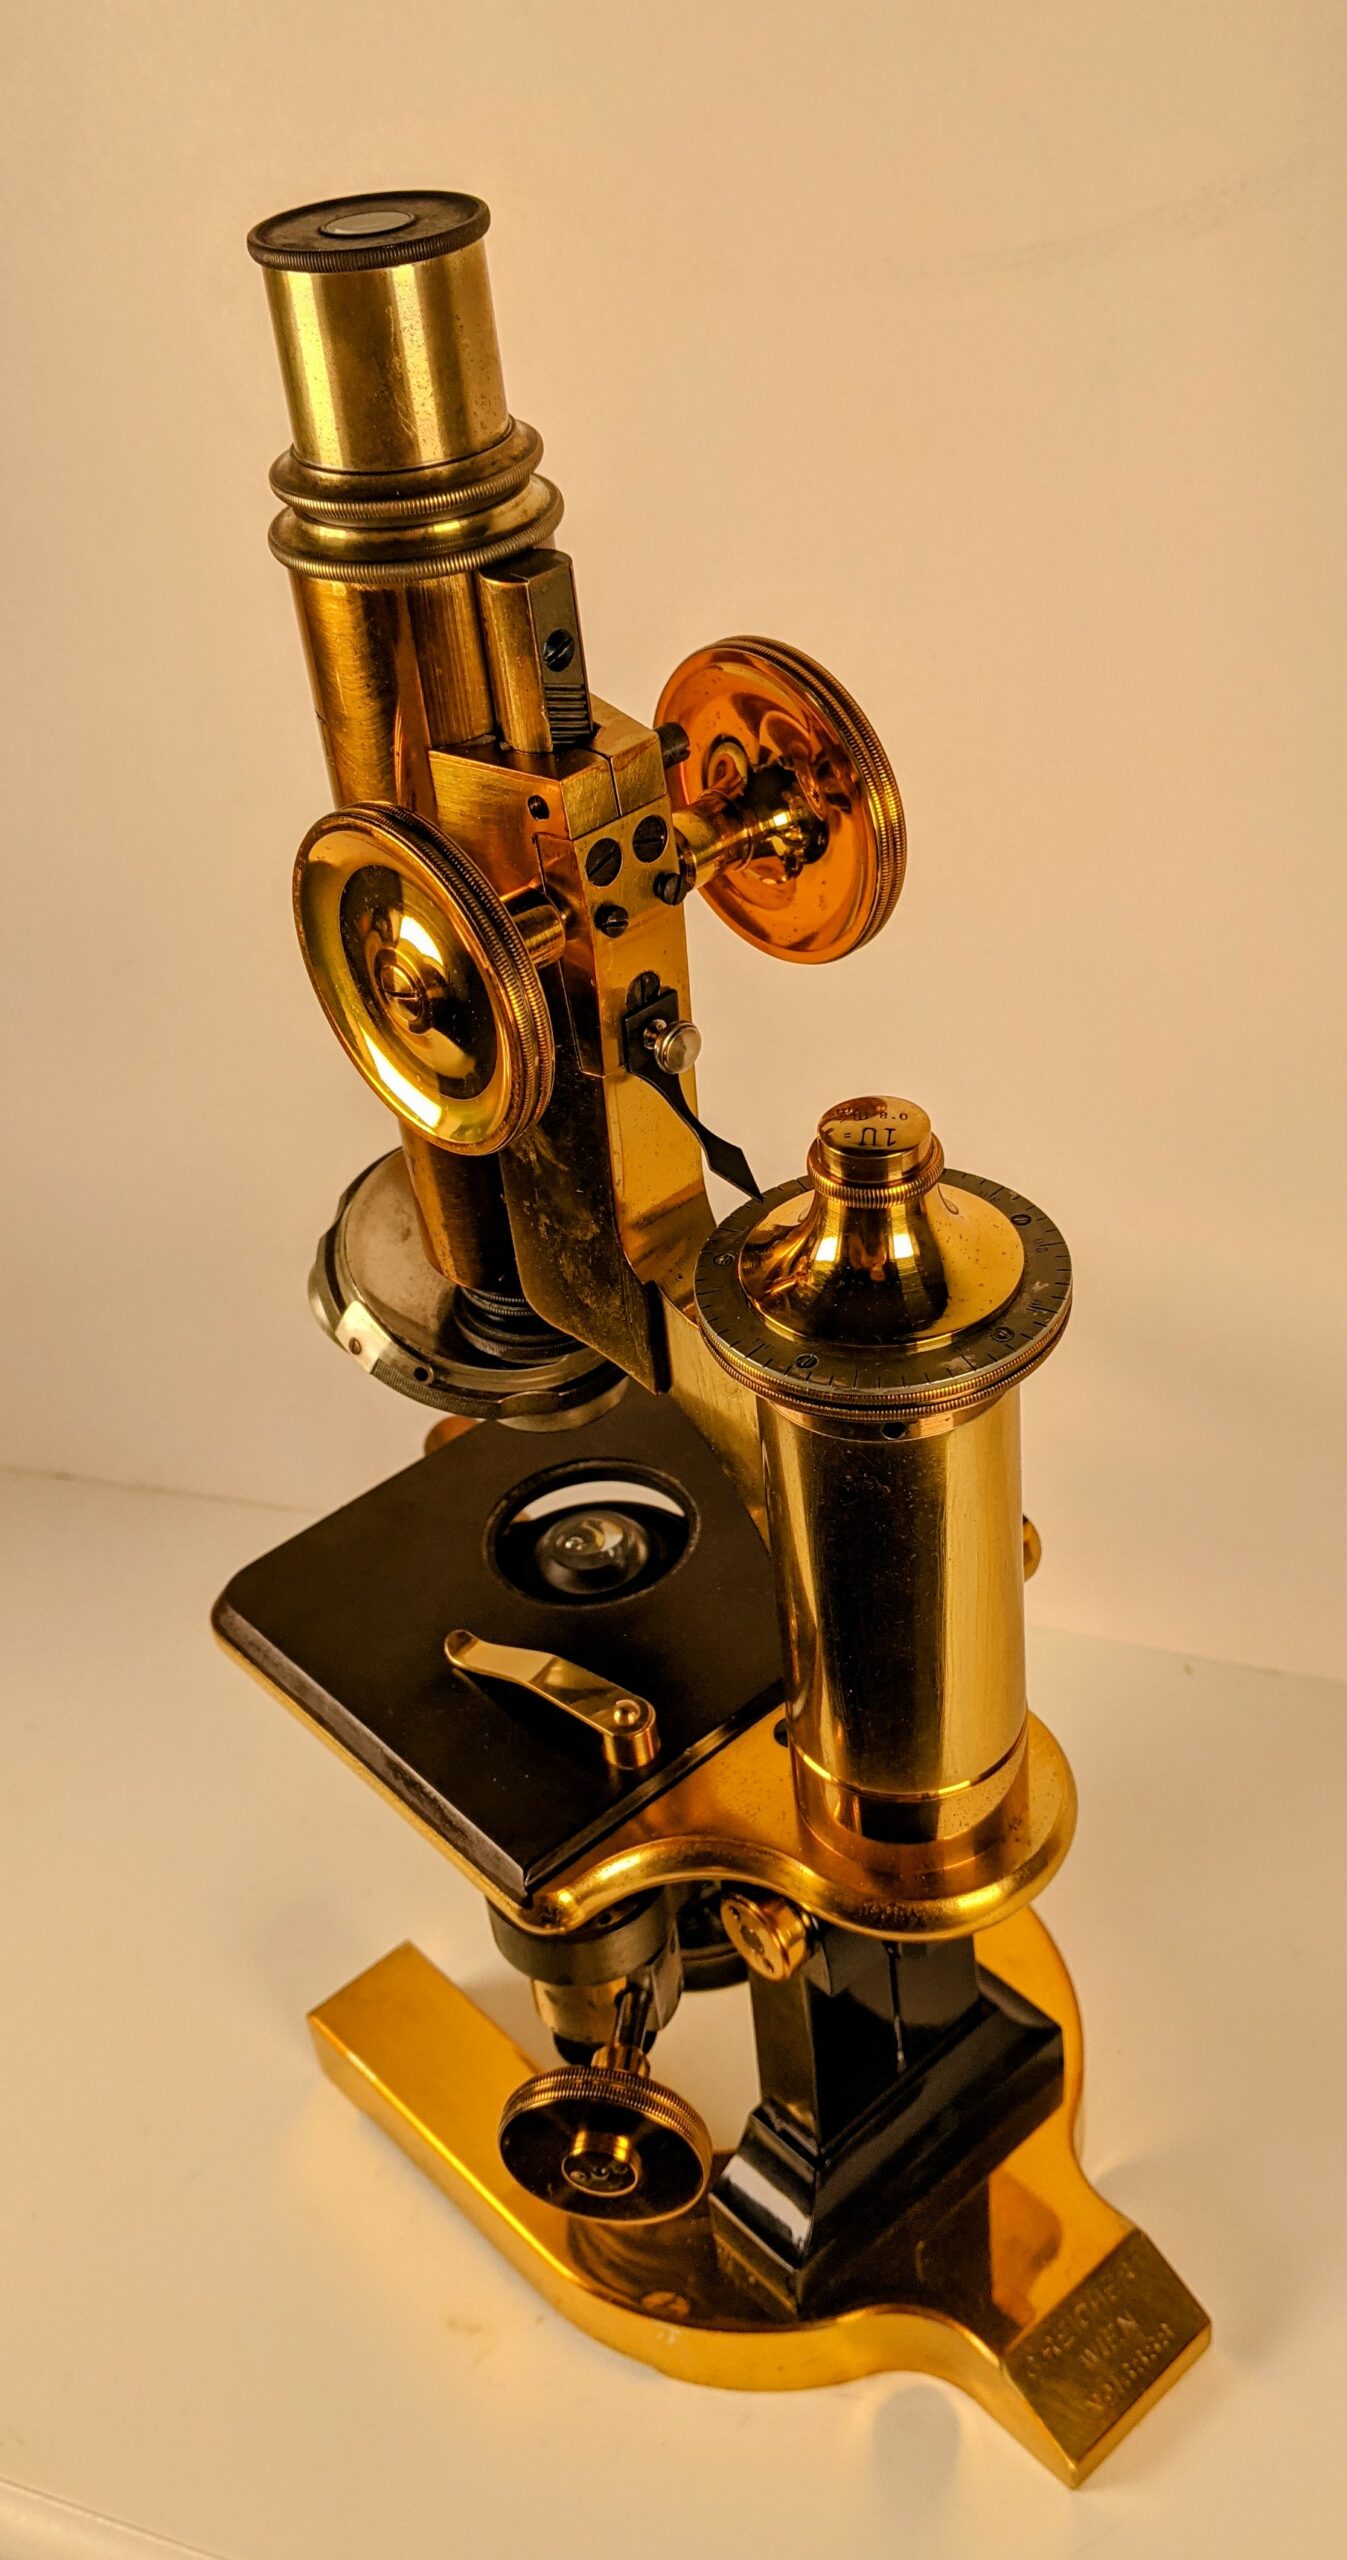
The Spencer is complete. If you recall, this poor Spencer had been spray painted black from top to bottom including the condenser, objectives and brass areas. It was quite a job to remove the spray paint and restore this but I’m really very pleased with it. The new paint is not perfect but it is much improved. The spray paint had been removed from the condenser iris and that is now moving smoothly and all in all it looks and functions very well. The knobs and brass areas had the spray paint removed and were relacquered with a rather lovely deep gold colour. My family are quite taken with it and they are usually somewhat immune to the charms of microscopes.
I just need to make a mirror for it, that’s on the to do list.
I’m working my way up, almost everything is lacquered now but there are quite a few broken or missing screws that need replacing. These screws are not made to any standard I can find. Not completely surprising given the age of the microscope. Machinists often set their lathes up at x threads per inch and made everything at that pitch regardless of the size of the screw or what it was doing. Makes it a real pig to make new ones. Standardization is a blessing.
The stage is now lacquered – an odd thing to do but it was definitely lacquered originally. Just a few bits and bobs left. Not that this means it will be swift!
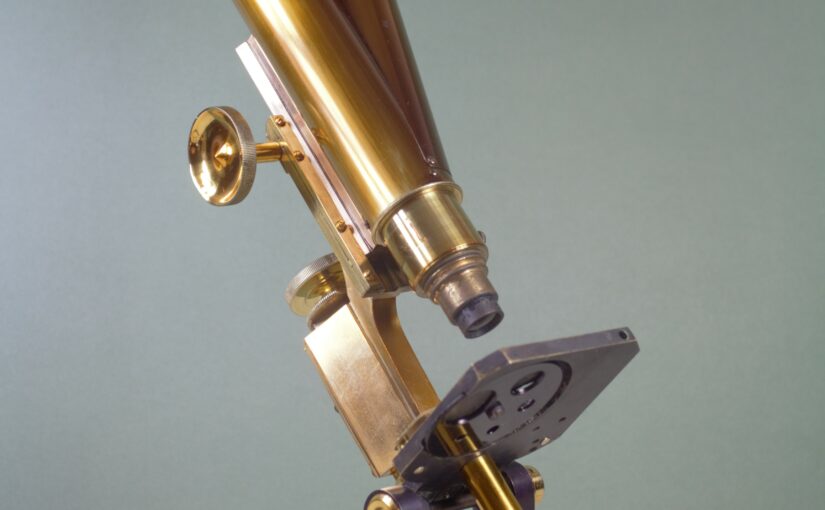
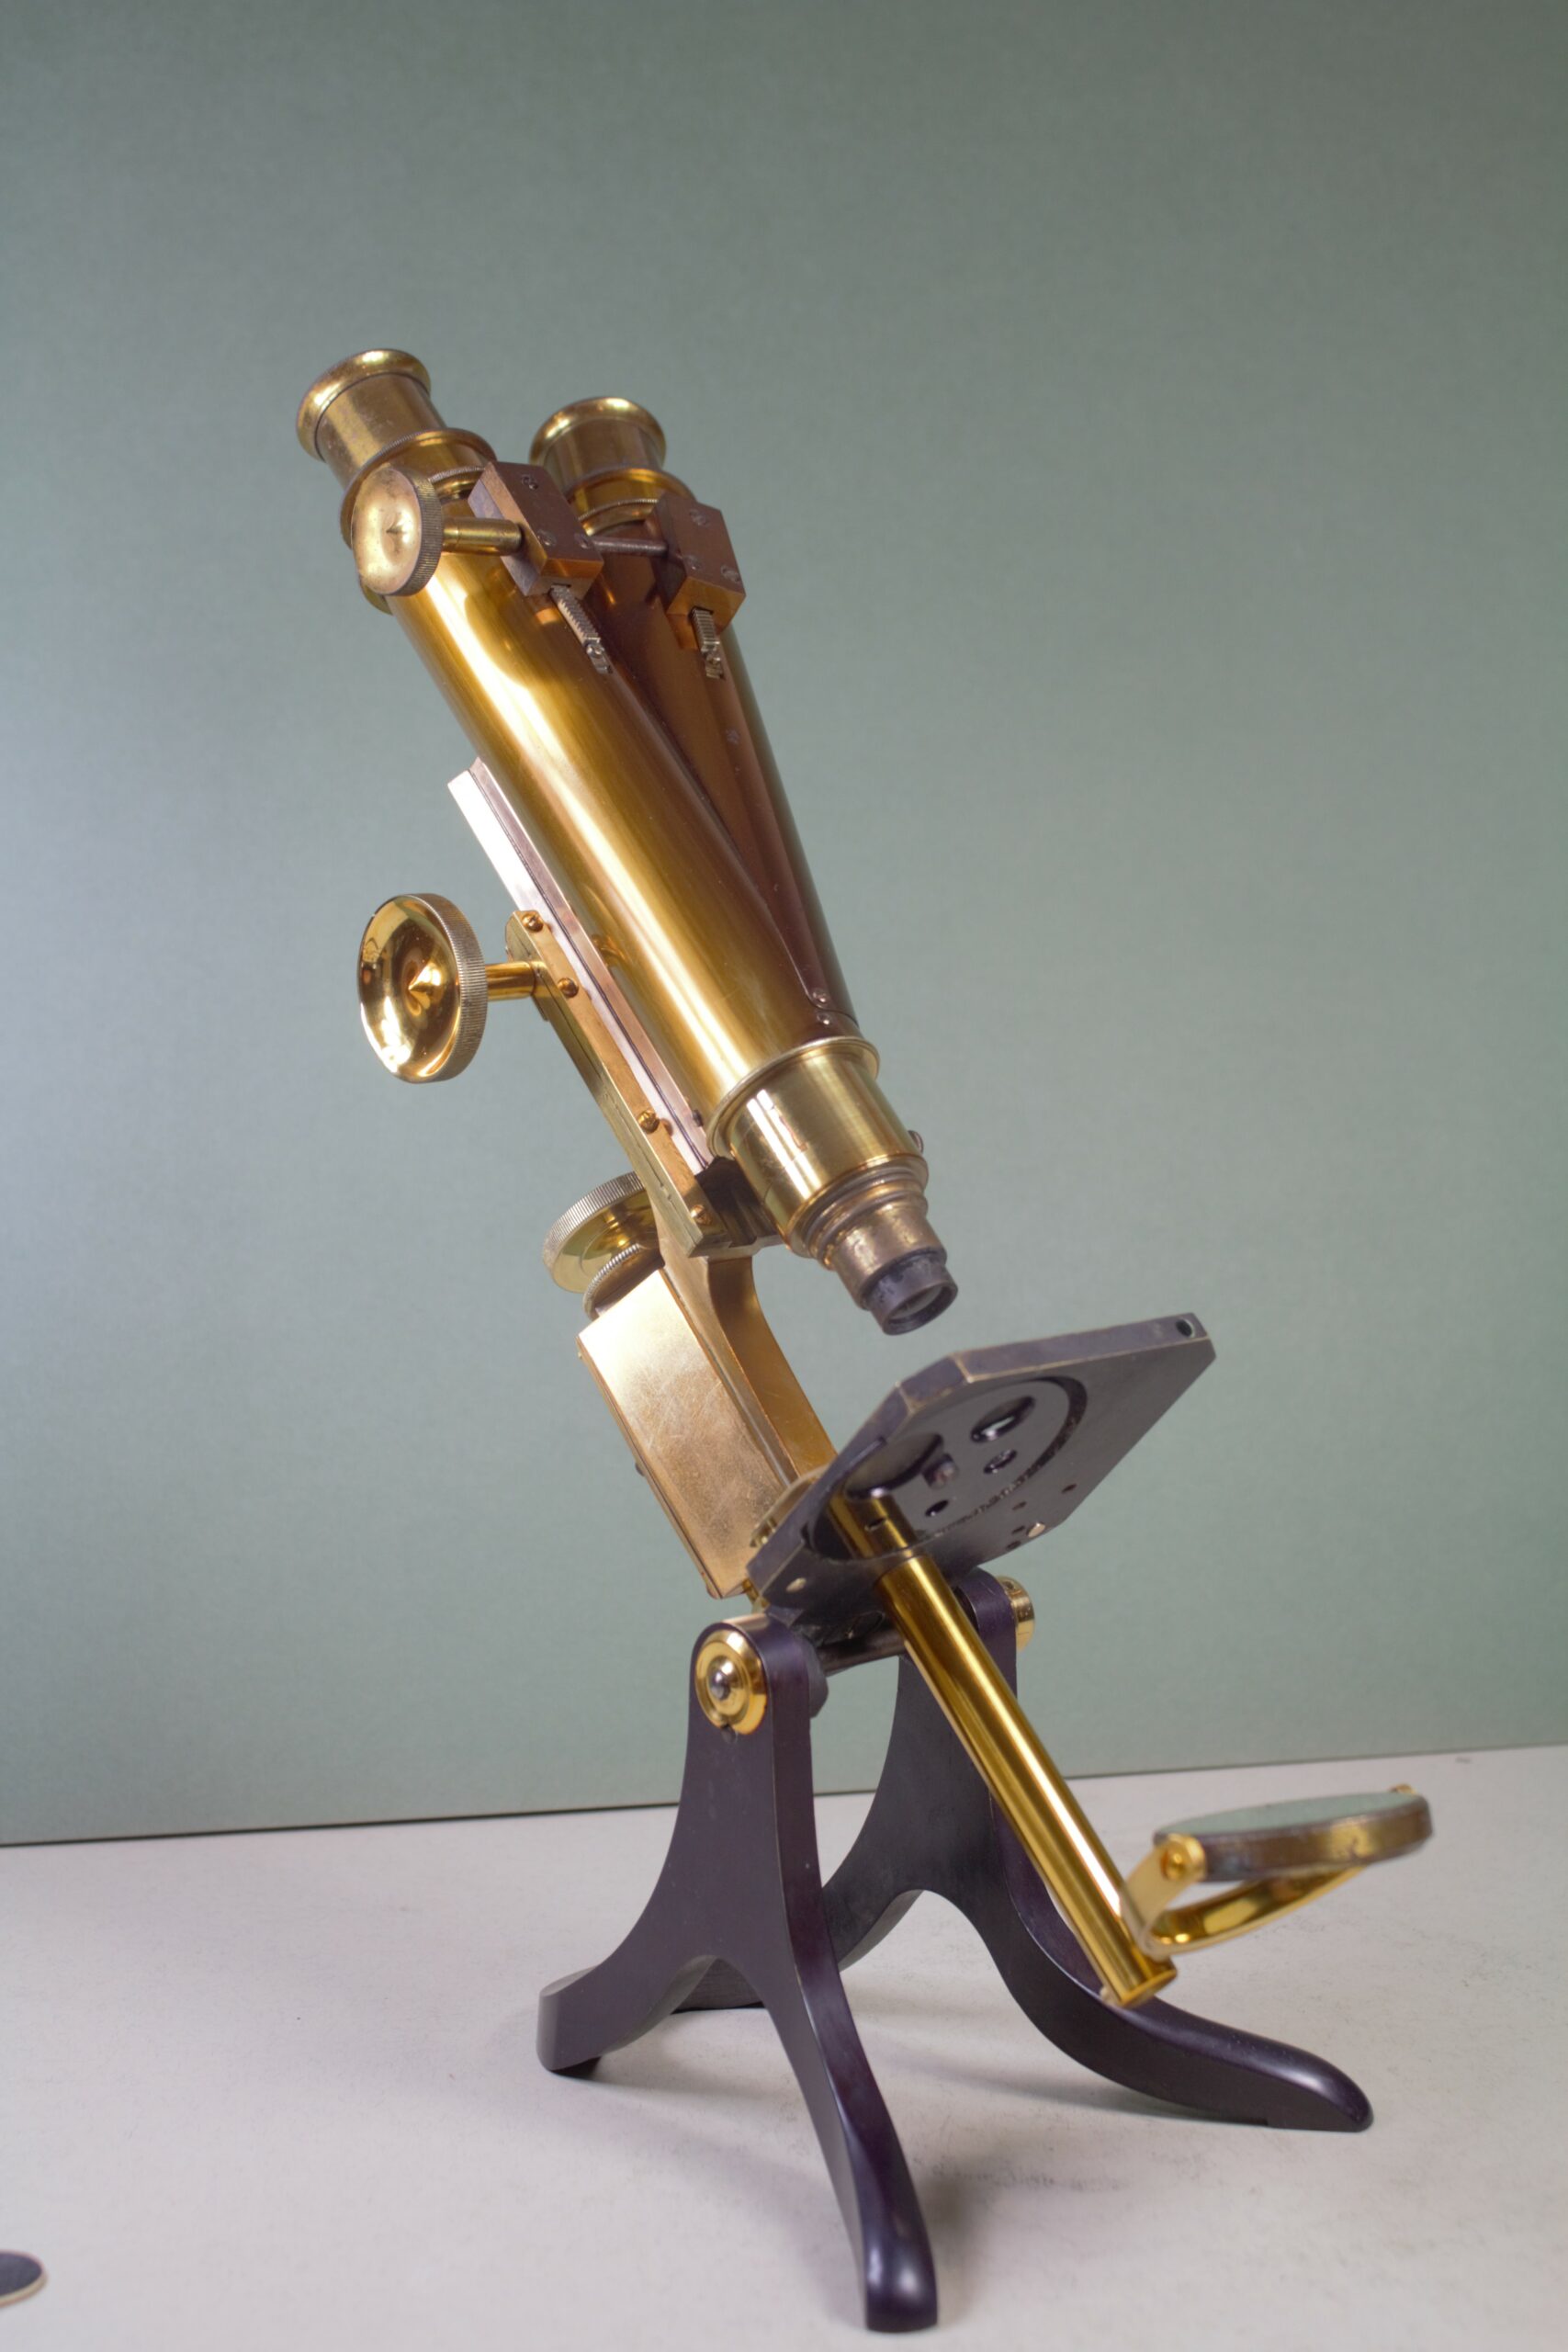
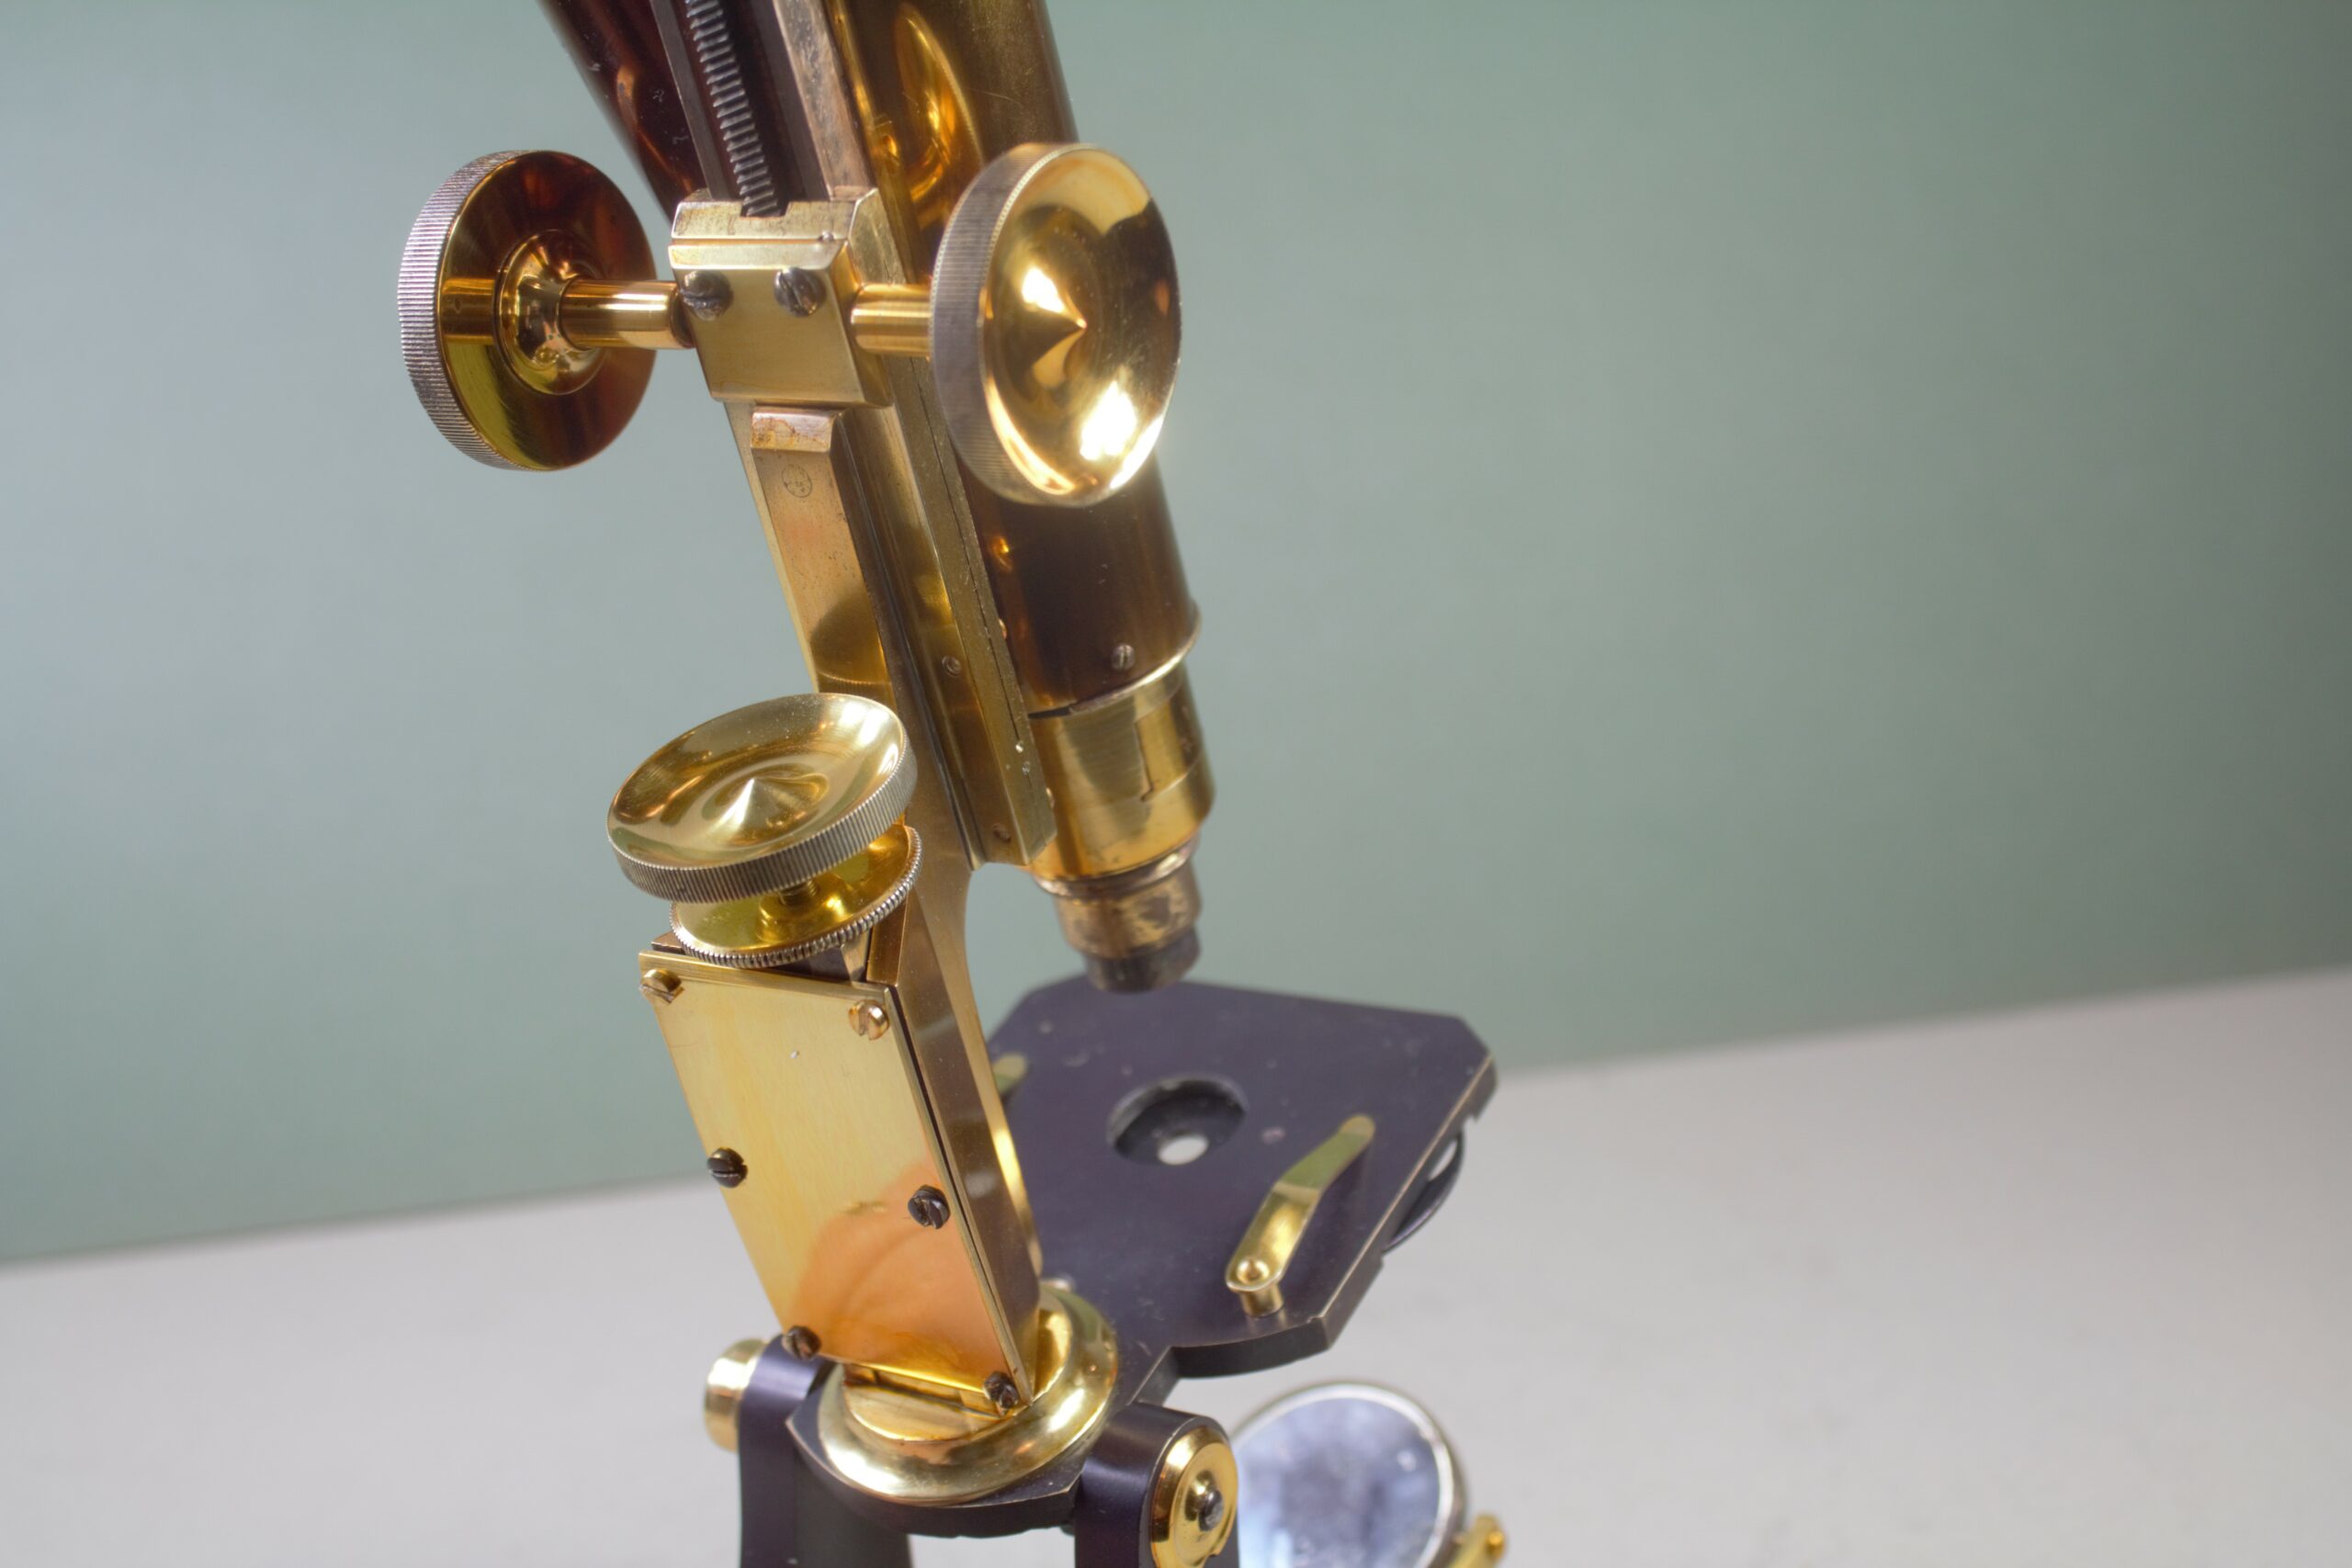
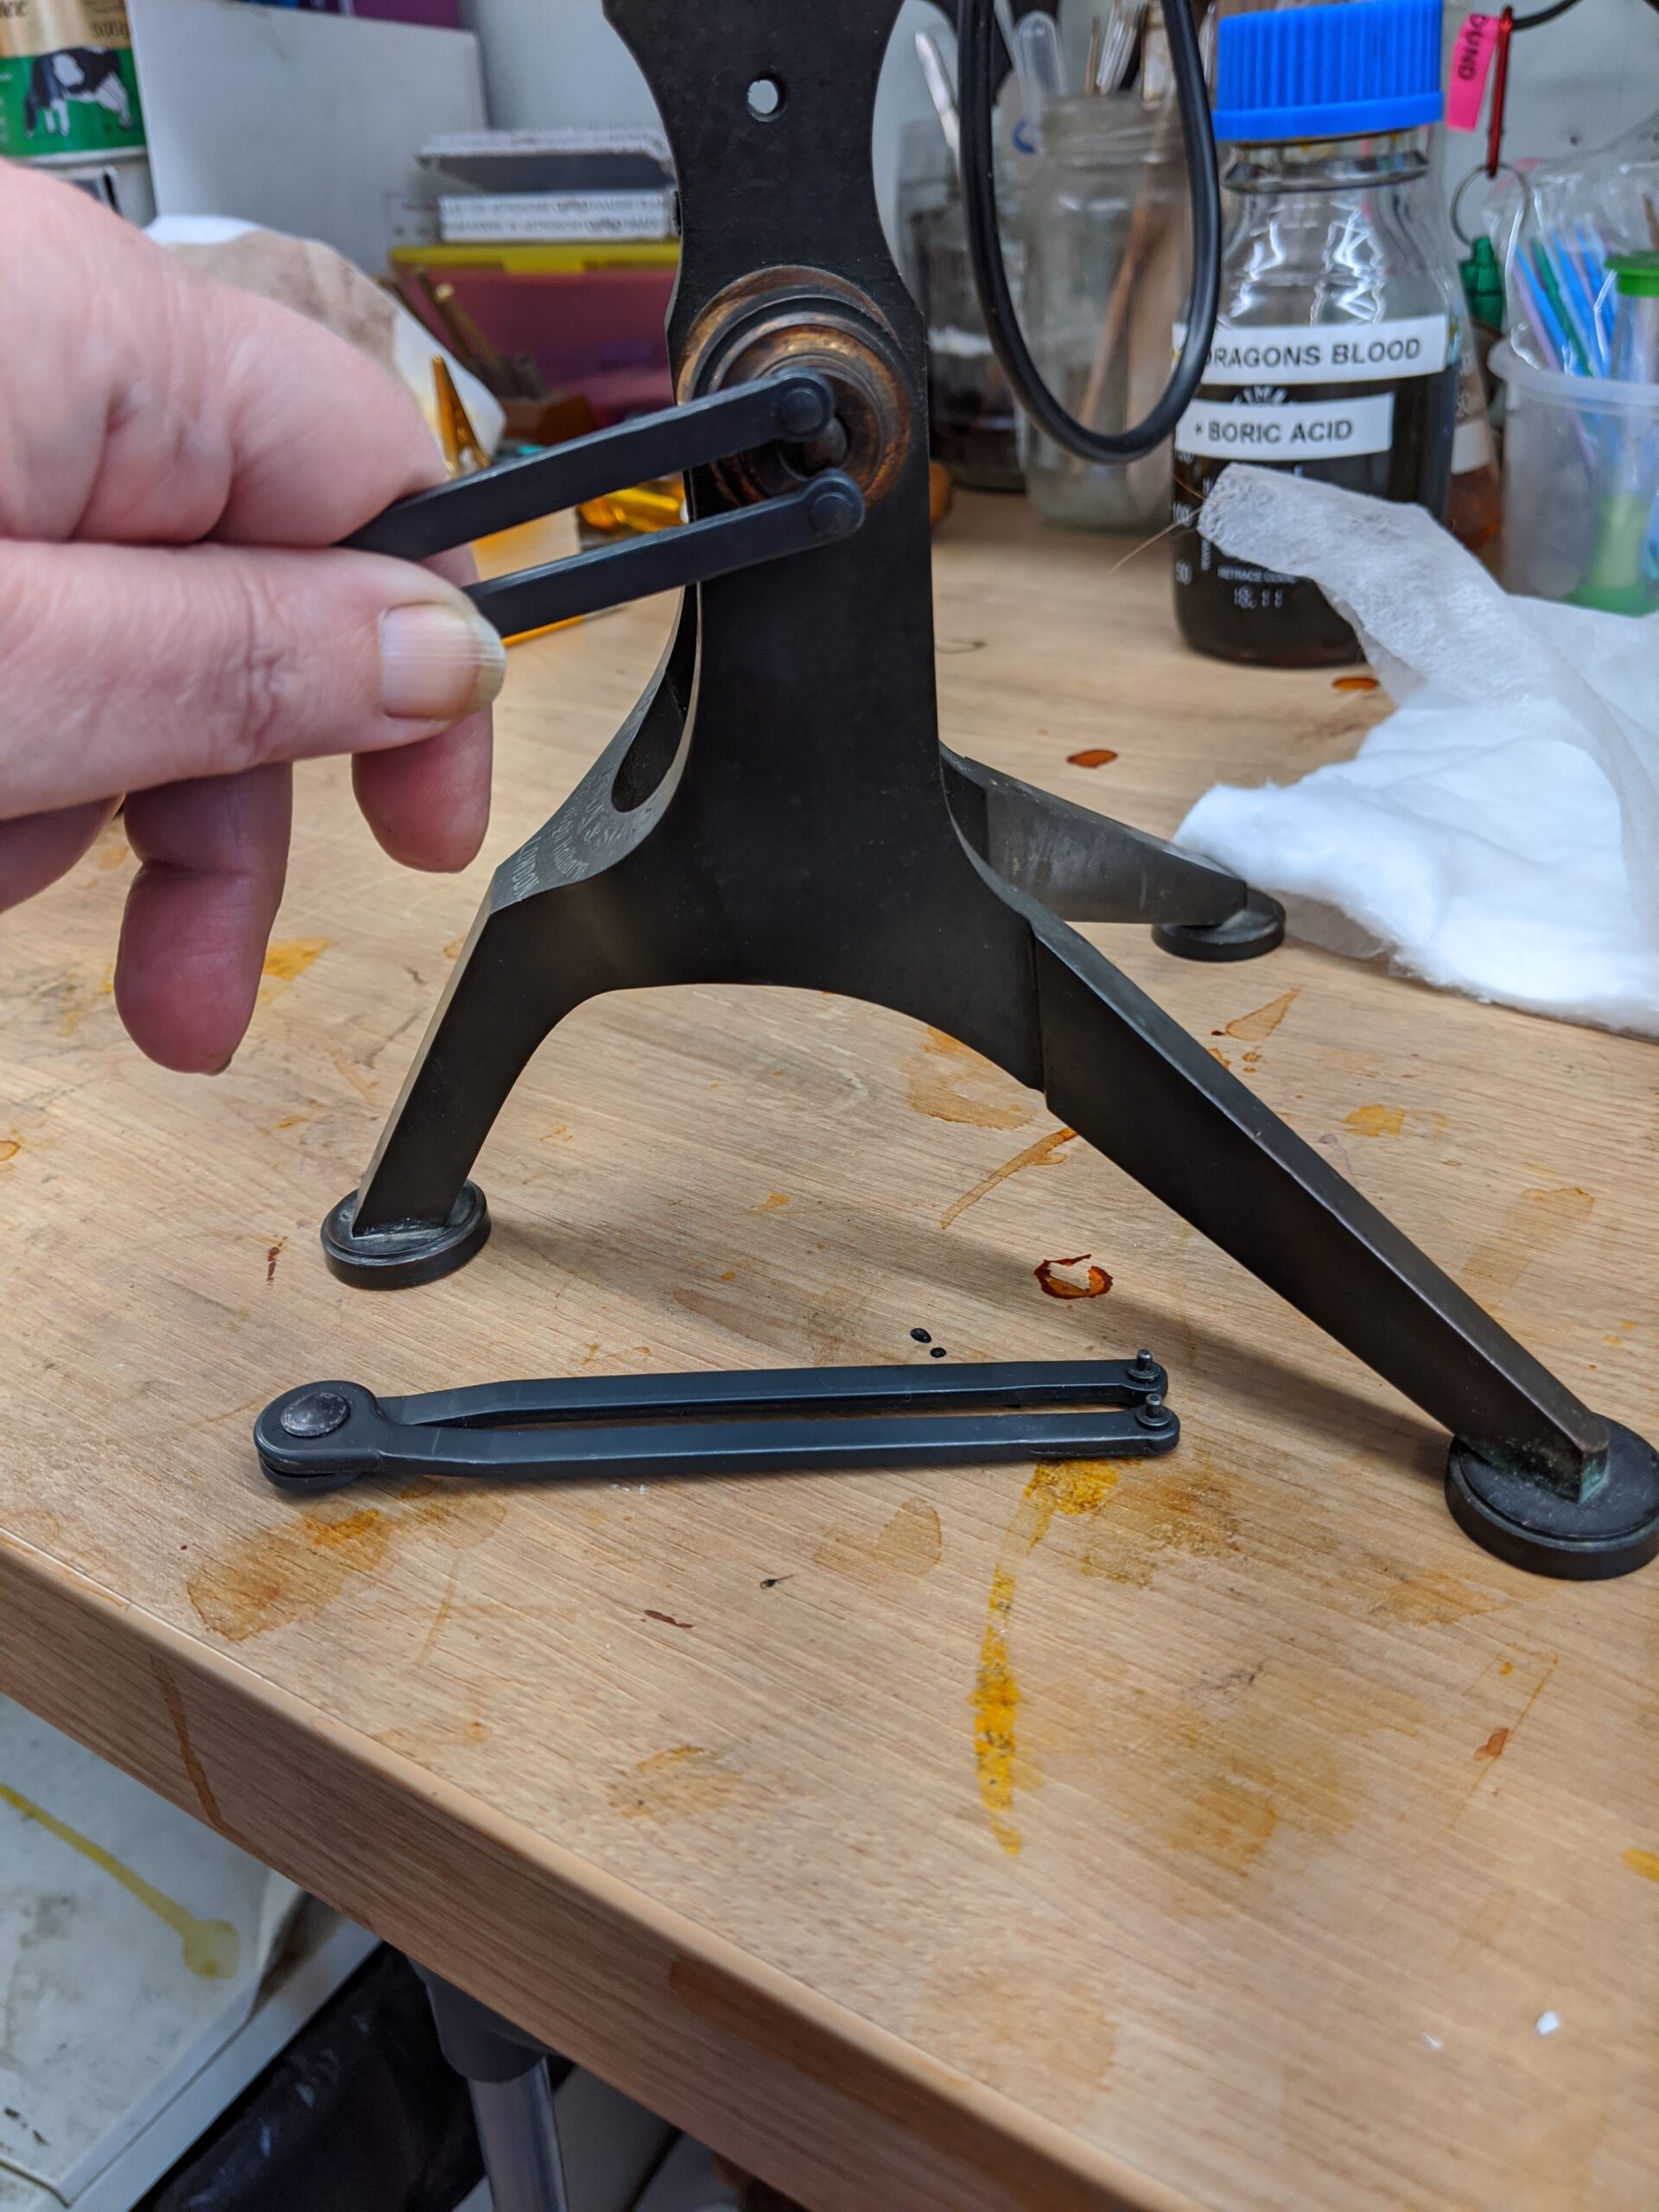
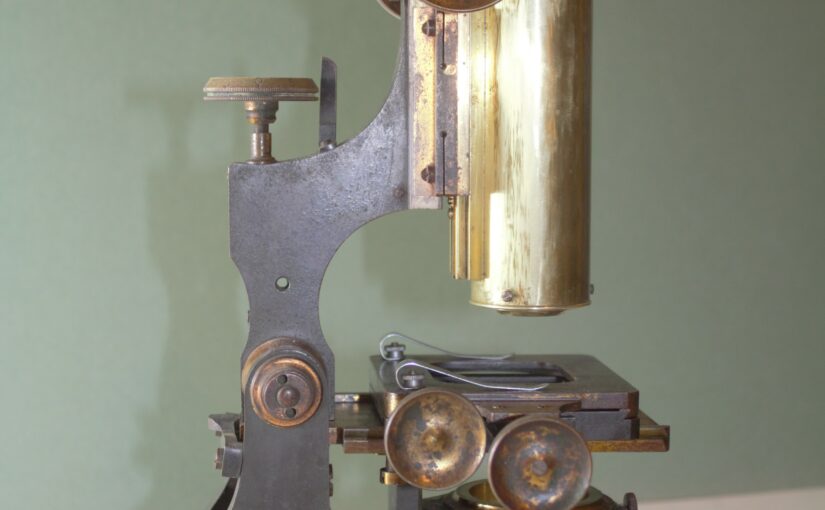
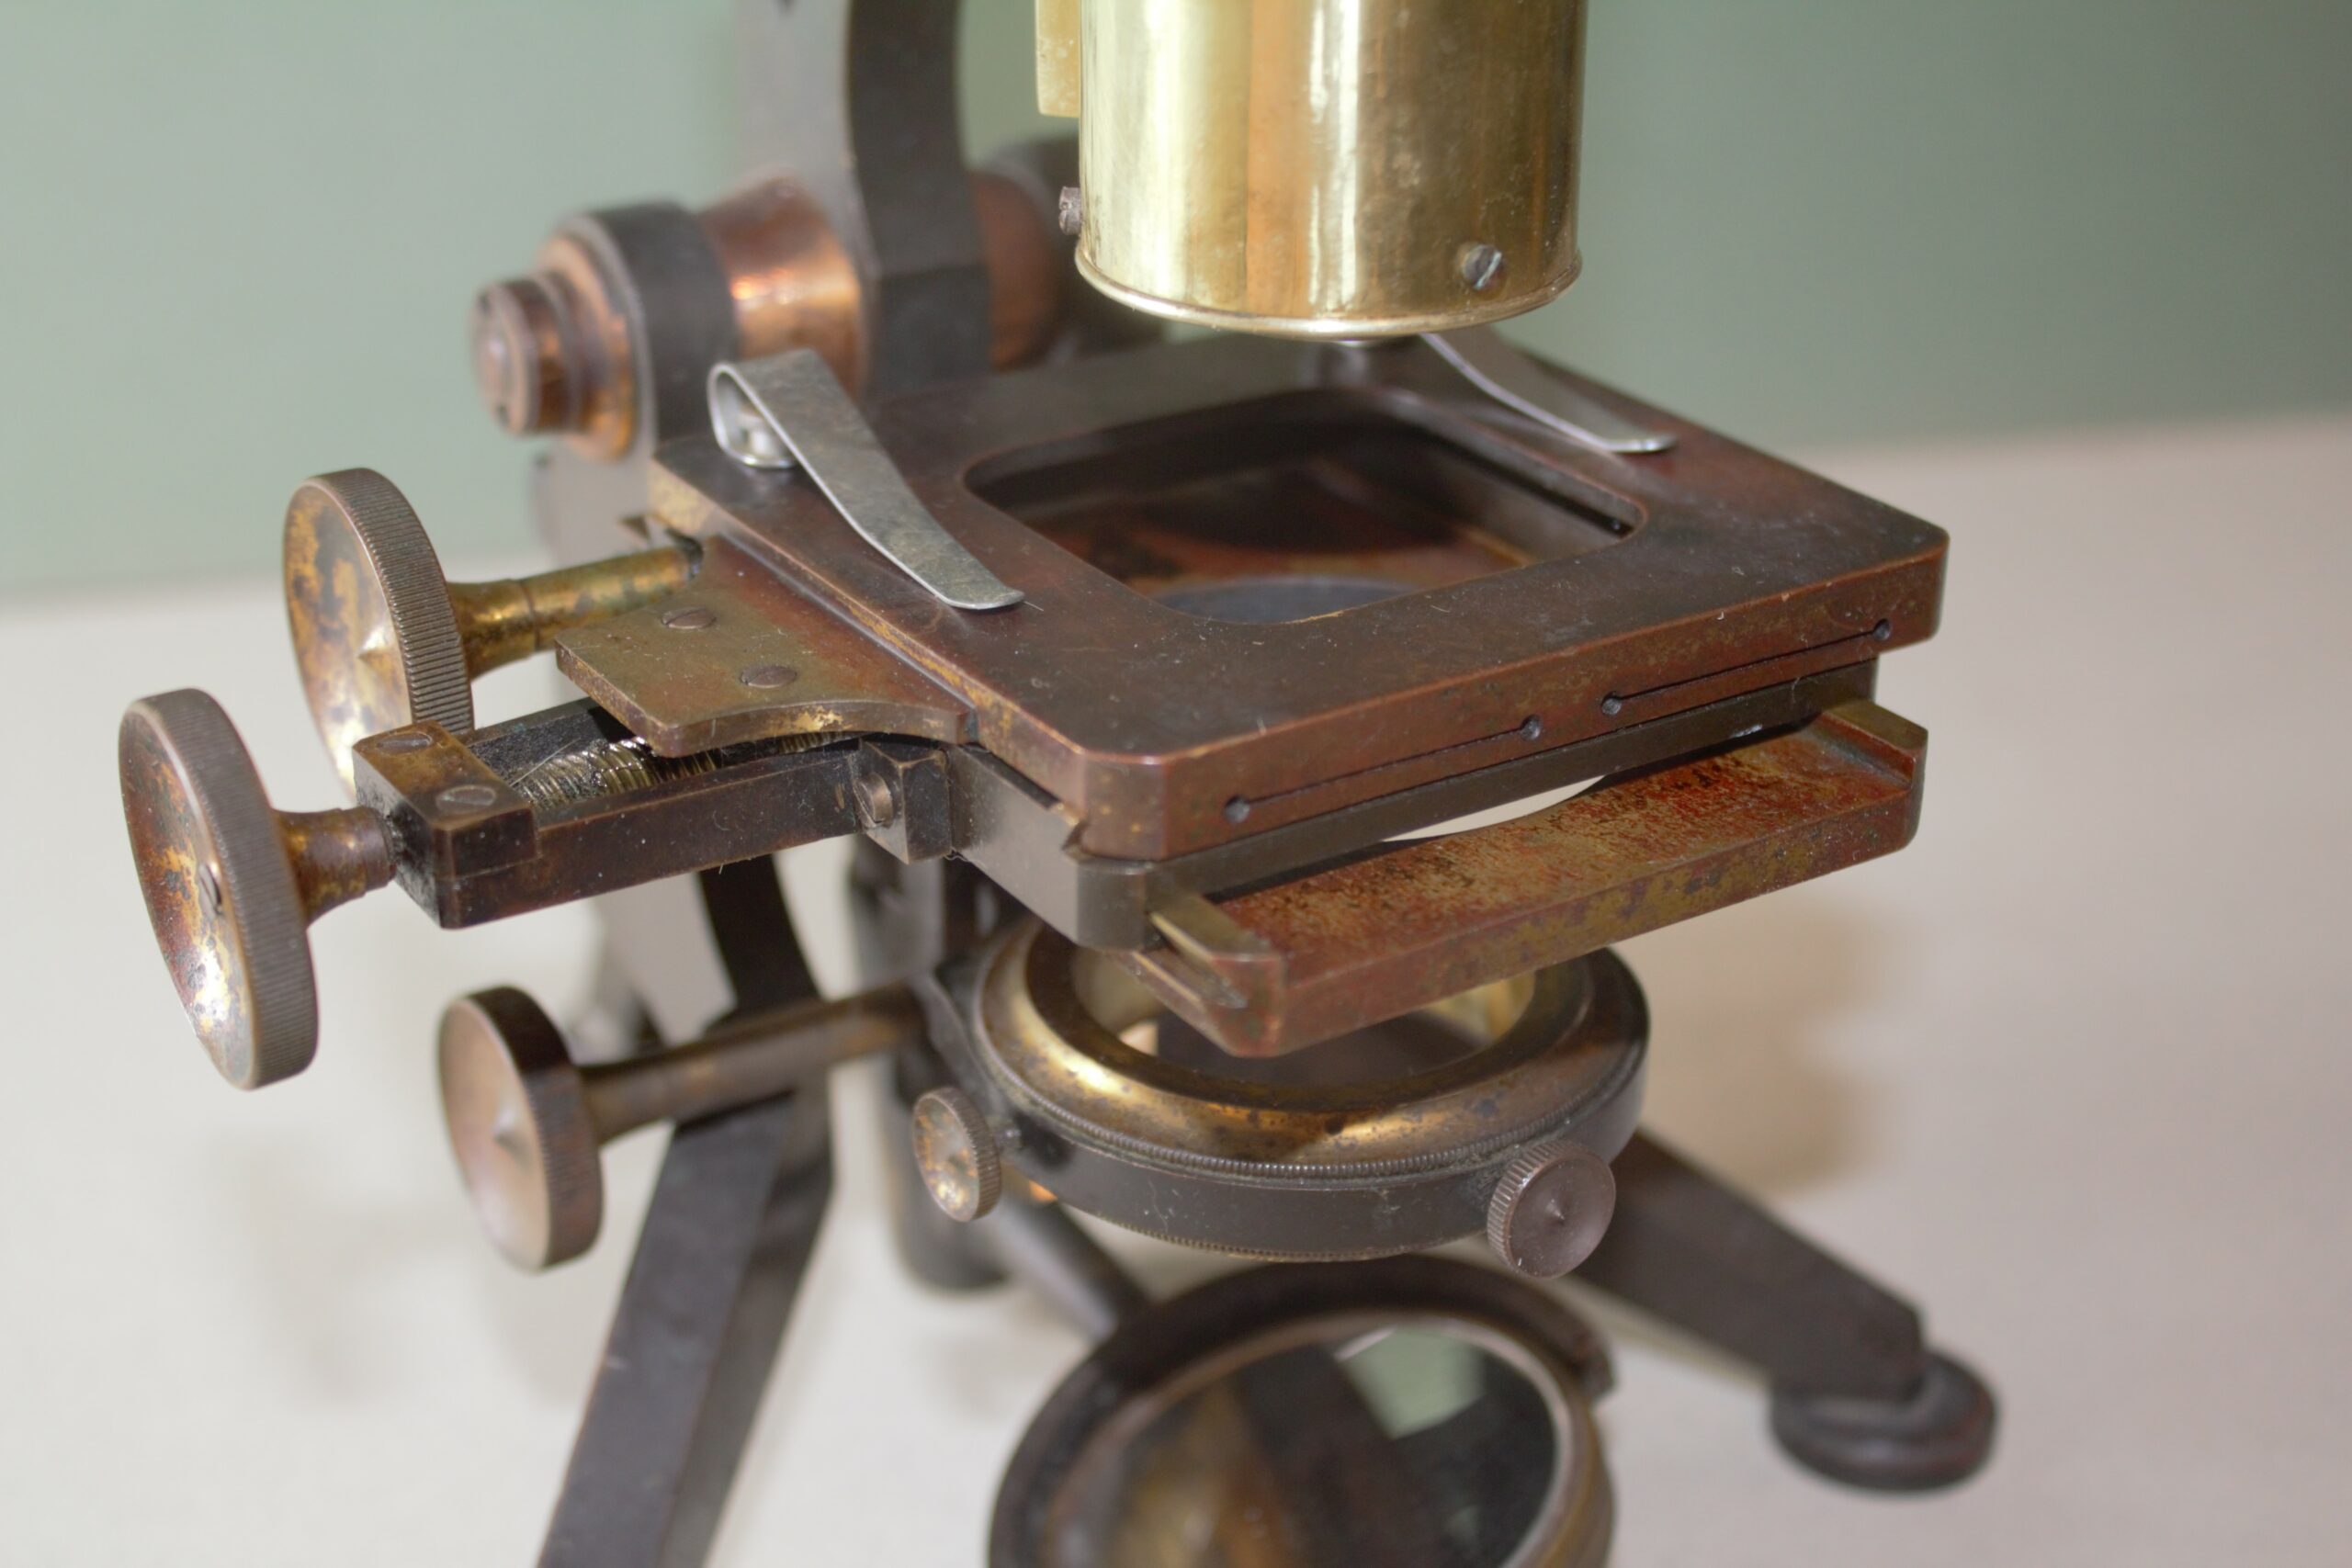
Slowly but surely the Ross is coming together, literally. I have reassembled the base. It’s much shiner now. You can see that it is not going to look “as new” the pitting is too deep, and I don’t want to destroy all signs of its history by sanding it heavily. In this case to do so would be to remove enormous amounts of metal and it is really not possible. To get the name plate to a perfect finish would result in the removal of the engraving which obviously would be foolish. The pitting is still present in places but the corrosion has been treated so it should be good for another 100 years. There’s still lots to do though and this microscope is definitely one of the worst I’ve done, it’s in a worse state than my experimental Dunscombe which was black all over when I got it. Each piece is taking hours of work. It is enormously satisfying though when it starts to take shape. Onward and upward – the tubes are already done so really I’m heading middle-ward, to the REALLY tricky bits.
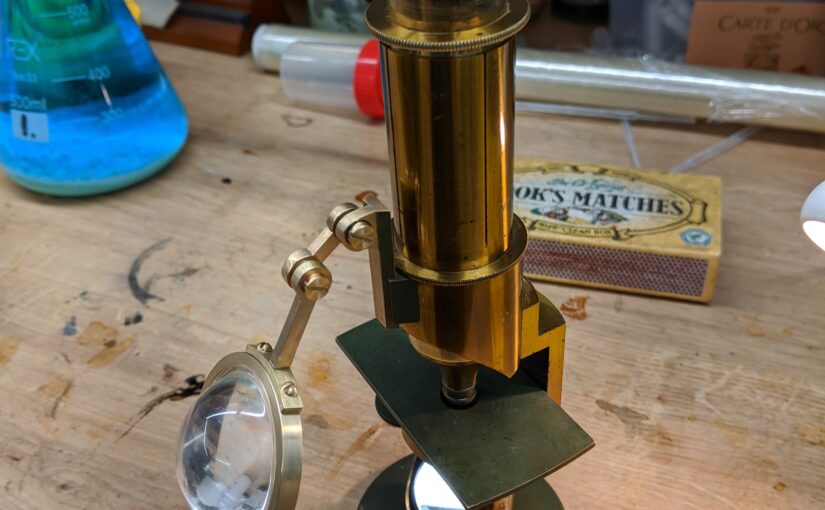
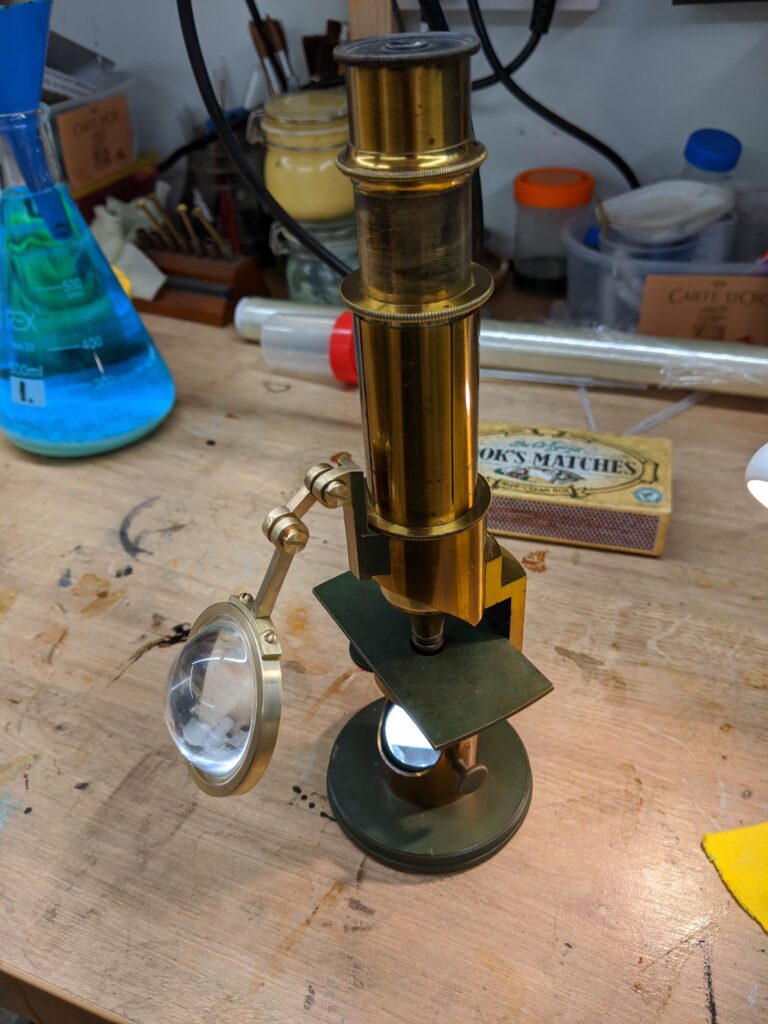
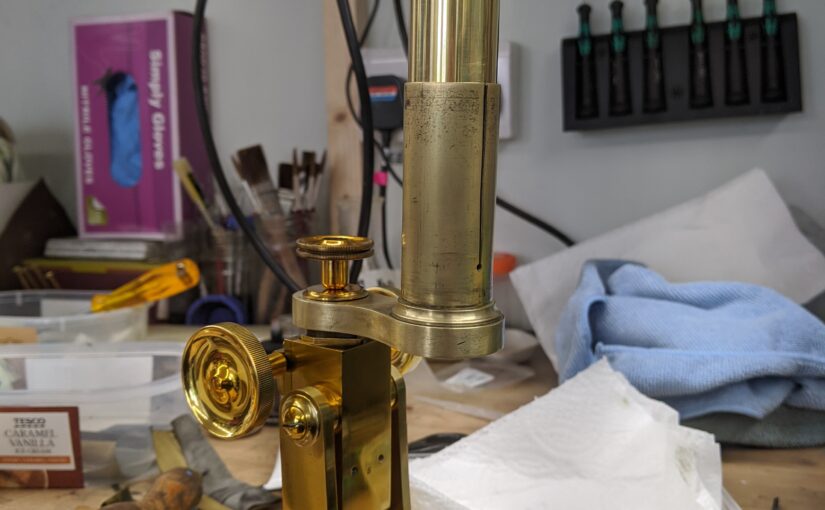
I was asked to make a new nosepiece for a Hartnack microscope which would enable the owner to use RMS objectives as he finds Hartnack objectives very fiddly. The Hartnack has a small diameter male Thury thread whereas the RMS is a larger female Whitworth thread. The nosepiece maintains the tube length but the Harnack has an adjustable tube length anyway and the new nose piece works just fine. As you can see there is quite a difference in the width where the objective attaches. The new RMS nosepiece looks a little clumsy compared to the original.
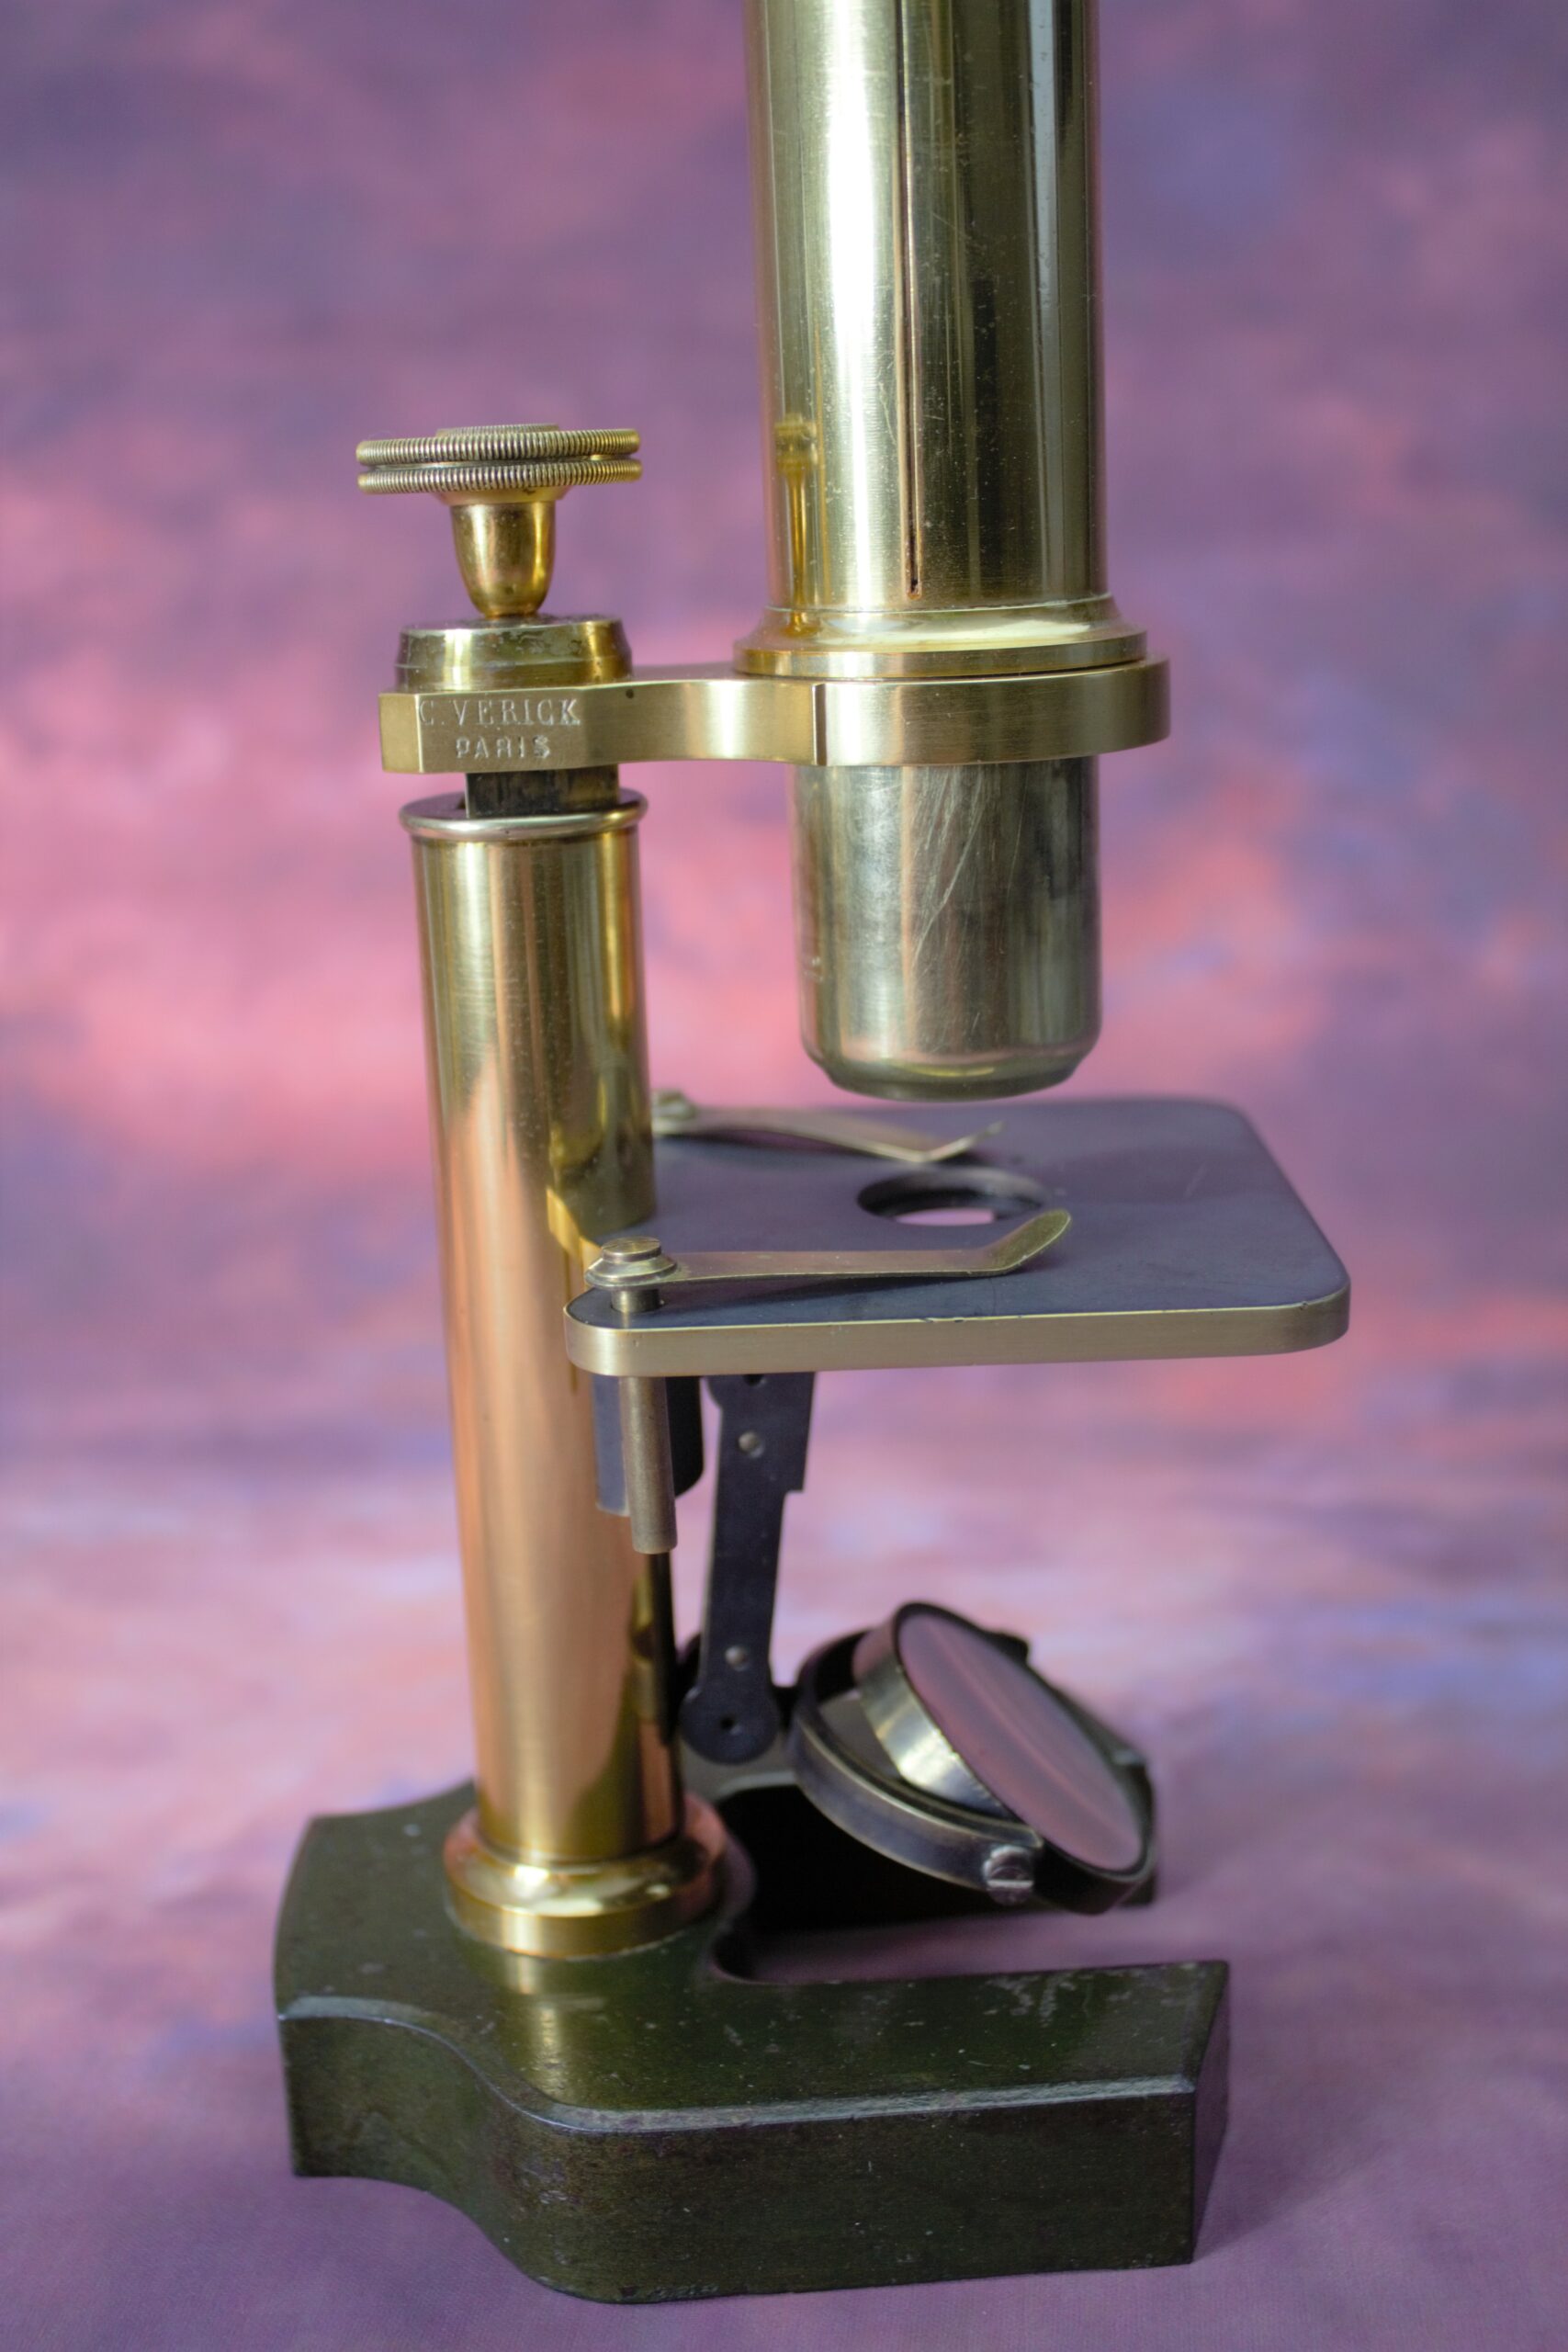
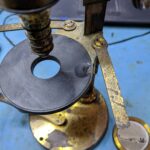
Oh the poor little Verick! In a photograph there didn’t seem much wrong with this Verick apart from the total lack of lacquer but it had serious issues. The Tube holder was stuck fast, the tube was stuck fast in the tube holder and it took several hours to get it all unstuck. The cause? Brasso. Don’t use brasso on your microscopes, it removes the lacquer and clogs up the moving parts it’s like glue. Below is a picture of the aperture ring which was also stuck fast and what it looked like inside when I finally got it apart.
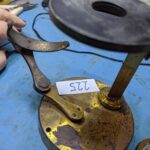
There is hope though, if you can get the microscope apart the brasso can be removed quite easily. Here is the little Verick before and after lacquering, all parts are now moving smoothly and it is ready to return home.
This beautiful little Plossl had been mistreated, either stored in an attic or garage, or otherwise abused. Very little lacquer remained and that which did was decaying casuing corrosion and pitting to the metal. I have stripped off the old lacquer, removed the corrosion and polished without removing all the scratches and pitting that show the age and history of the microscope. They are simply safely locked away under new lacquer which should protect it from any further degradation. I have not lacquered the mirror or the objective as the risk of damage to them by polishing and hot lacquering was quite great. I’m rather pleased with it.
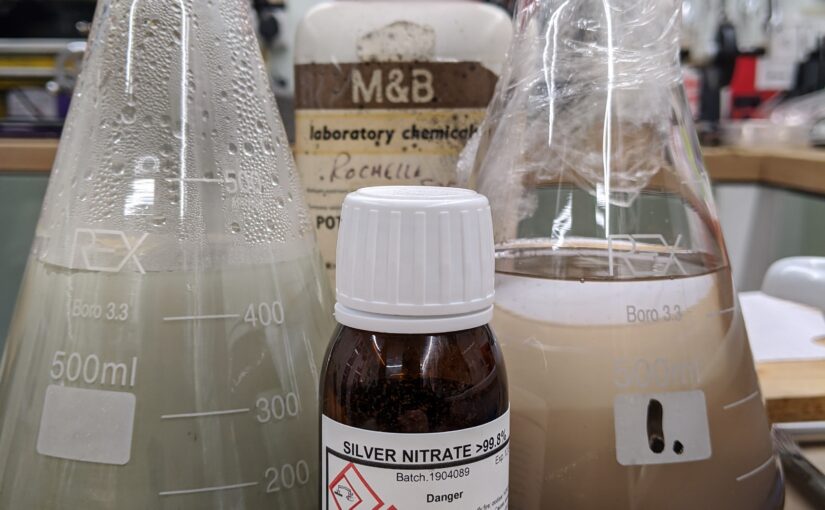
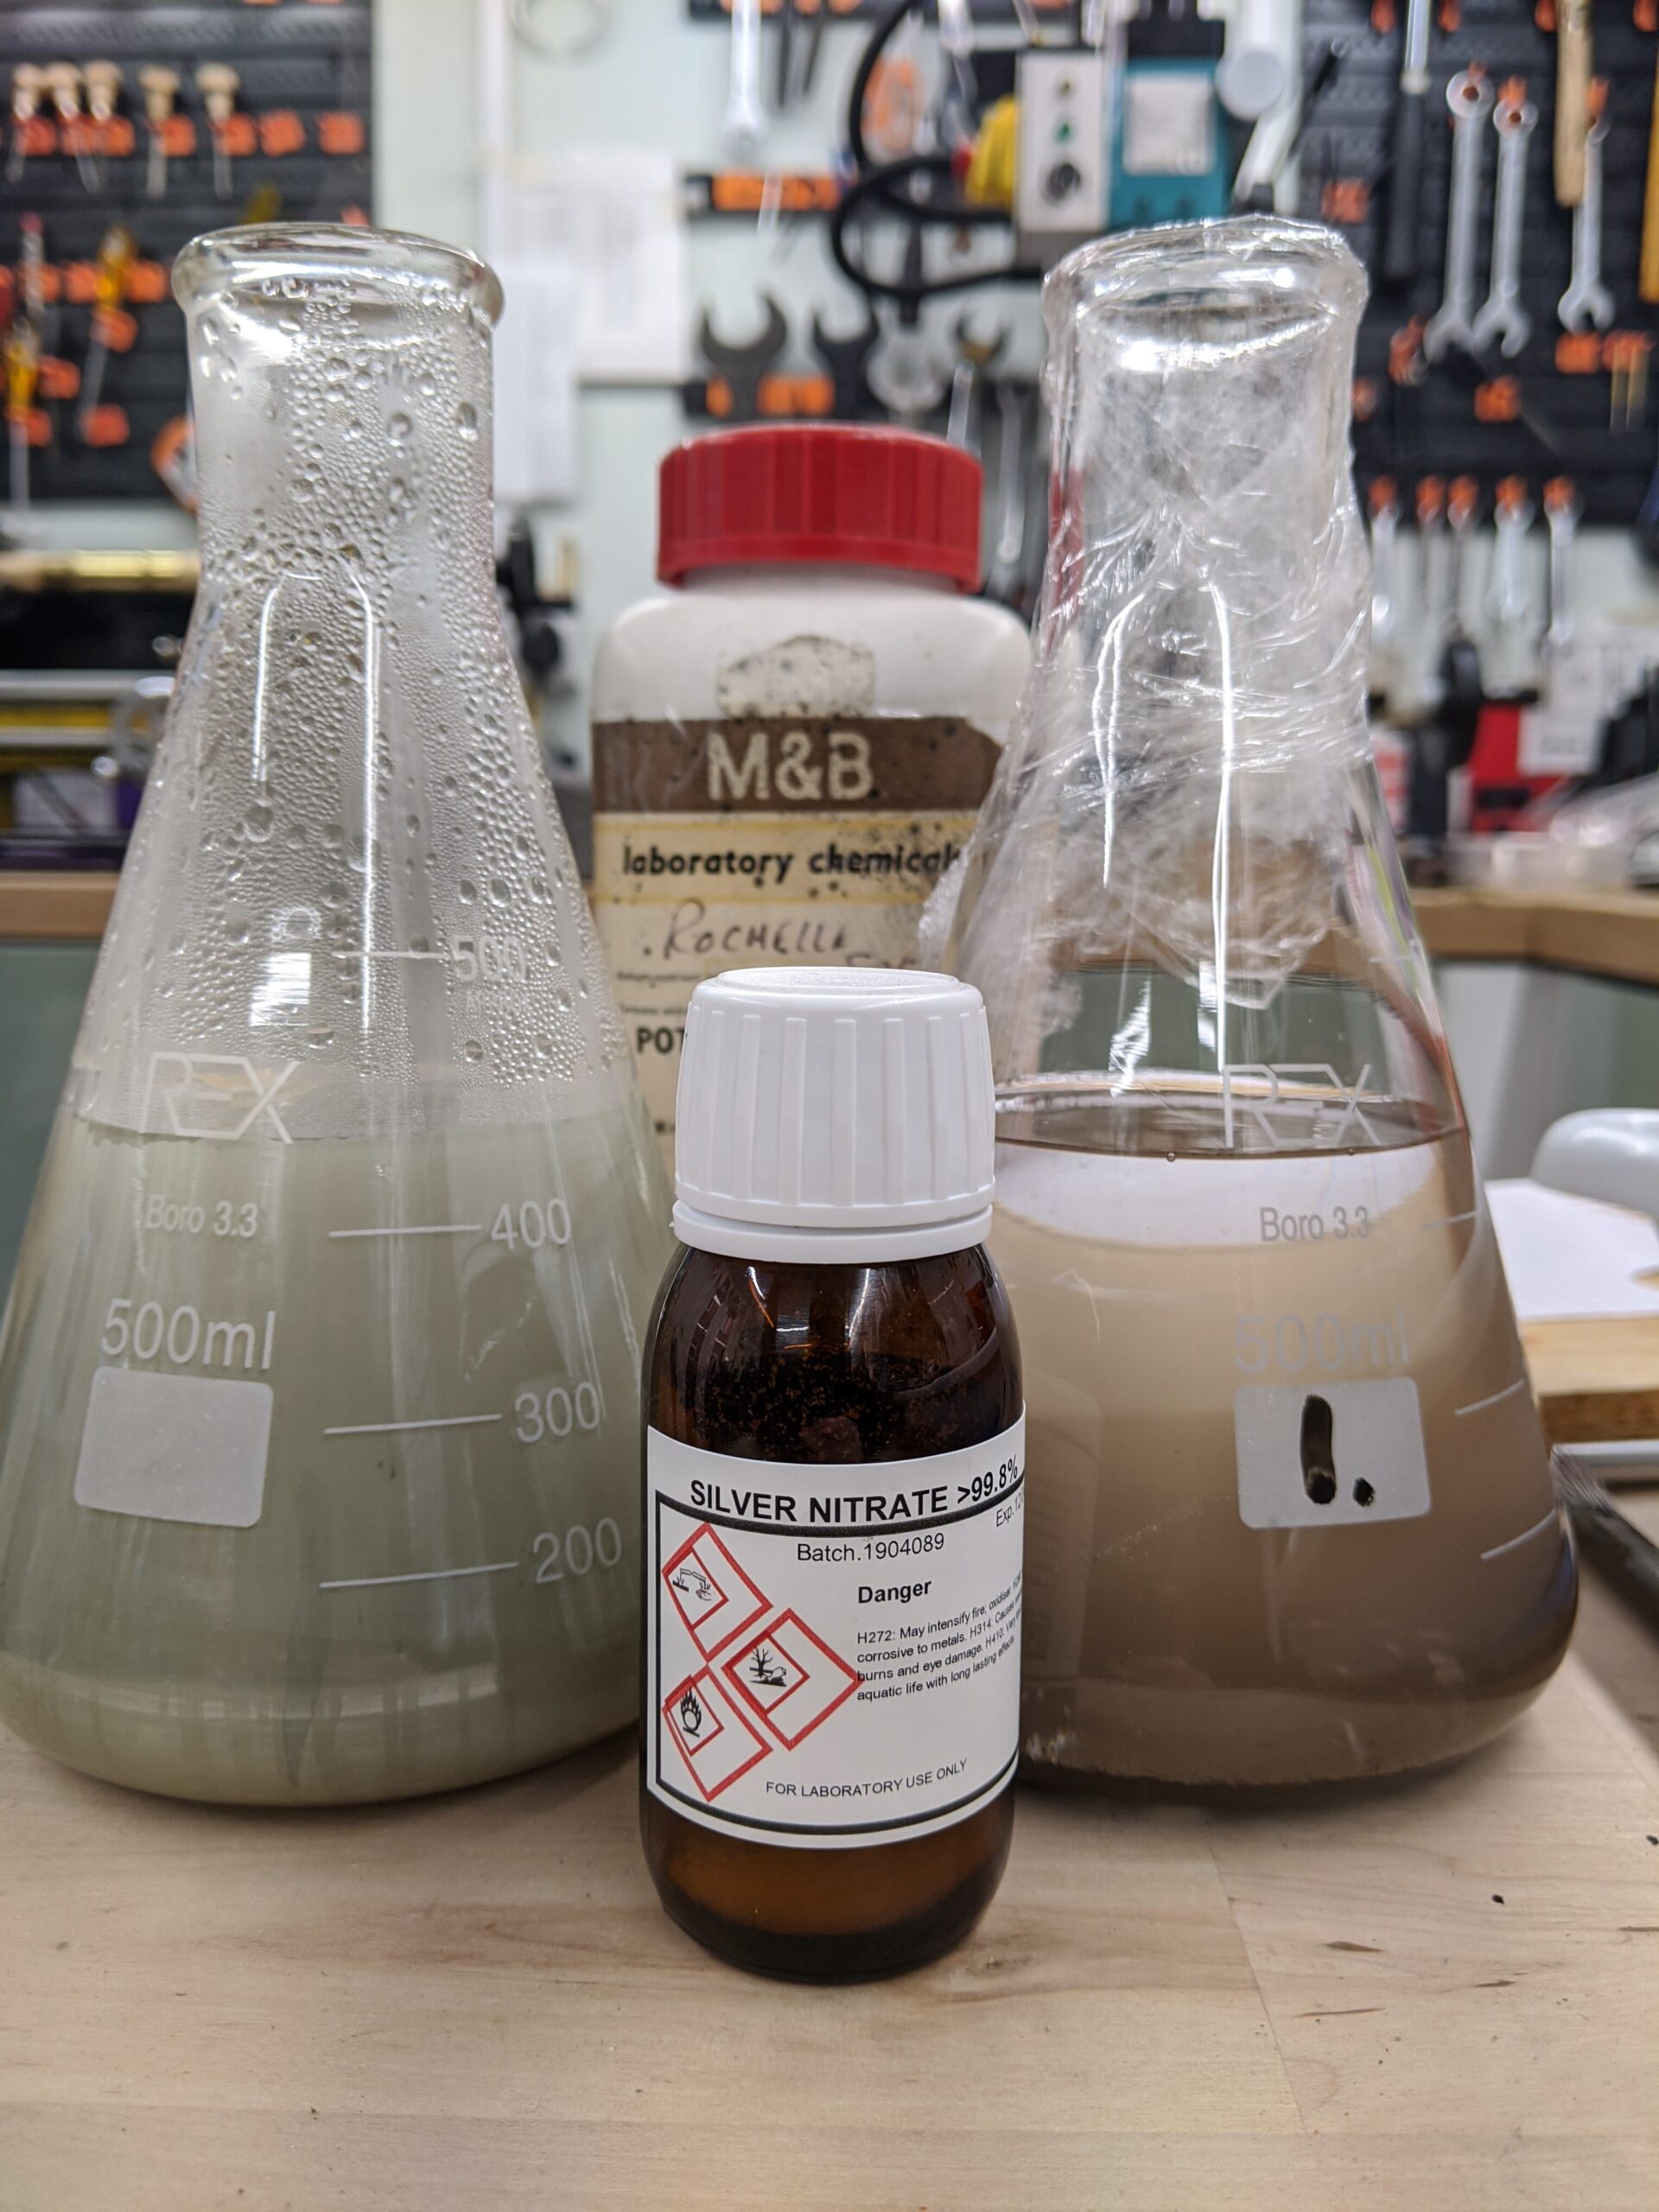
Today I’m preparing to silver a mirror. I use the Rochelle salt method as follows:
Solution 1: Silver nitrate 2.48 grams, silver nitrate 2.07 grams, distilled water 473mls, 25% ammonia as required.
Dissolve 2.48 grams of silver nitrate in 120mls water stirring with a glass rod. Add around 30 drops of ammonia, the solution will go dark and will then gradually clear again. Once the solution is clear add the rest of the silver and swirl until dissolved. Add the remaining water. Leave to settle for an hour or two then filter and store in a dark bottle labelled Solution 1.
Add 1.56g rochelle salts to water in a glass vessel and bring to the boil. After boiling for 1 minute add the silver nitrate and boil for a further 5 minutes. Leave to cool then filter and store in a dark glass bottle labelled Solution 2.
Thoroughly clean and de-grease the glass to be silvered and tape up any areas on which silvering is not required. Warm the glass to about 38C with warm distilled water, when warm, drain off the water and cover with a 1:1 mixture of solutions 1 and 2. It is best to warm the solutions before mixing them together. Swirl the mixture over the glass for around half an hour then pour off the solution, rinse in distilled water and leave to dry. Gently paint the back of the mirror with a suitable paint to protect it from abrasion.
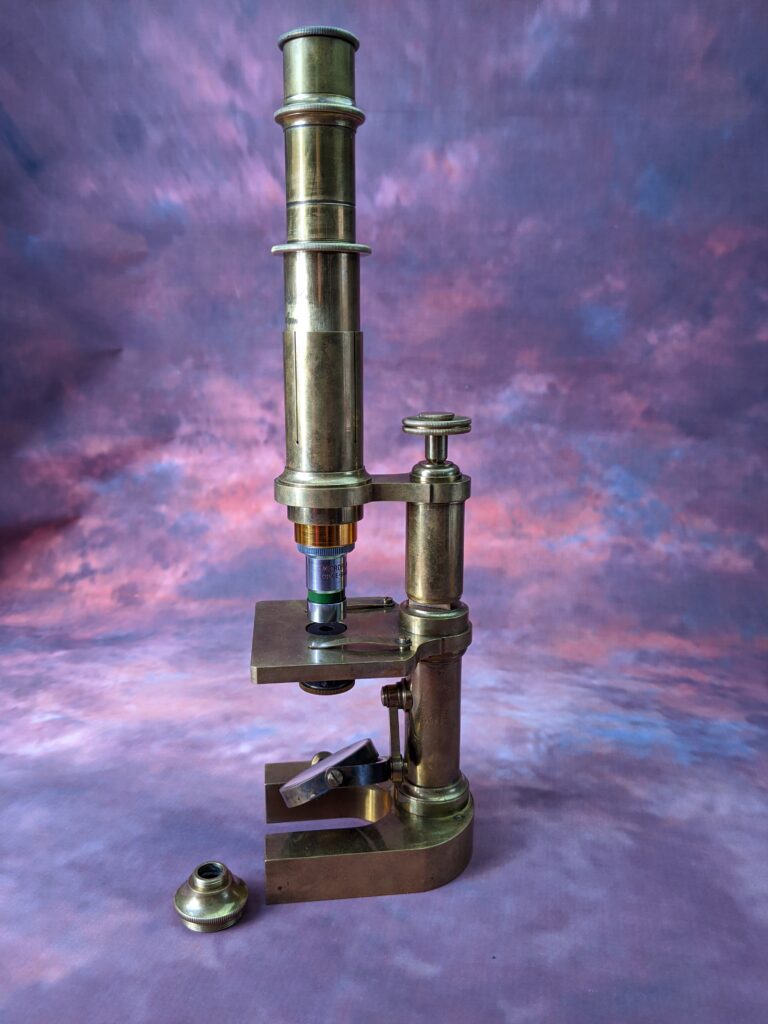
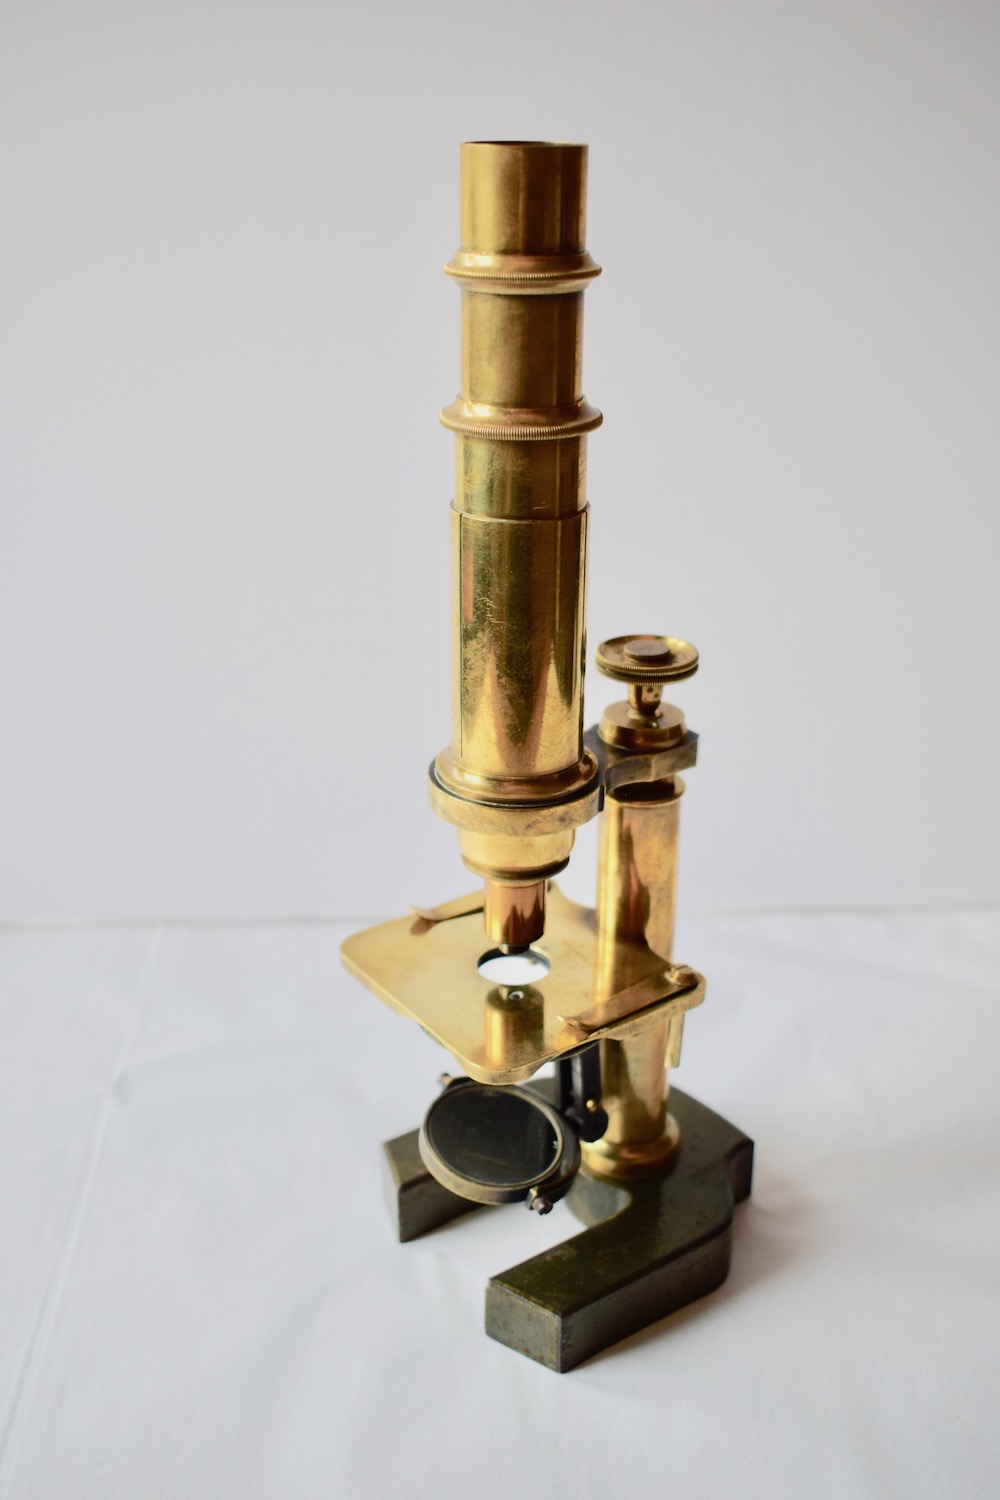
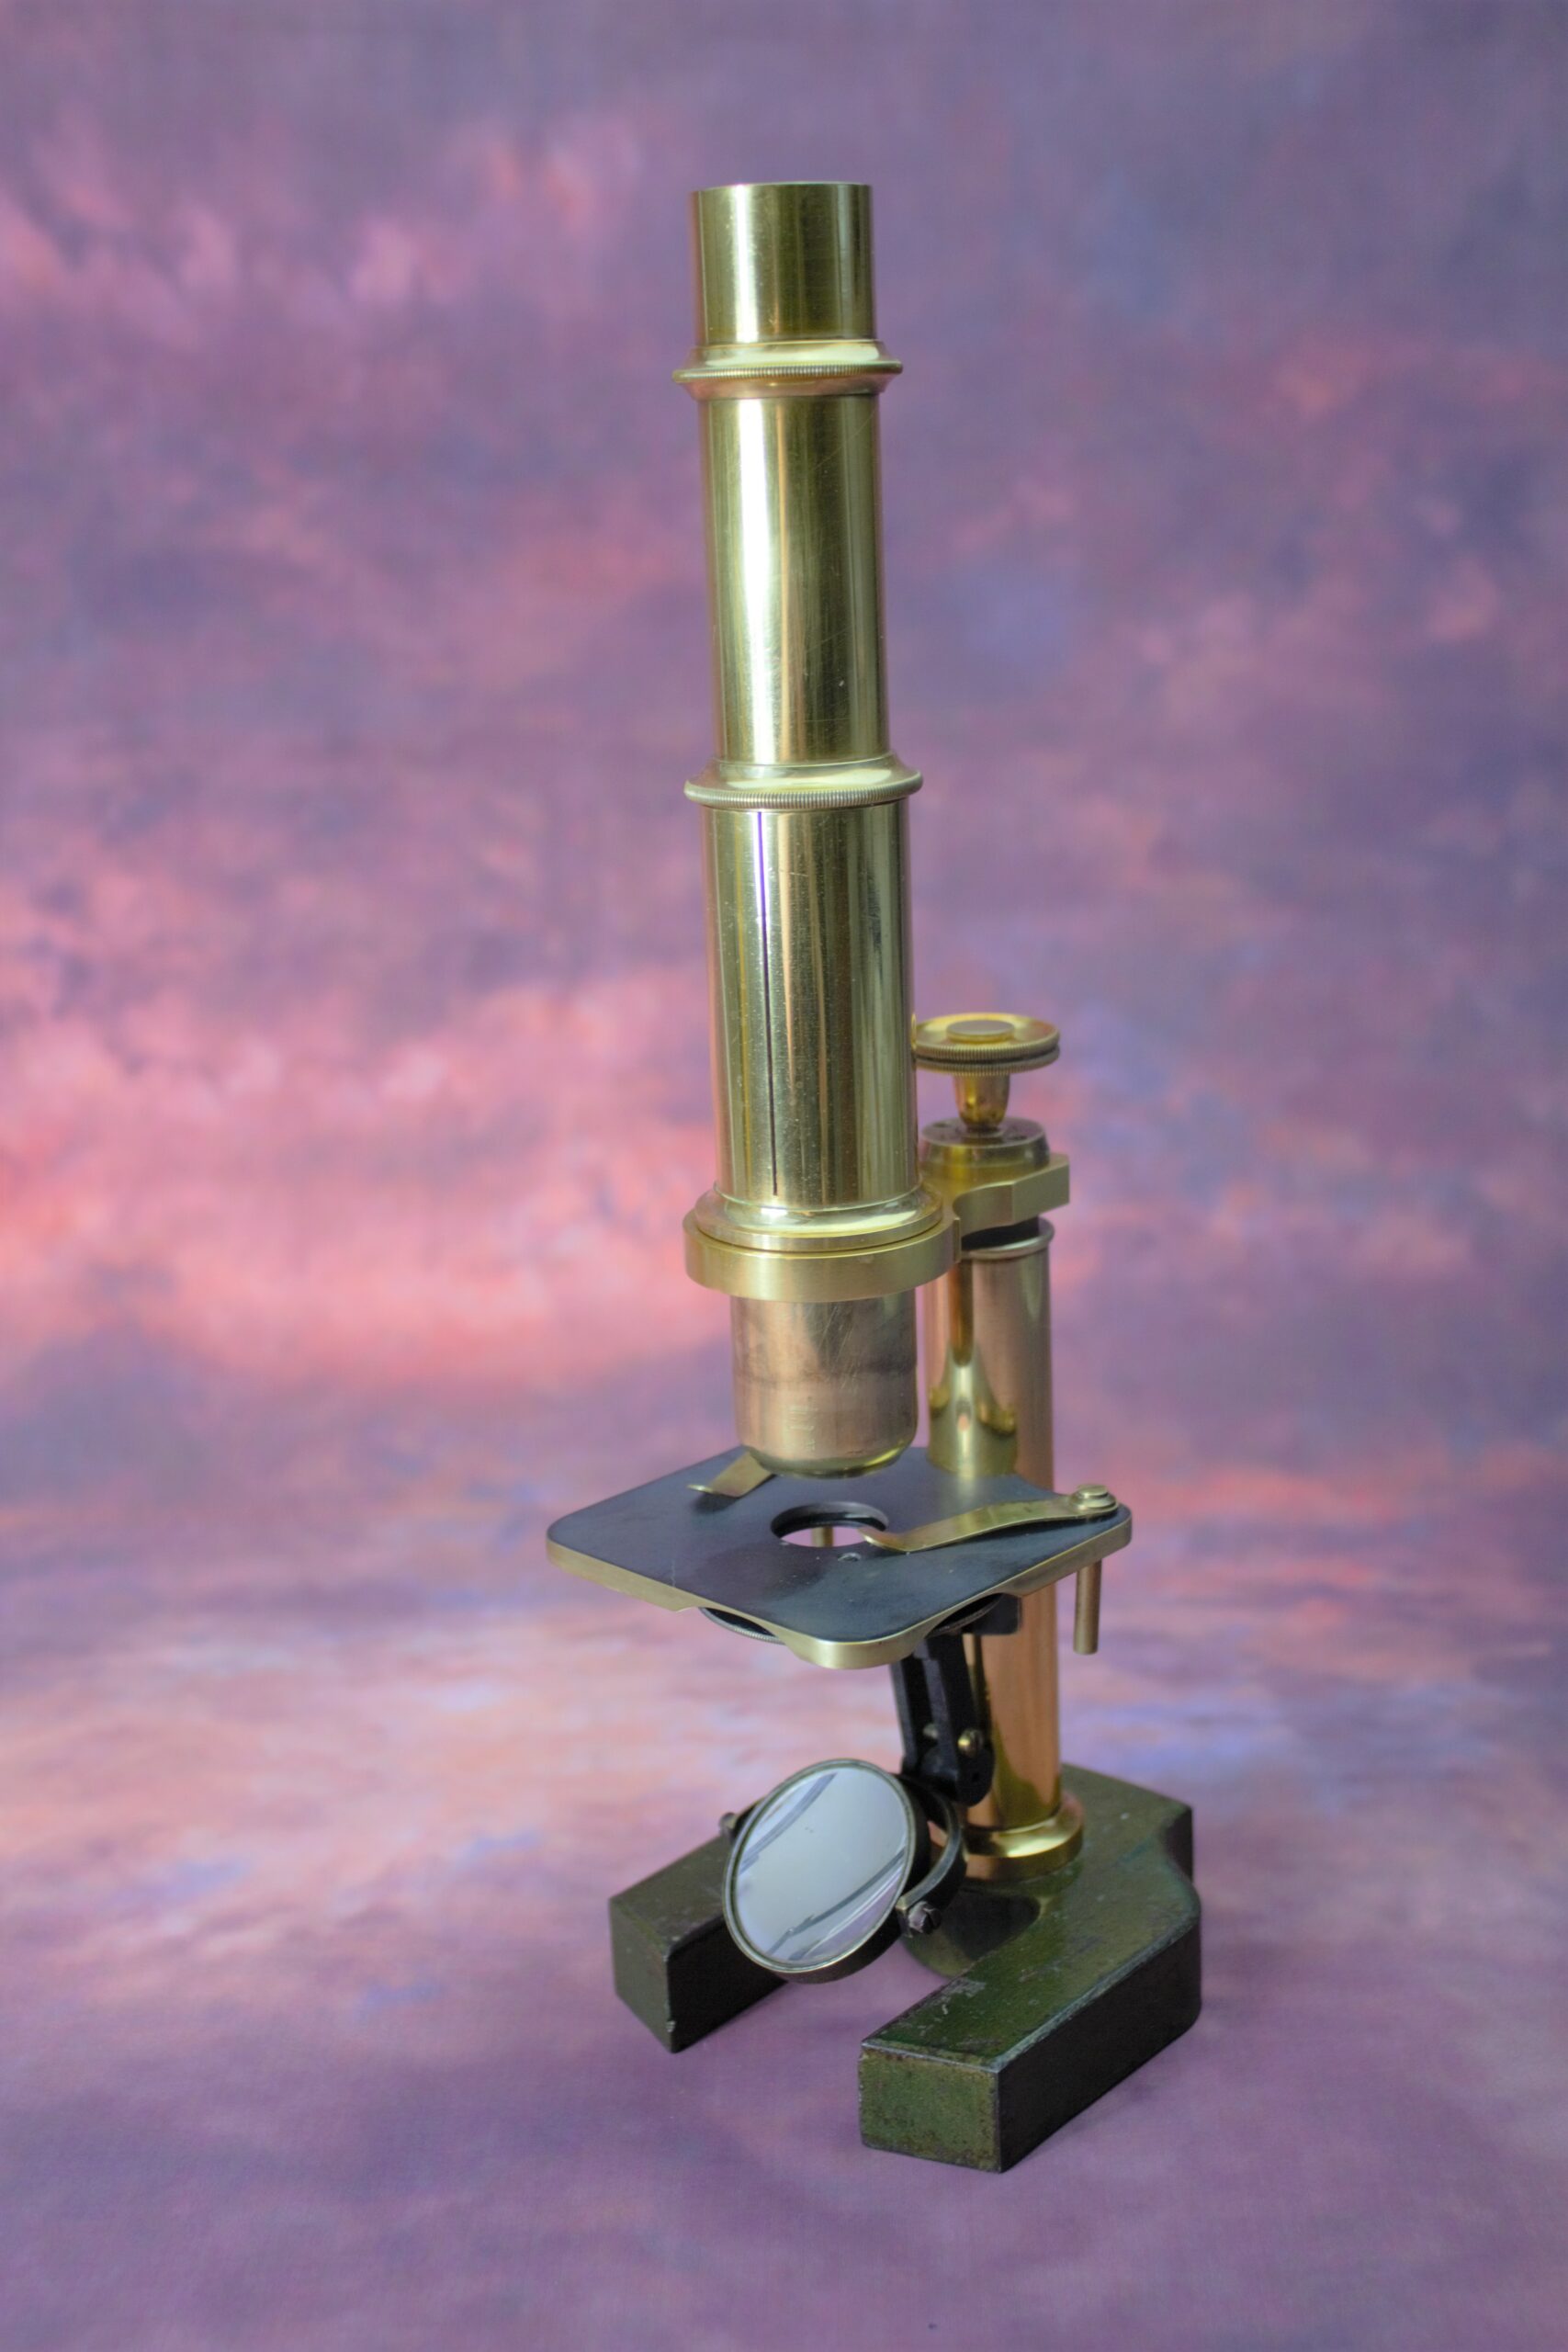
This miniature microscope has been cleaned and is awaiting lacquer. It was missing something important so a new piece had to be made. Now it is in full working order.
This little Baker with an adjustable tube didn’t have much wrong with it, a few scratches to the paint, a loose rack and stuck centering screws on the condenser. Rennaissance decorroder sorted out the stuck centering screws and the rest was spit and polish and a little gentle adjustment. I really must iron my photo background…
I have recovered reasonably well from my health issues and I am now on the mend. This can only mean one thing – microscopes need lacquering, paint needs polishing and life continues. I’m about to start on a little Bausch and Lomb, I shall post pictures tomorrow, It’s mostly paint work that needs doing. Soon, my little friend, you will be shiny again.
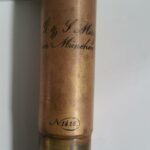
I have been restoring this lovely little Merz microscope, it’s a very special, rare microscope so I want to be careful not to over-restore it.
Below is a picture of it as it started out, as you can see it is fairly grubby. The stage has lost a great deal of its chemical blacking and there is verdigris on the foot where there is paint missing. There is no lacquer on the tube and the metal has become extremely dark. Of course, many people like the look of patinated brass, but to me, a completely blackened piece of brass is beyond a patina and certainly isn’t what the original maker would have wanted.
Merz
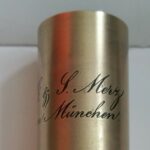
The first step in the restoration process is to clean the microscope inside and out. Corroded screws and small parts were placed in an extremely mild metal de-corroder. Larger parts were cleaned carefully by hand using decorroder or pre-lim as appropriate. Below you can see the tube in various stages of cleaning. Note that once the tube is cleaned you can actually see the guide lines the engraver used to keep his lettering a consistent size!
getting there
engraver’s guide lines visible
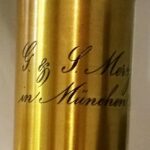
I have got to this point without using any harsh abrasives – no sandpaper, no polishing, nothing that removes any metal. Just de-corroder and pre-lim. Whilst there is still a very small amount of staining and a few small pits I did not remove them and went straight to a very, very, light straight-graining followed by lacquering.
The finished tube. You can still see the engraver’s guide lines and note that the un-lacquered parts of the microscope tube have been cleaned but have not been polished or otherwise altered.
engraver’s guide lines visible
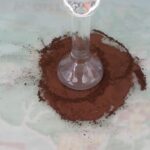
Now for the paint, the paint is a mixture of dark umber and ochre pigments ground on a ground glass sheet with a muller. Linseed oil is added until a paste is formed, it takes a long time to get rid of all the lumps. The linseed and pigment paste is then thinned with tung oil and turpentine. Tung oil dries better than linseed alone and gives a higher gloss.
grinding with muller
I have not re-blackened the stage as I do not want to take away all signs of age and character. There are a couple of deep scratches on the stage though which look to be fairly recent and I shall probably blend them in a bit by blackening just the troughs of these scratches which are currently showing bright brass. I can do this by thickening the blackening chemical with PEG and painting it into the scratch marks with a very fine artist’s brush in much the same way engraver’s fill their work. That way it won’t affect the rest of the stage.
In the next post I shall show the reassembled microscope, right now the paint is drying.
We use cookies on our website to give you the most relevant experience by remembering your preferences and repeat visits. By clicking “Accept All”, you consent to the use of ALL the cookies. However, you may visit "Cookie Settings" to provide a controlled consent.
This website uses cookies to improve your experience while you navigate through the website. Out of these, the cookies that are categorized as necessary are stored on your browser as they are essential for the working of basic functionalities of the website. We also use third-party cookies that help us analyze and understand how you use this website. These cookies will be stored in your browser only with your consent. You also have the option to opt-out of these cookies. But opting out of some of these cookies may affect your browsing experience.
Necessary cookies are absolutely essential for the website to function properly. These cookies ensure basic functionalities and security features of the website, anonymously.
Cookie
Duration
Description
cookielawinfo-checkbox-analytics
11 months
This cookie is set by GDPR Cookie Consent plugin. The cookie is used to store the user consent for the cookies in the category "Analytics".
cookielawinfo-checkbox-functional
11 months
The cookie is set by GDPR cookie consent to record the user consent for the cookies in the category "Functional".
cookielawinfo-checkbox-necessary
11 months
This cookie is set by GDPR Cookie Consent plugin. The cookies is used to store the user consent for the cookies in the category "Necessary".
cookielawinfo-checkbox-others
11 months
This cookie is set by GDPR Cookie Consent plugin. The cookie is used to store the user consent for the cookies in the category "Other.
cookielawinfo-checkbox-performance
11 months
This cookie is set by GDPR Cookie Consent plugin. The cookie is used to store the user consent for the cookies in the category "Performance".
viewed_cookie_policy
11 months
The cookie is set by the GDPR Cookie Consent plugin and is used to store whether or not user has consented to the use of cookies. It does not store any personal data.
Functional cookies help to perform certain functionalities like sharing the content of the website on social media platforms, collect feedbacks, and other third-party features.
Performance cookies are used to understand and analyze the key performance indexes of the website which helps in delivering a better user experience for the visitors.
Analytical cookies are used to understand how visitors interact with the website. These cookies help provide information on metrics the number of visitors, bounce rate, traffic source, etc.
Advertisement cookies are used to provide visitors with relevant ads and marketing campaigns. These cookies track visitors across websites and collect information to provide customized ads.