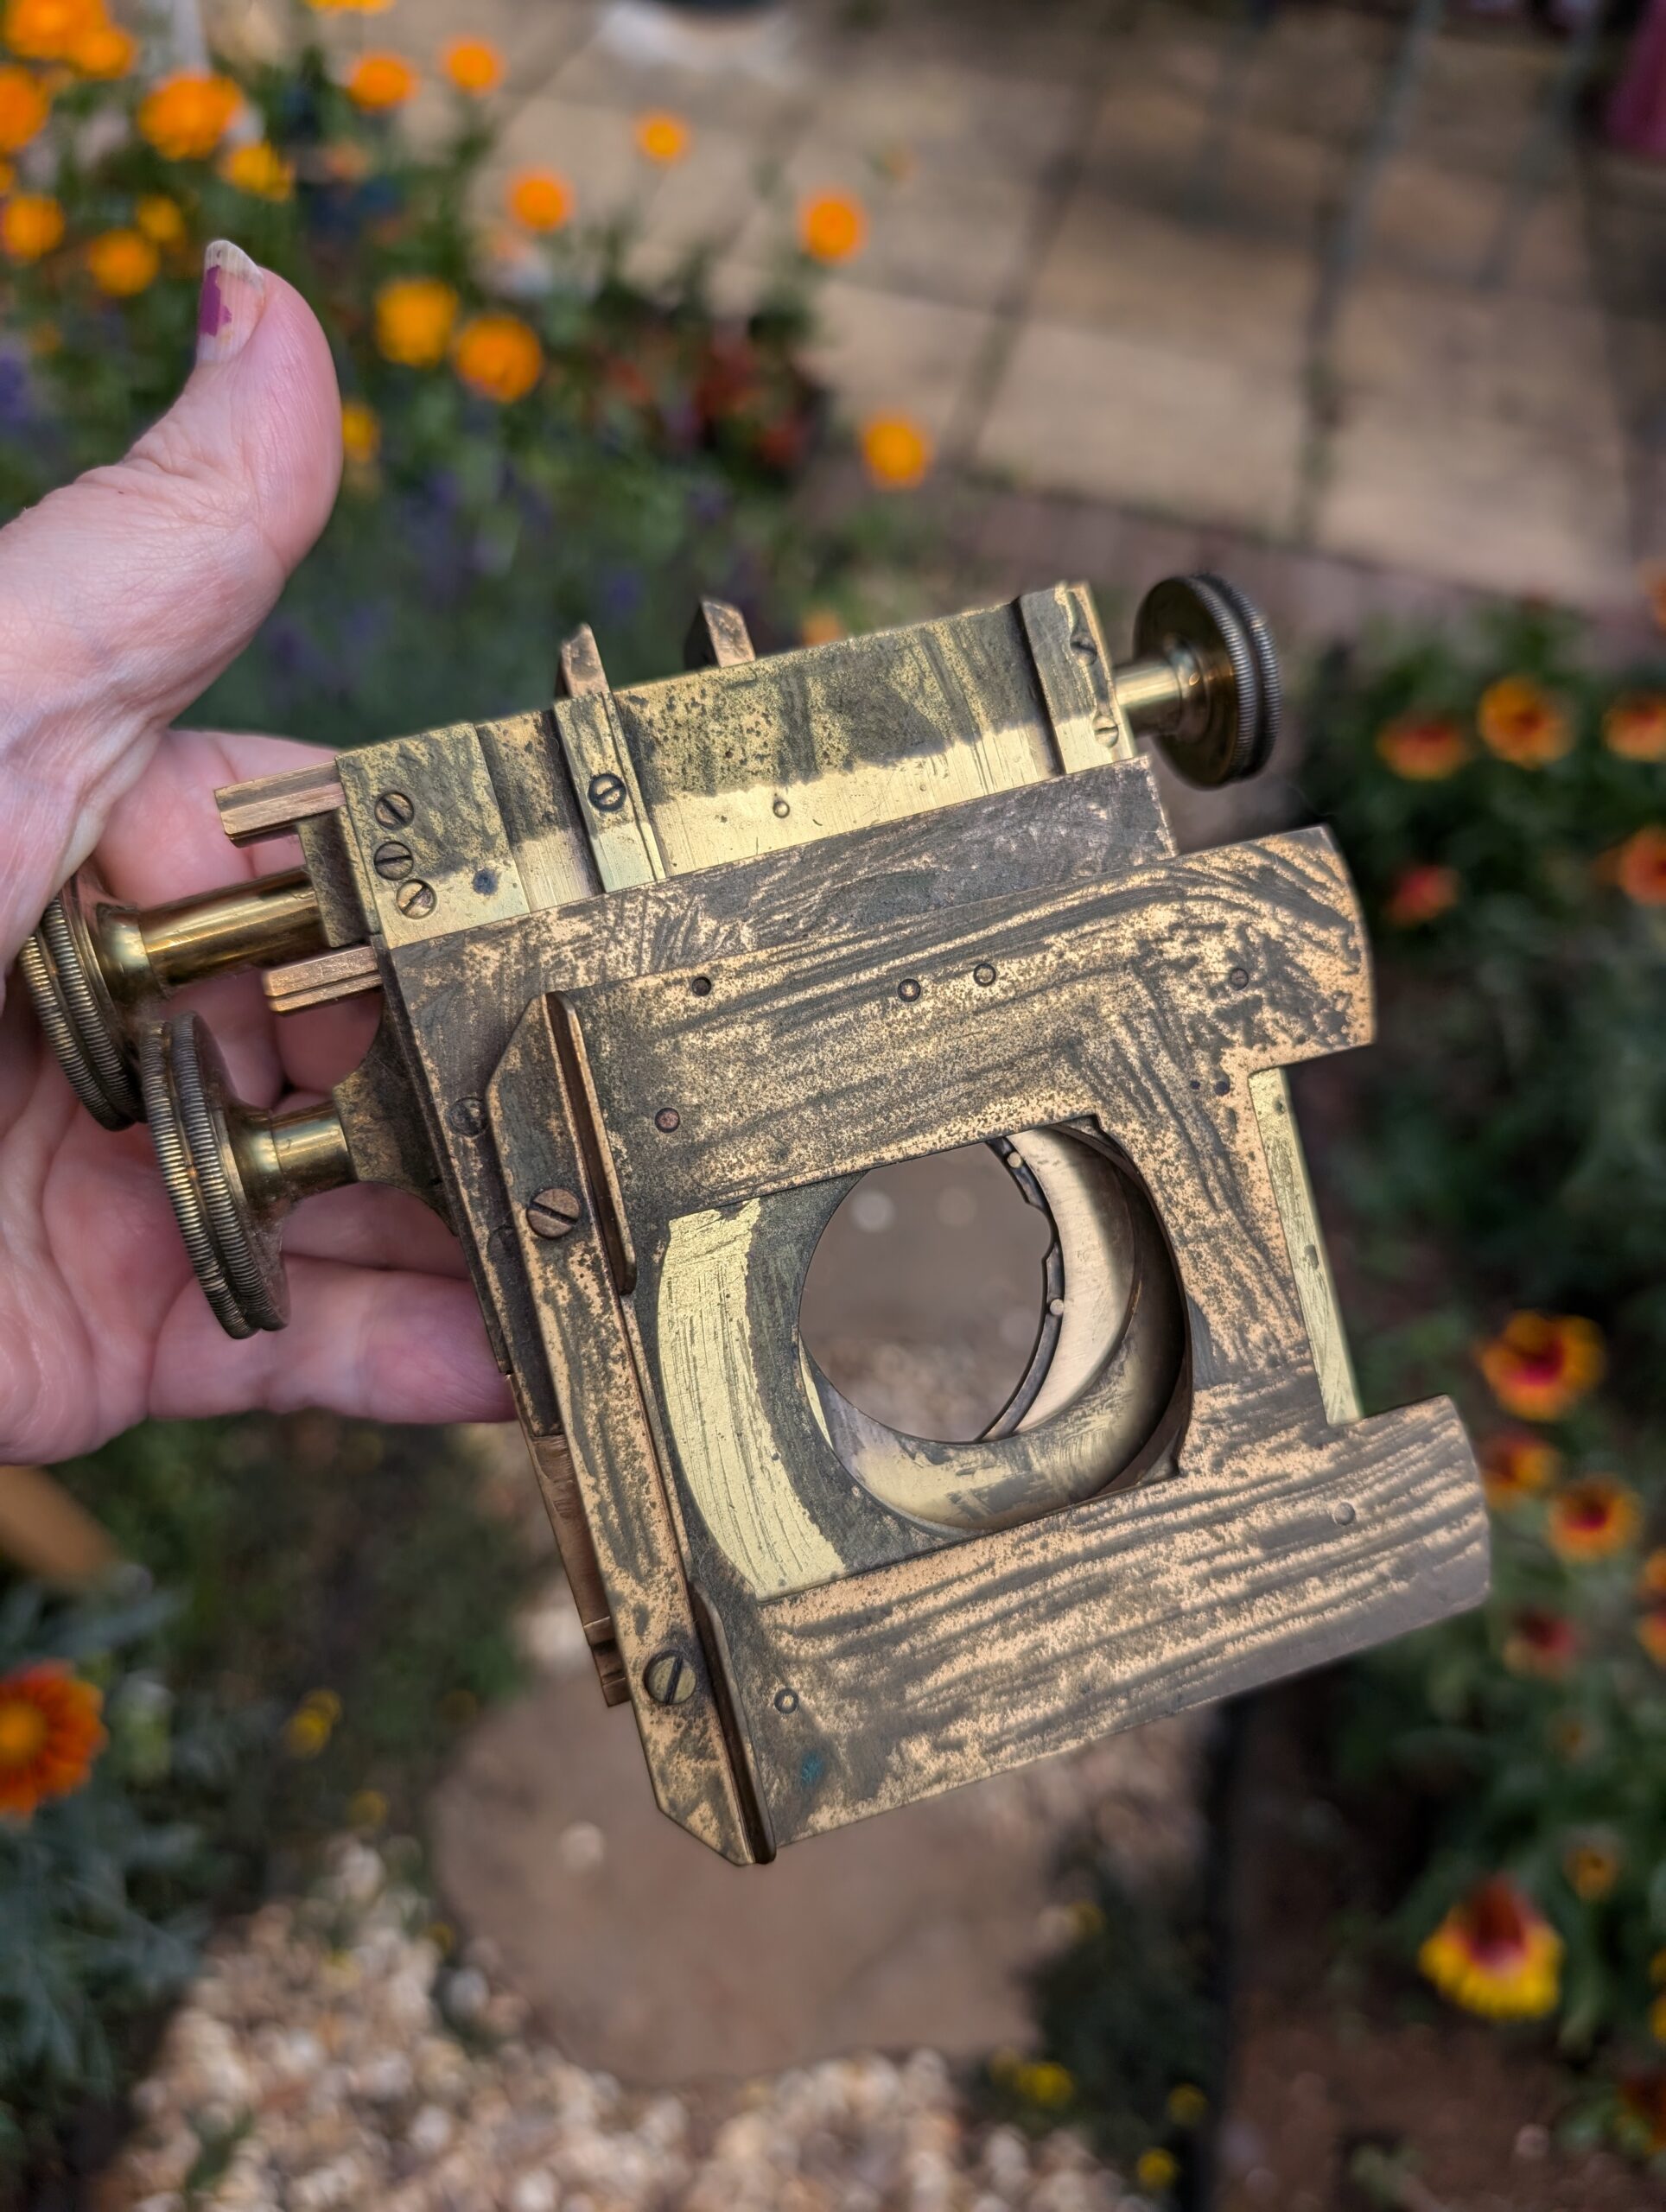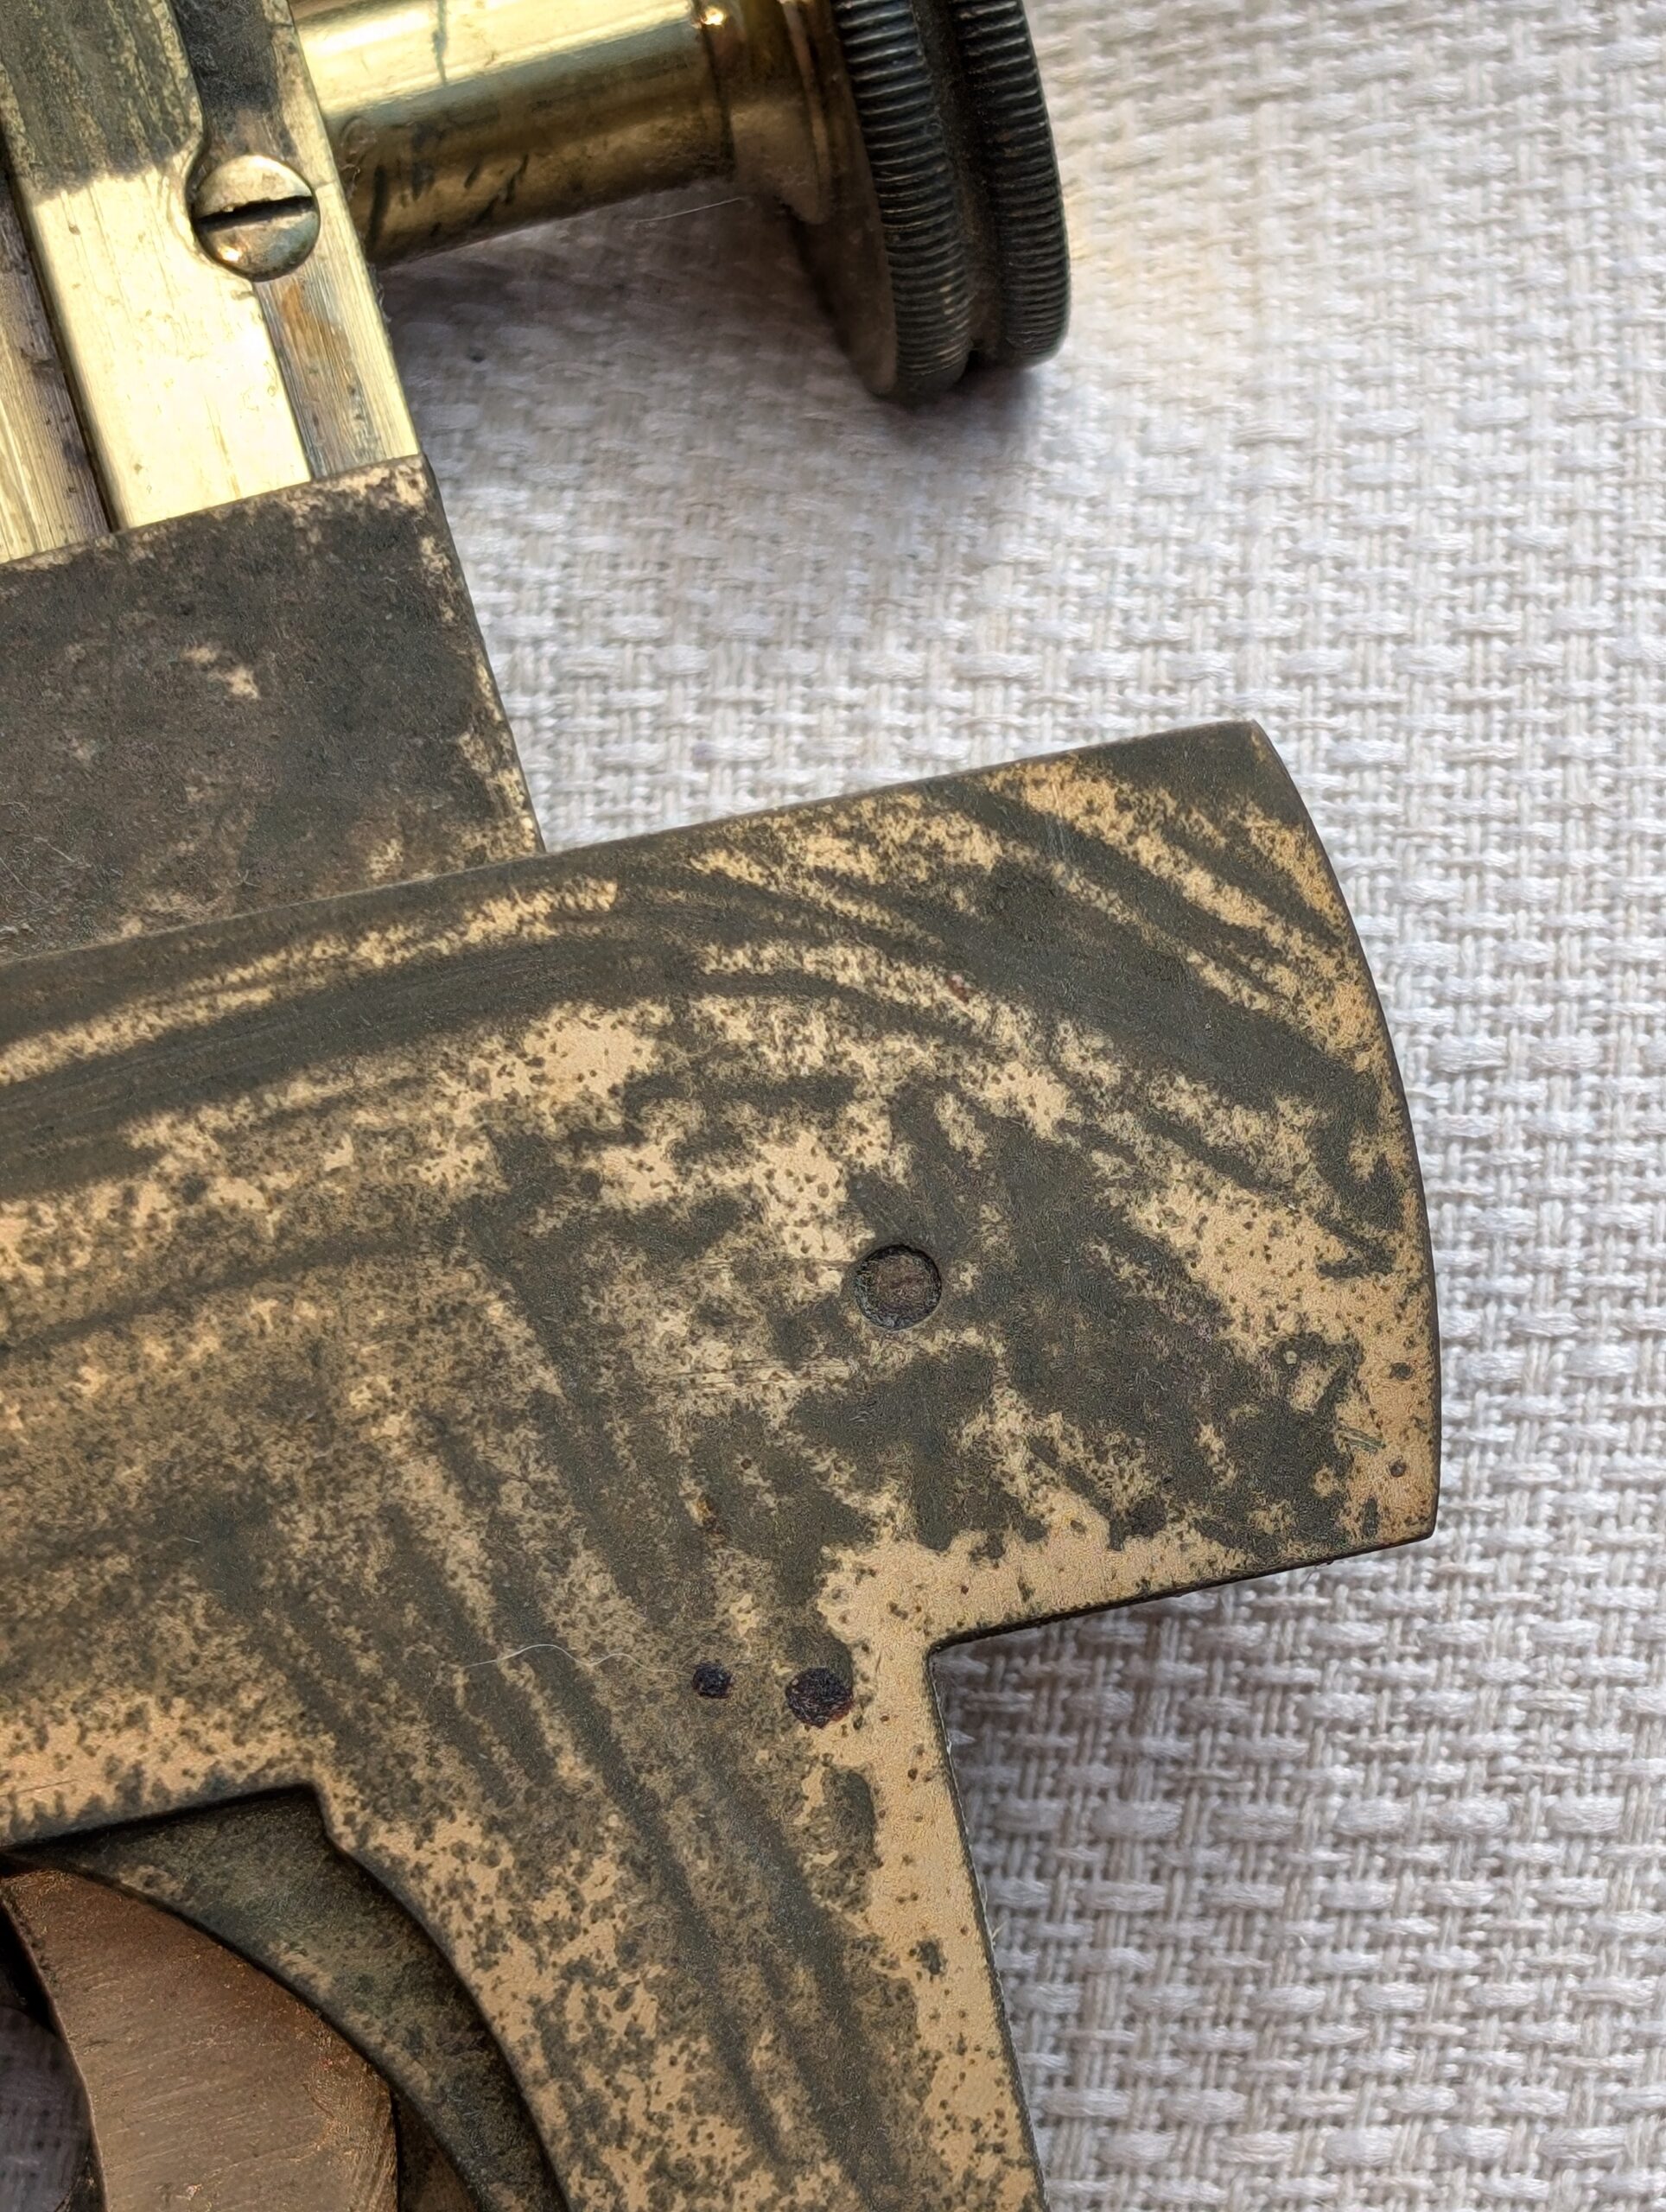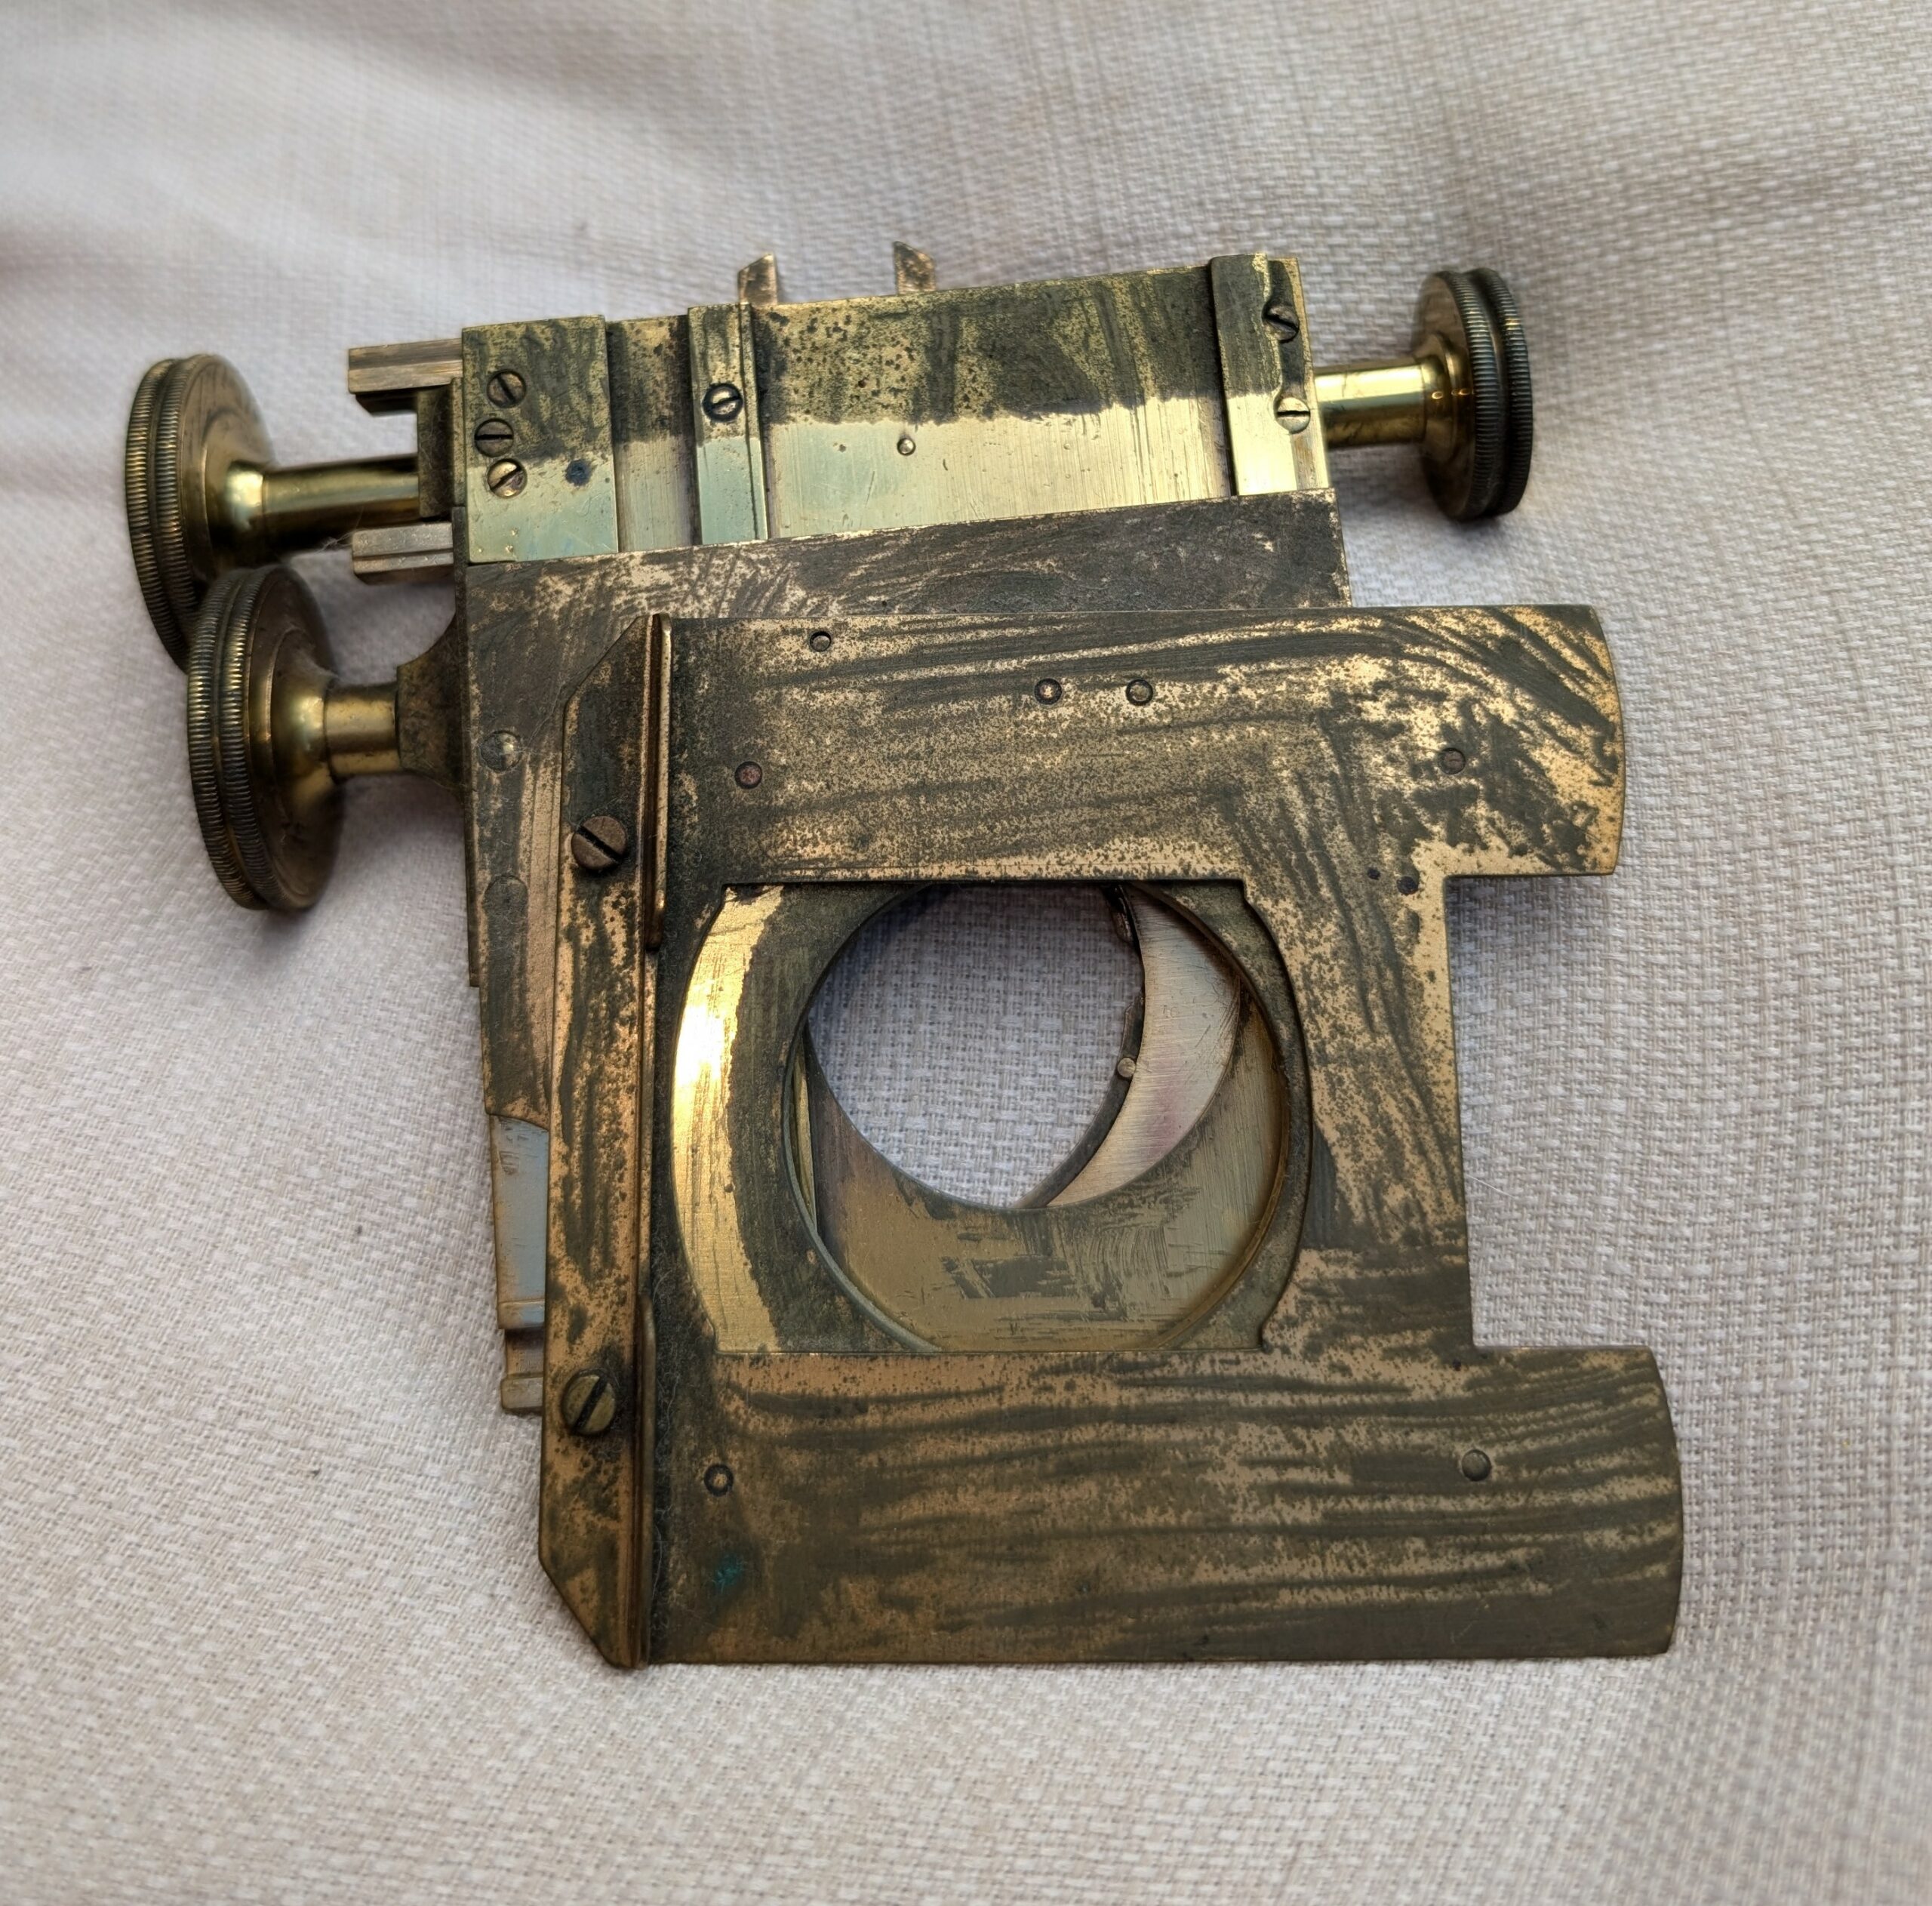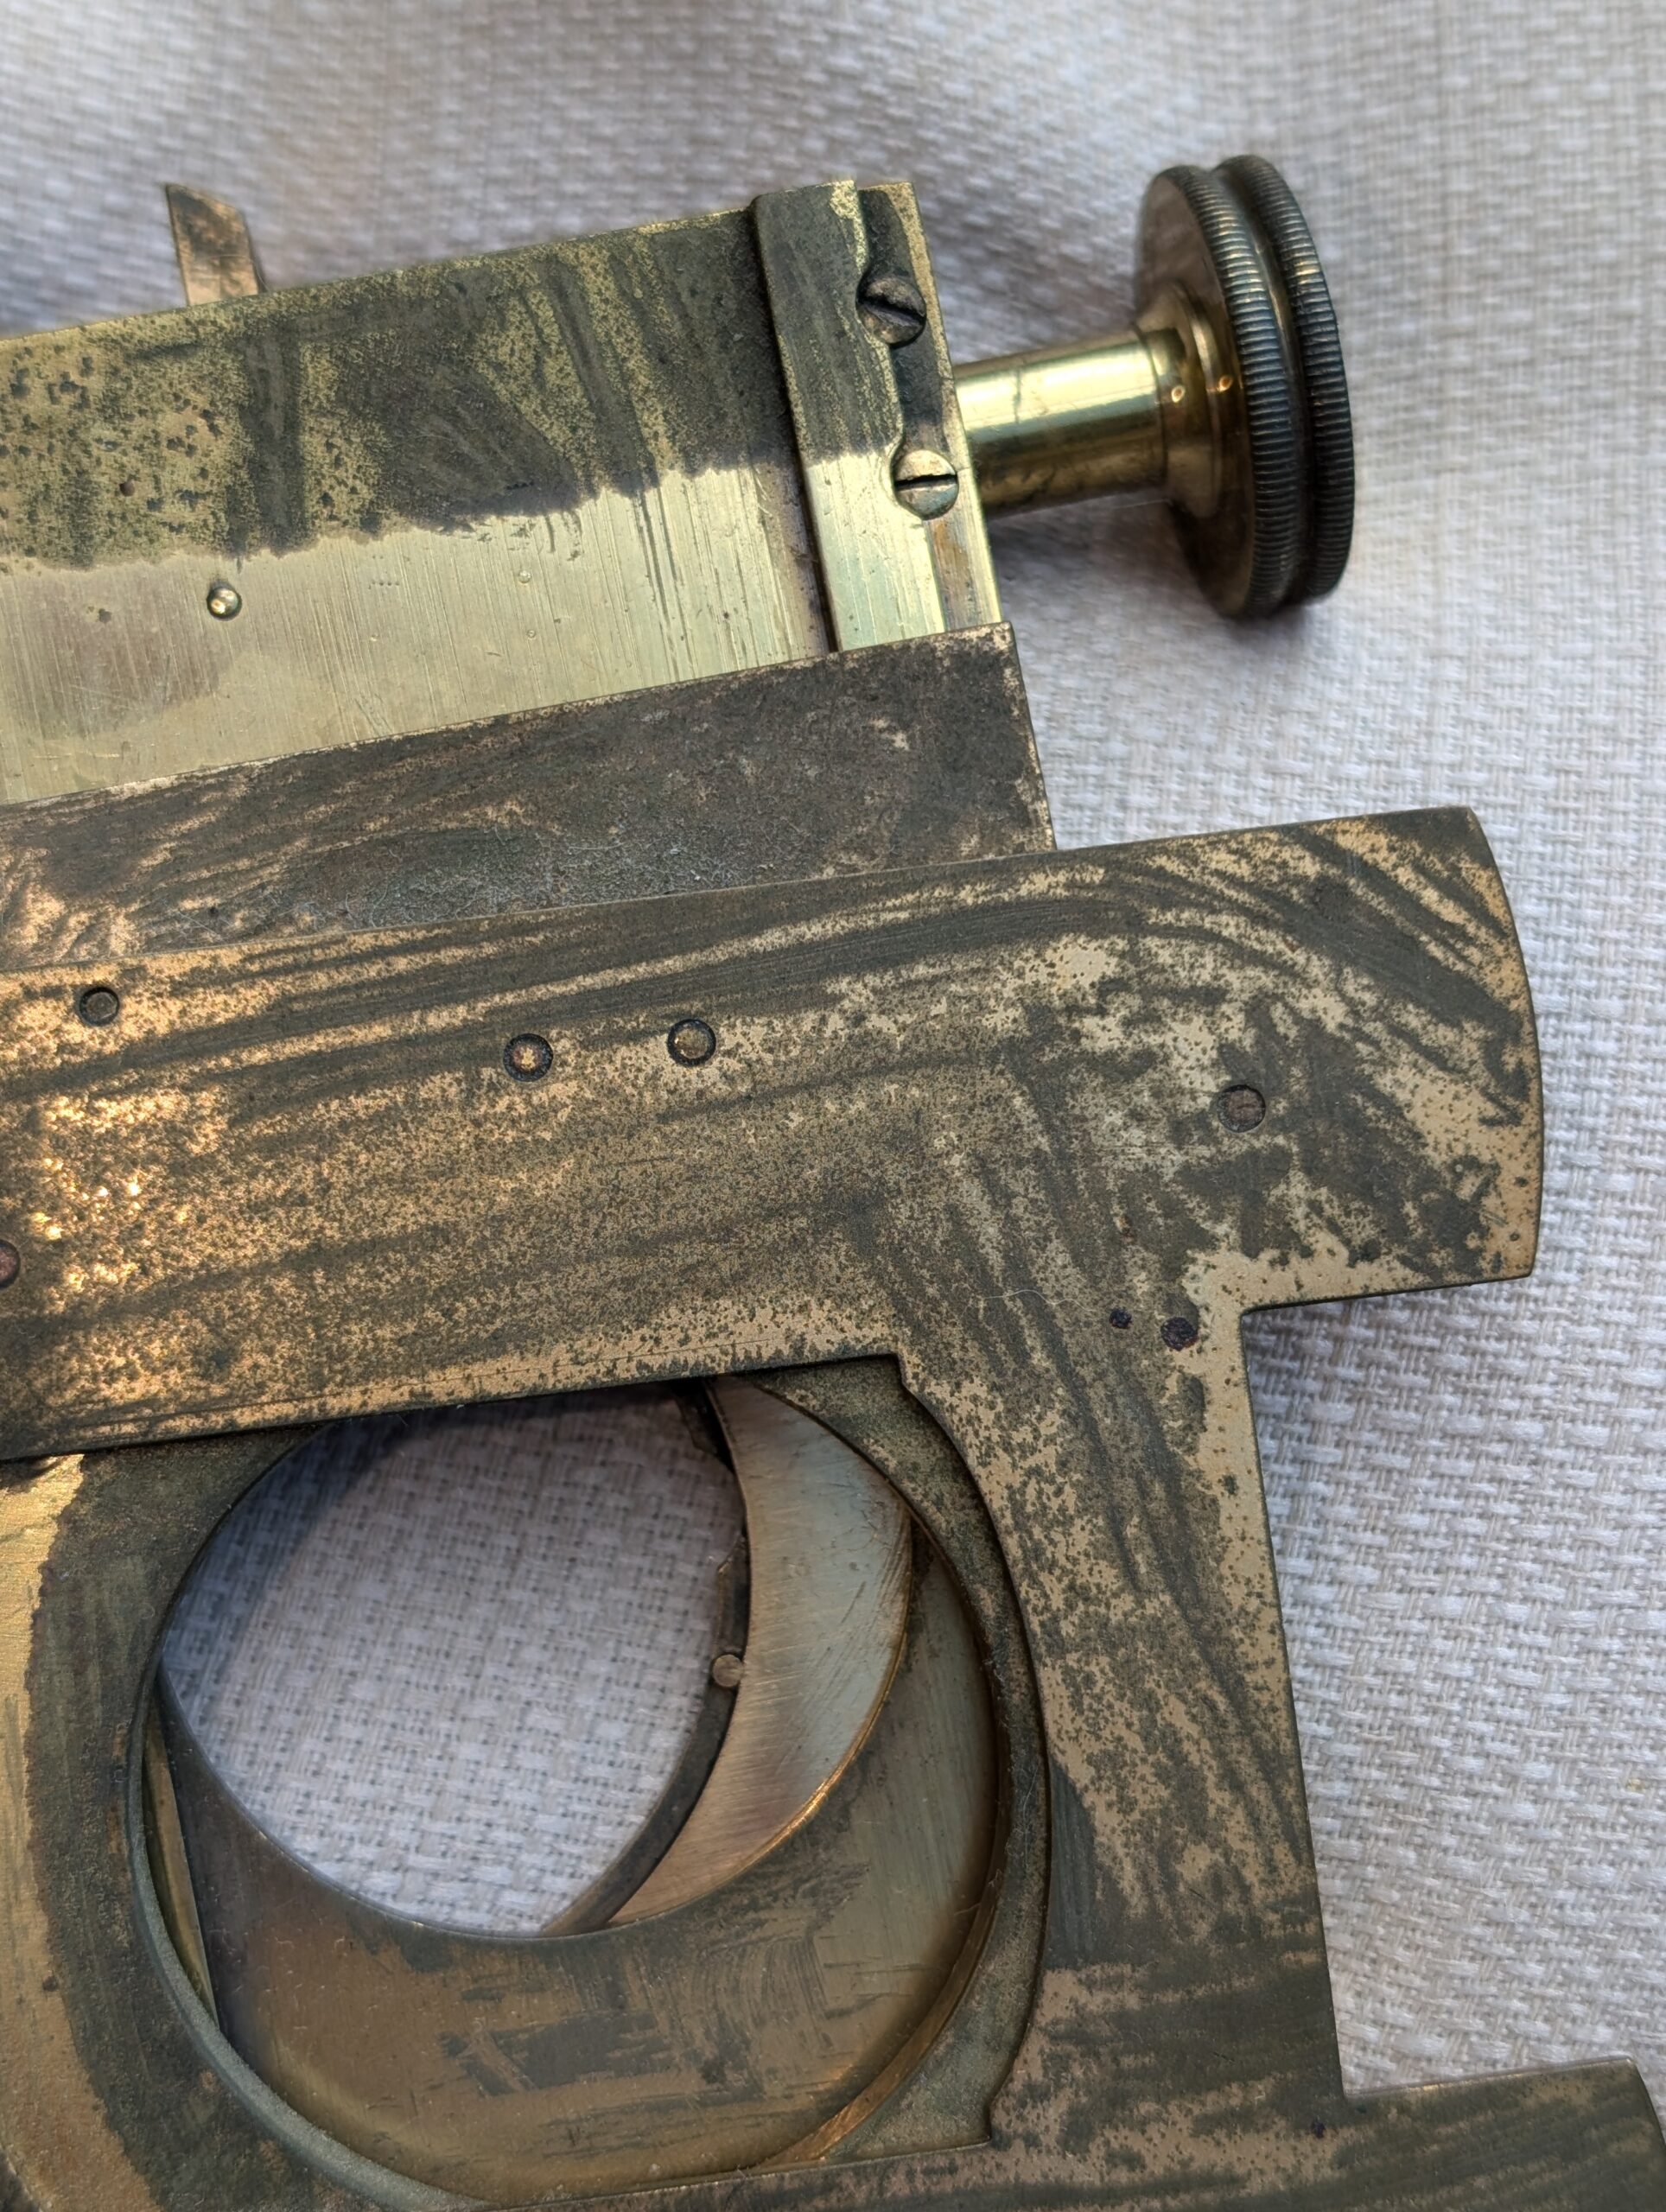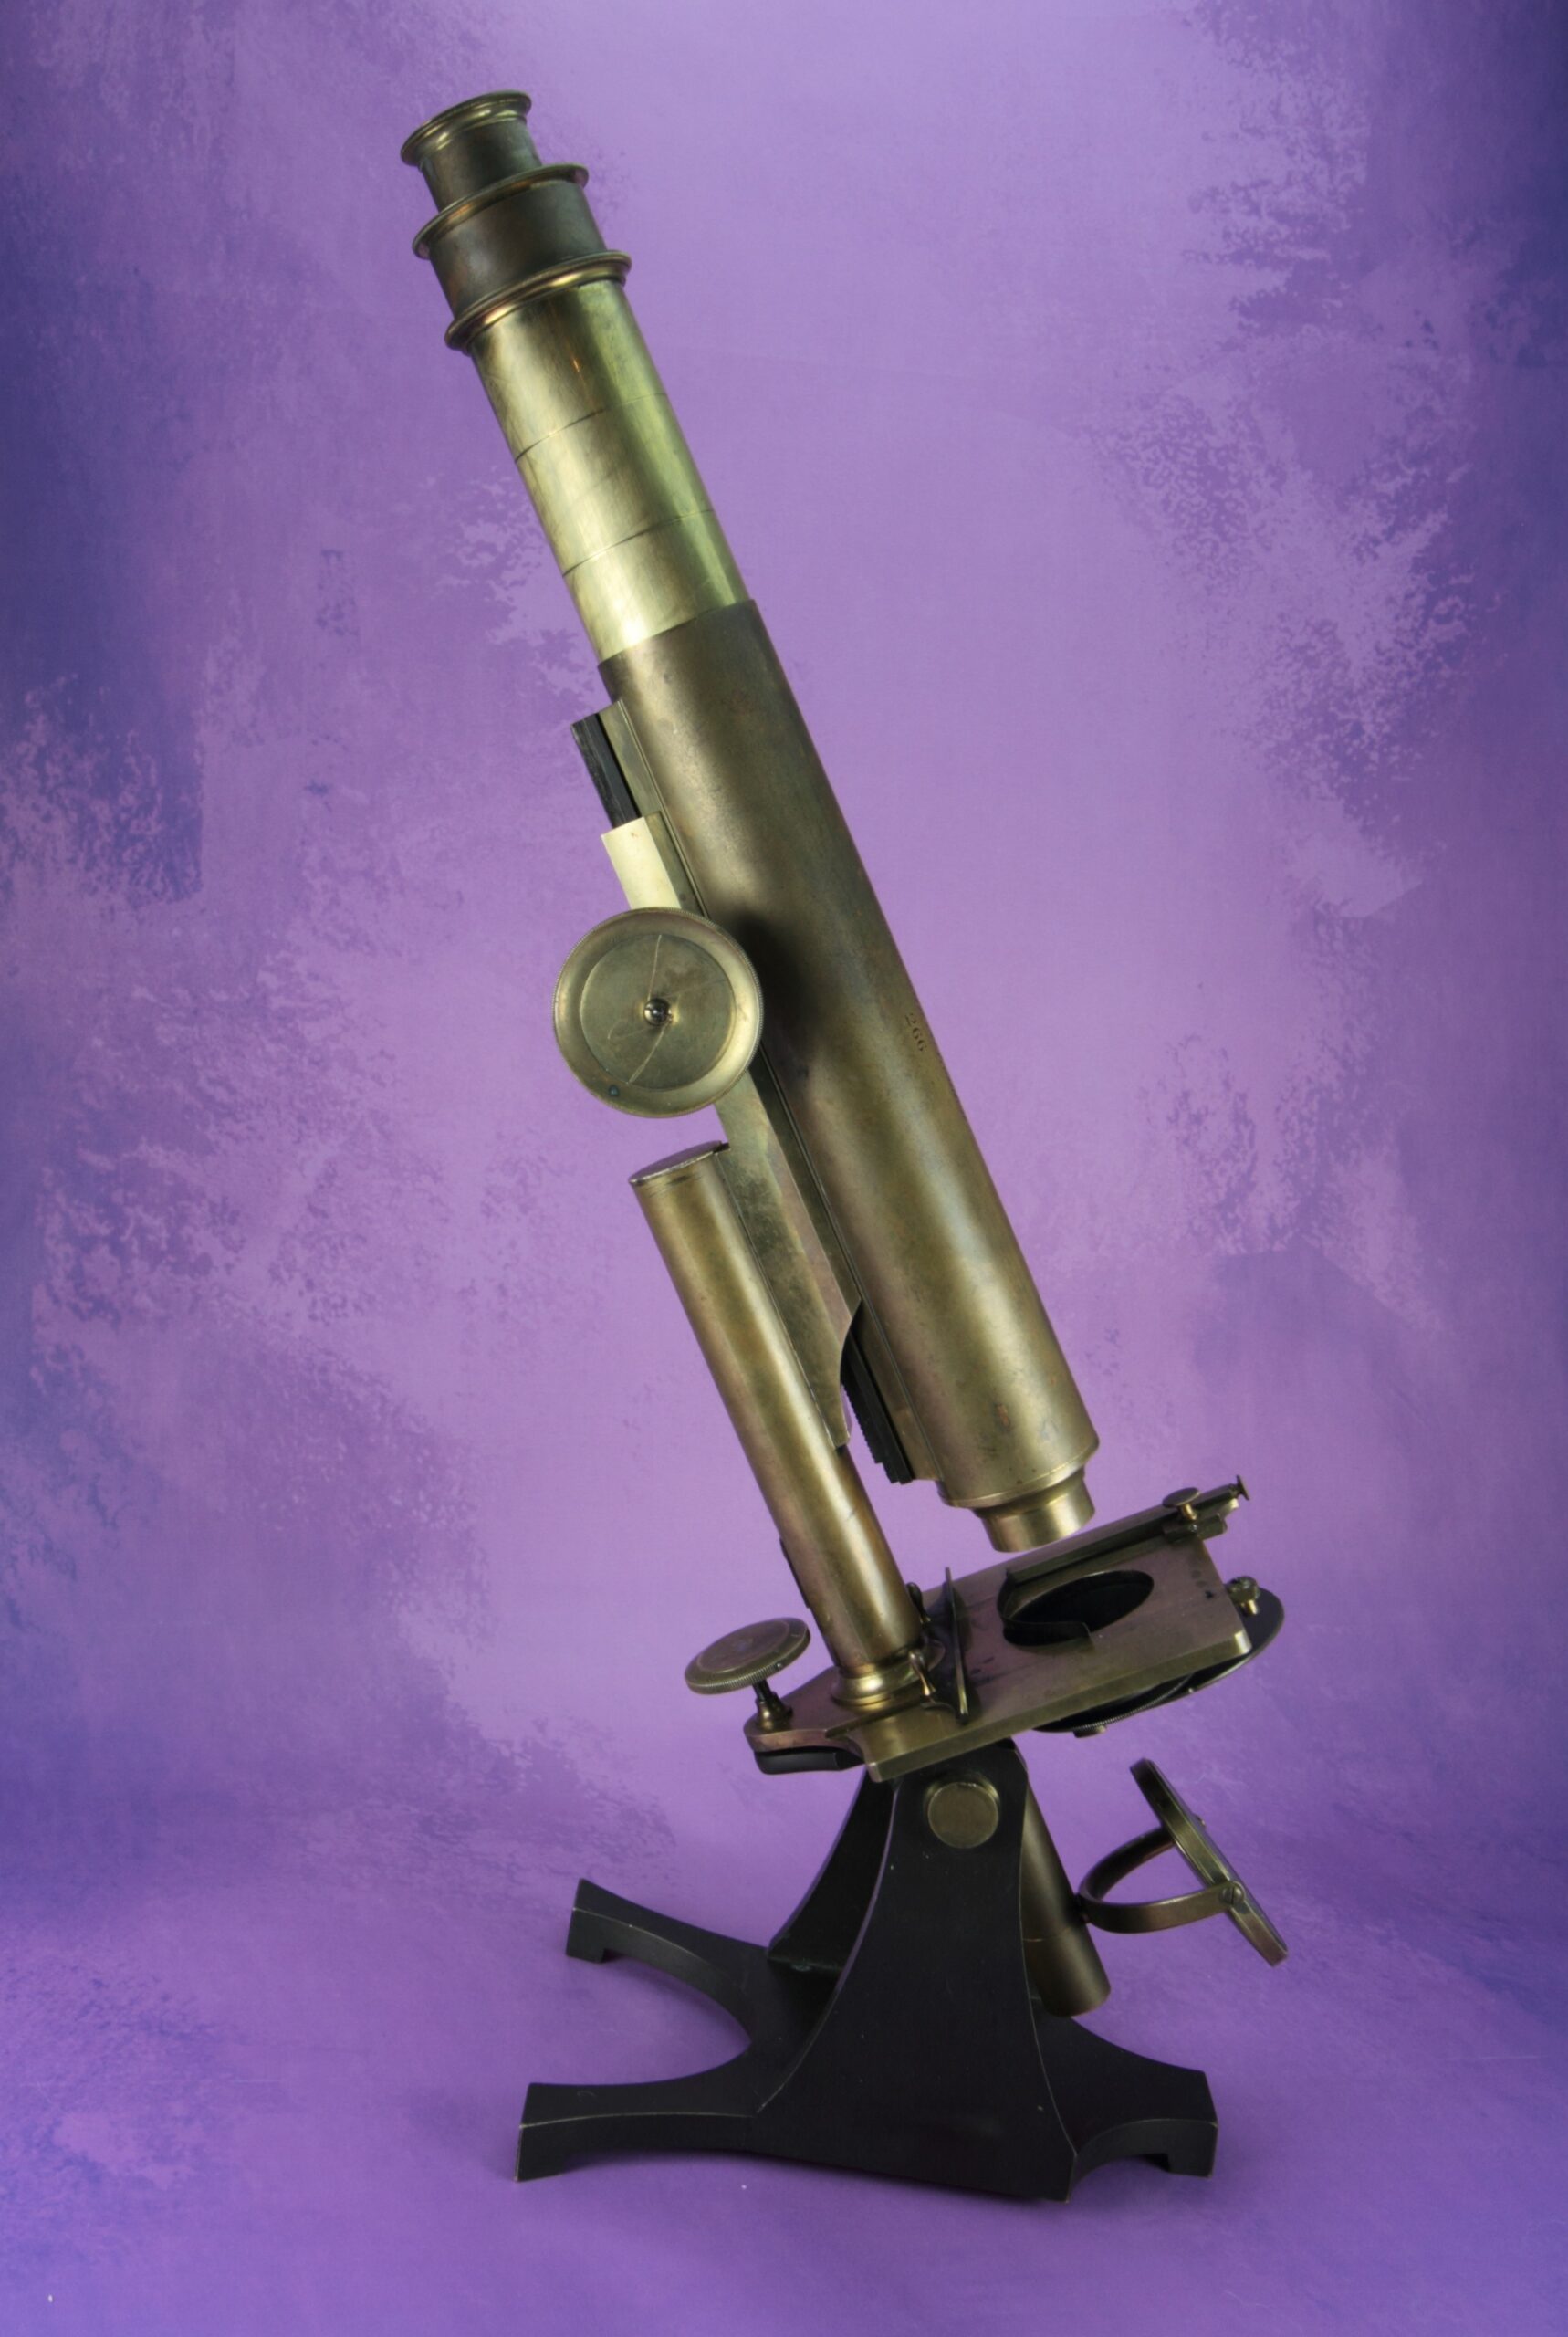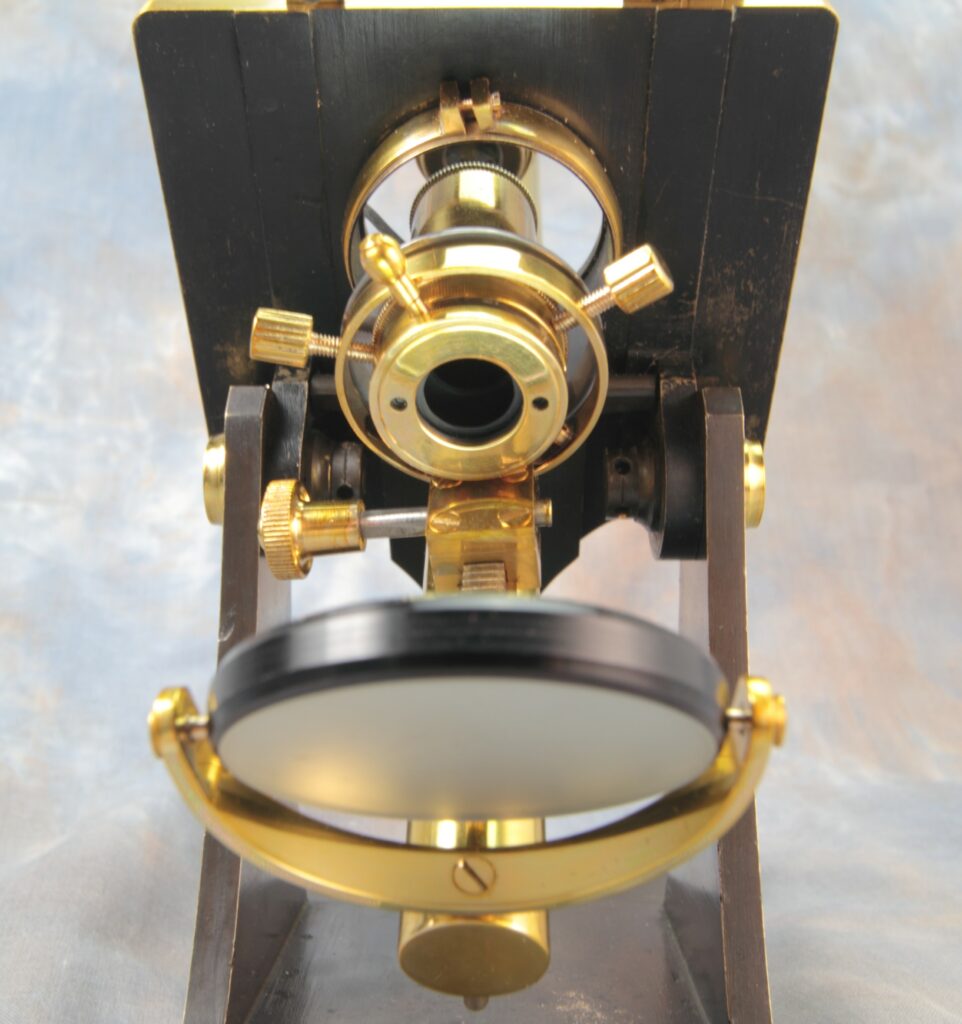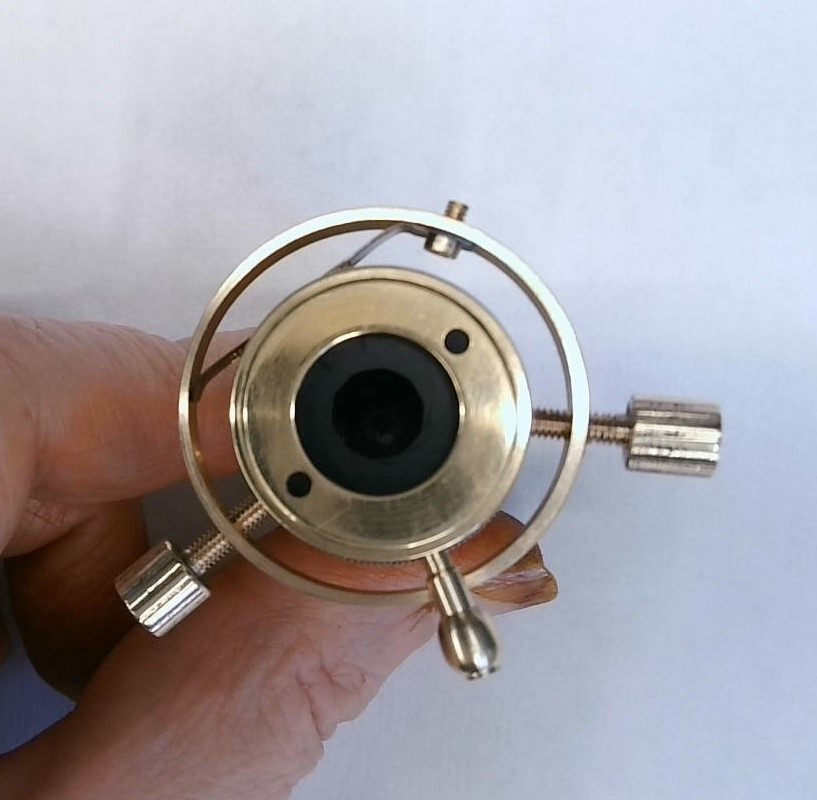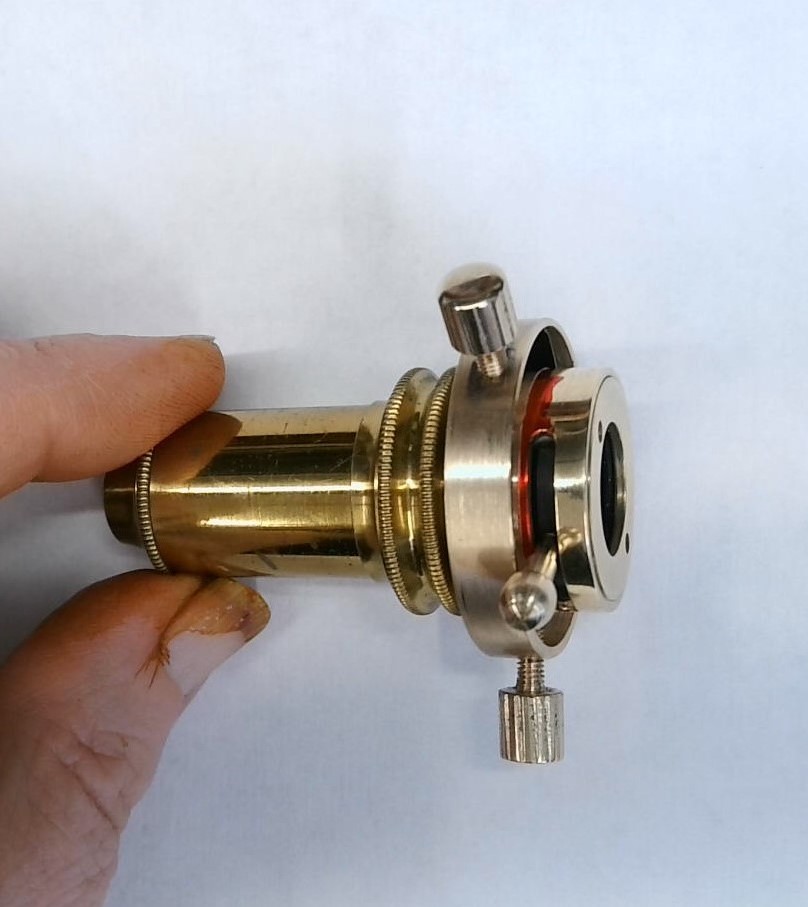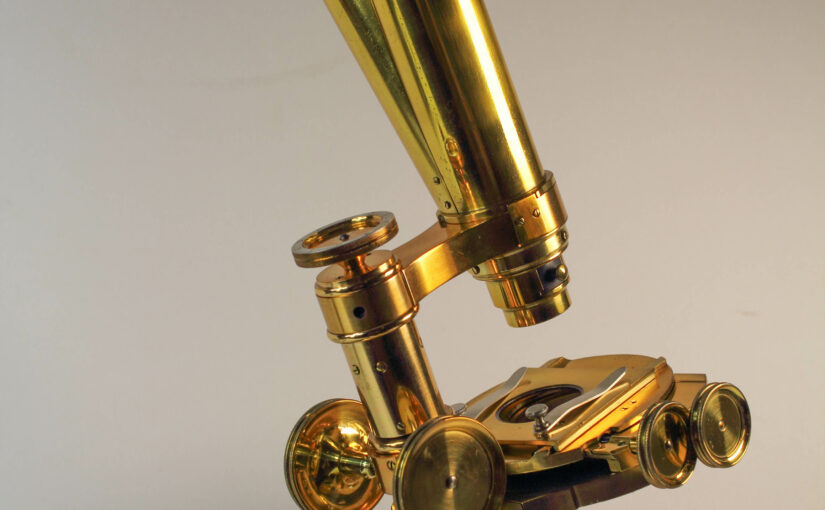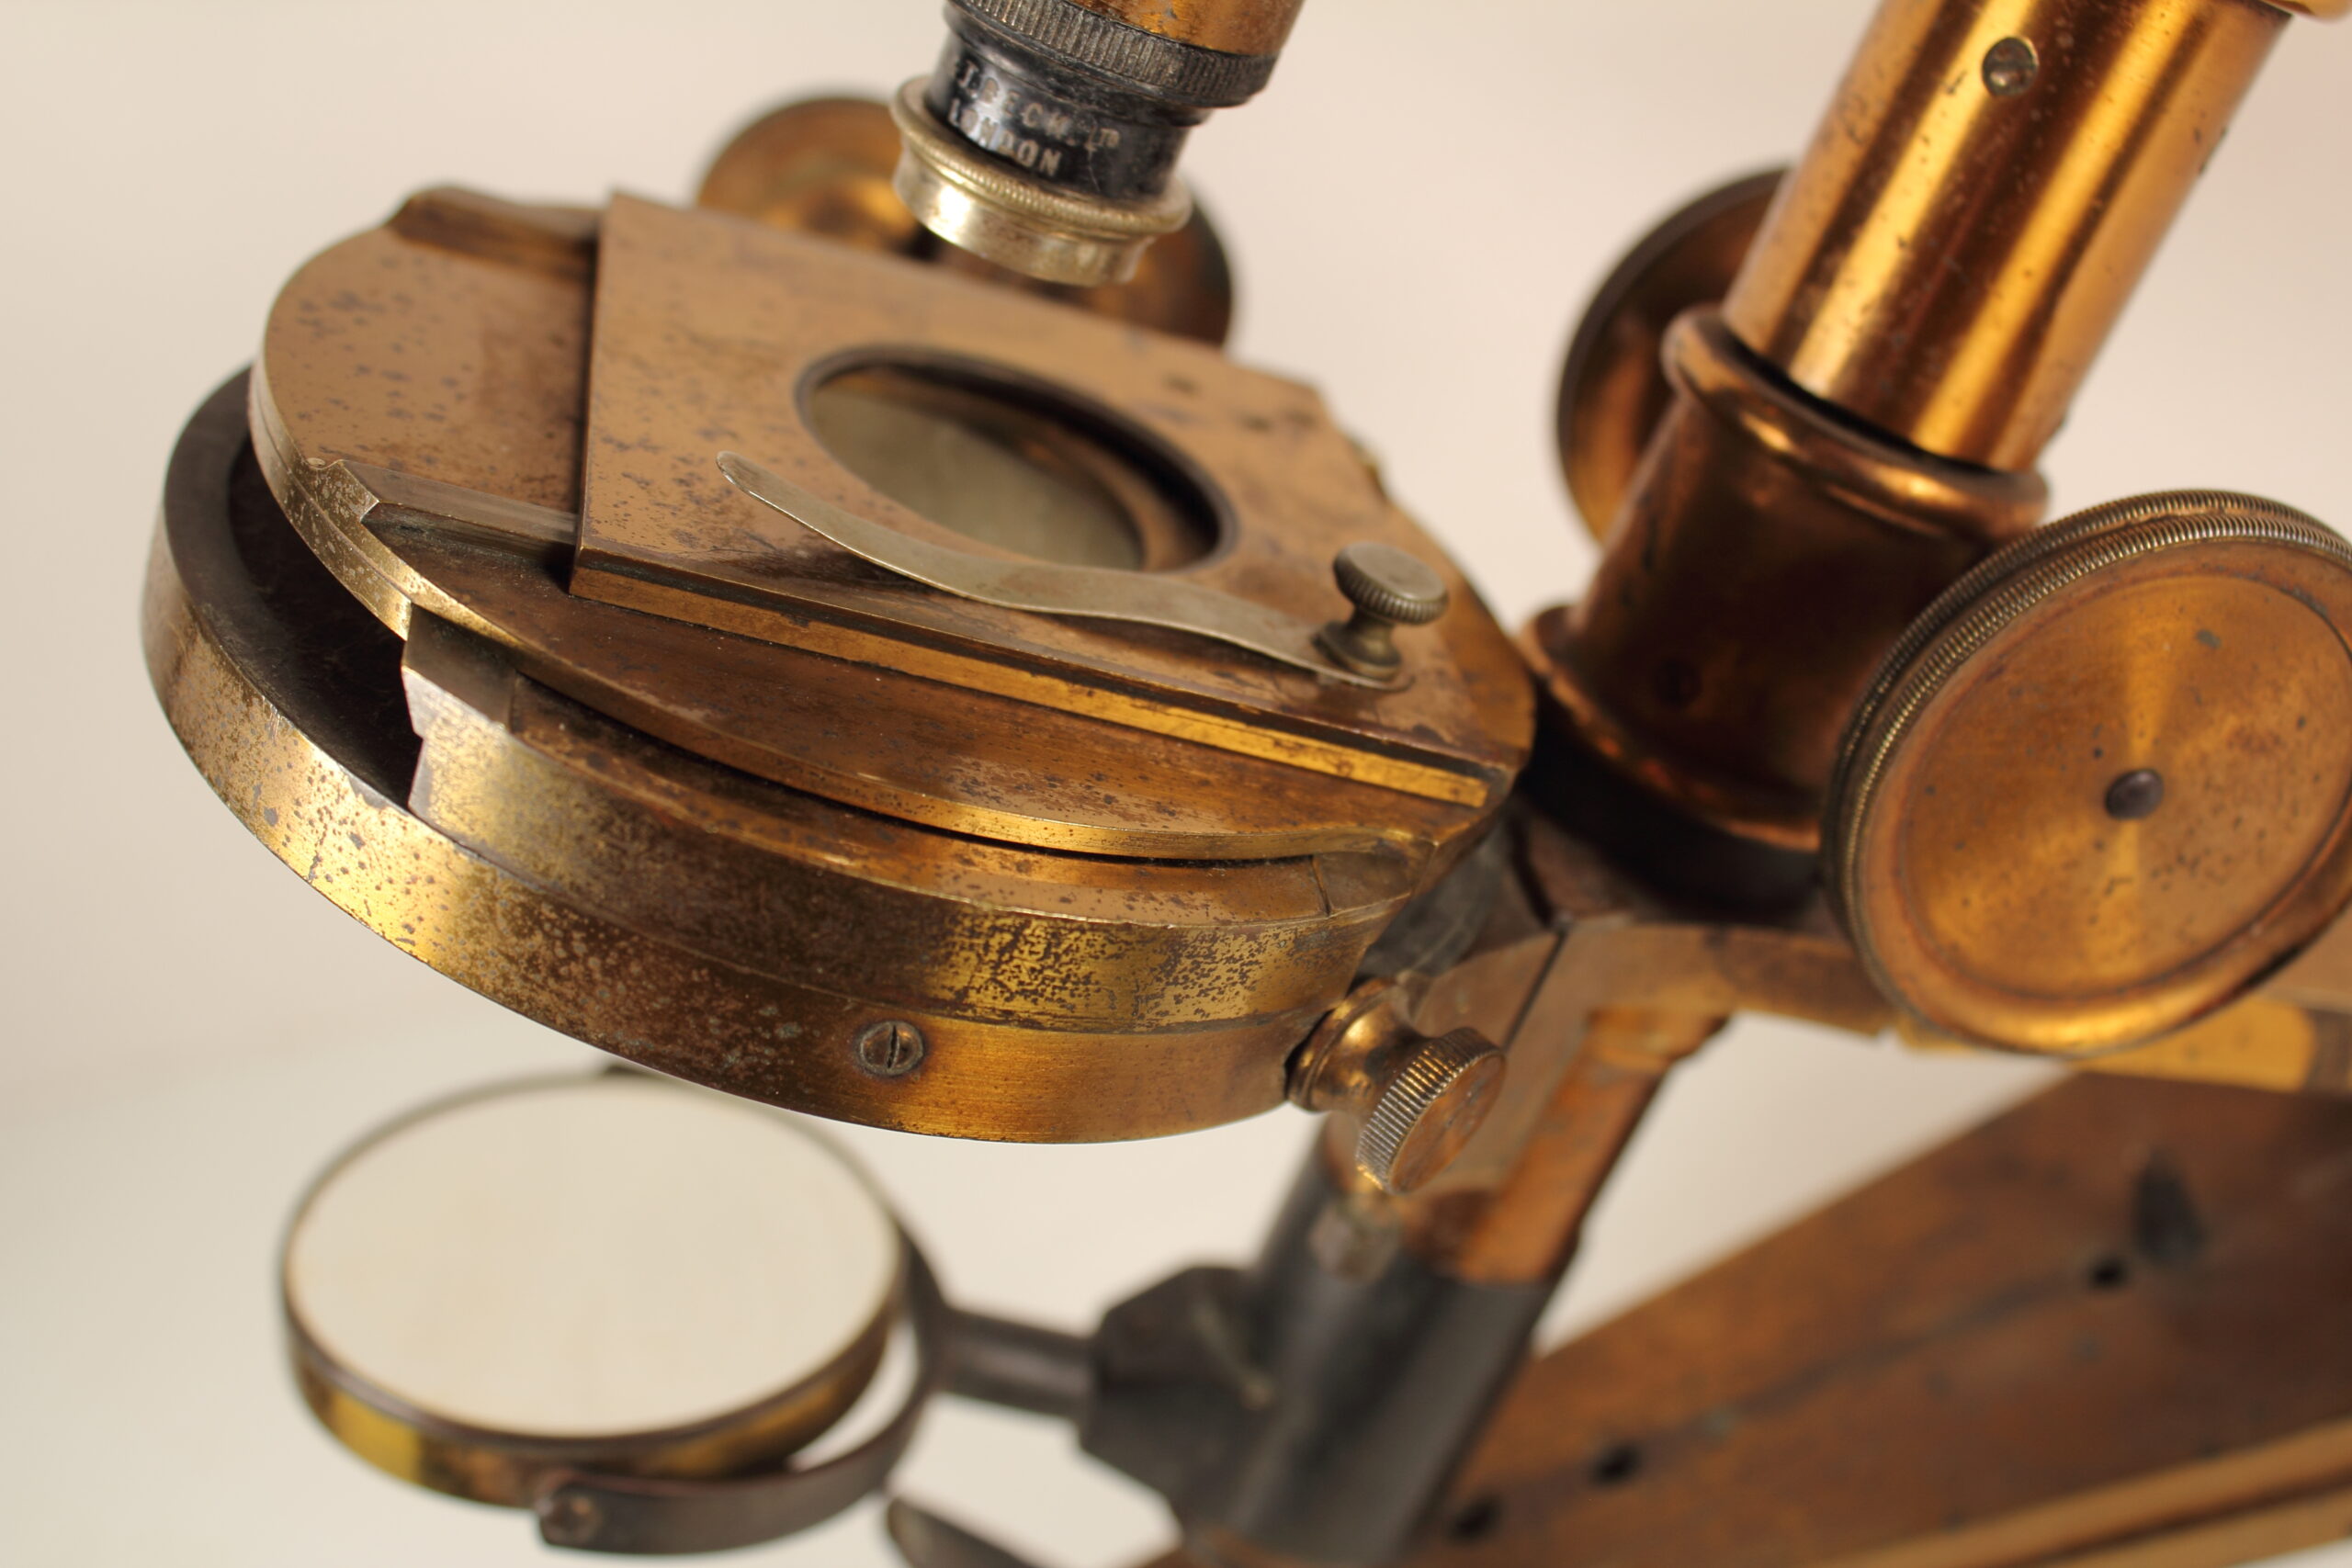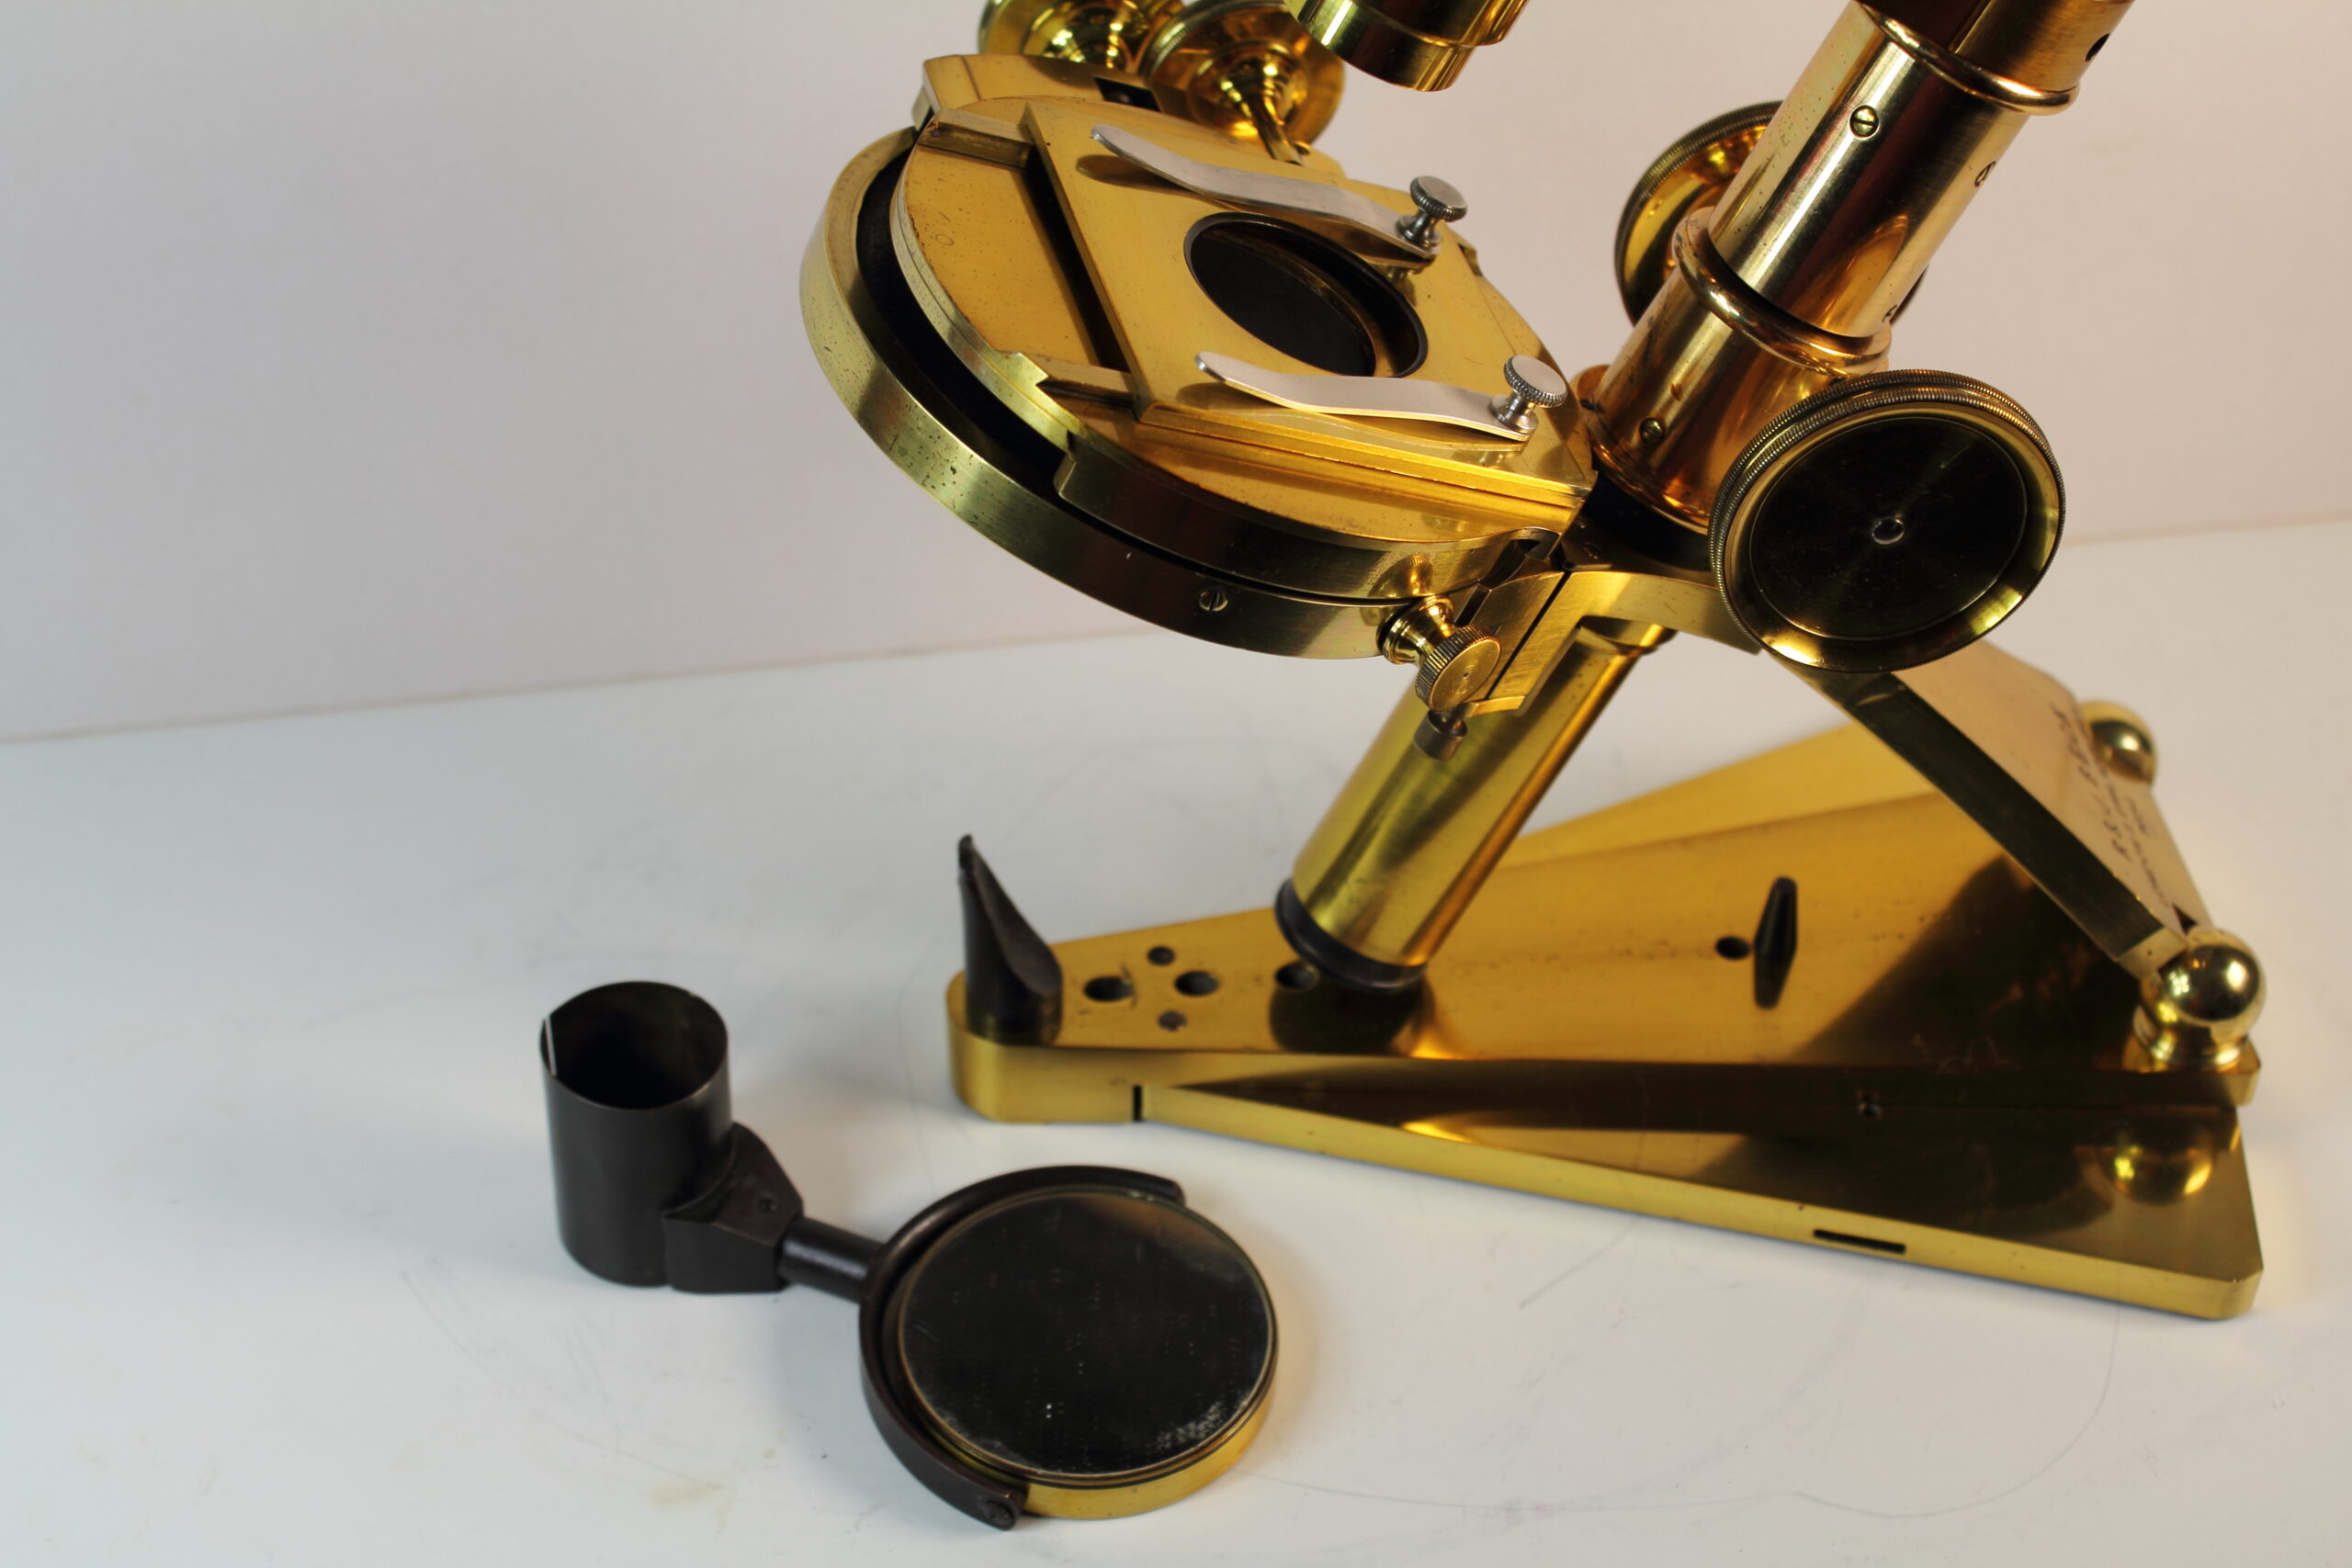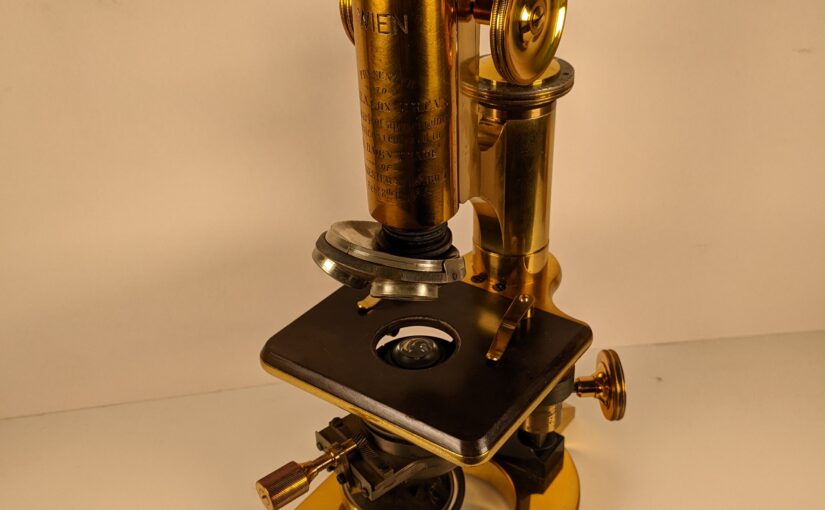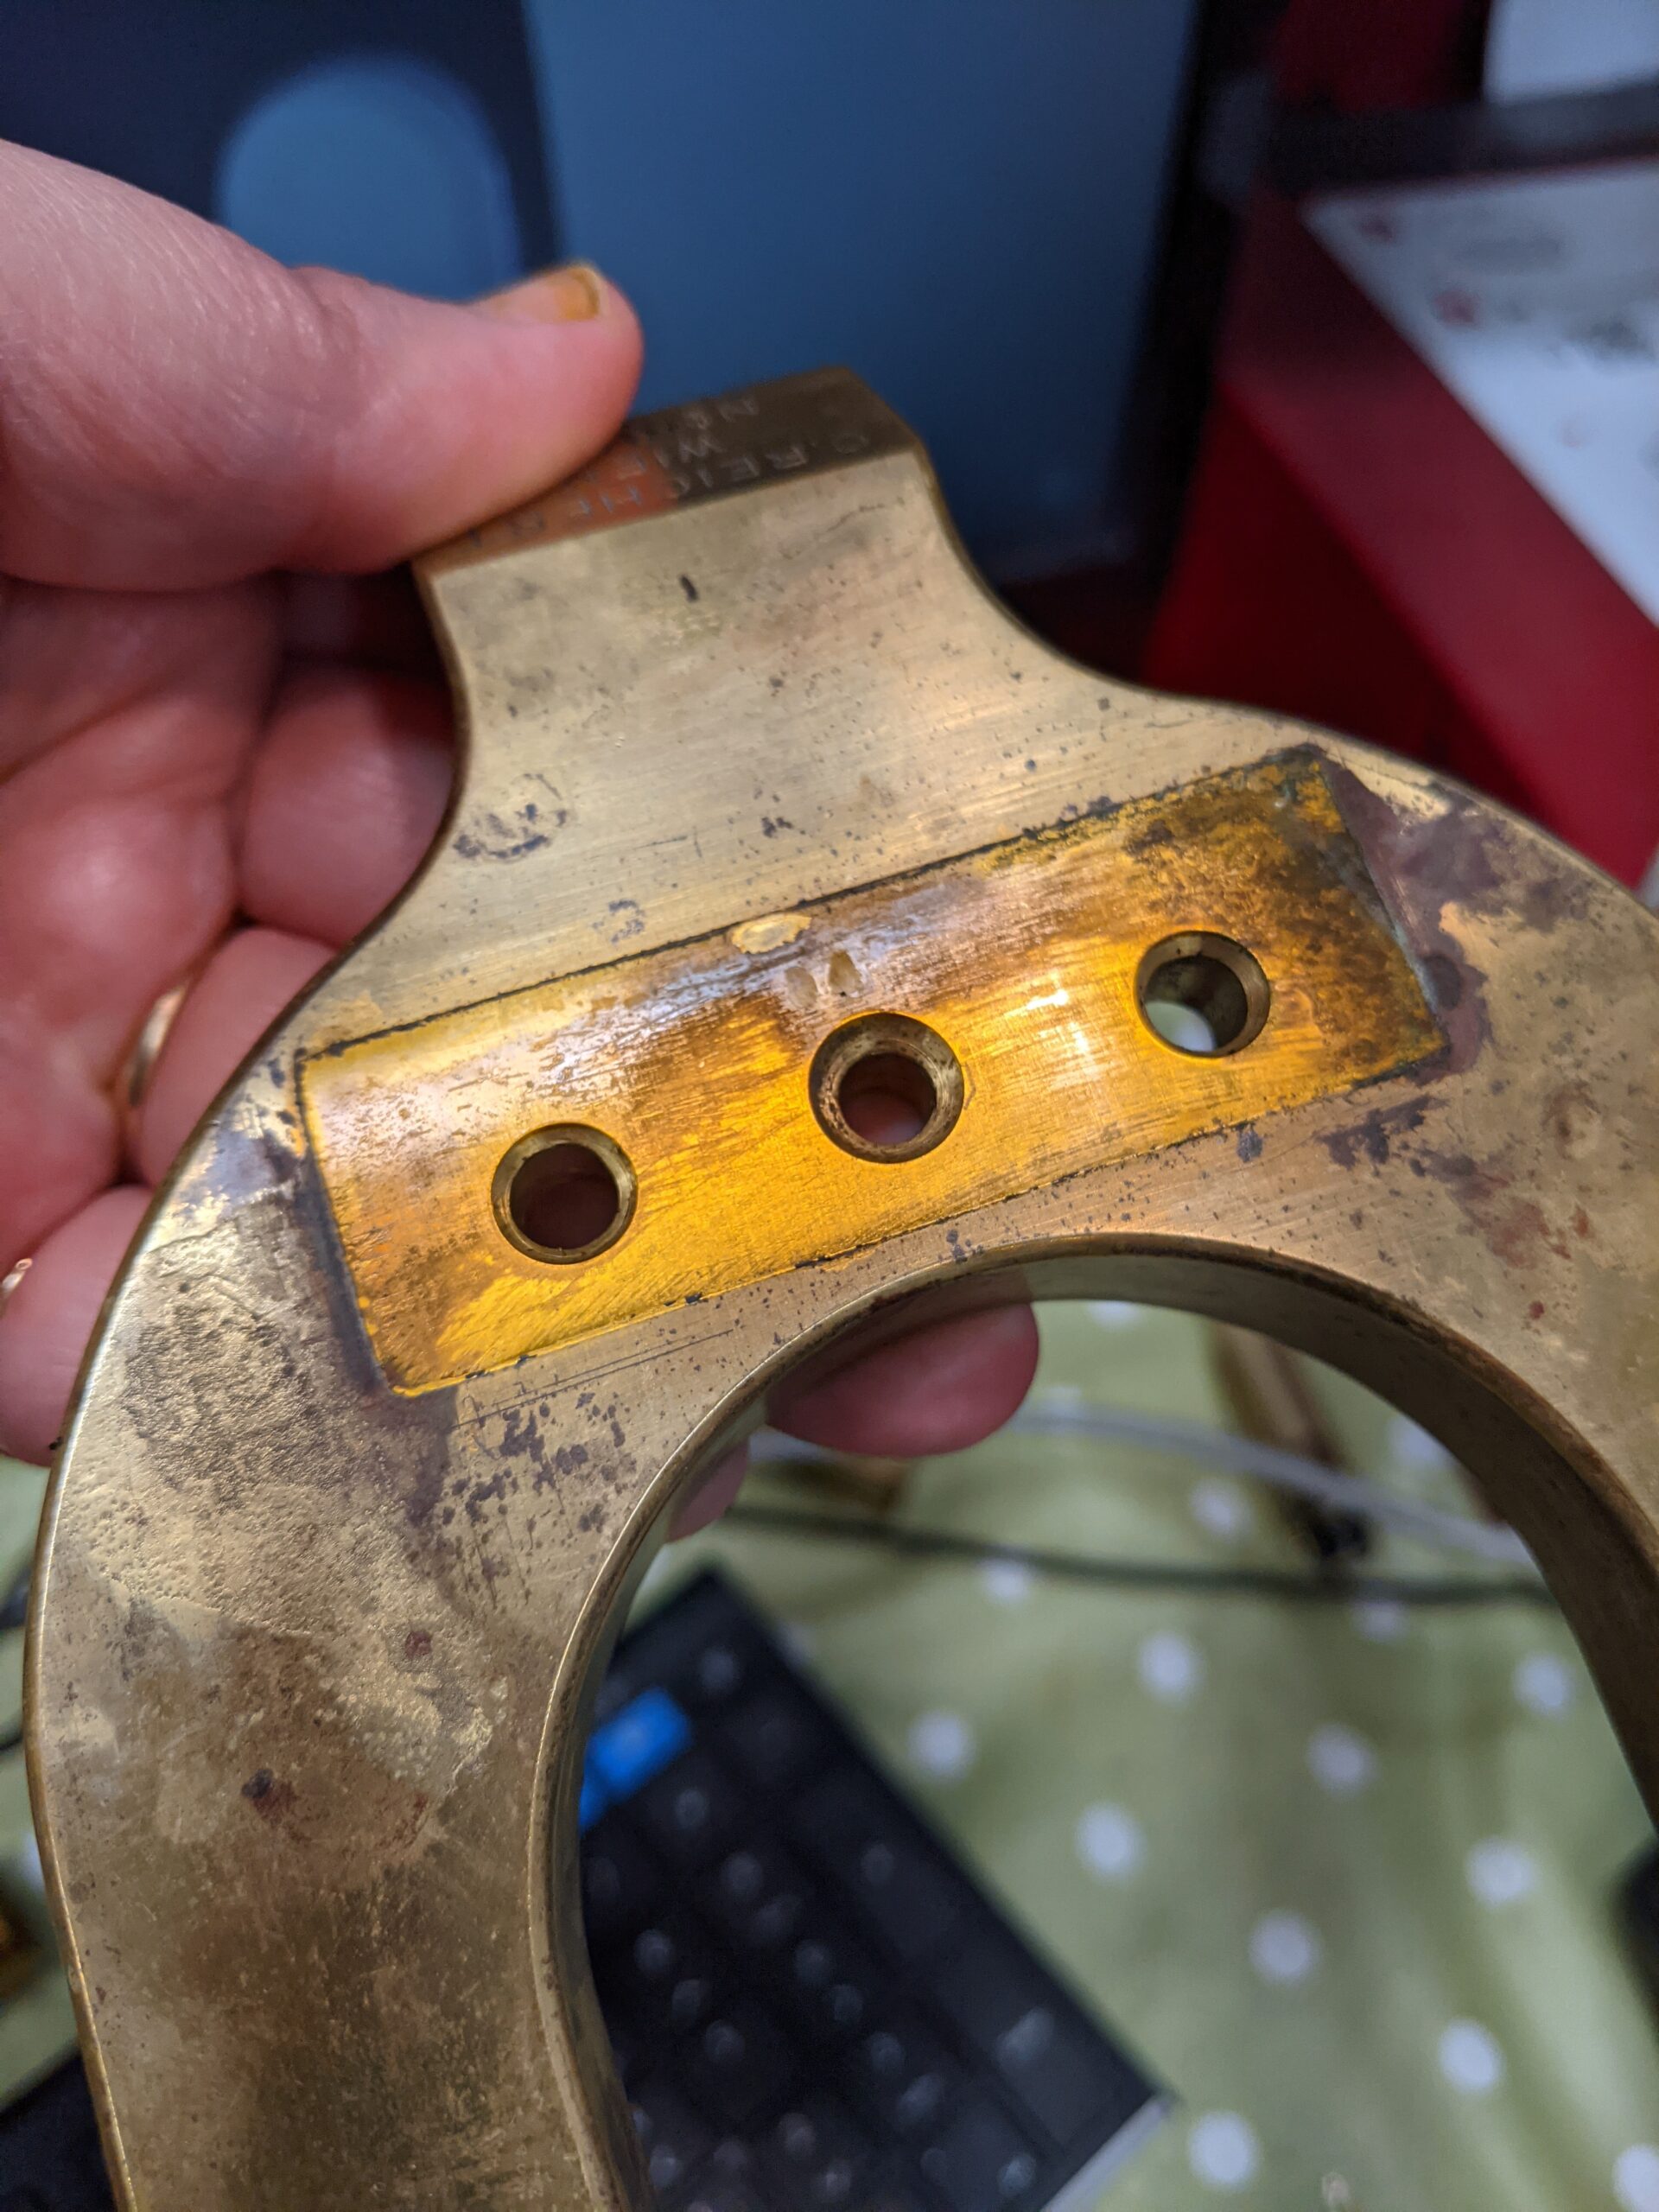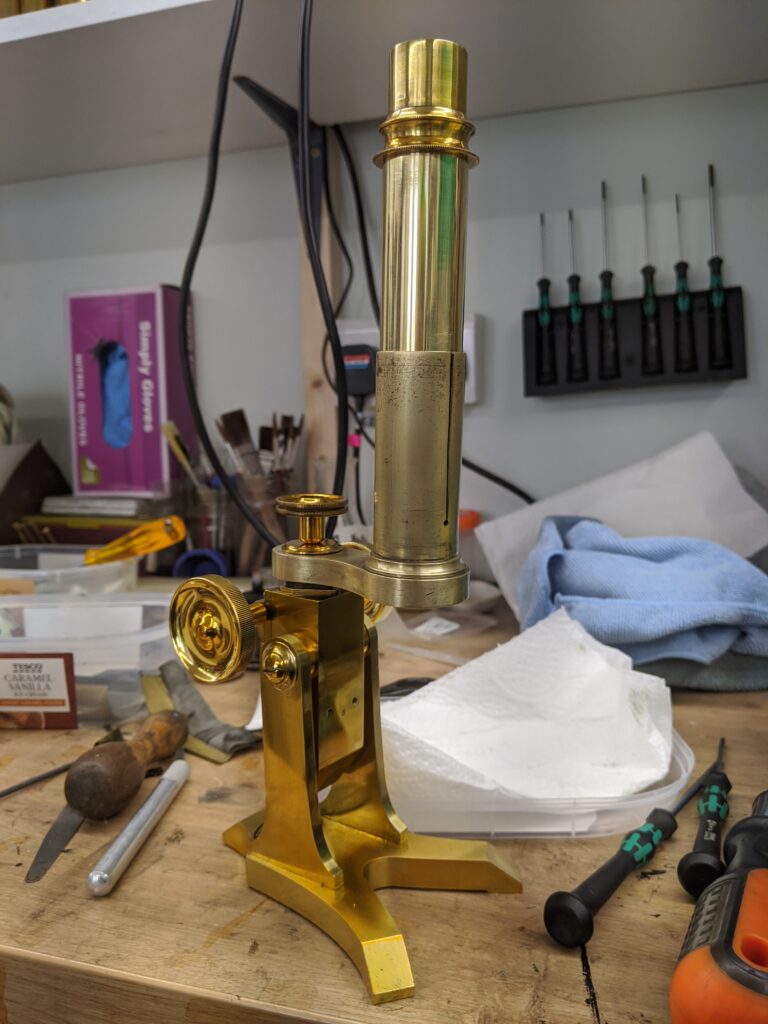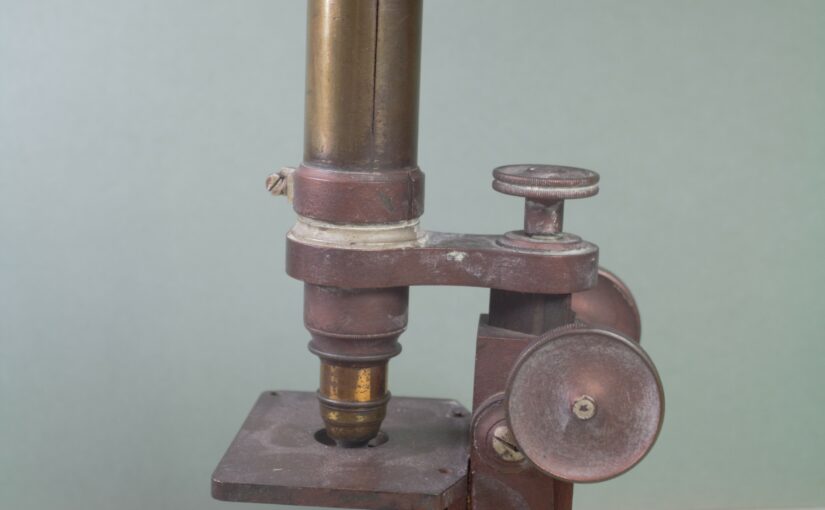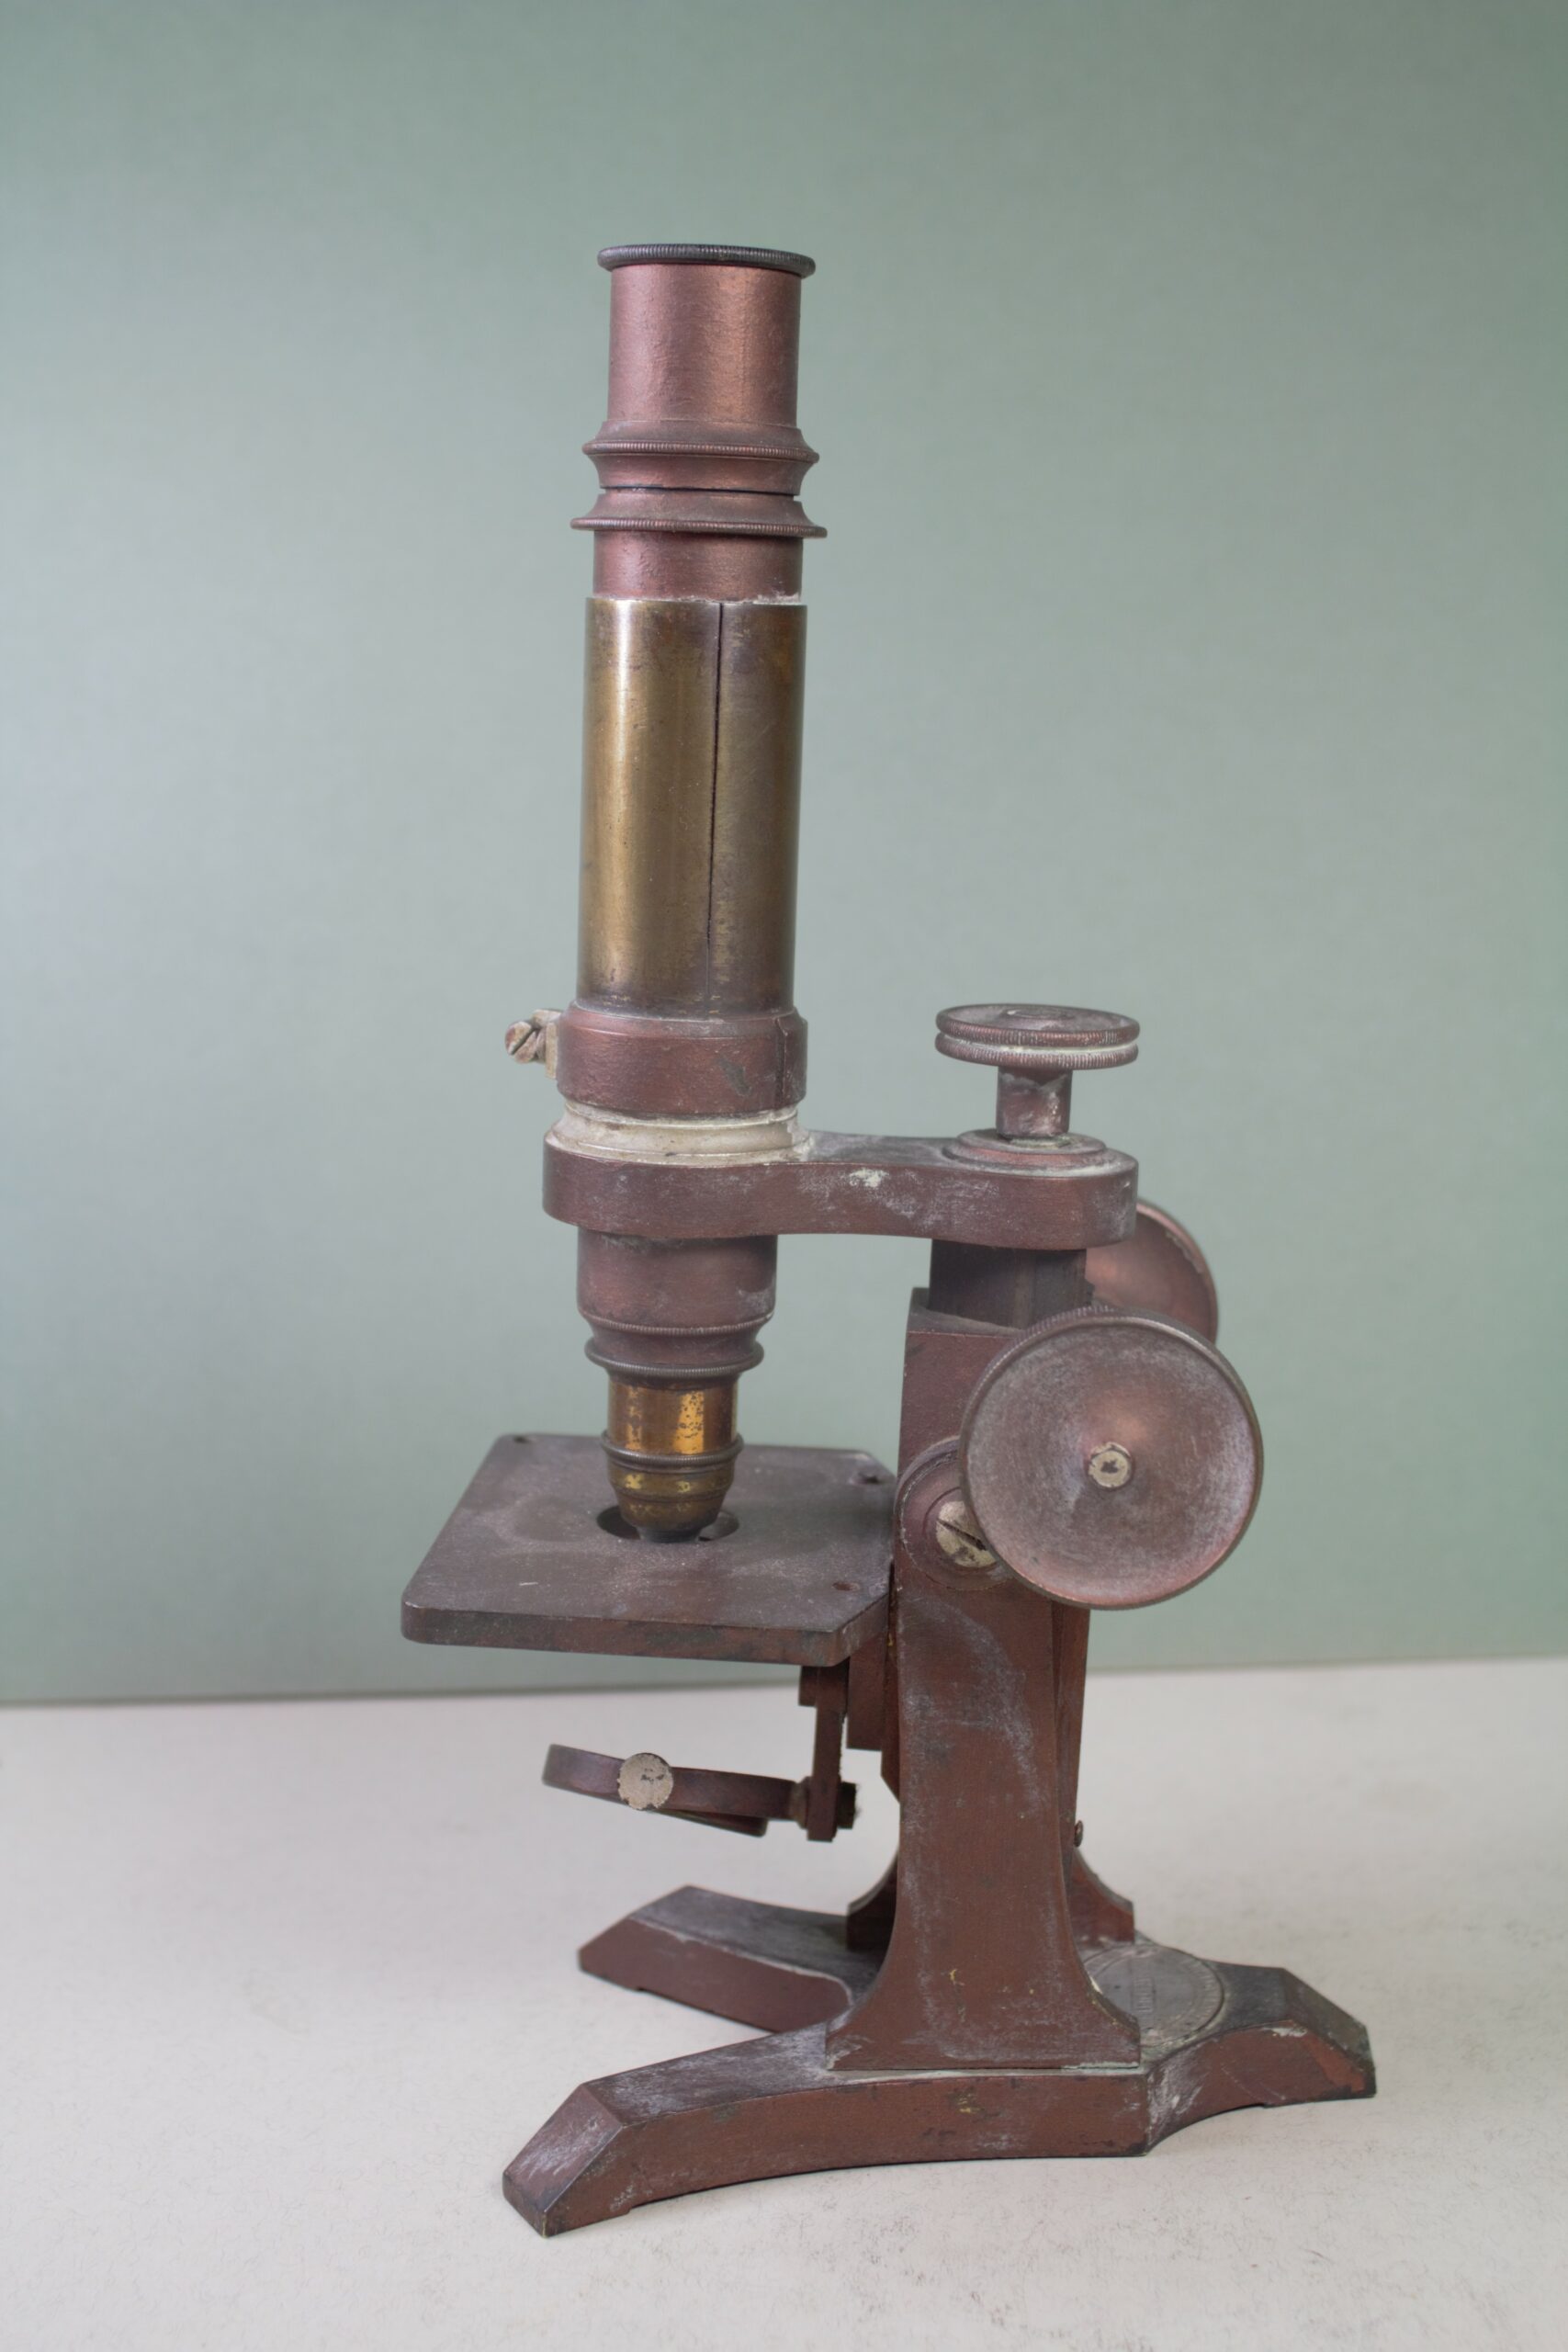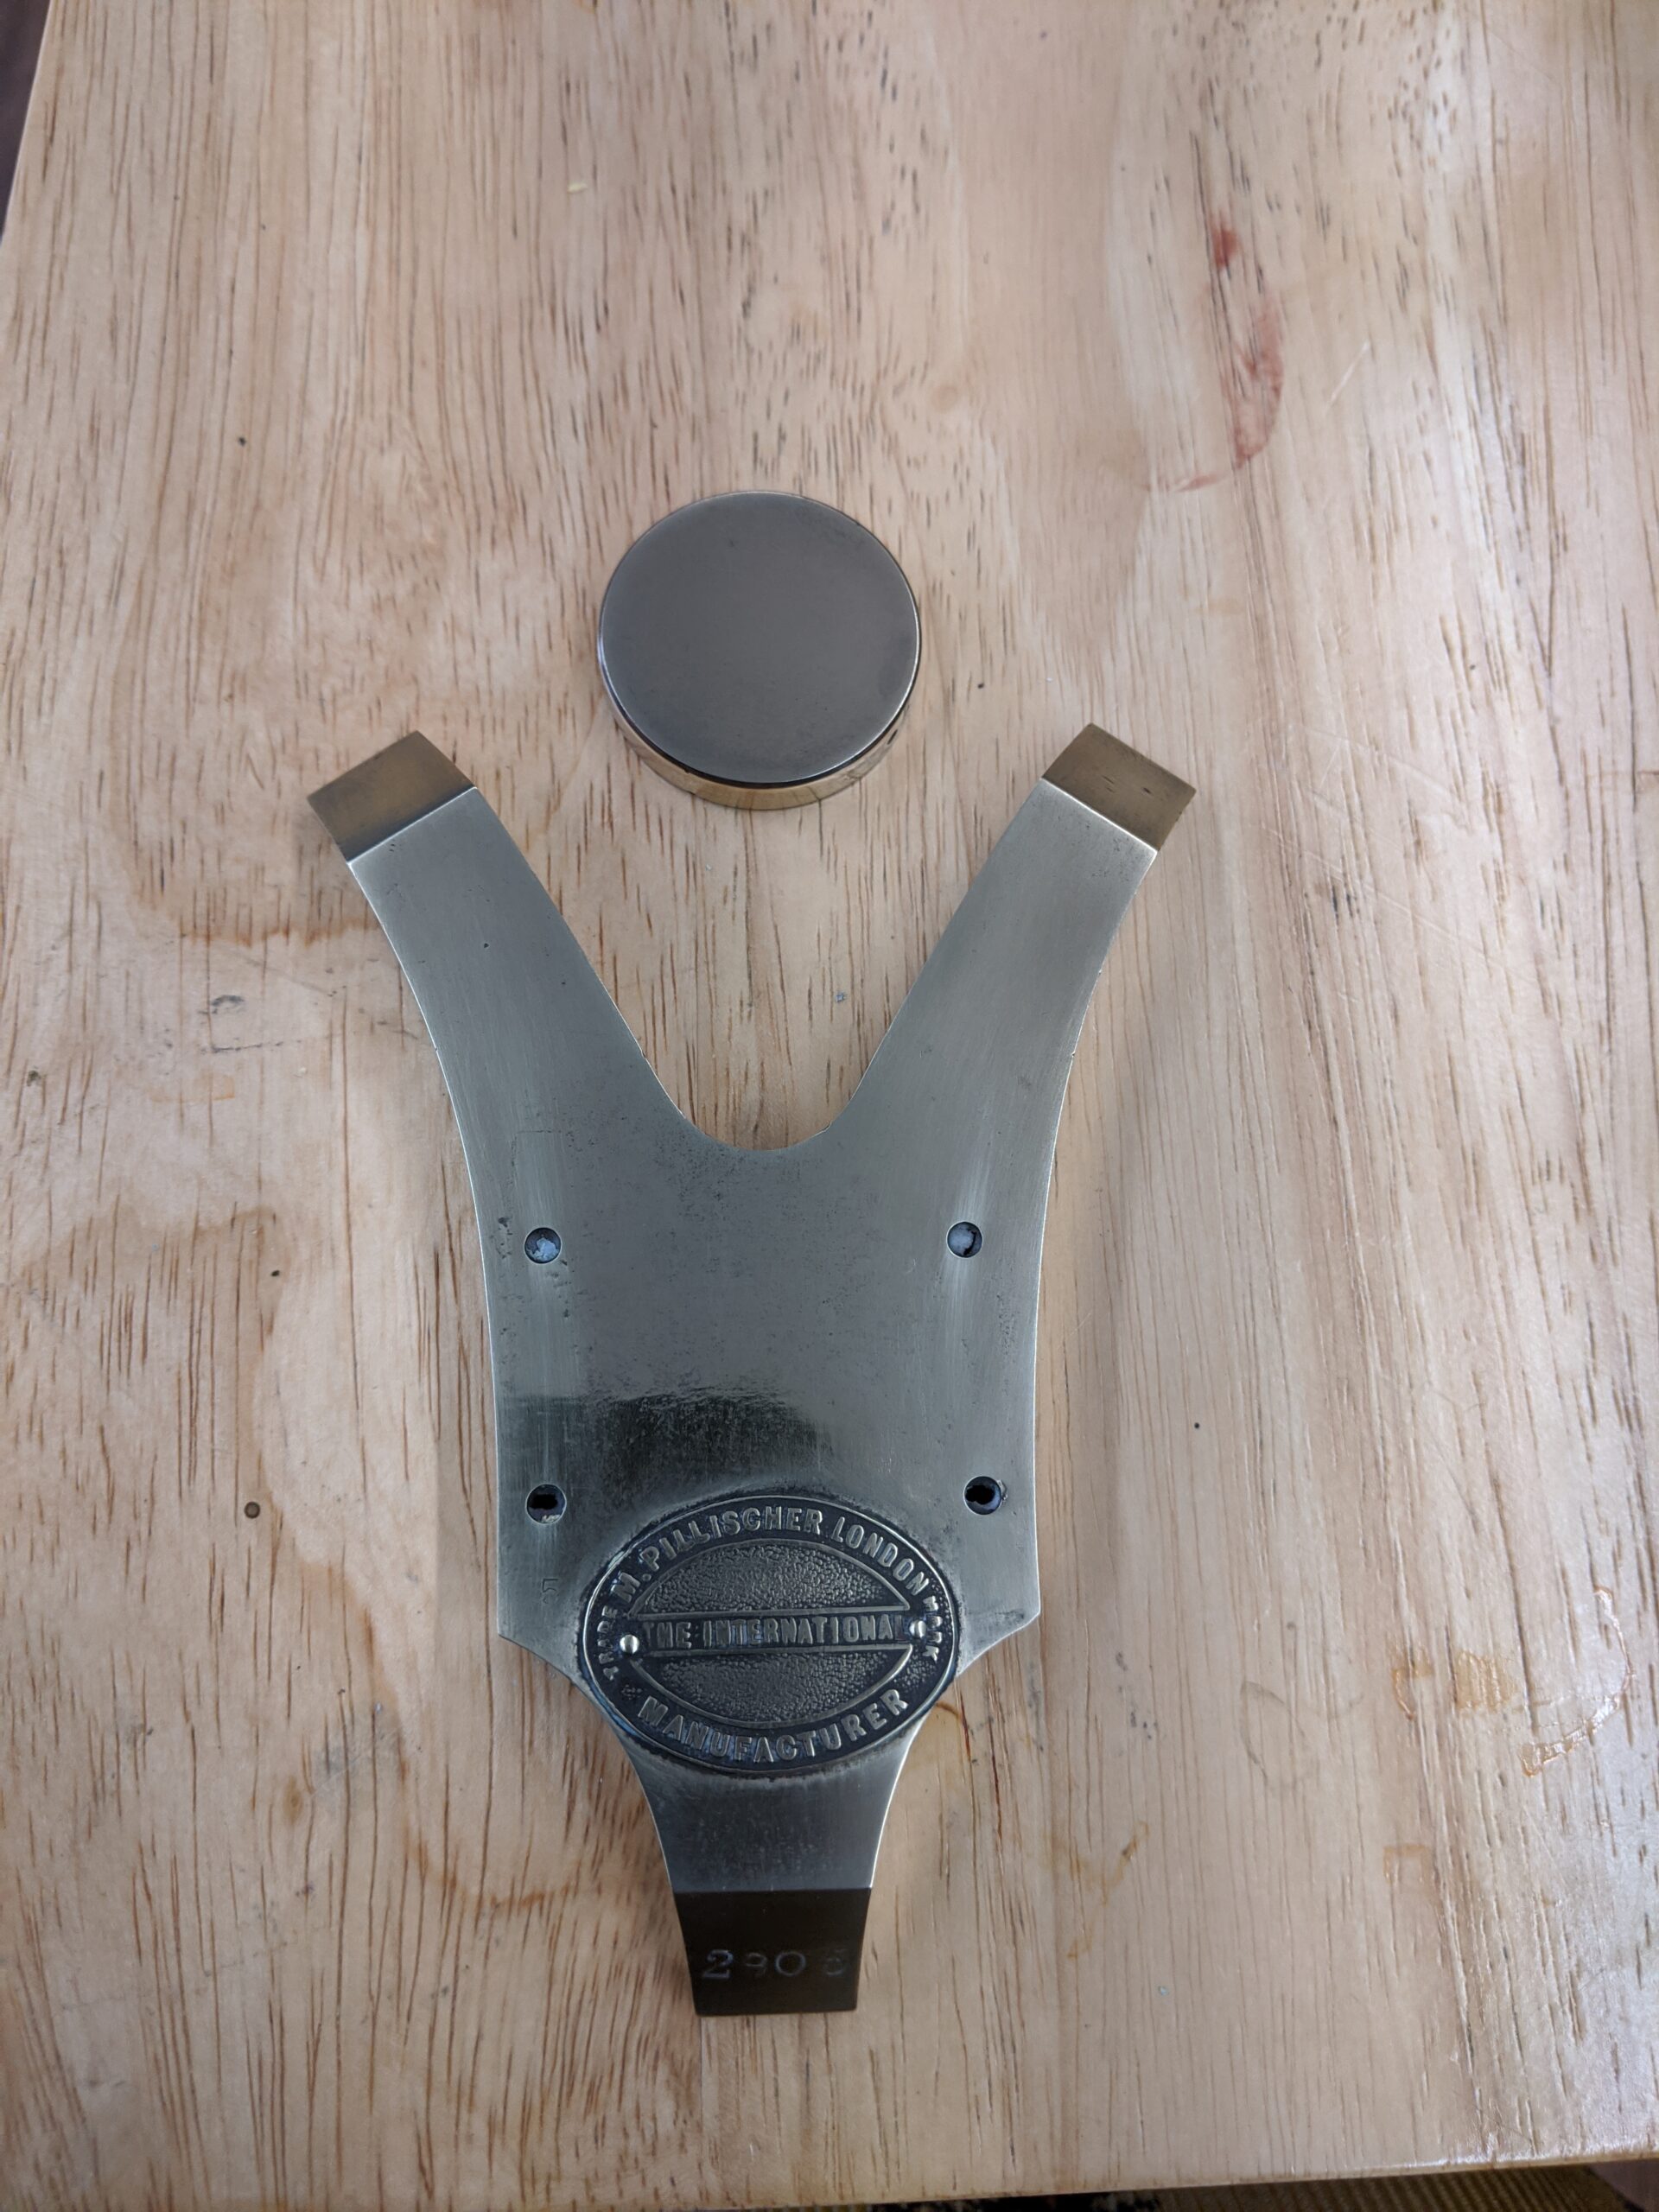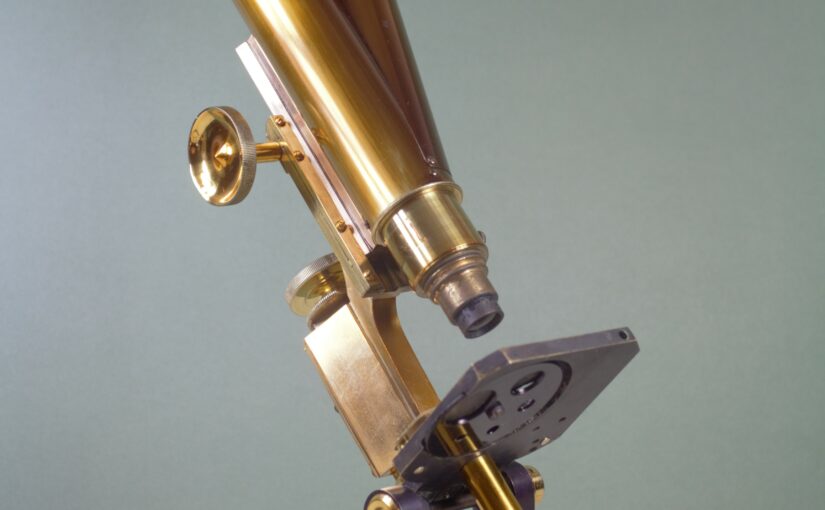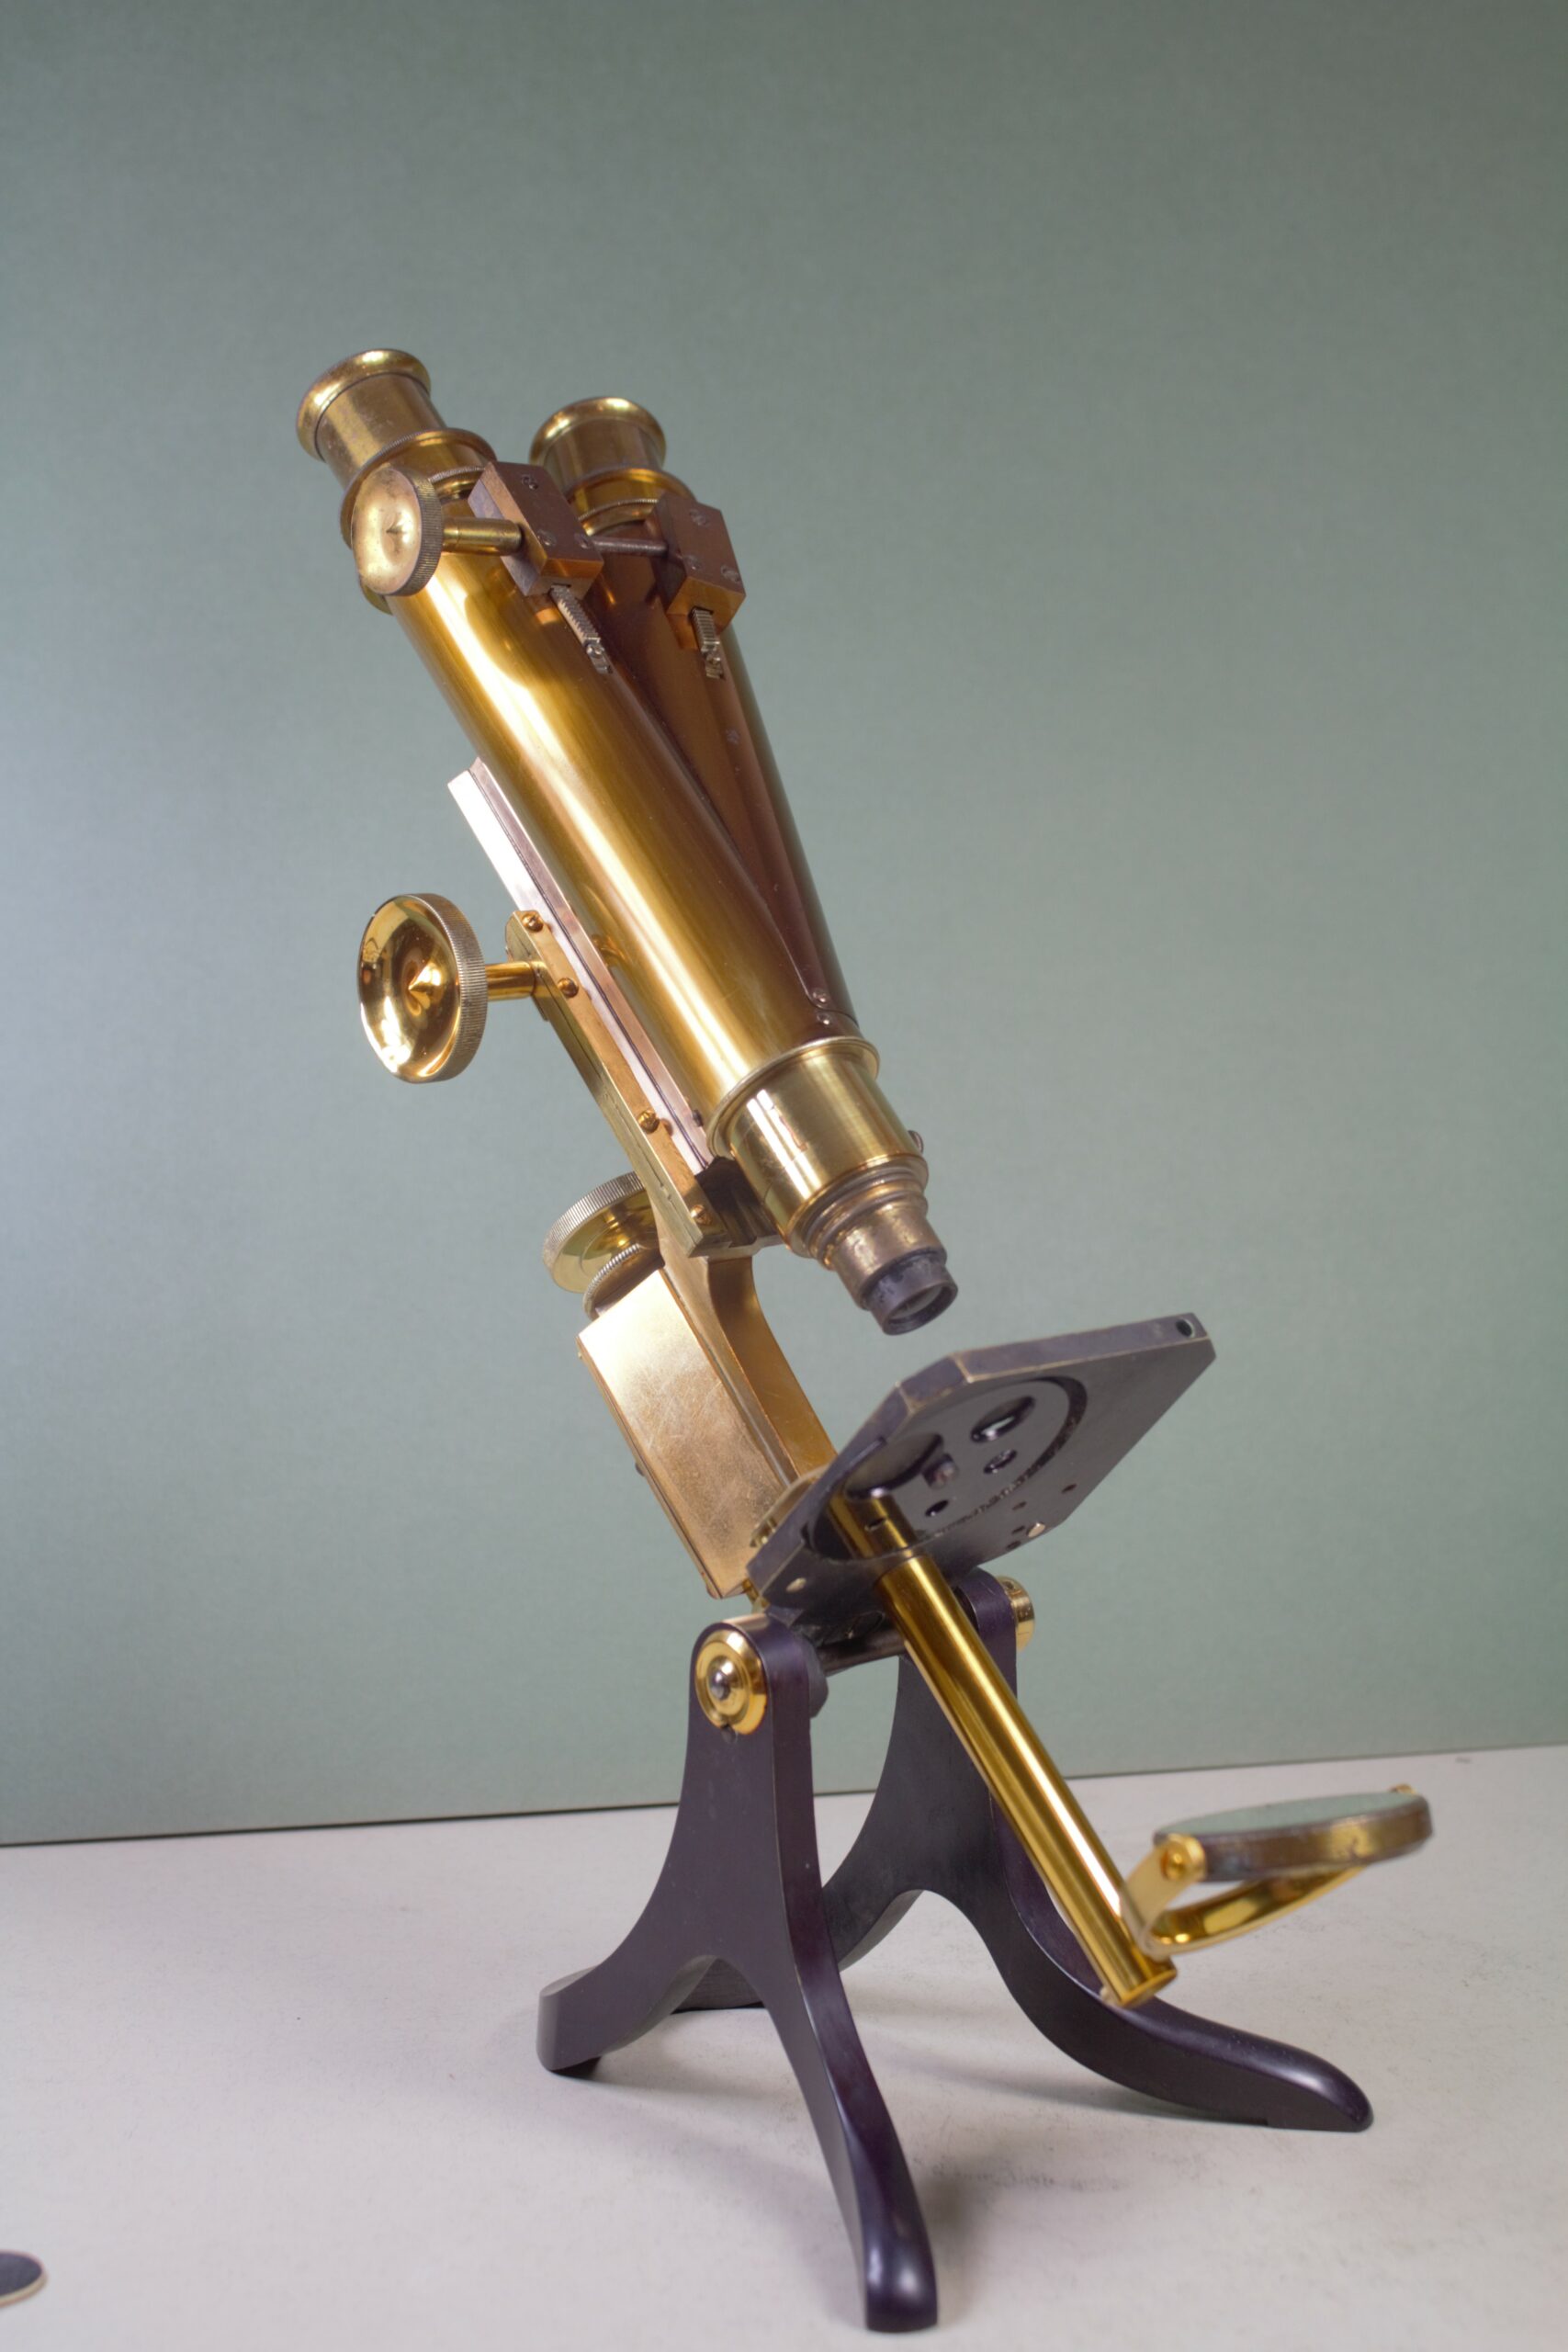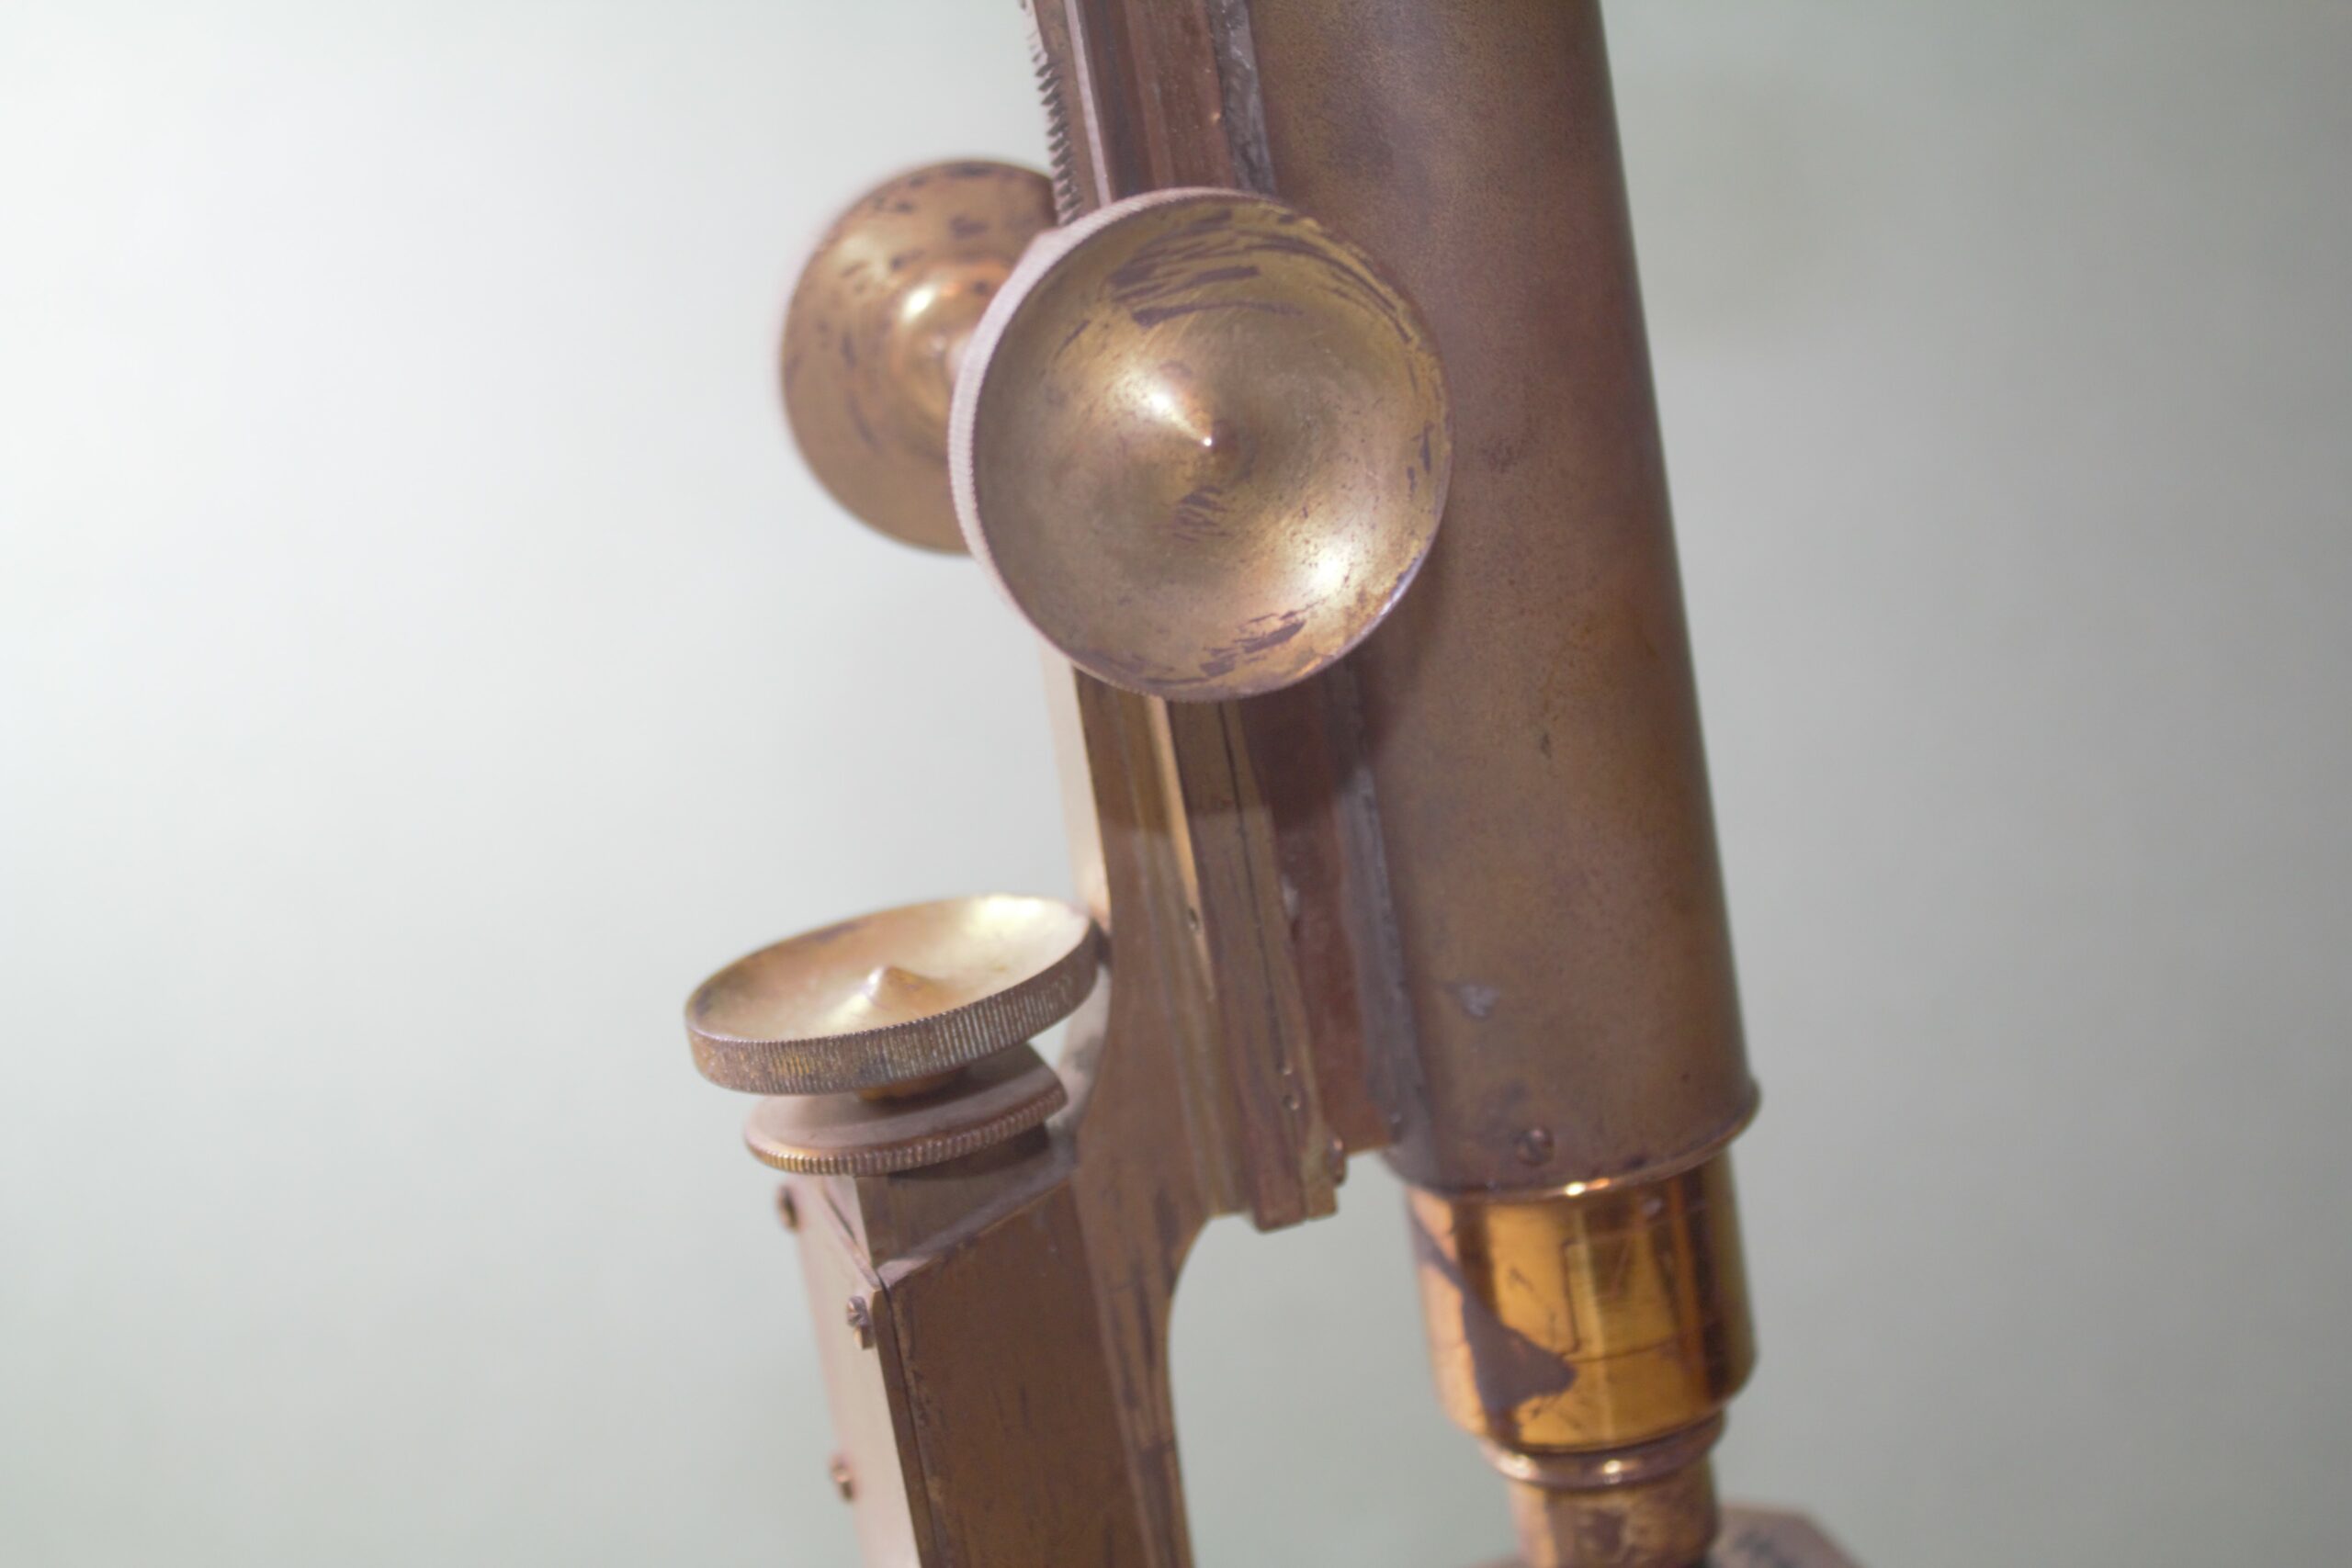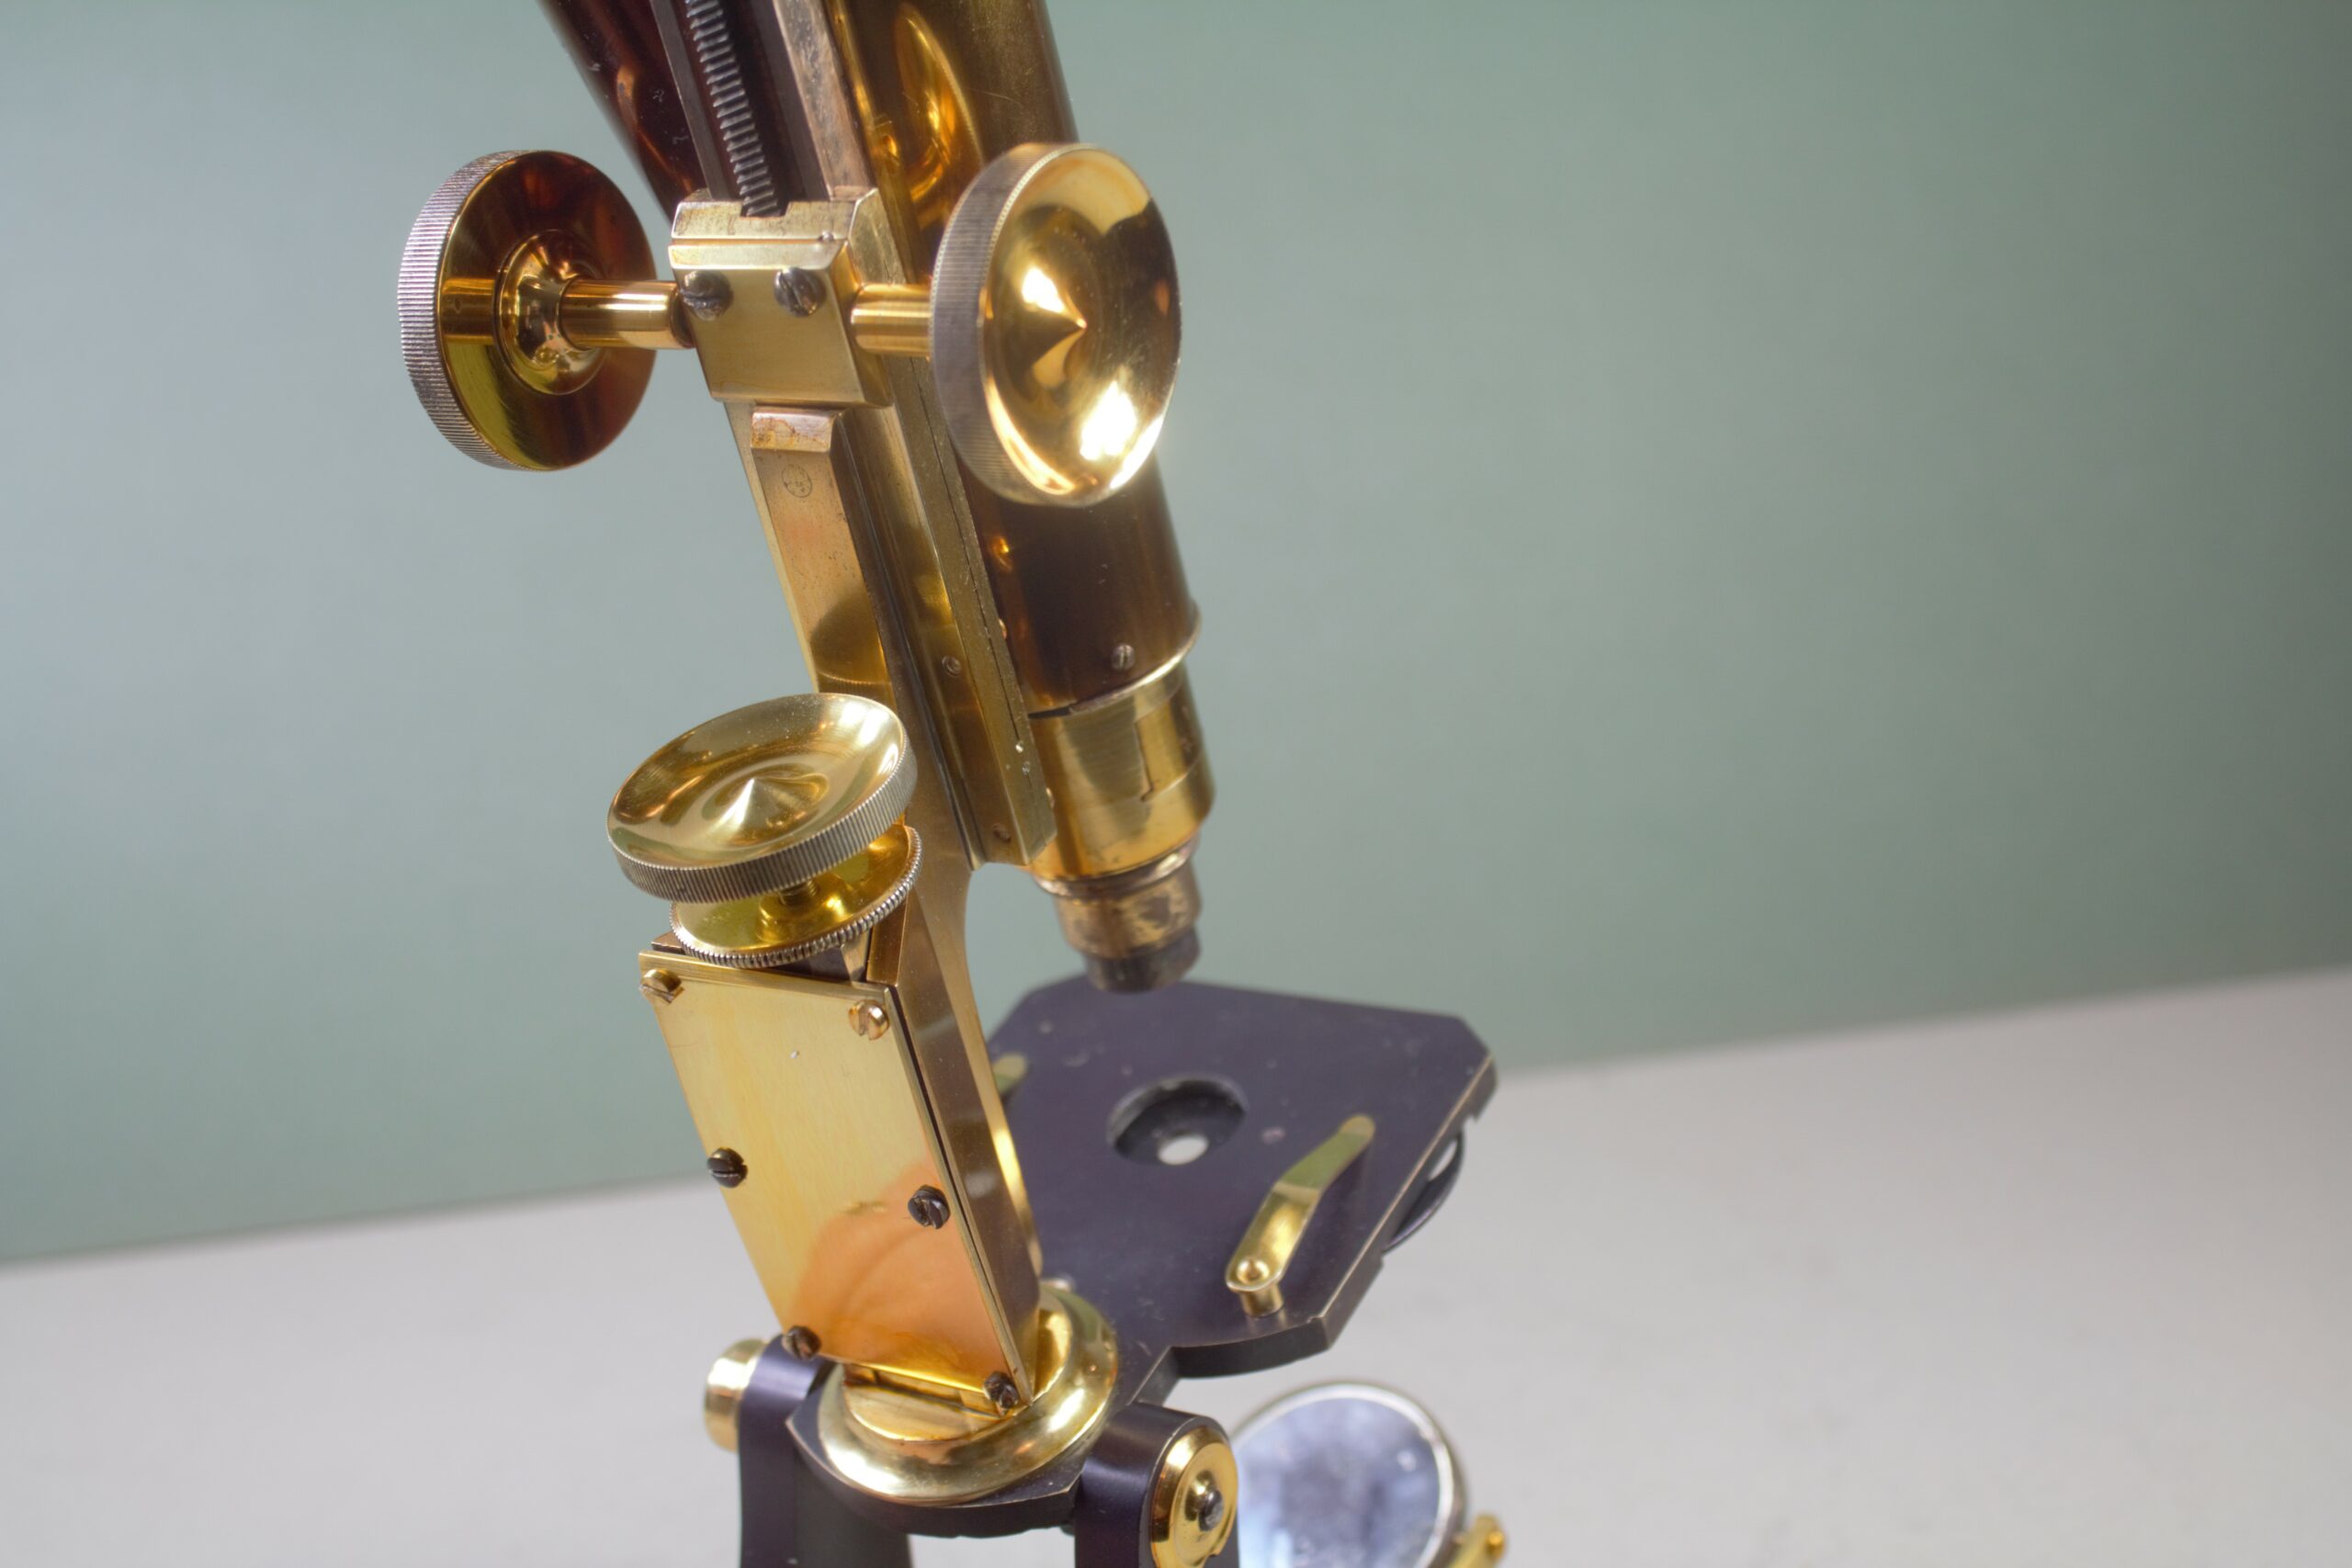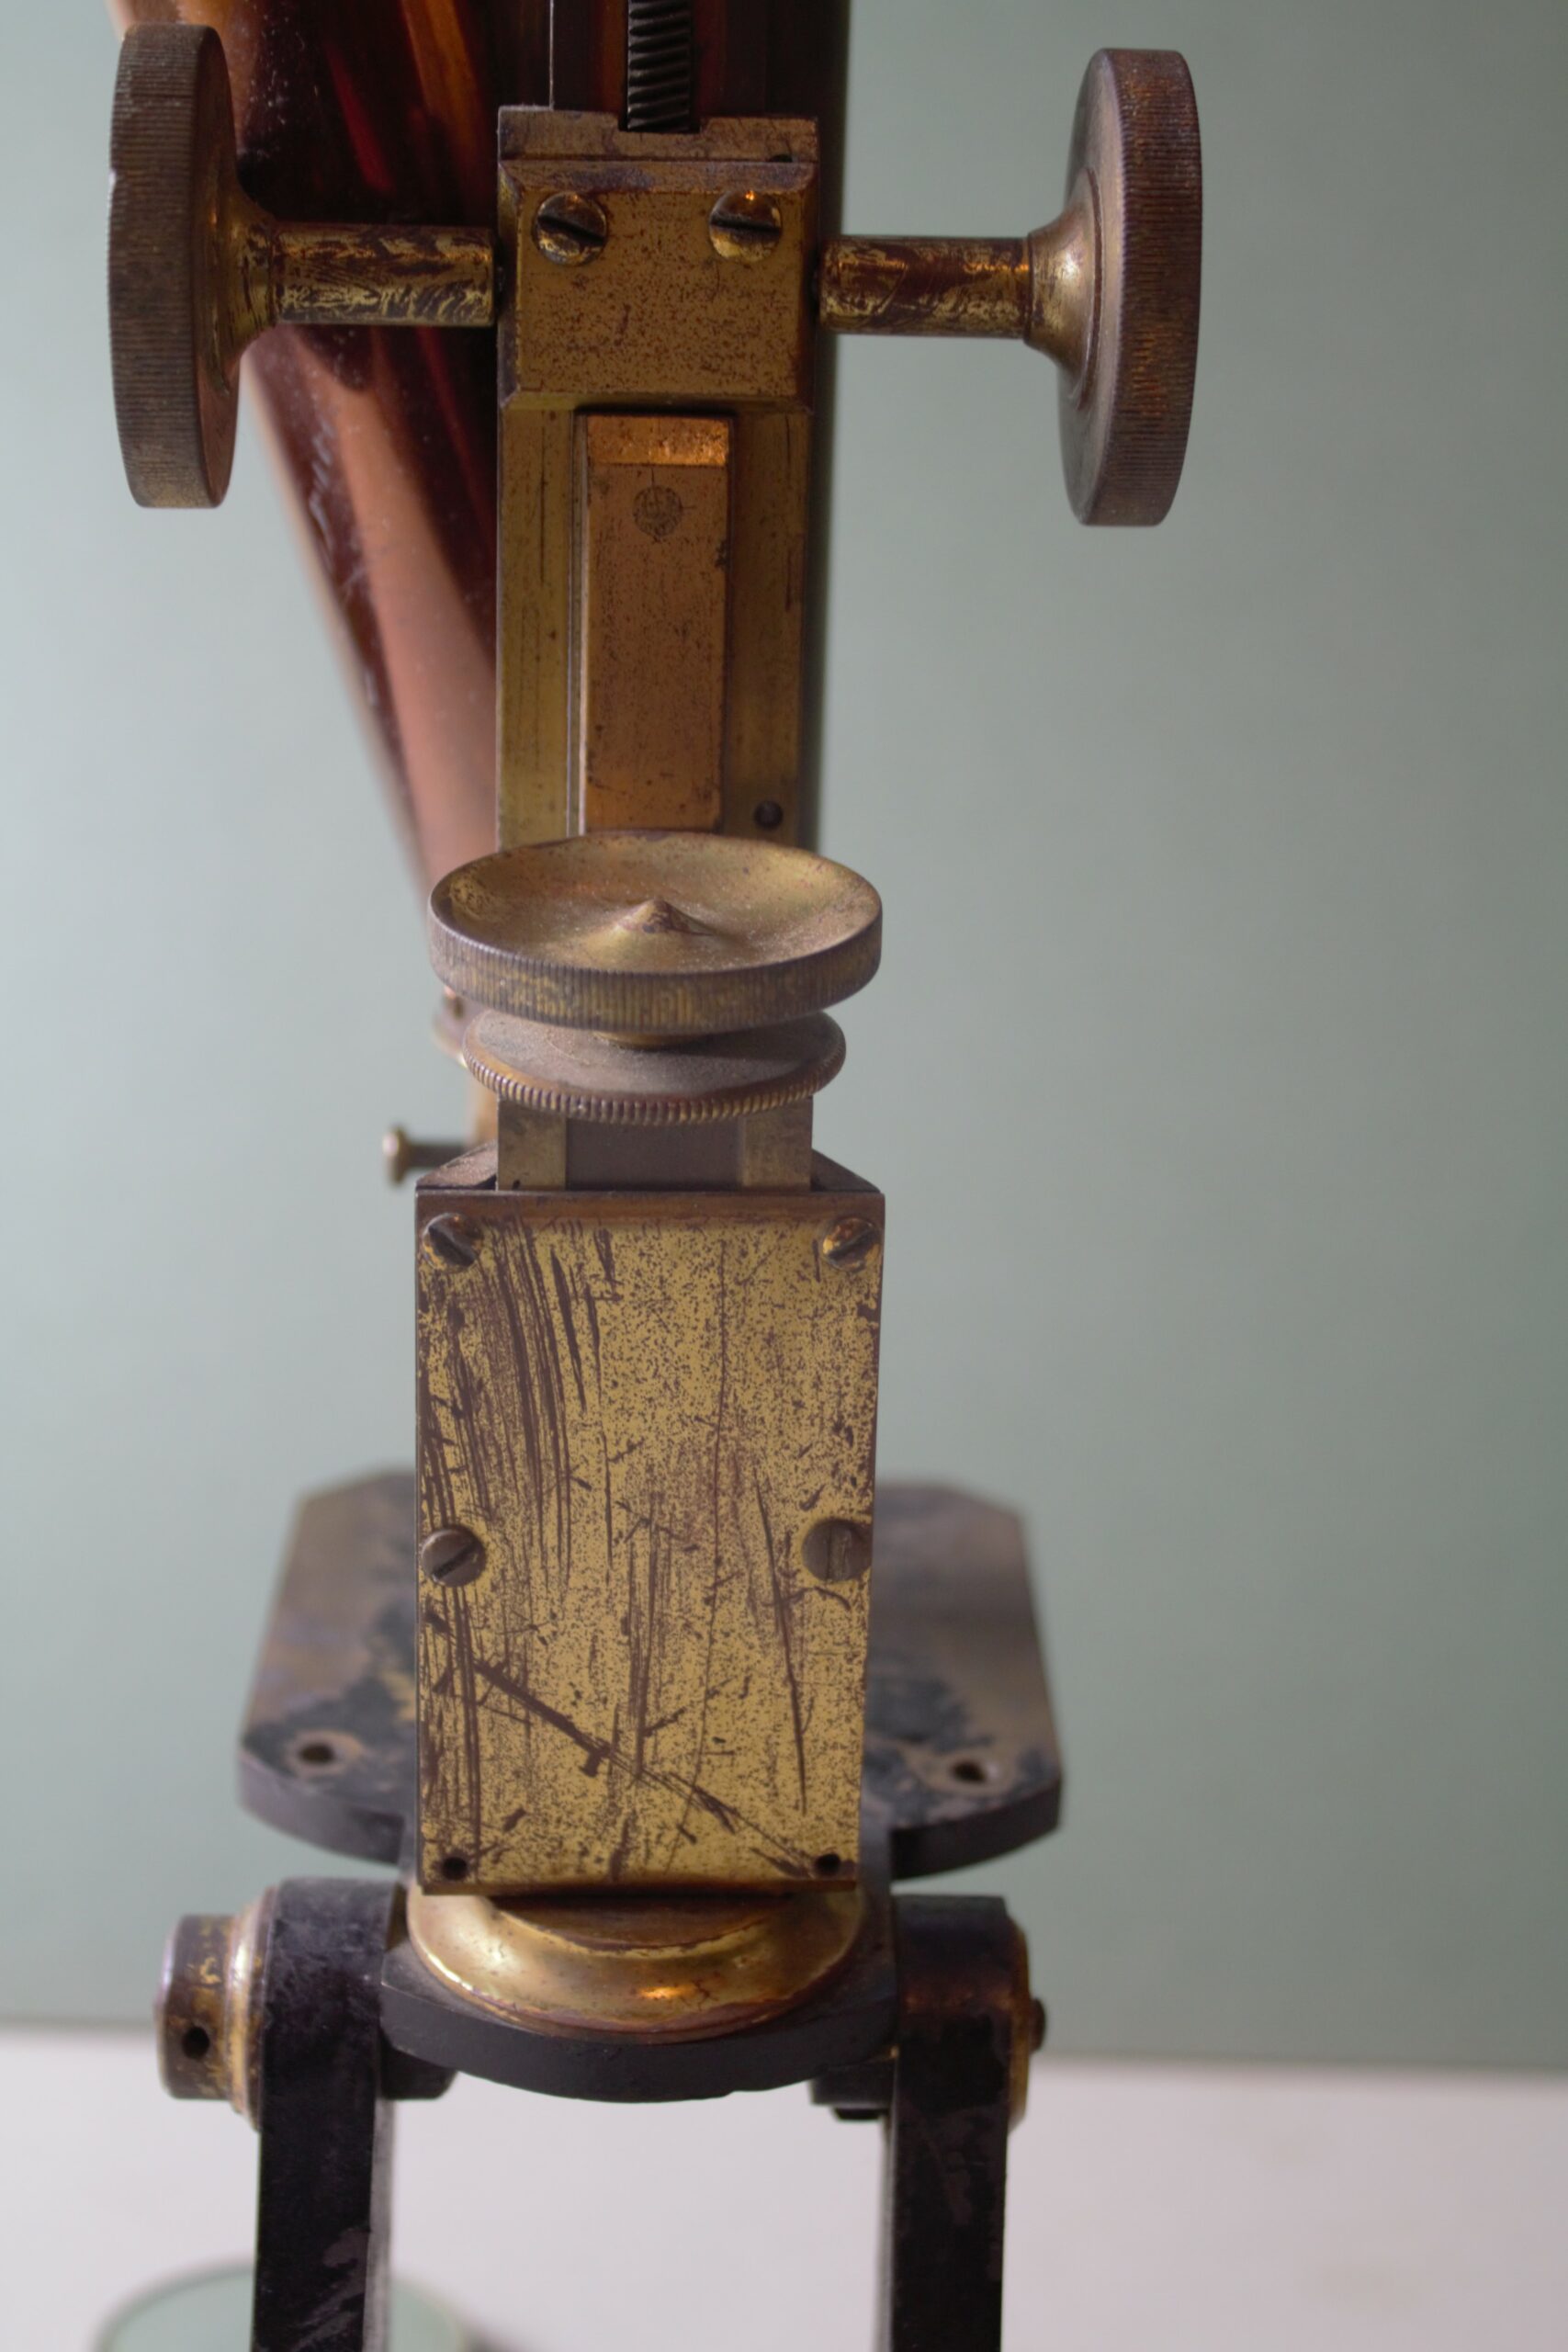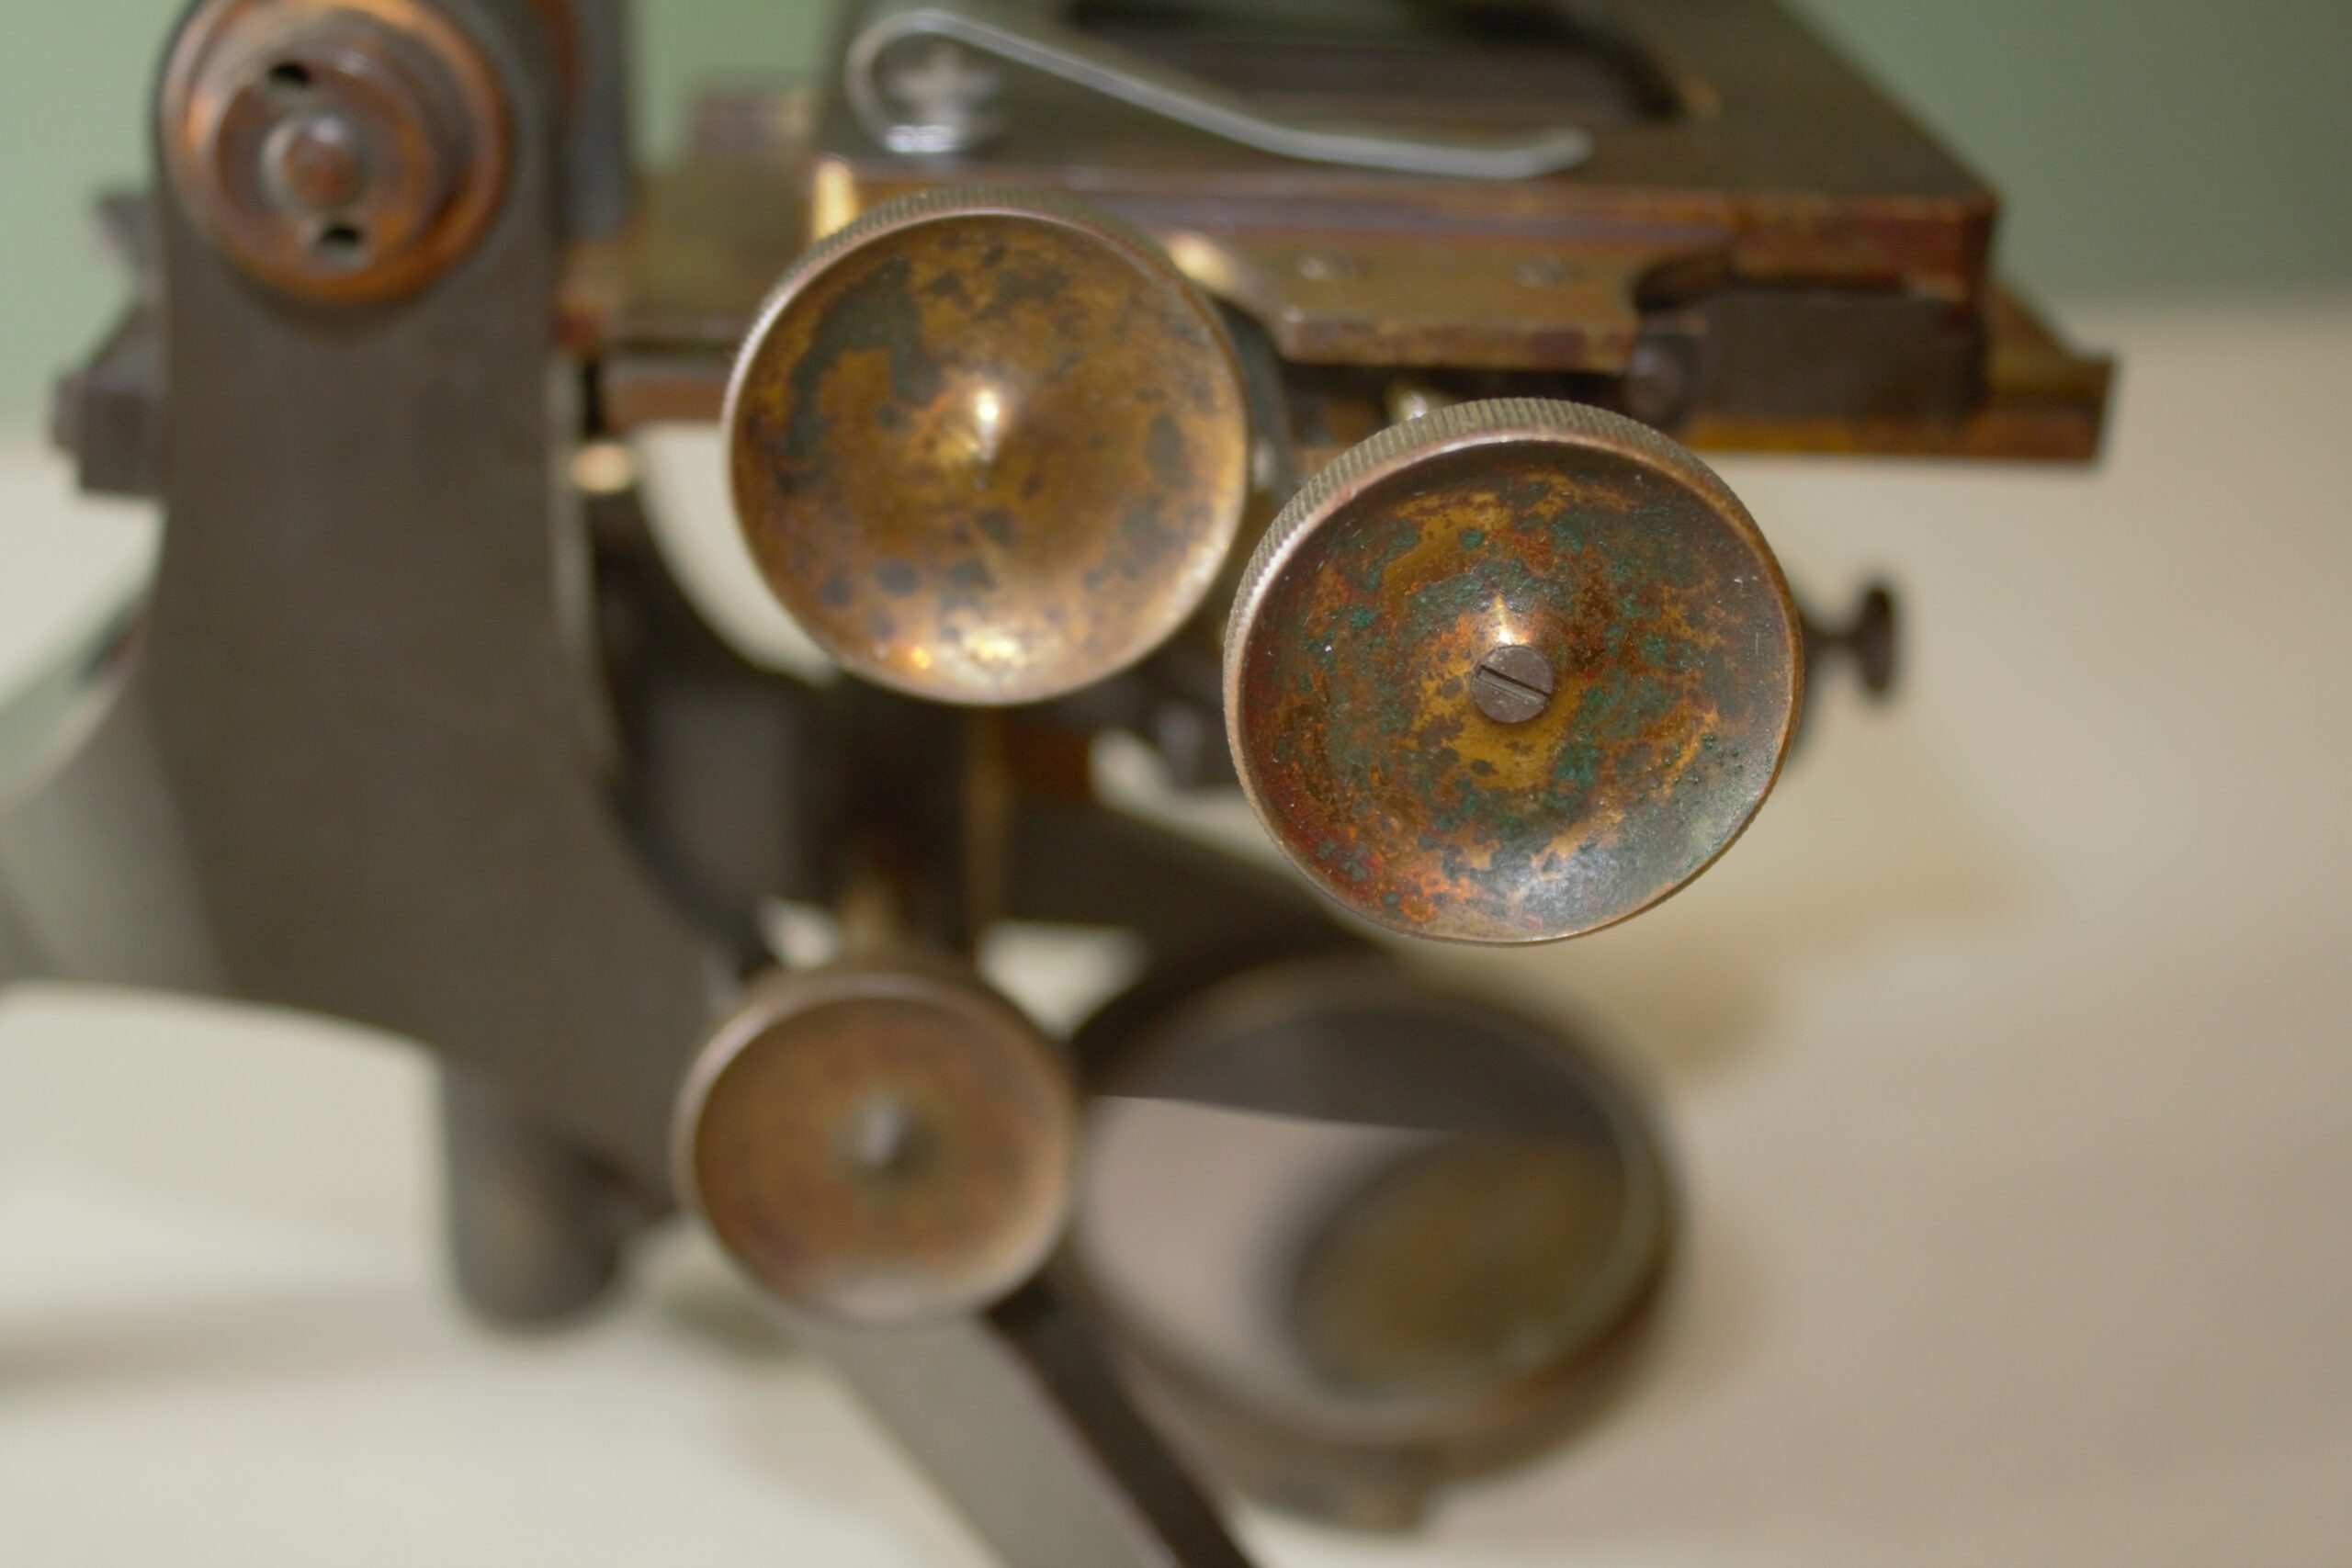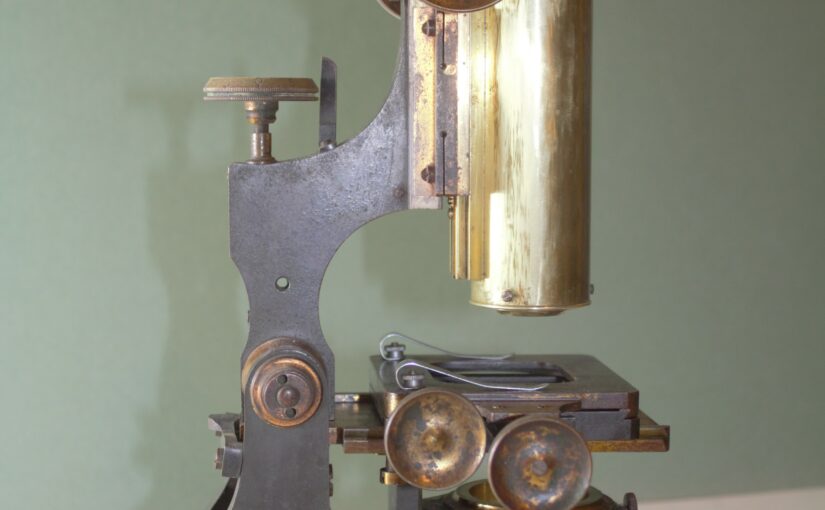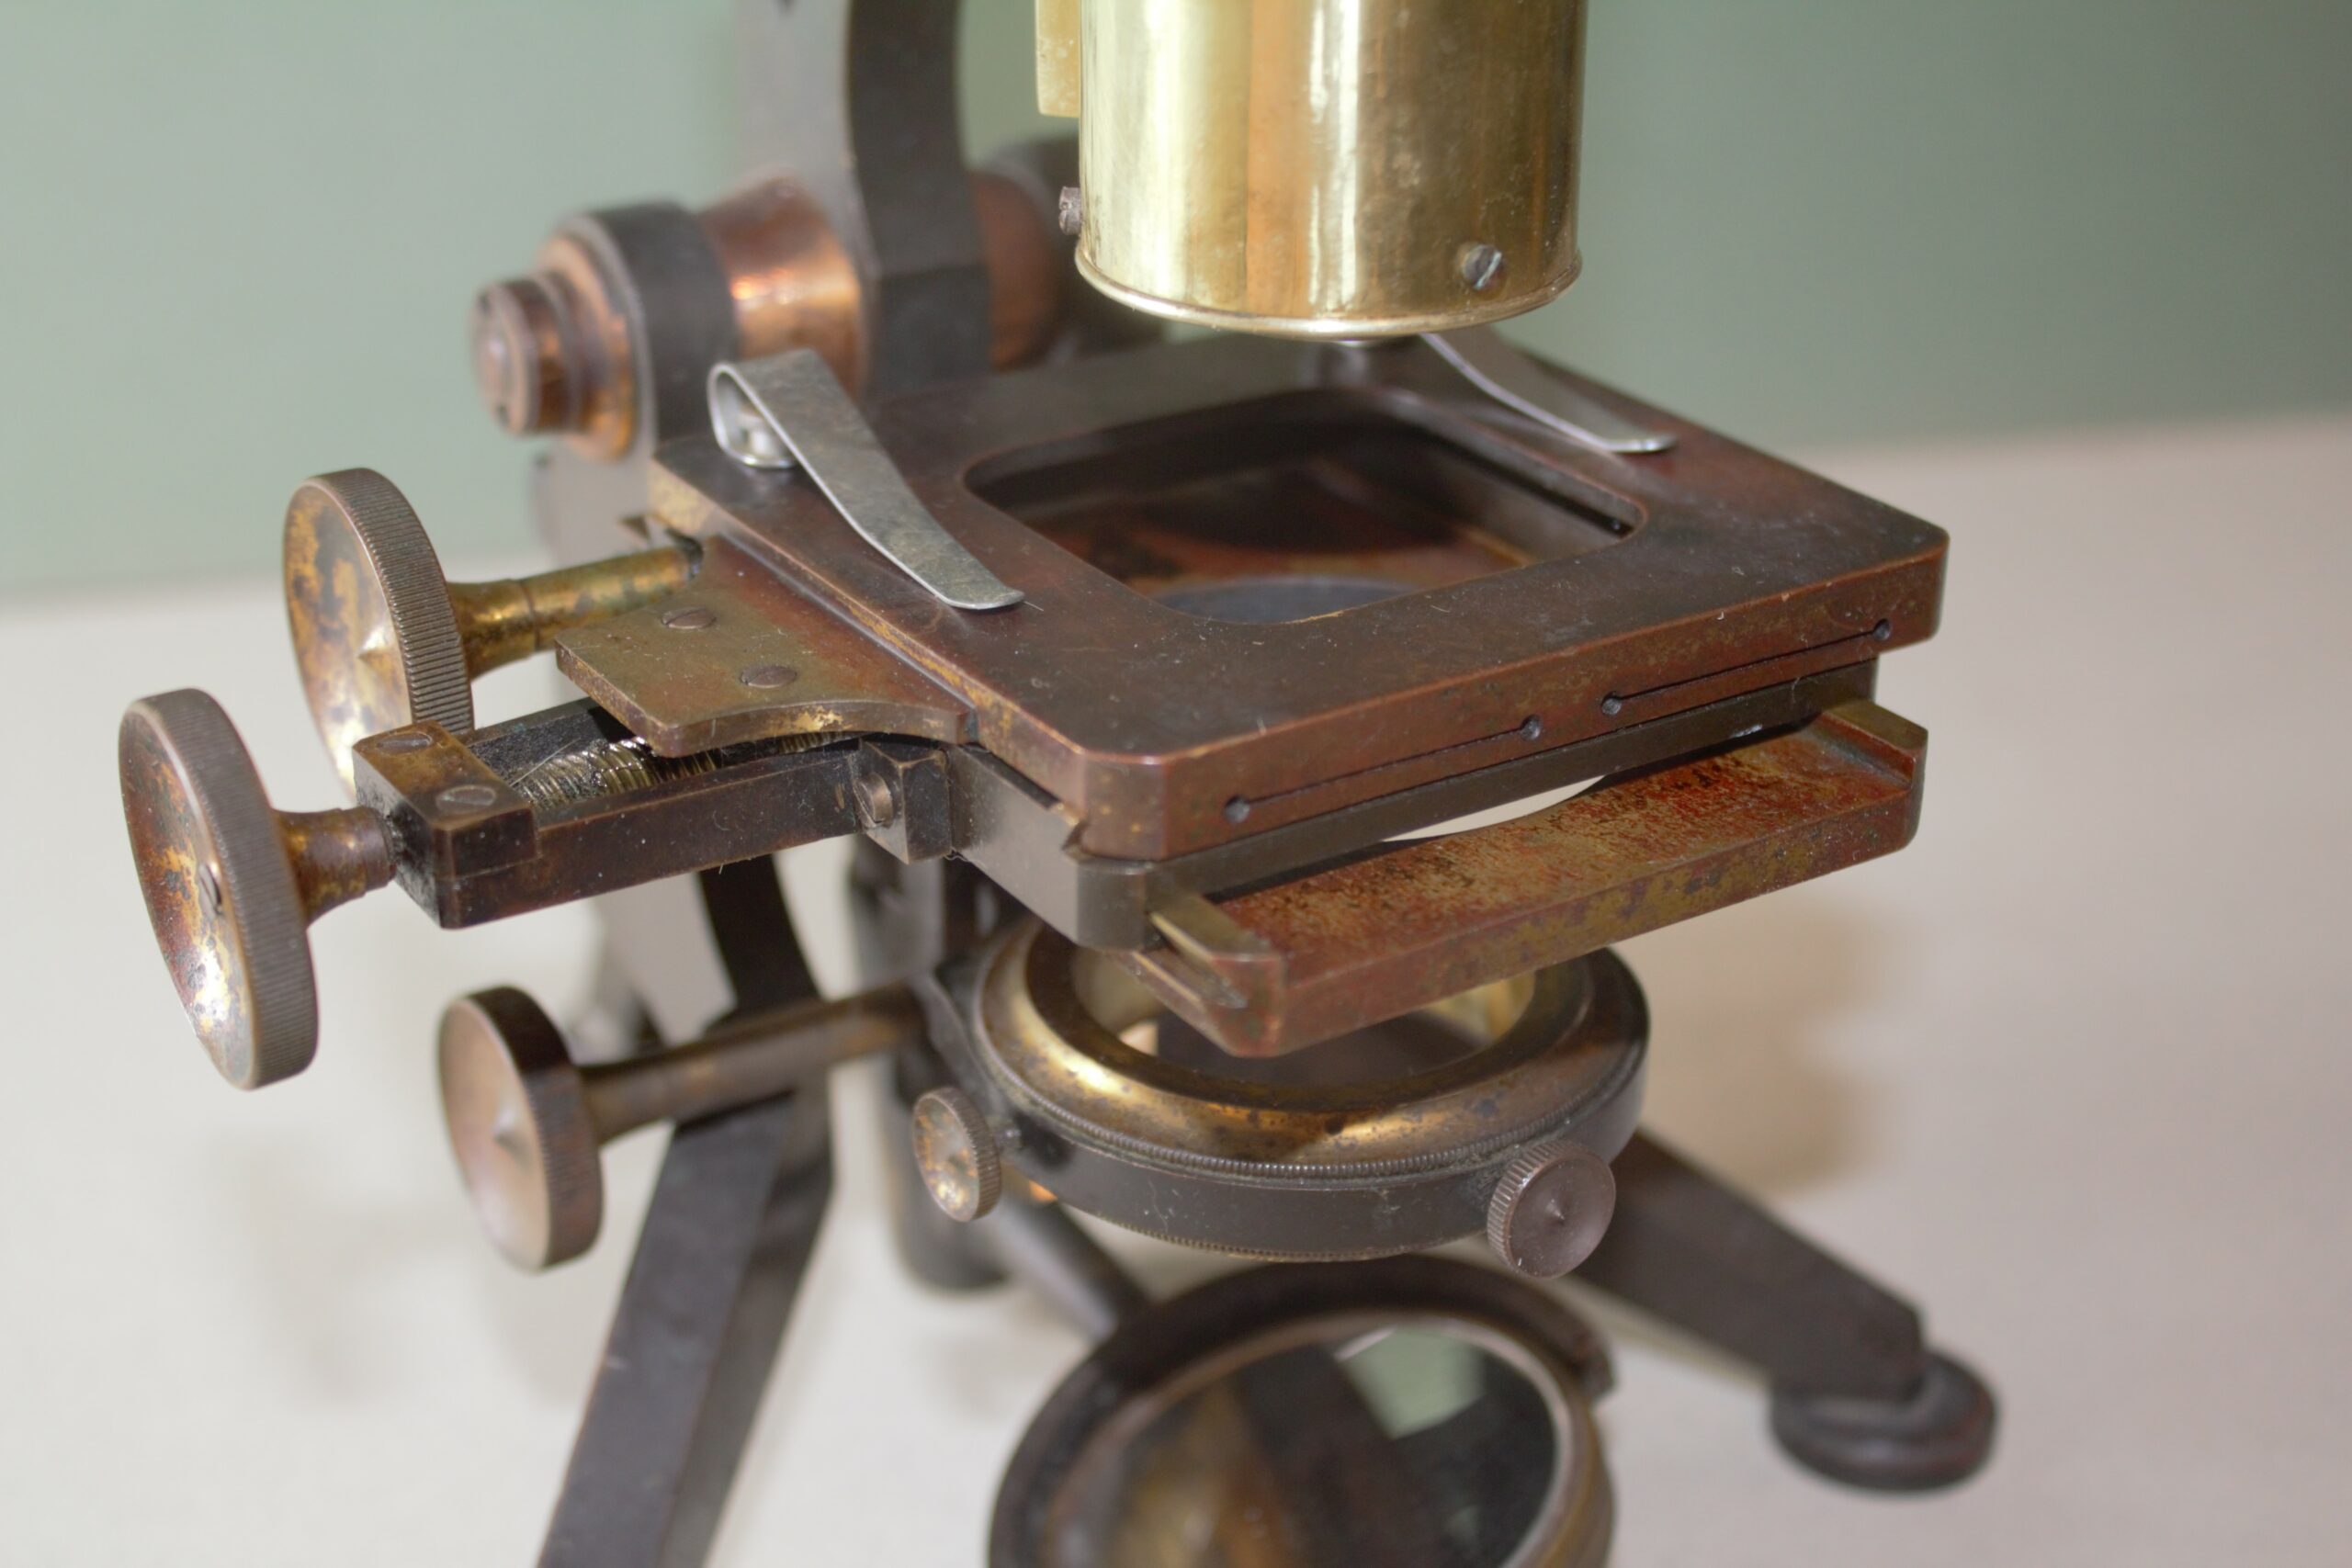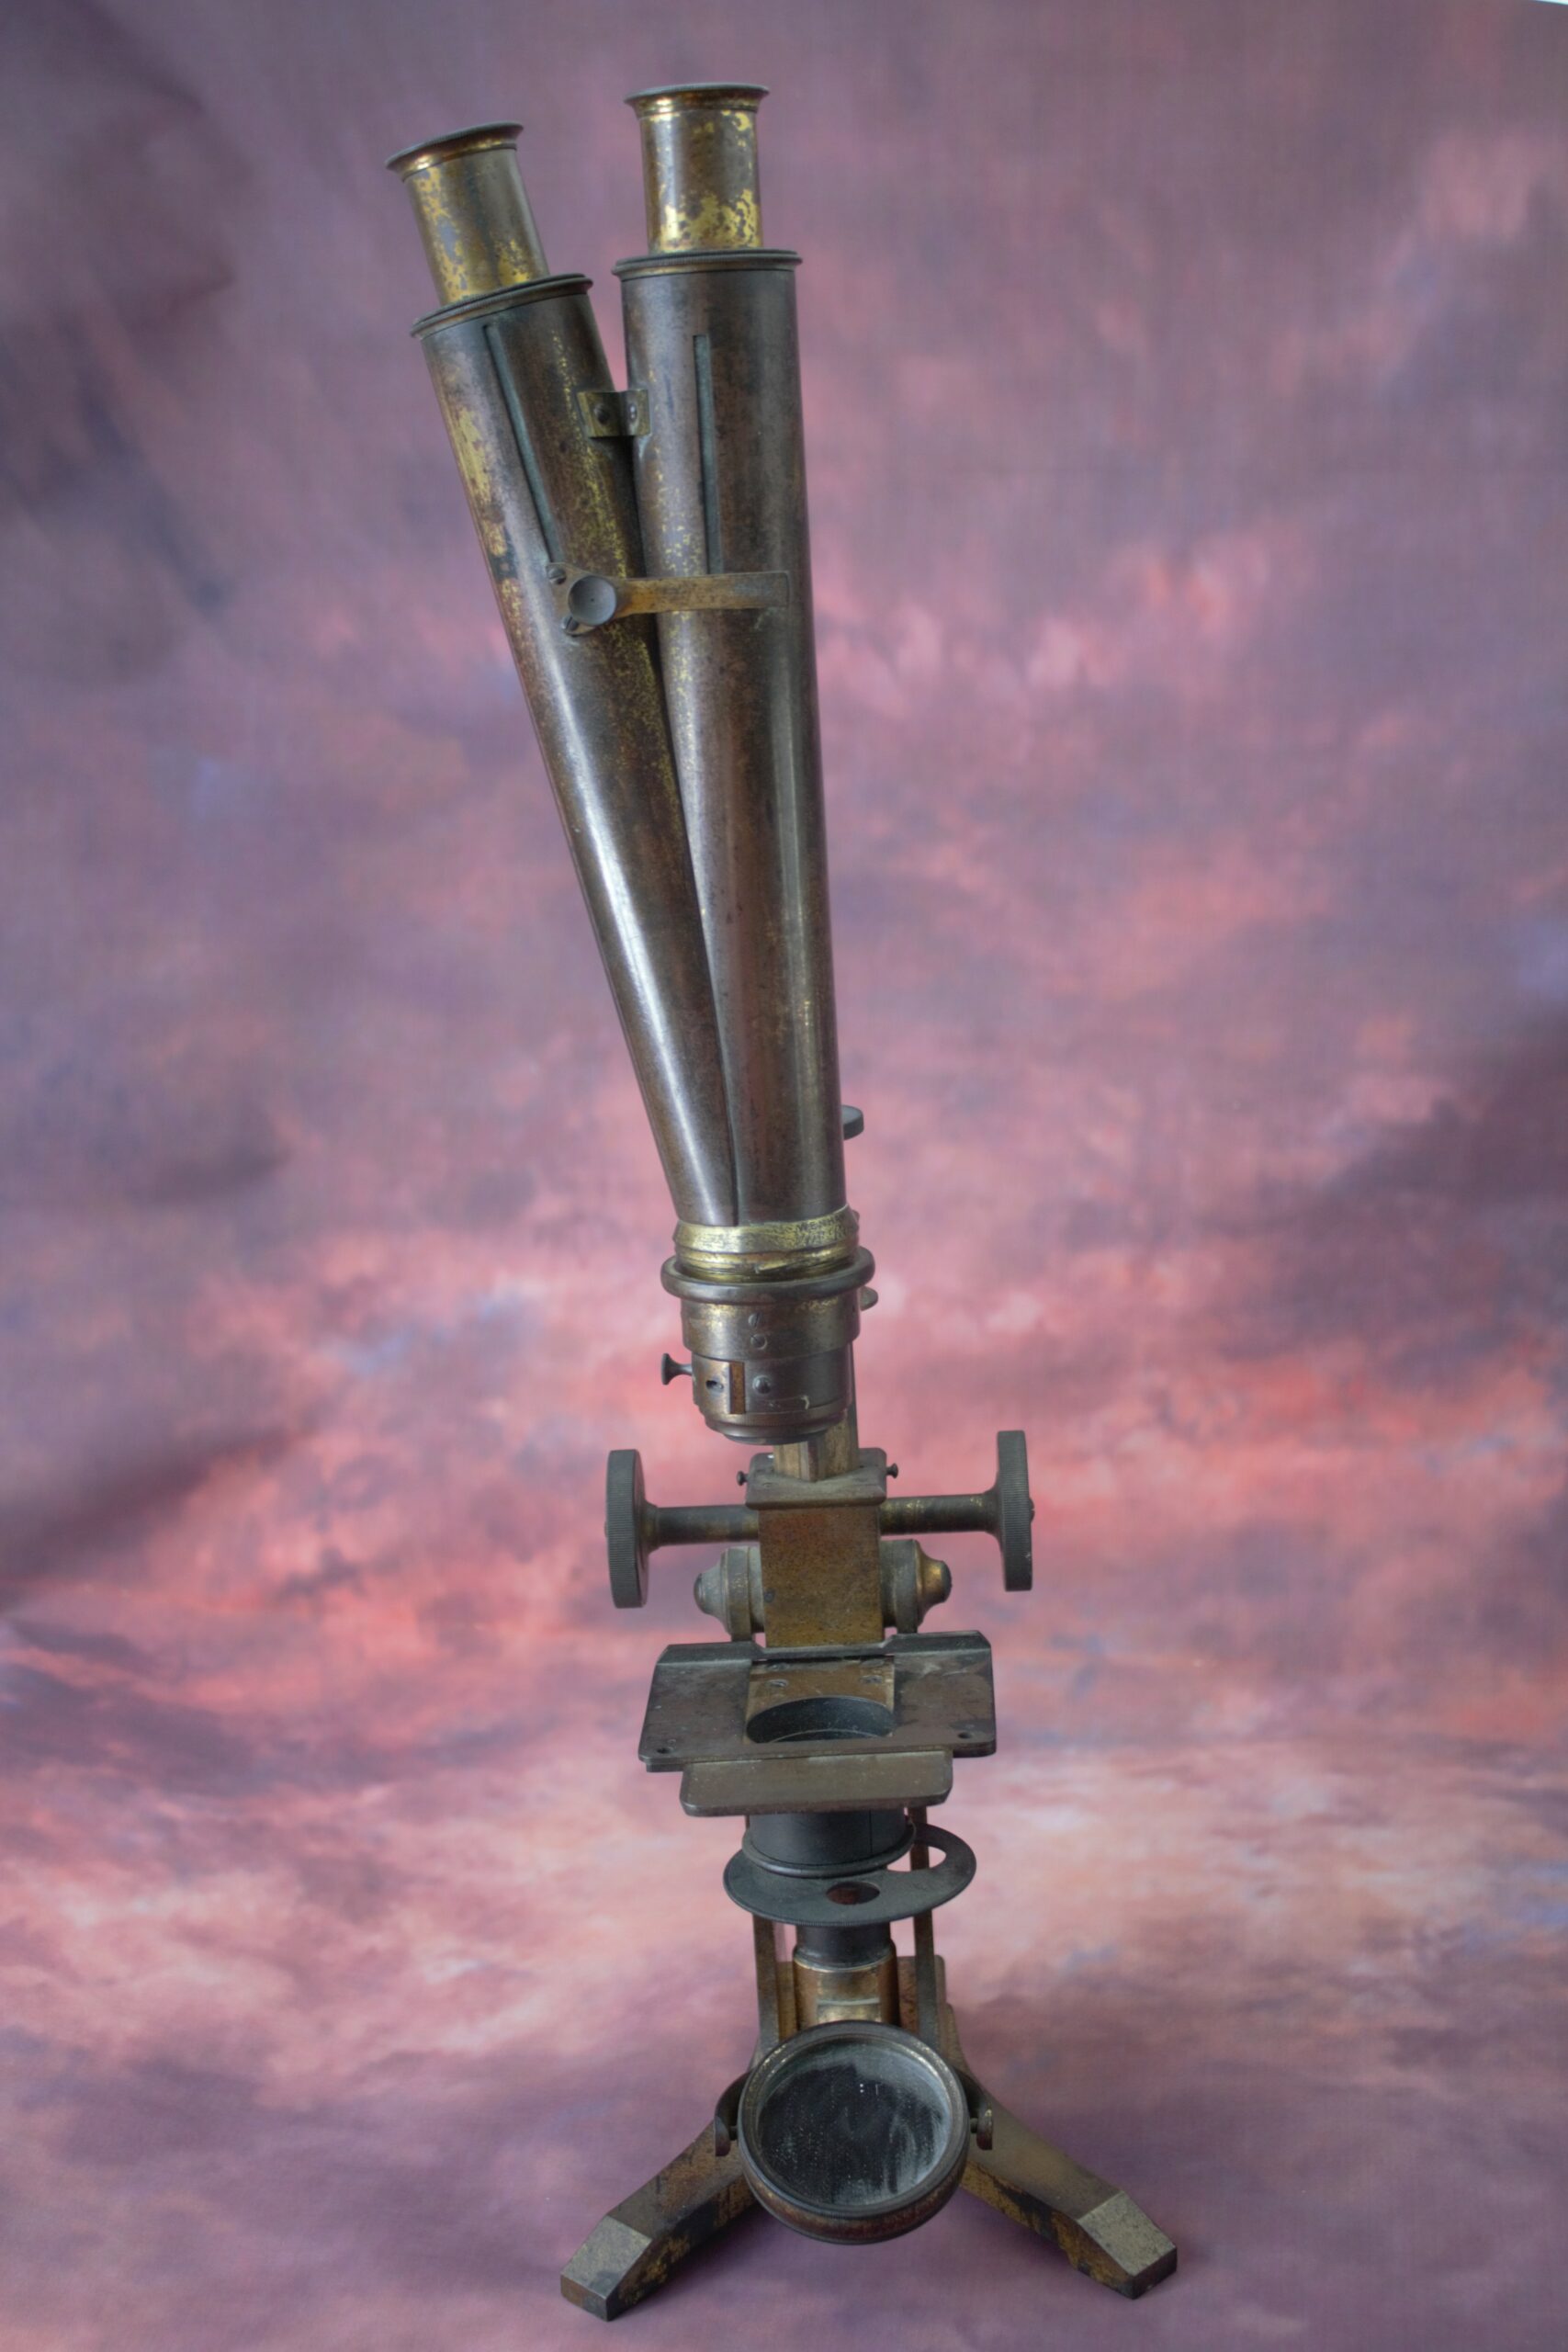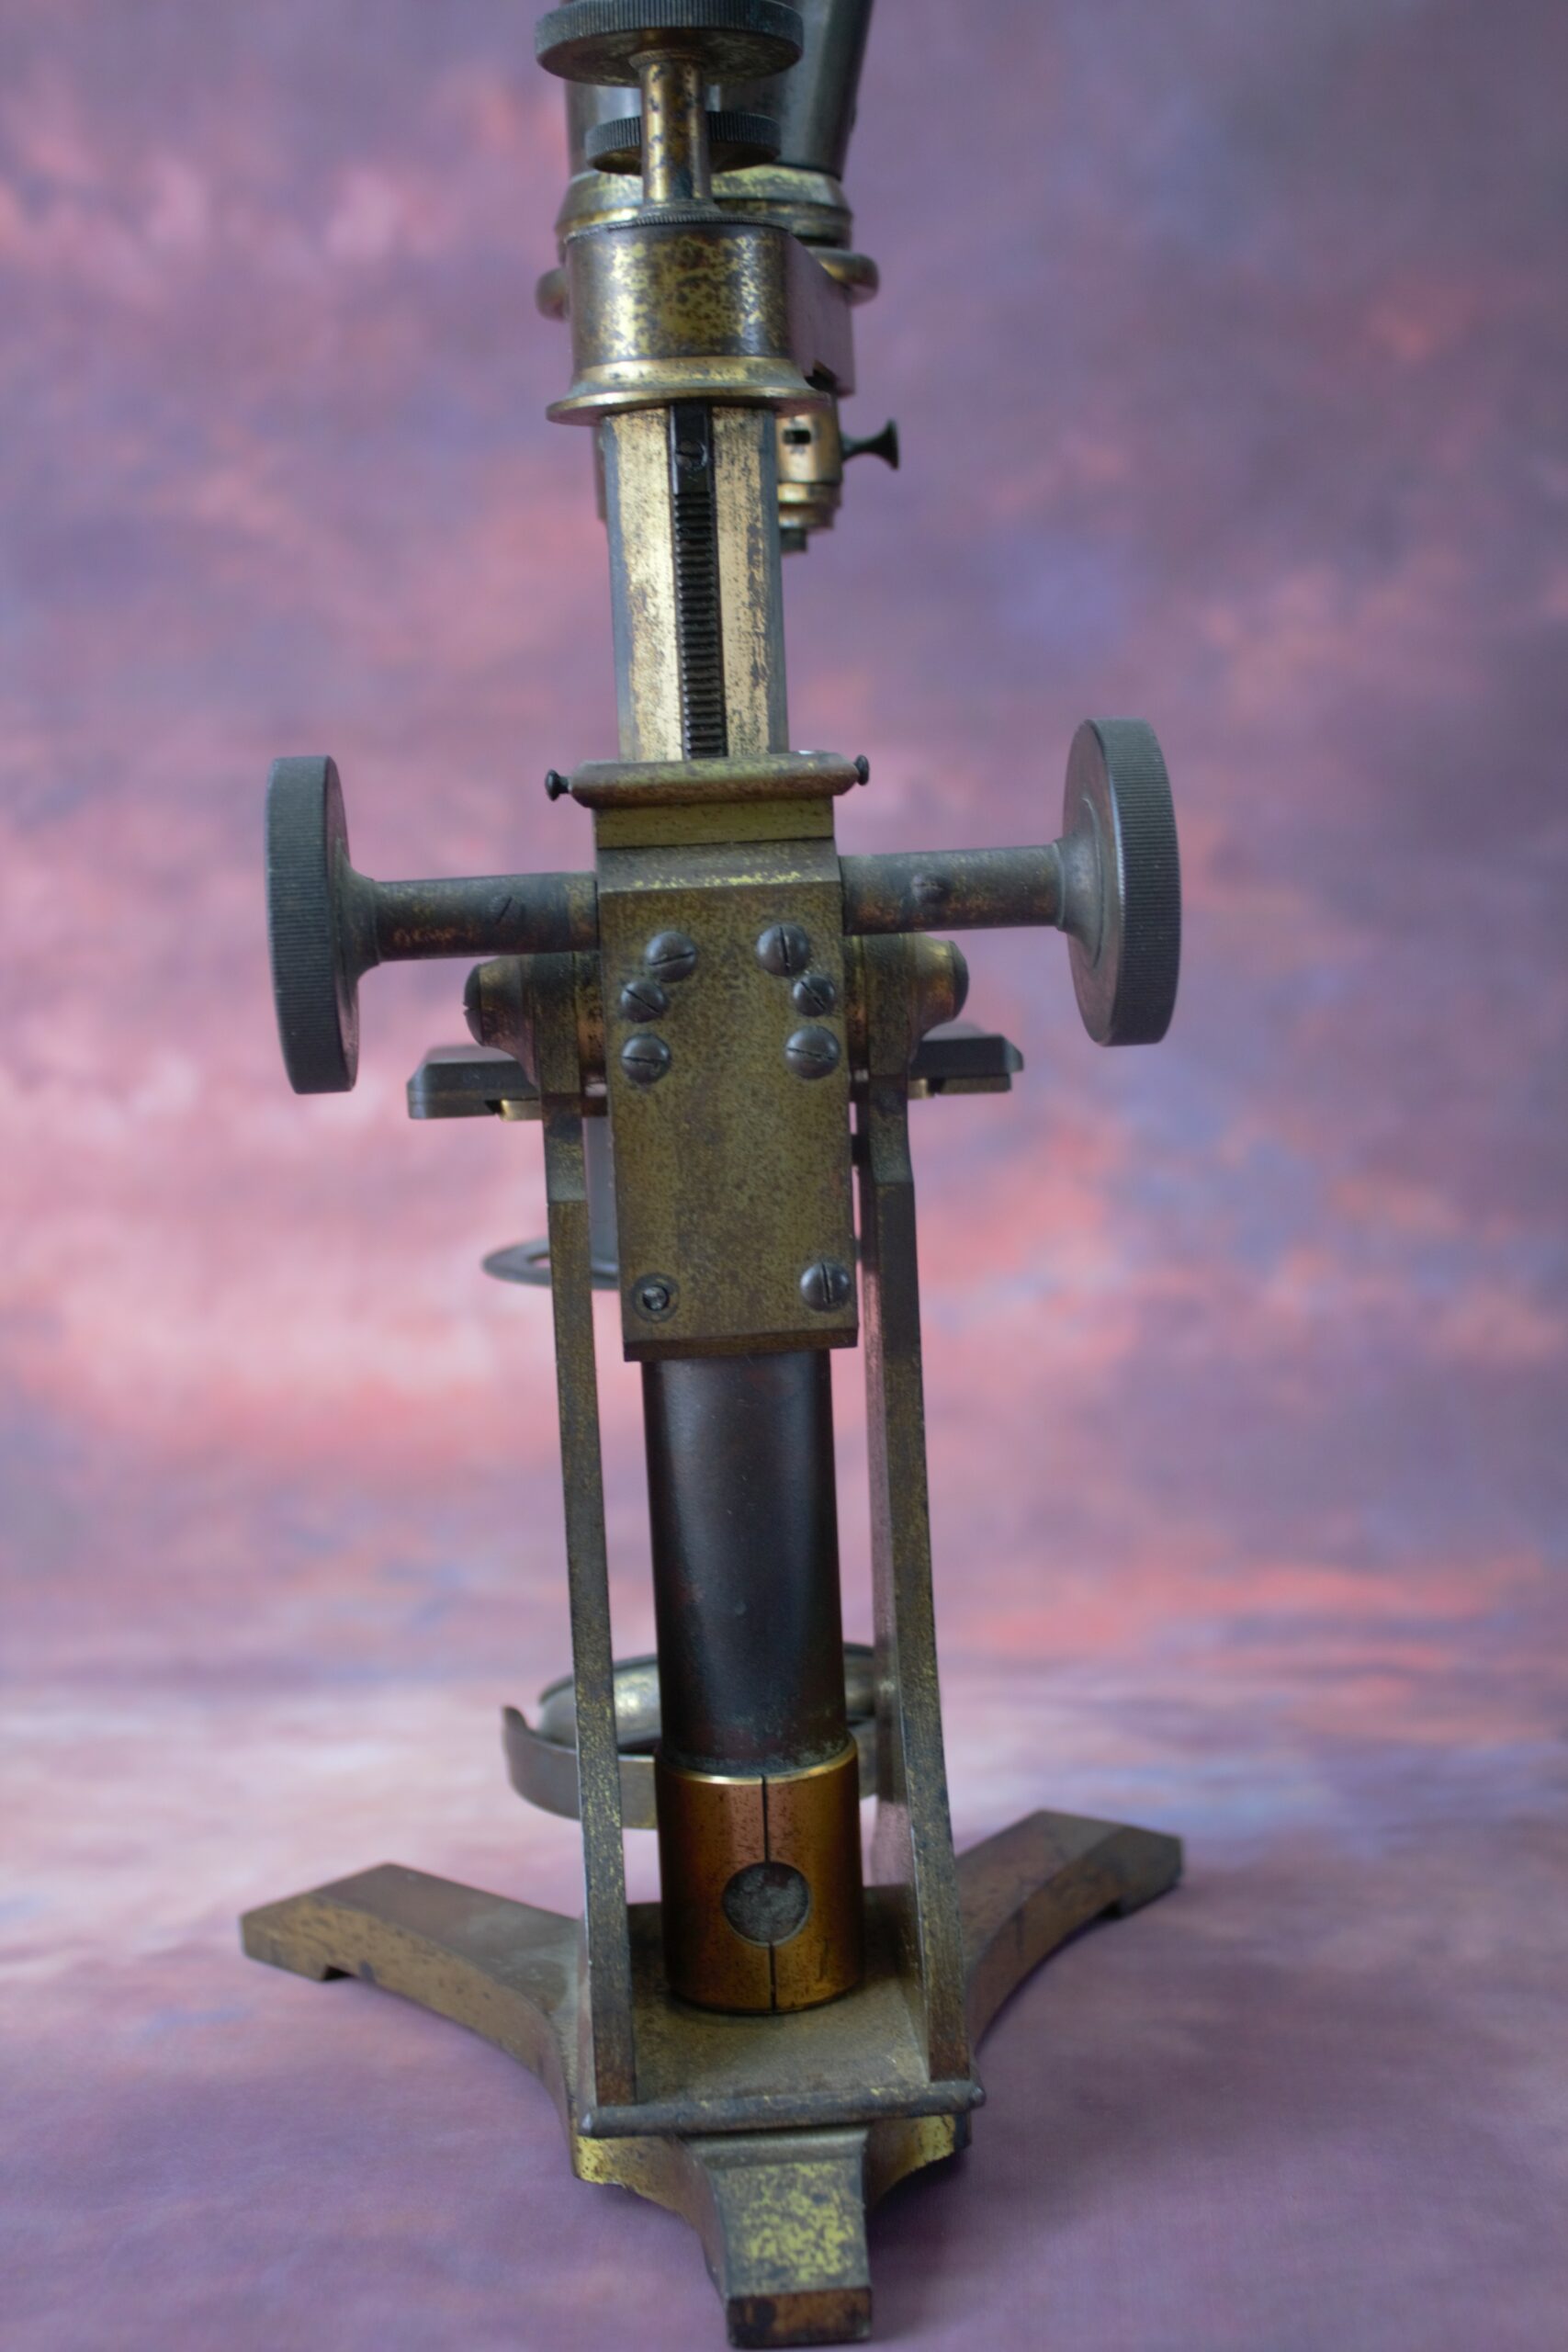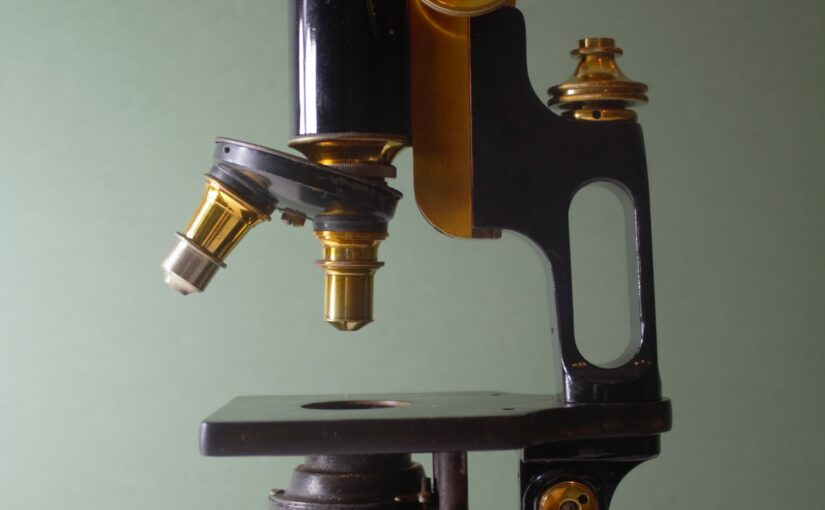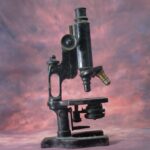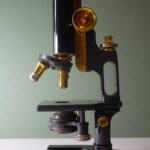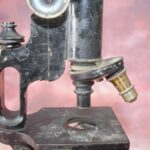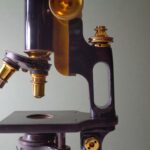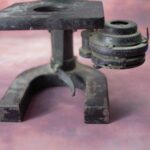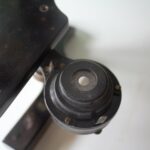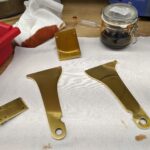
This is the stage from a smith, Beck and Beck Best microscope. I’m not sure what happened to the poor thing! The entire microscope (not just the stage) is covered in what appears to dirt and mould. However, it is not just dirt, it appears to be varnish encrusted with dirt and mould.
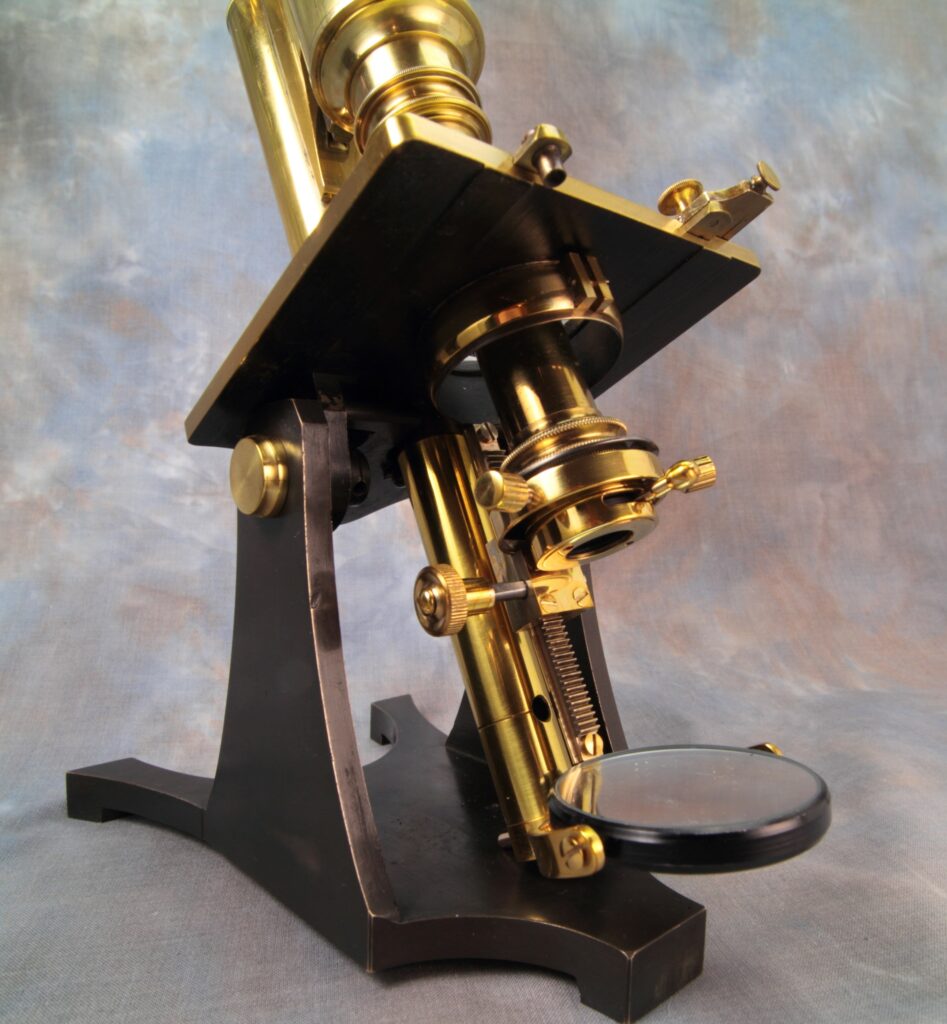
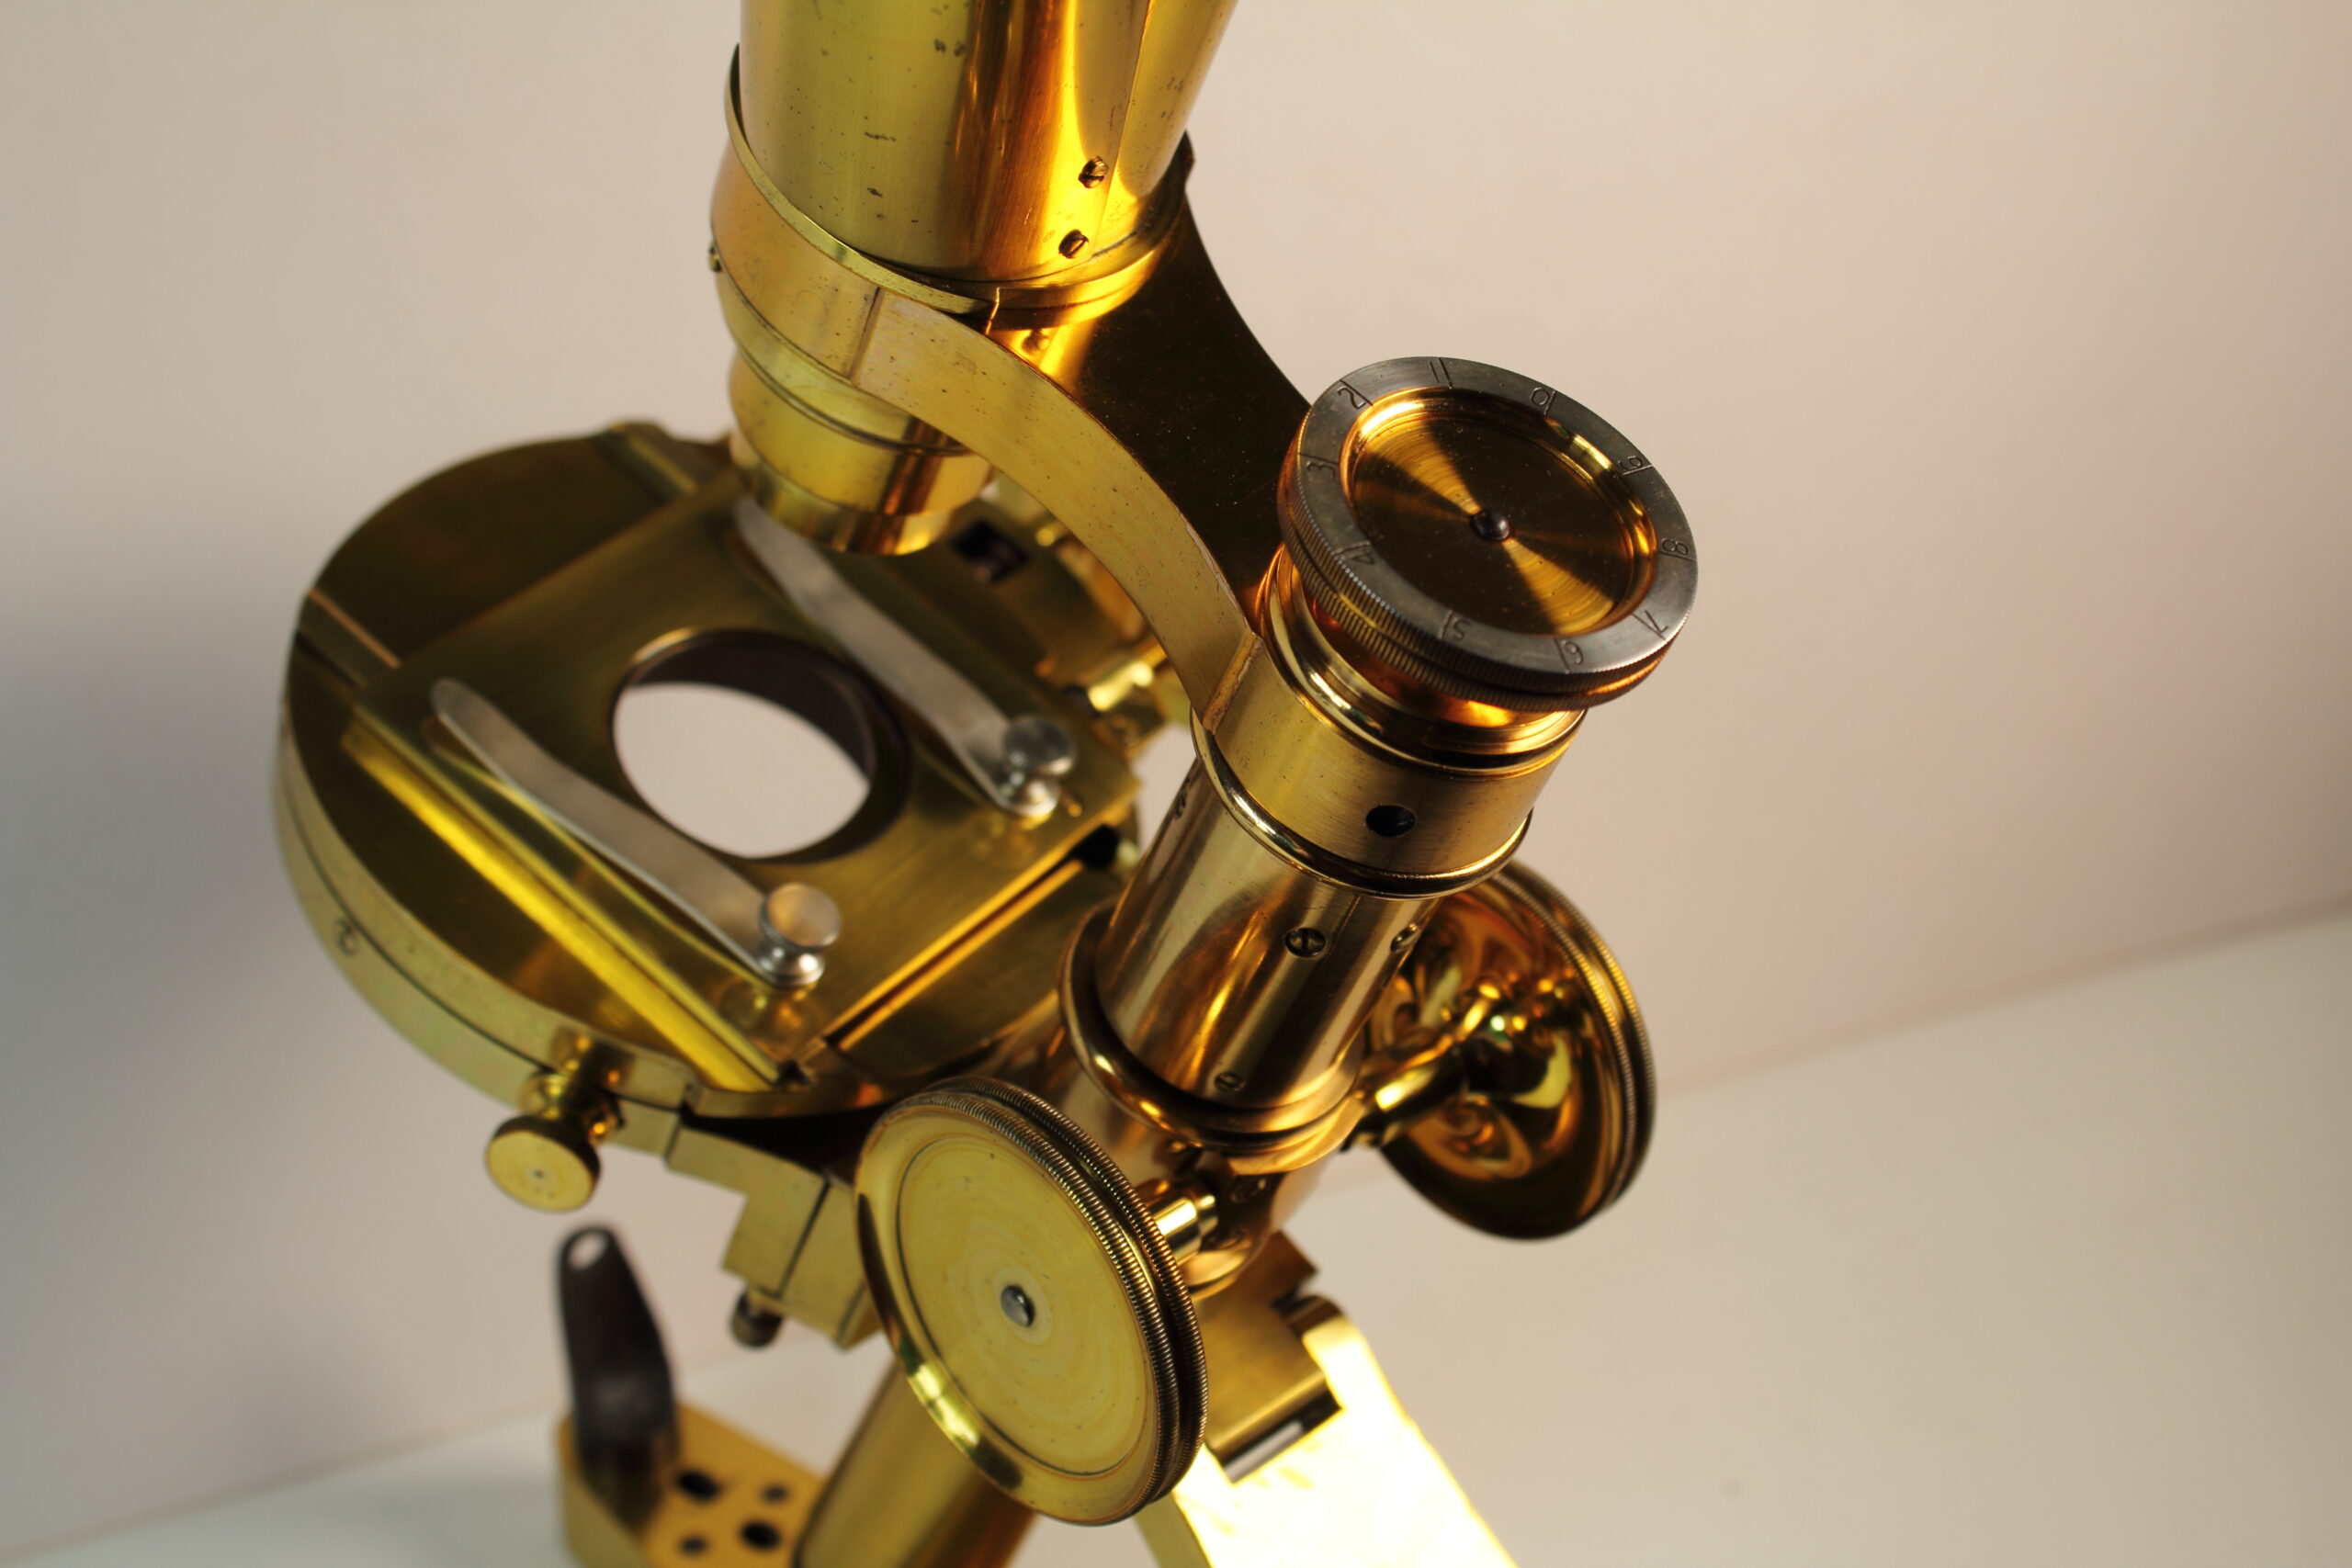
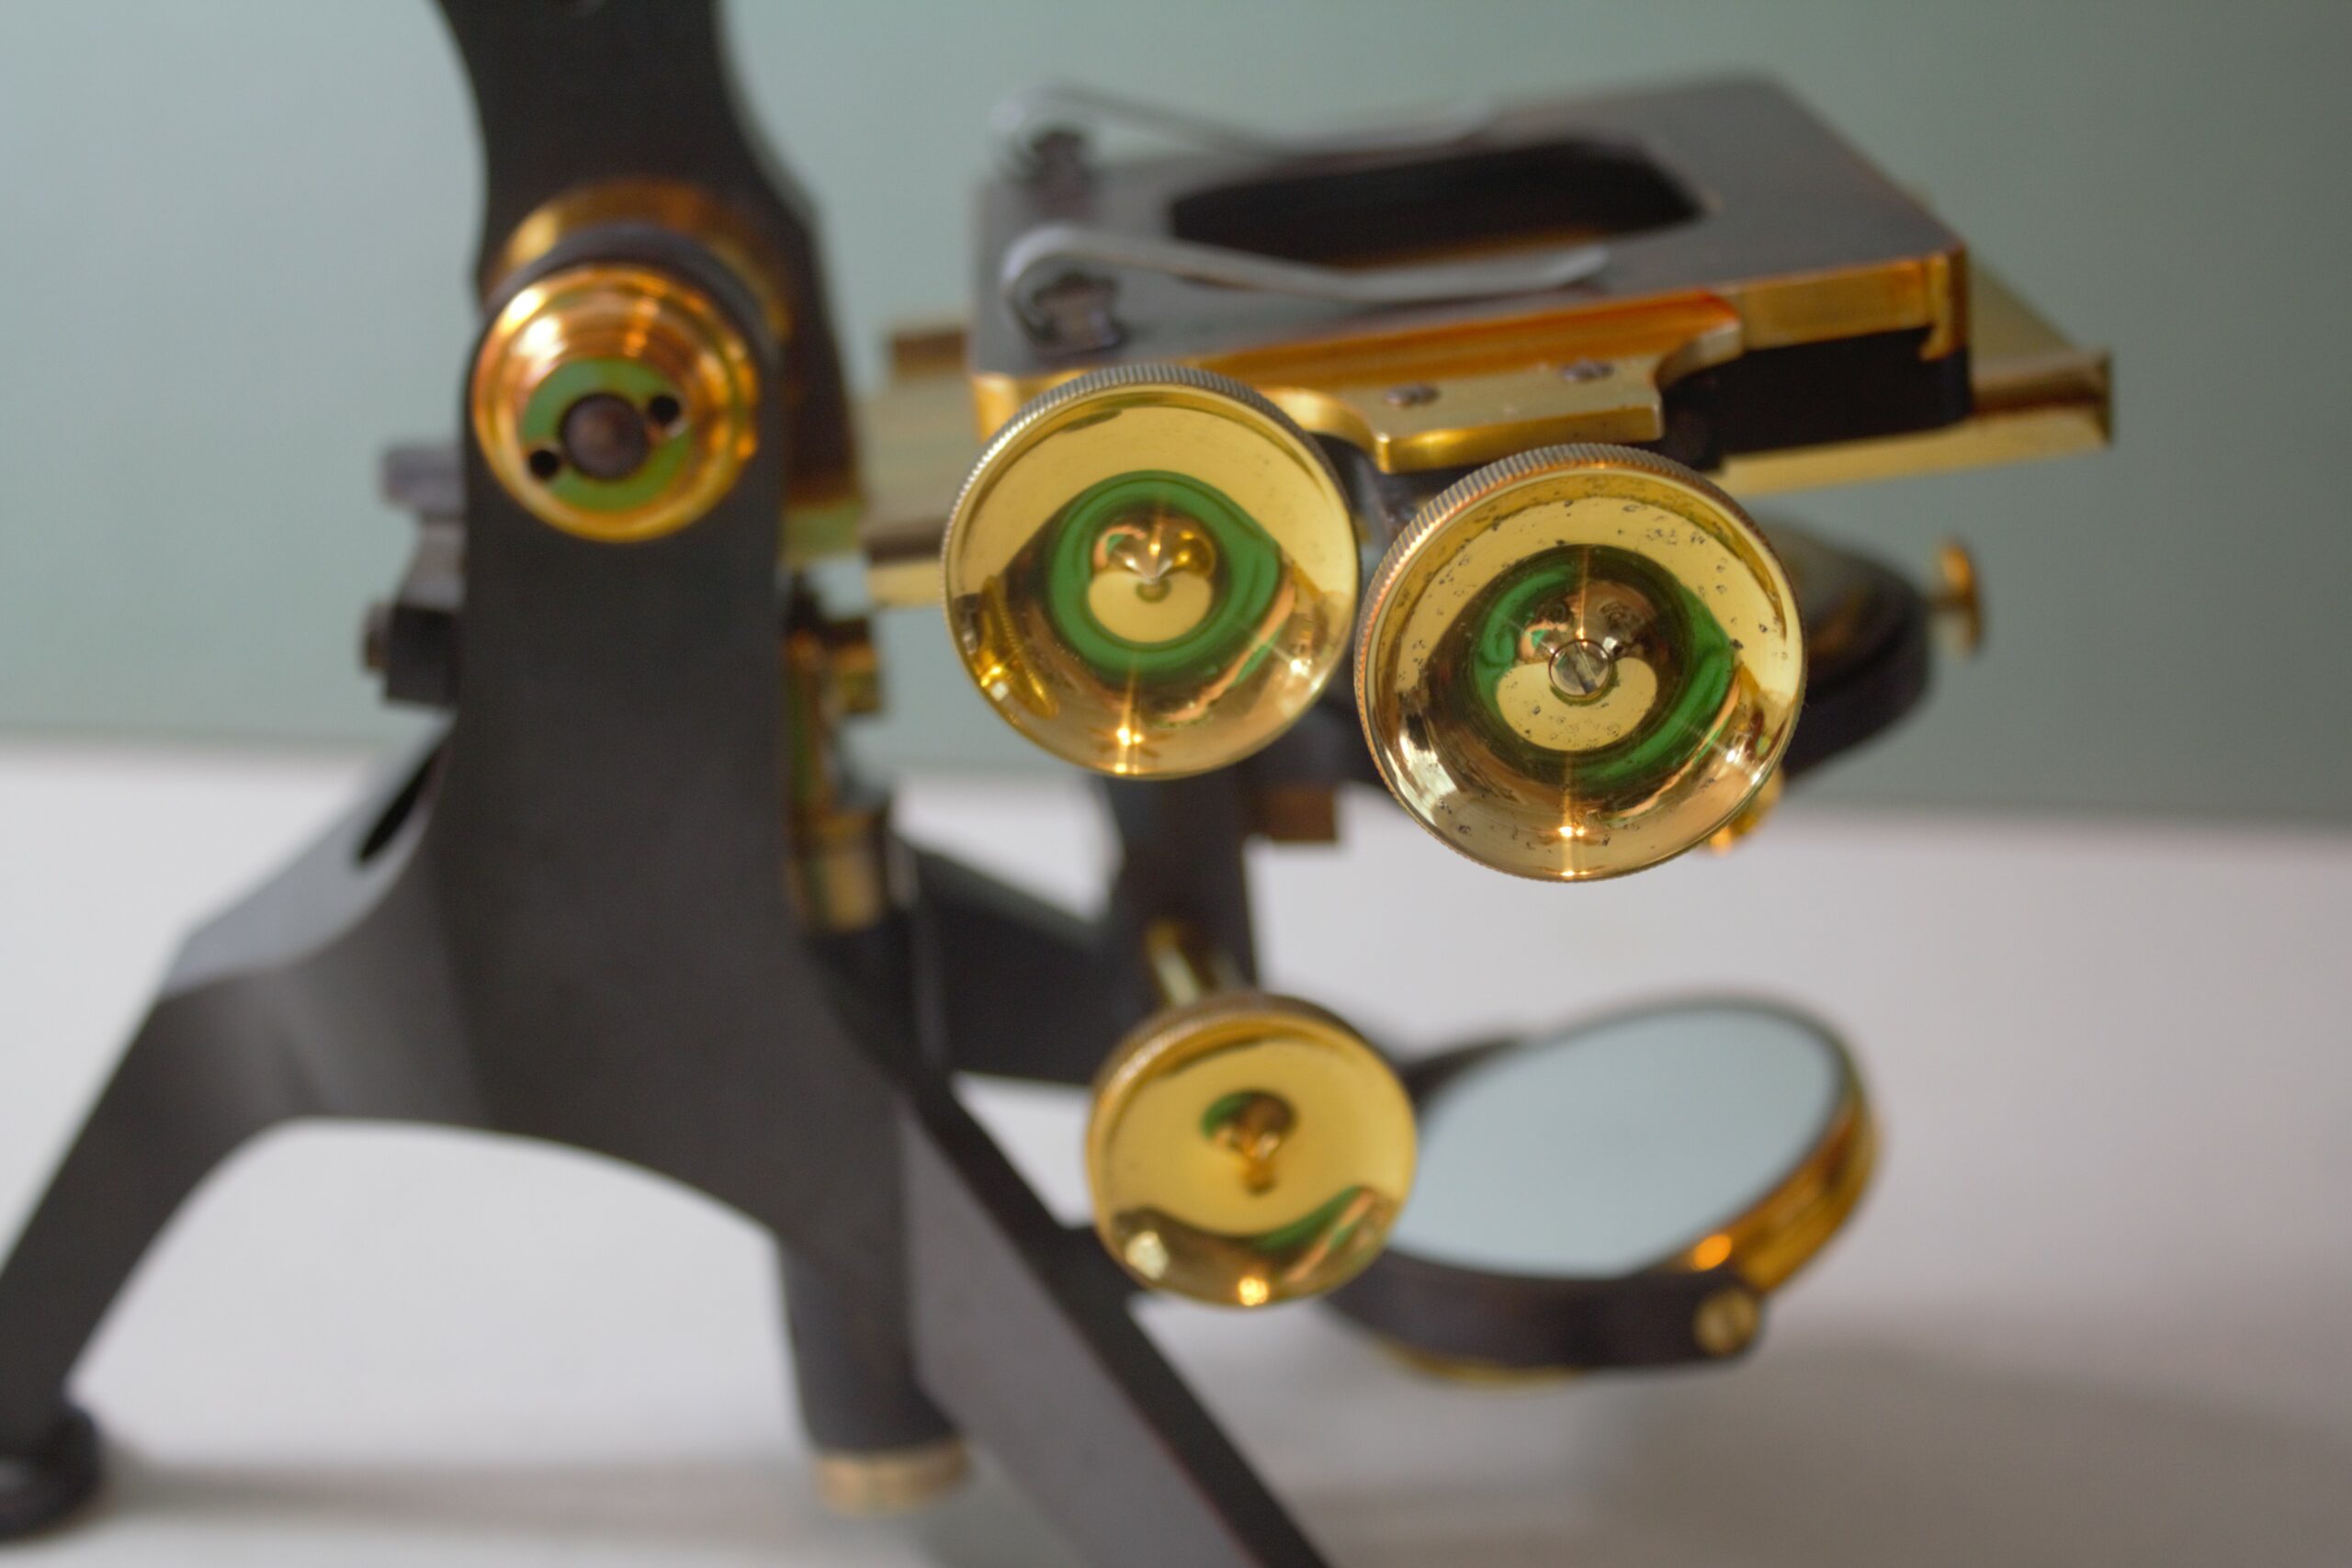
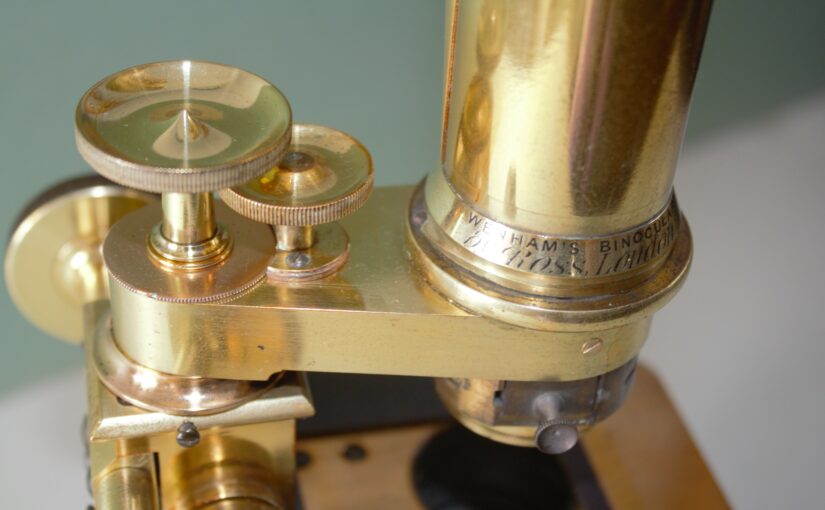
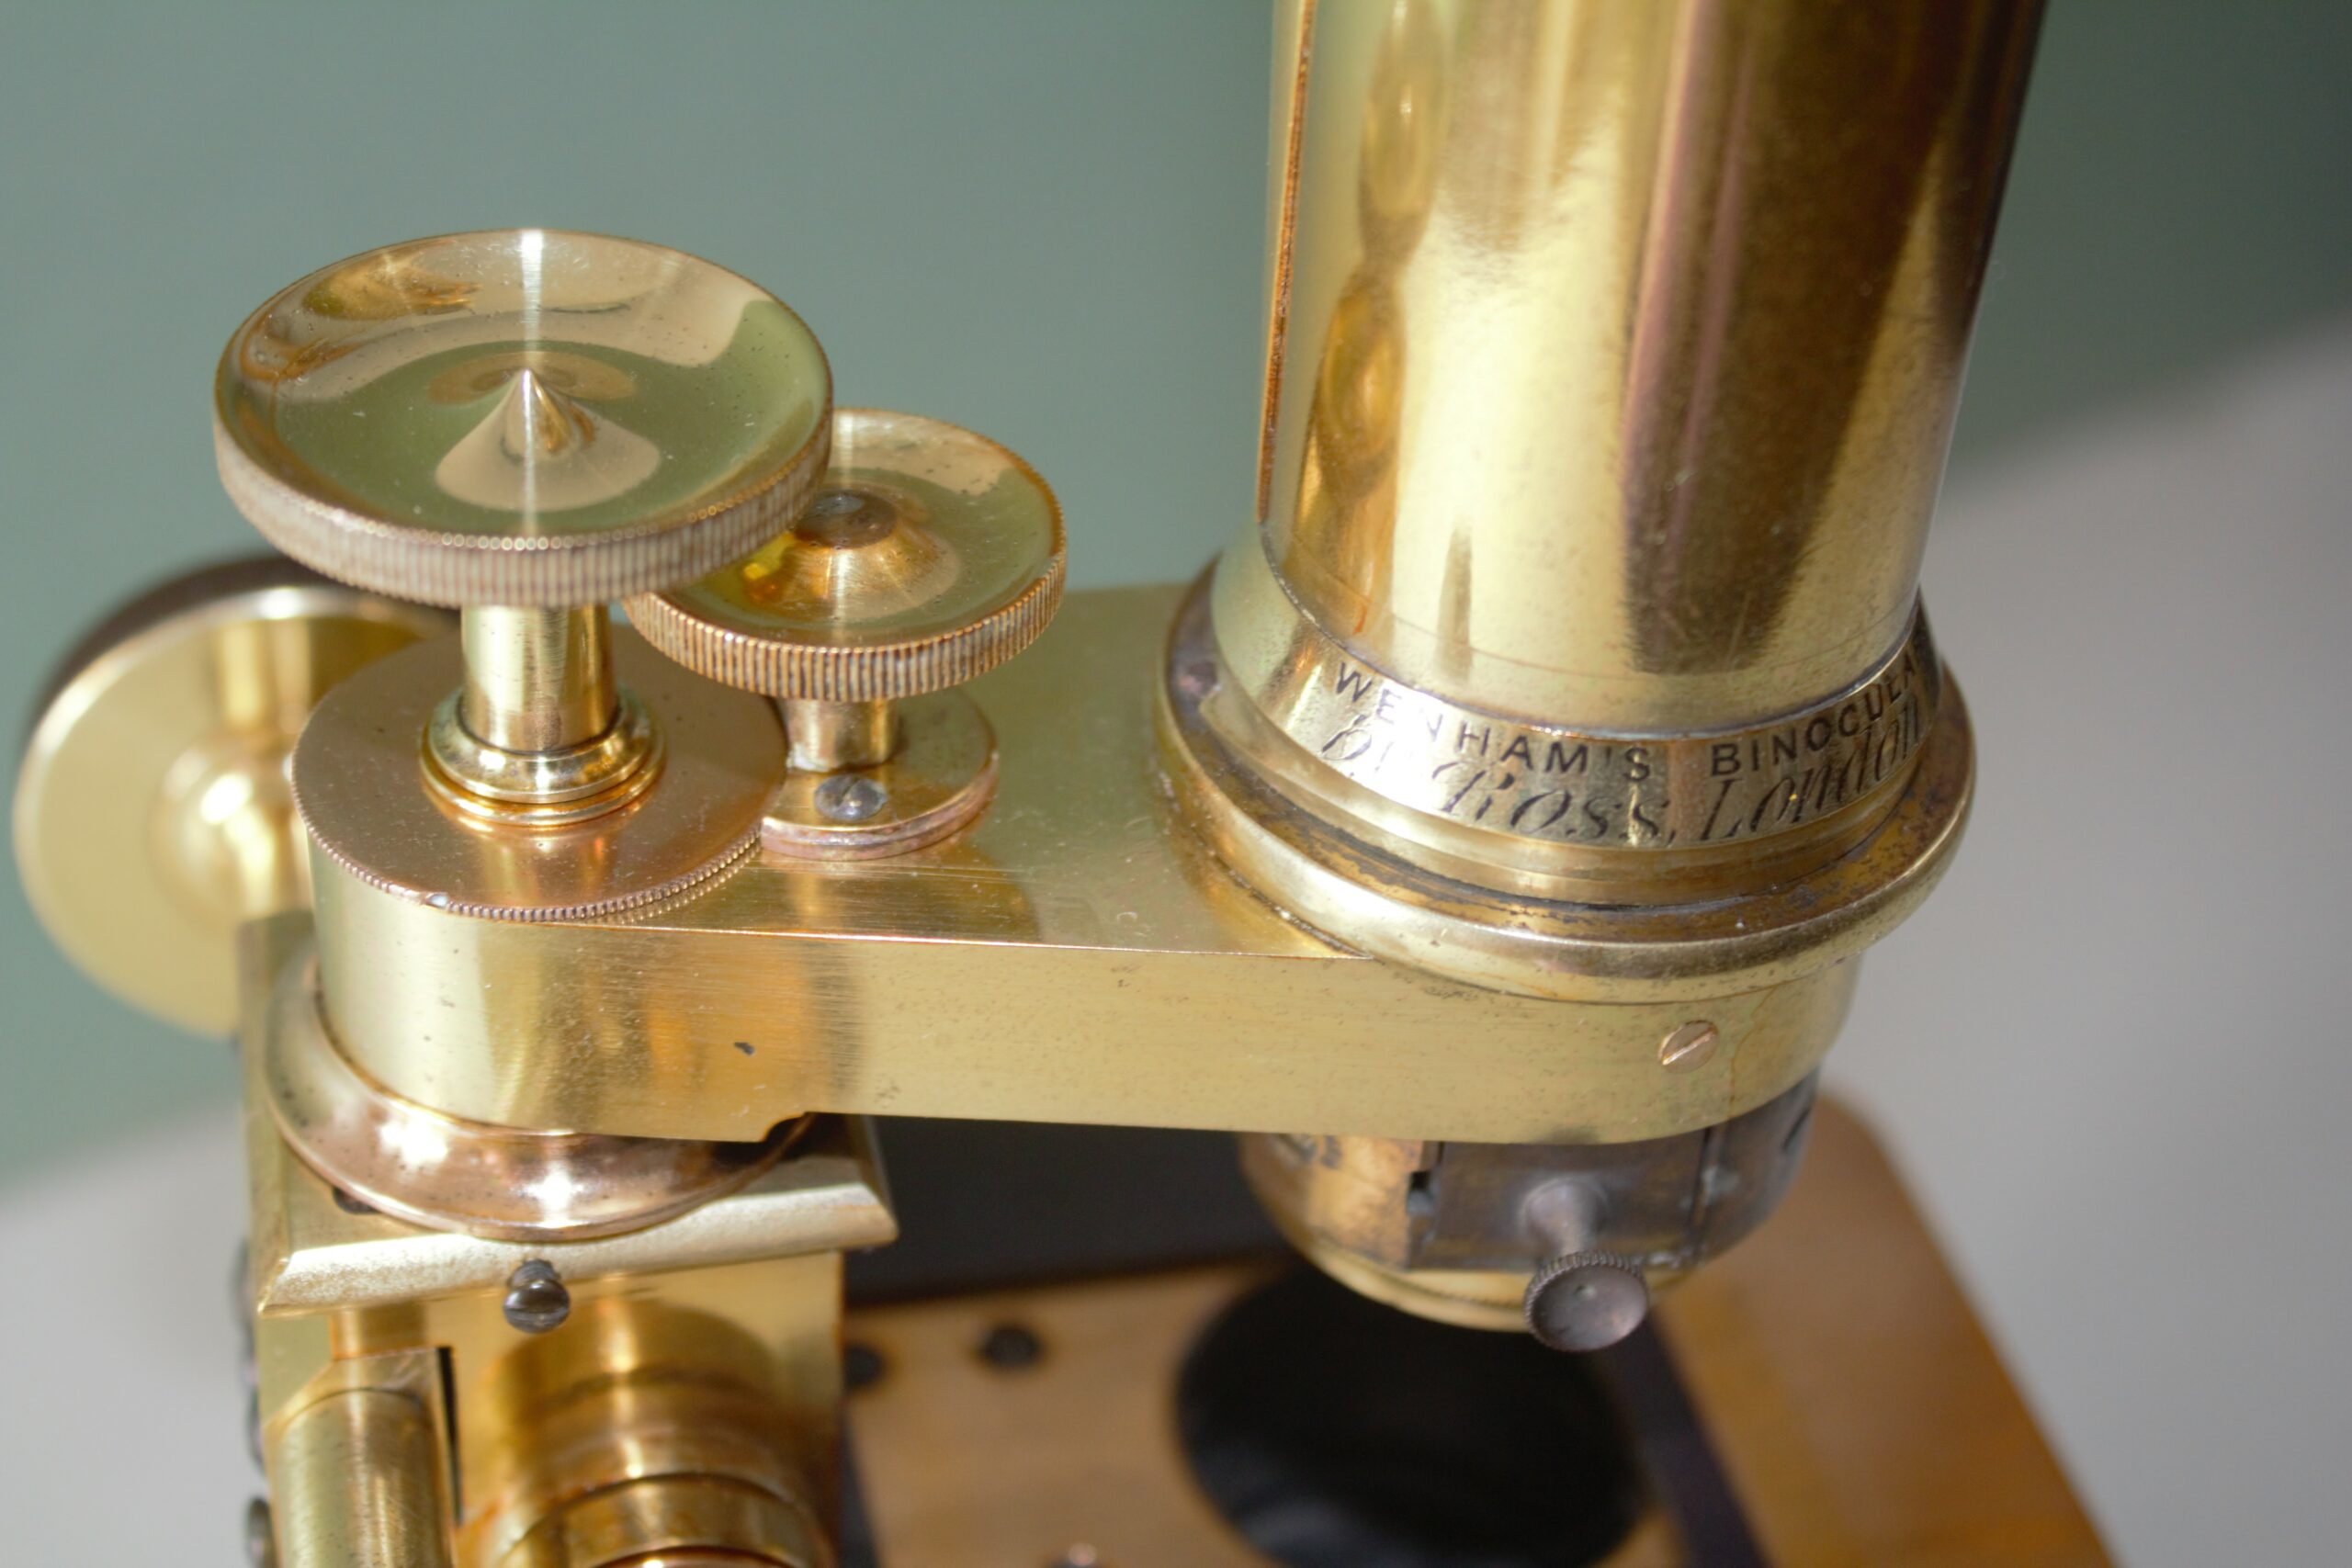
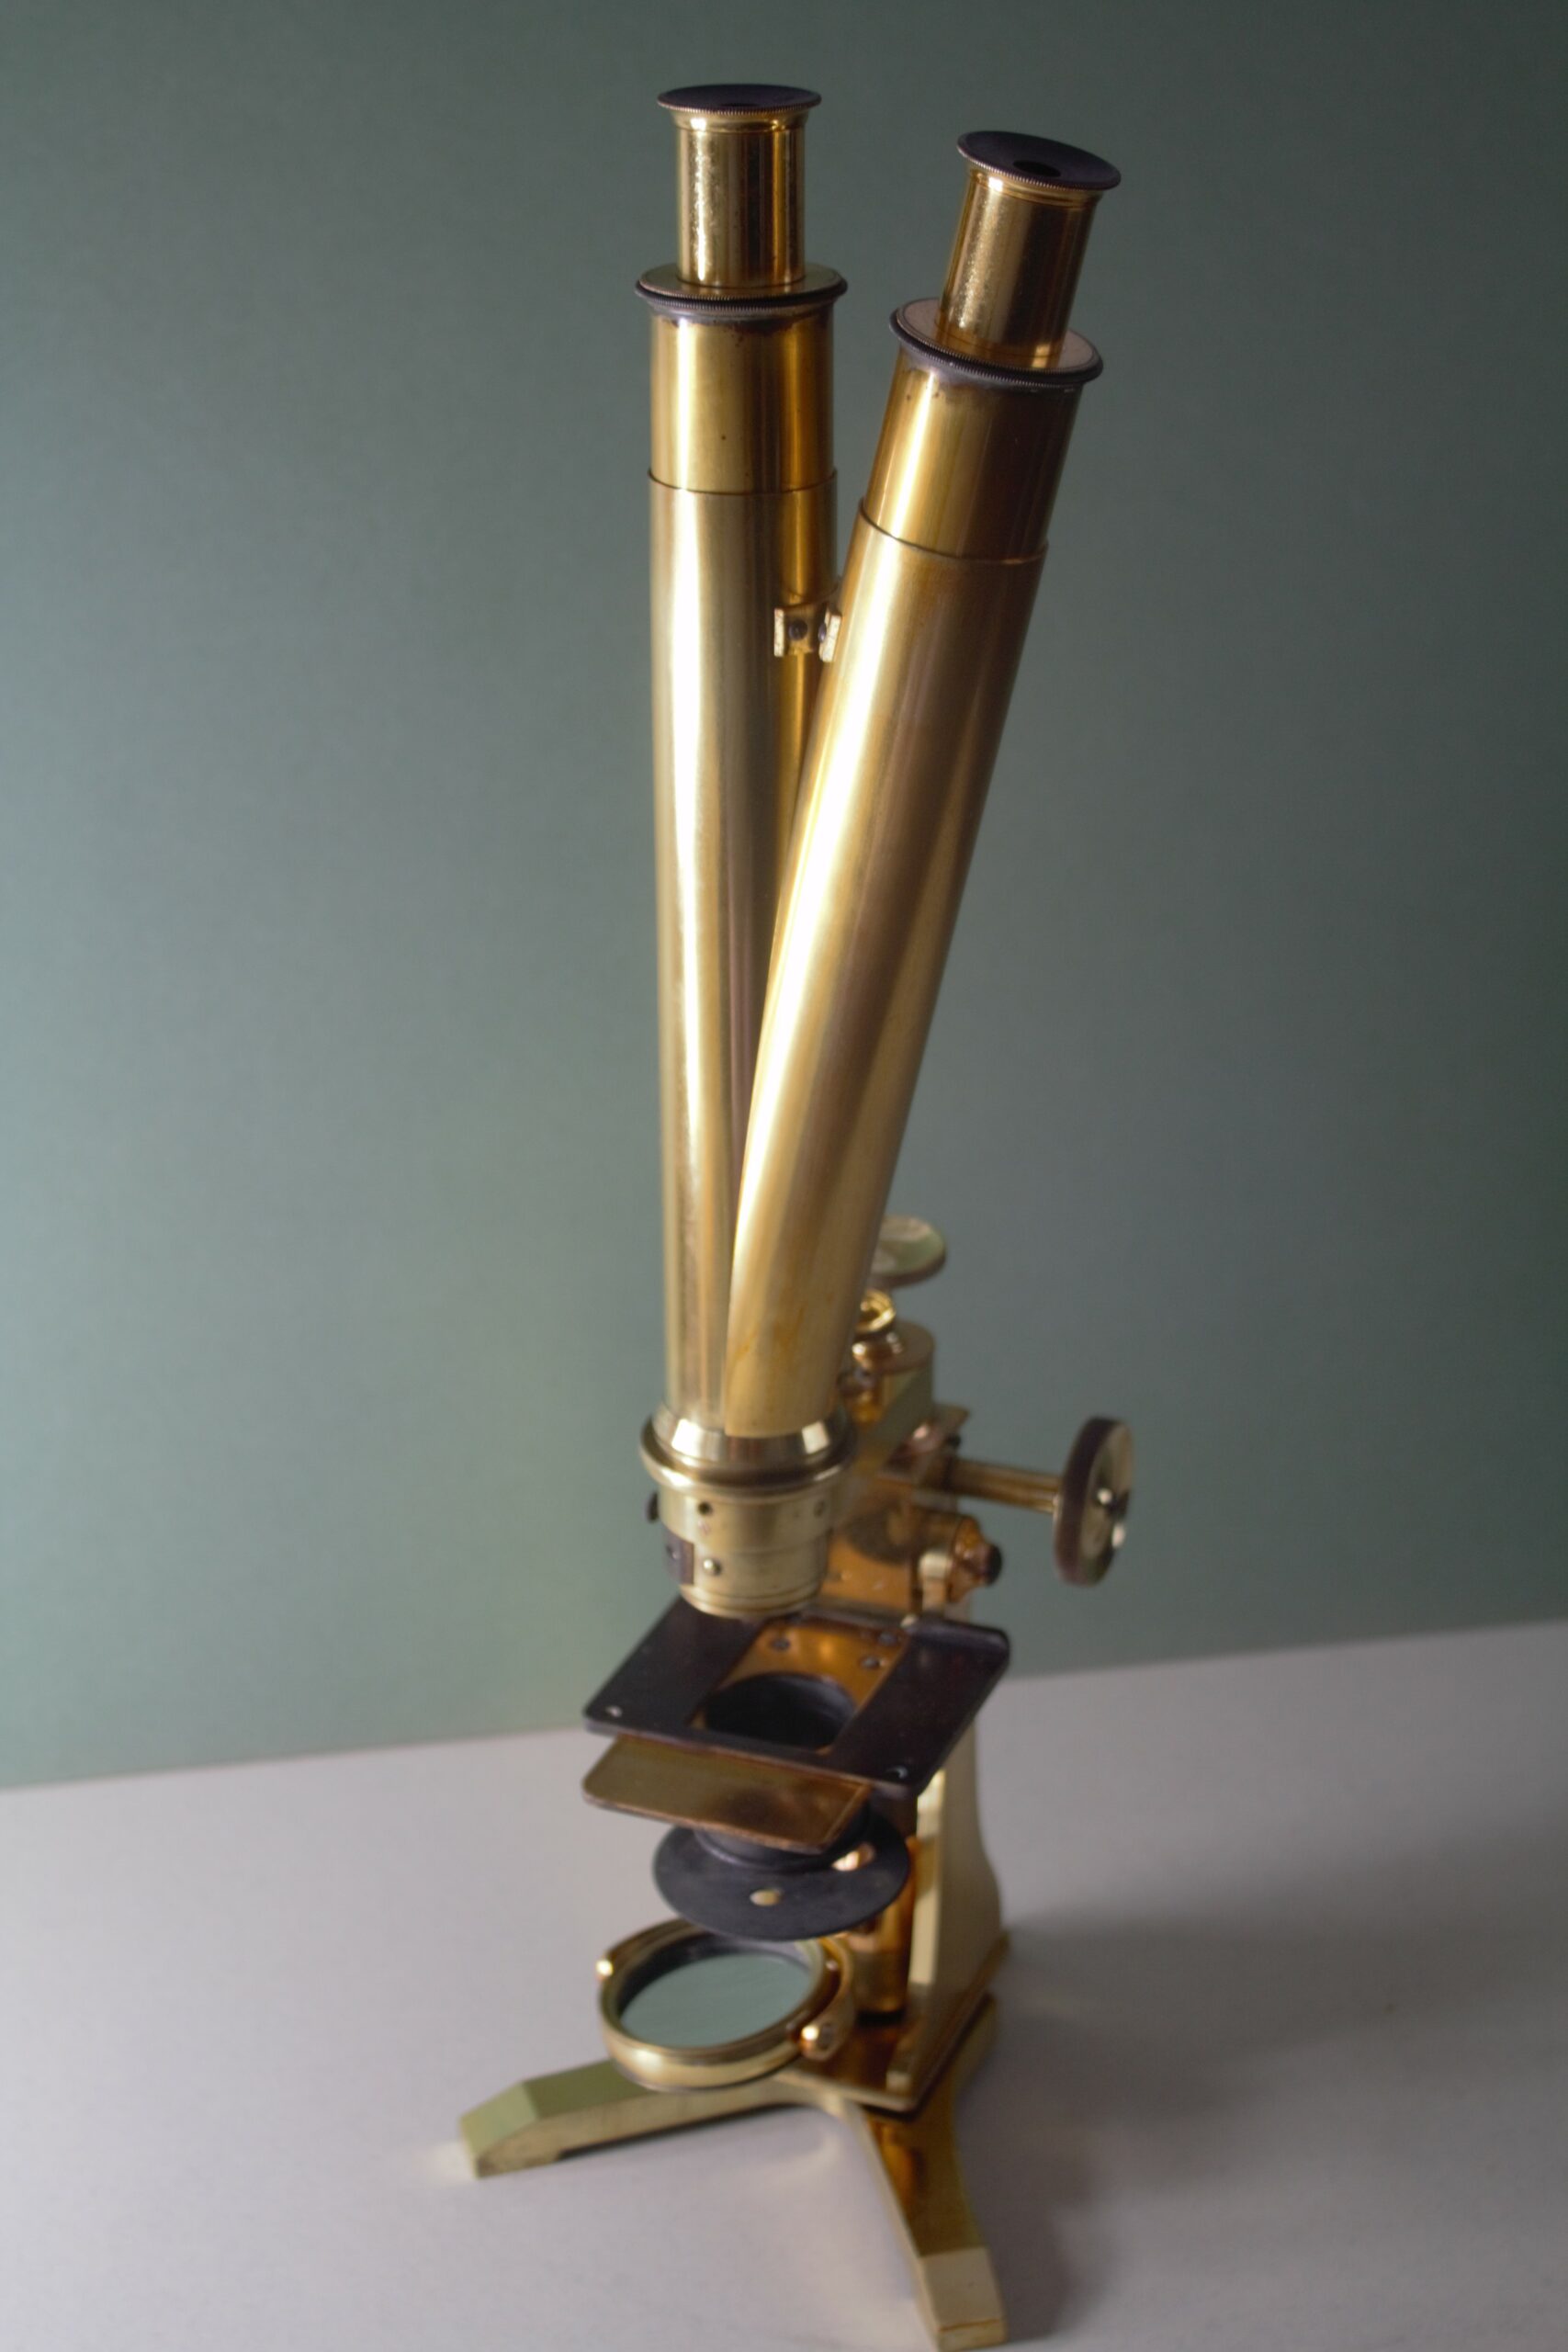
The substance is rock hard and takes a great deal of work to remove. I think the microscope was stored somewhere without a box, varnish or something similar has been spilled on it and dirt has fallen into the still-wet coating. At least that’s what it looks like. I have finished restoring most of the microscope, just the stage left to do.
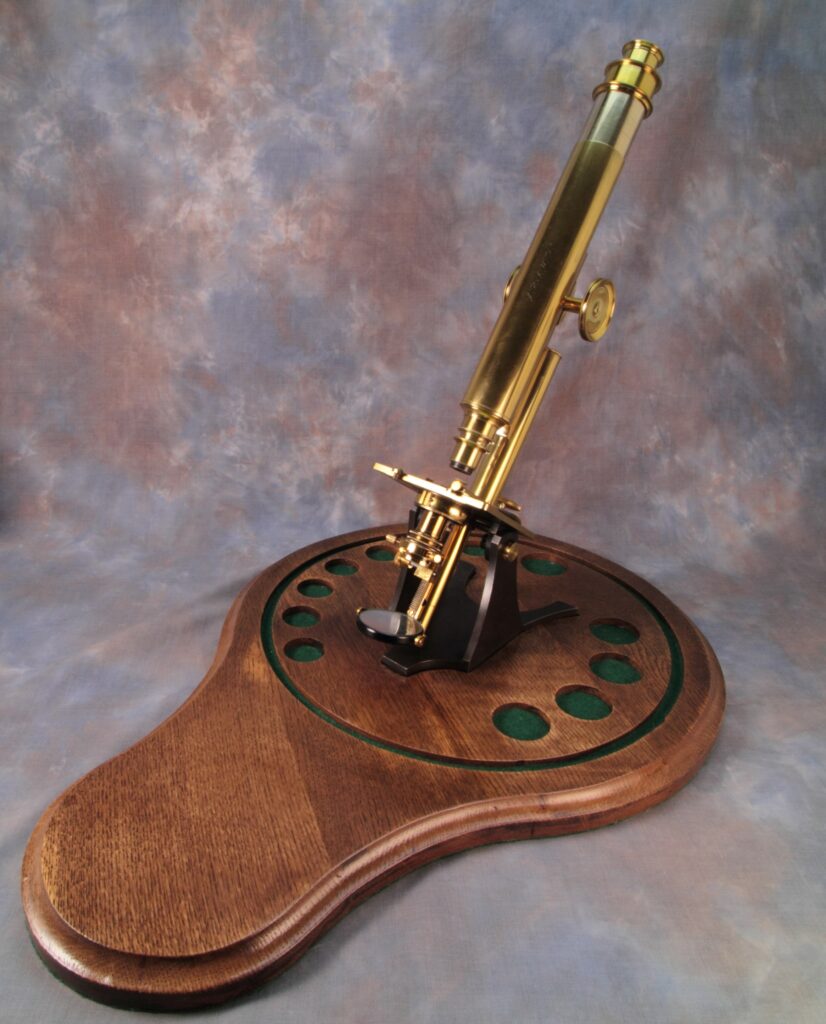
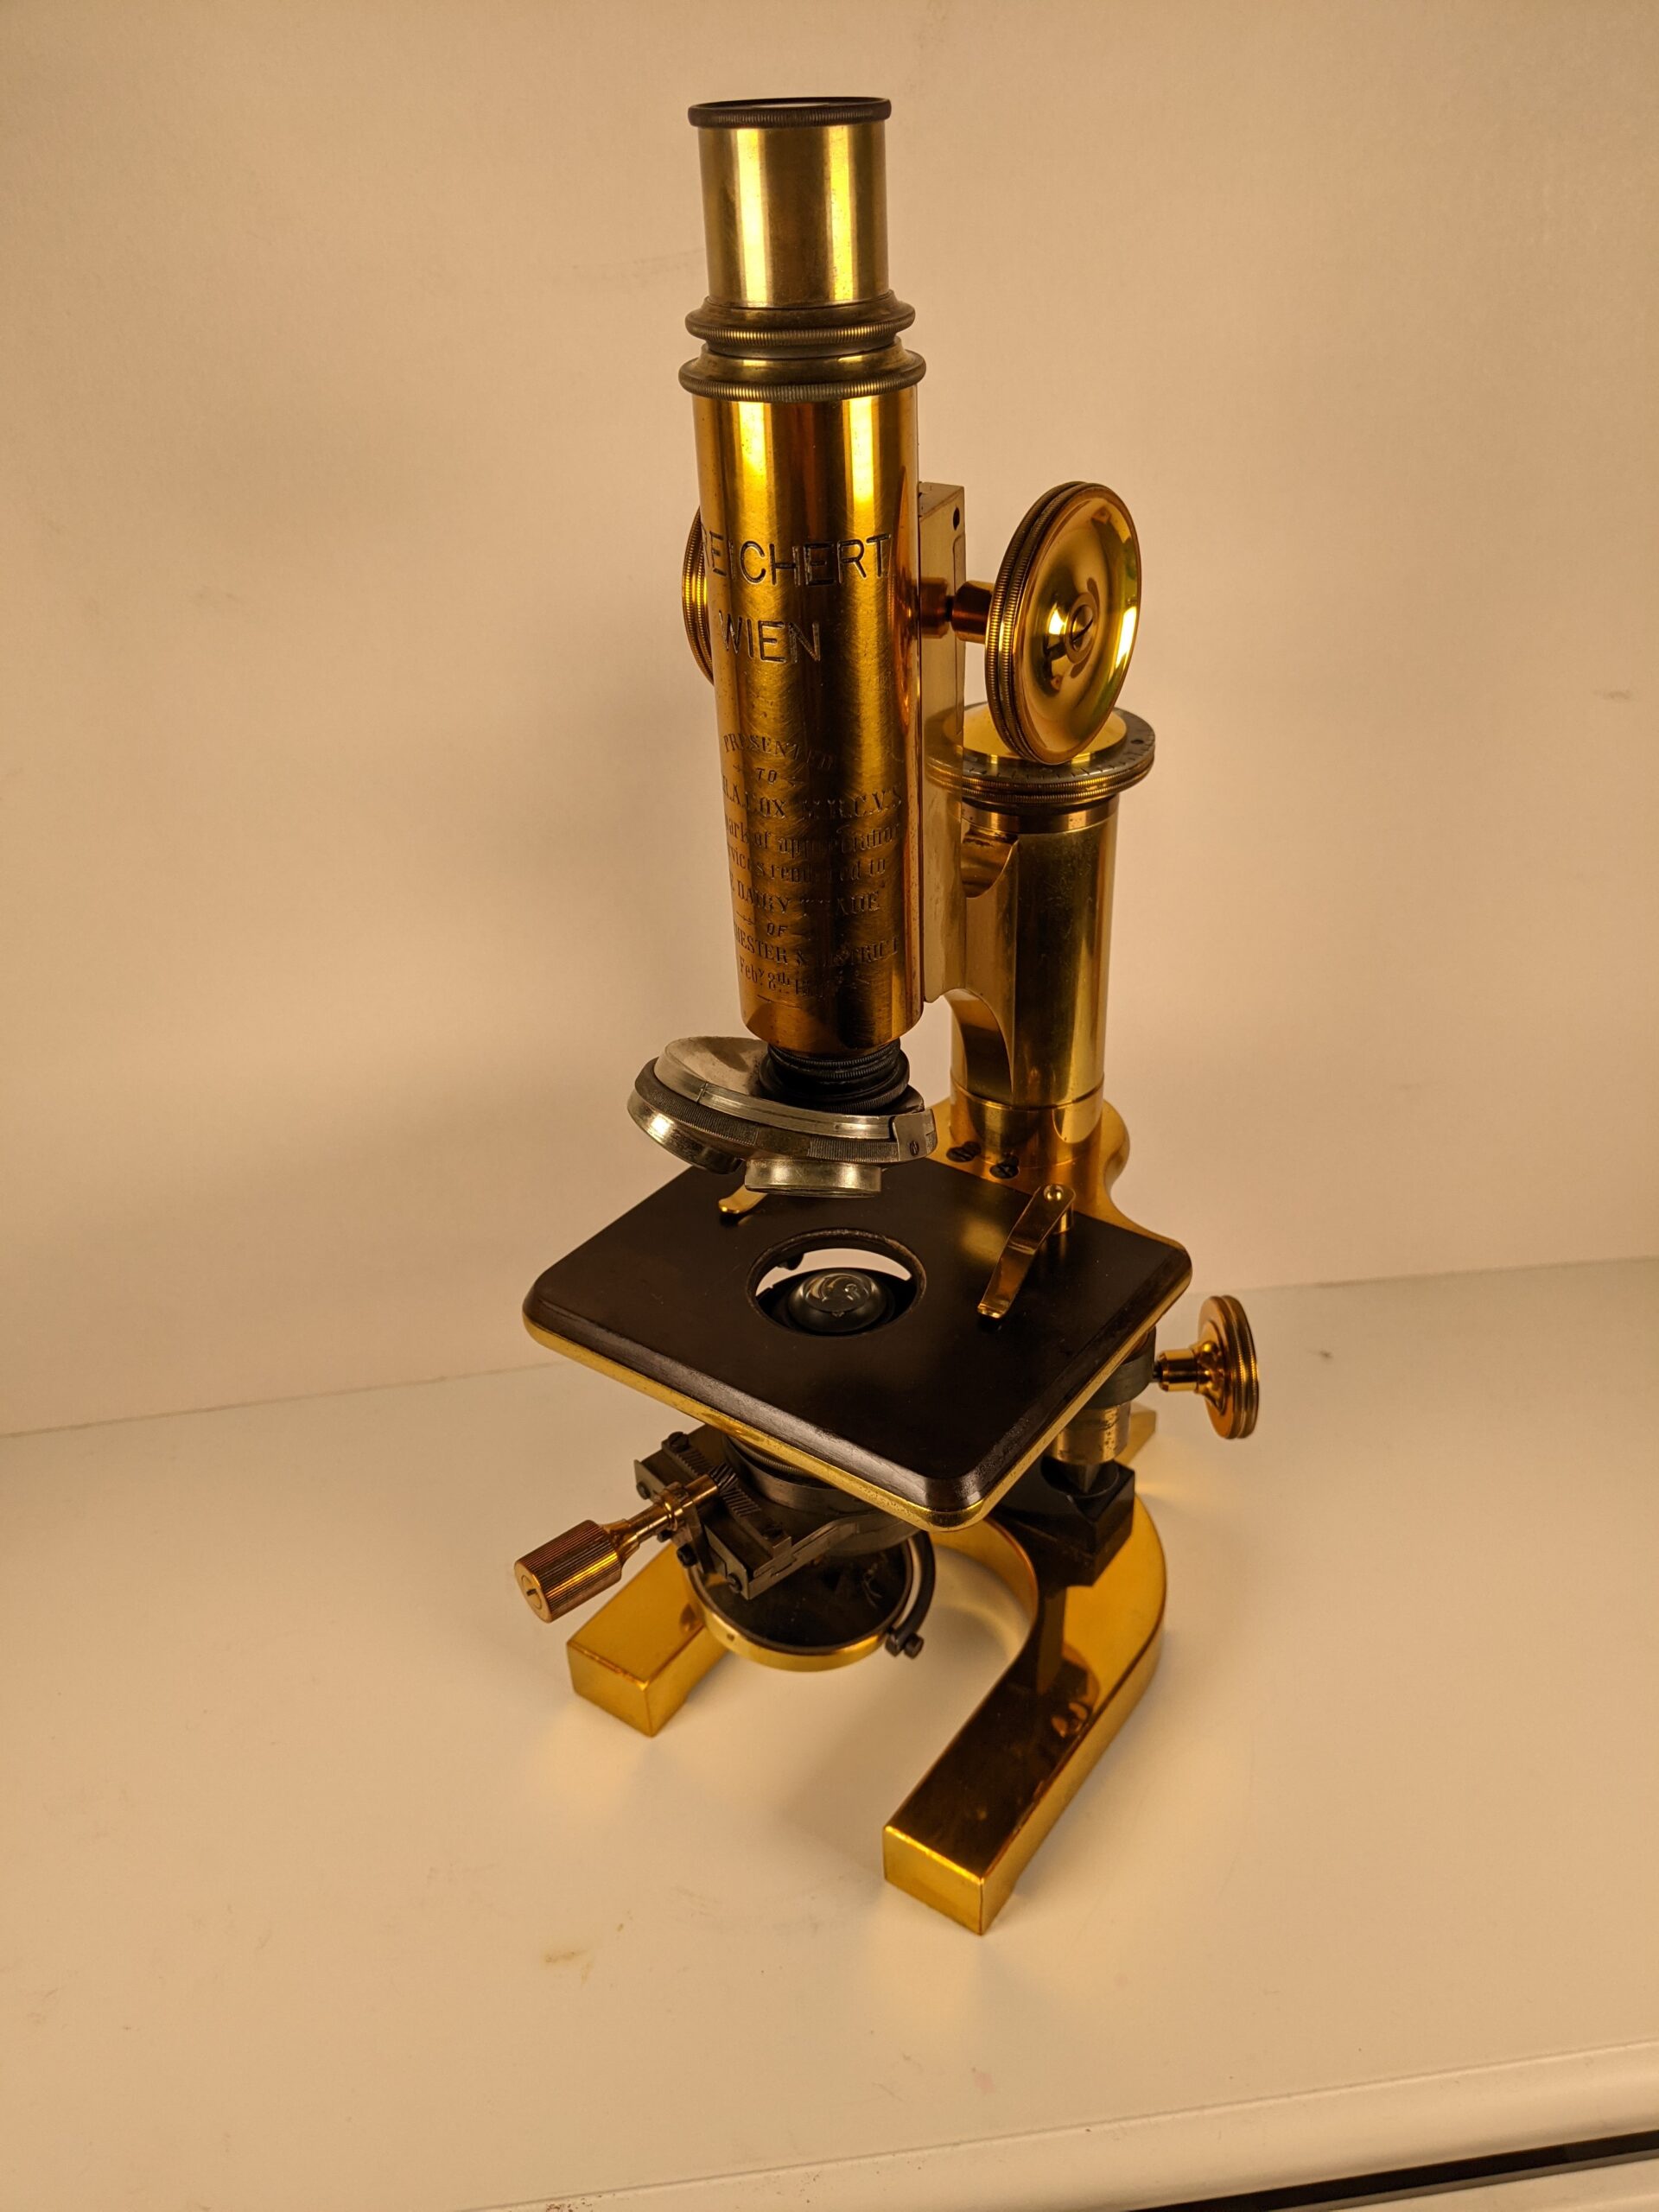
I shall post a picture of the microscope when it is completed. I need to get on, I have two telecopes and two oher microscopes to do..