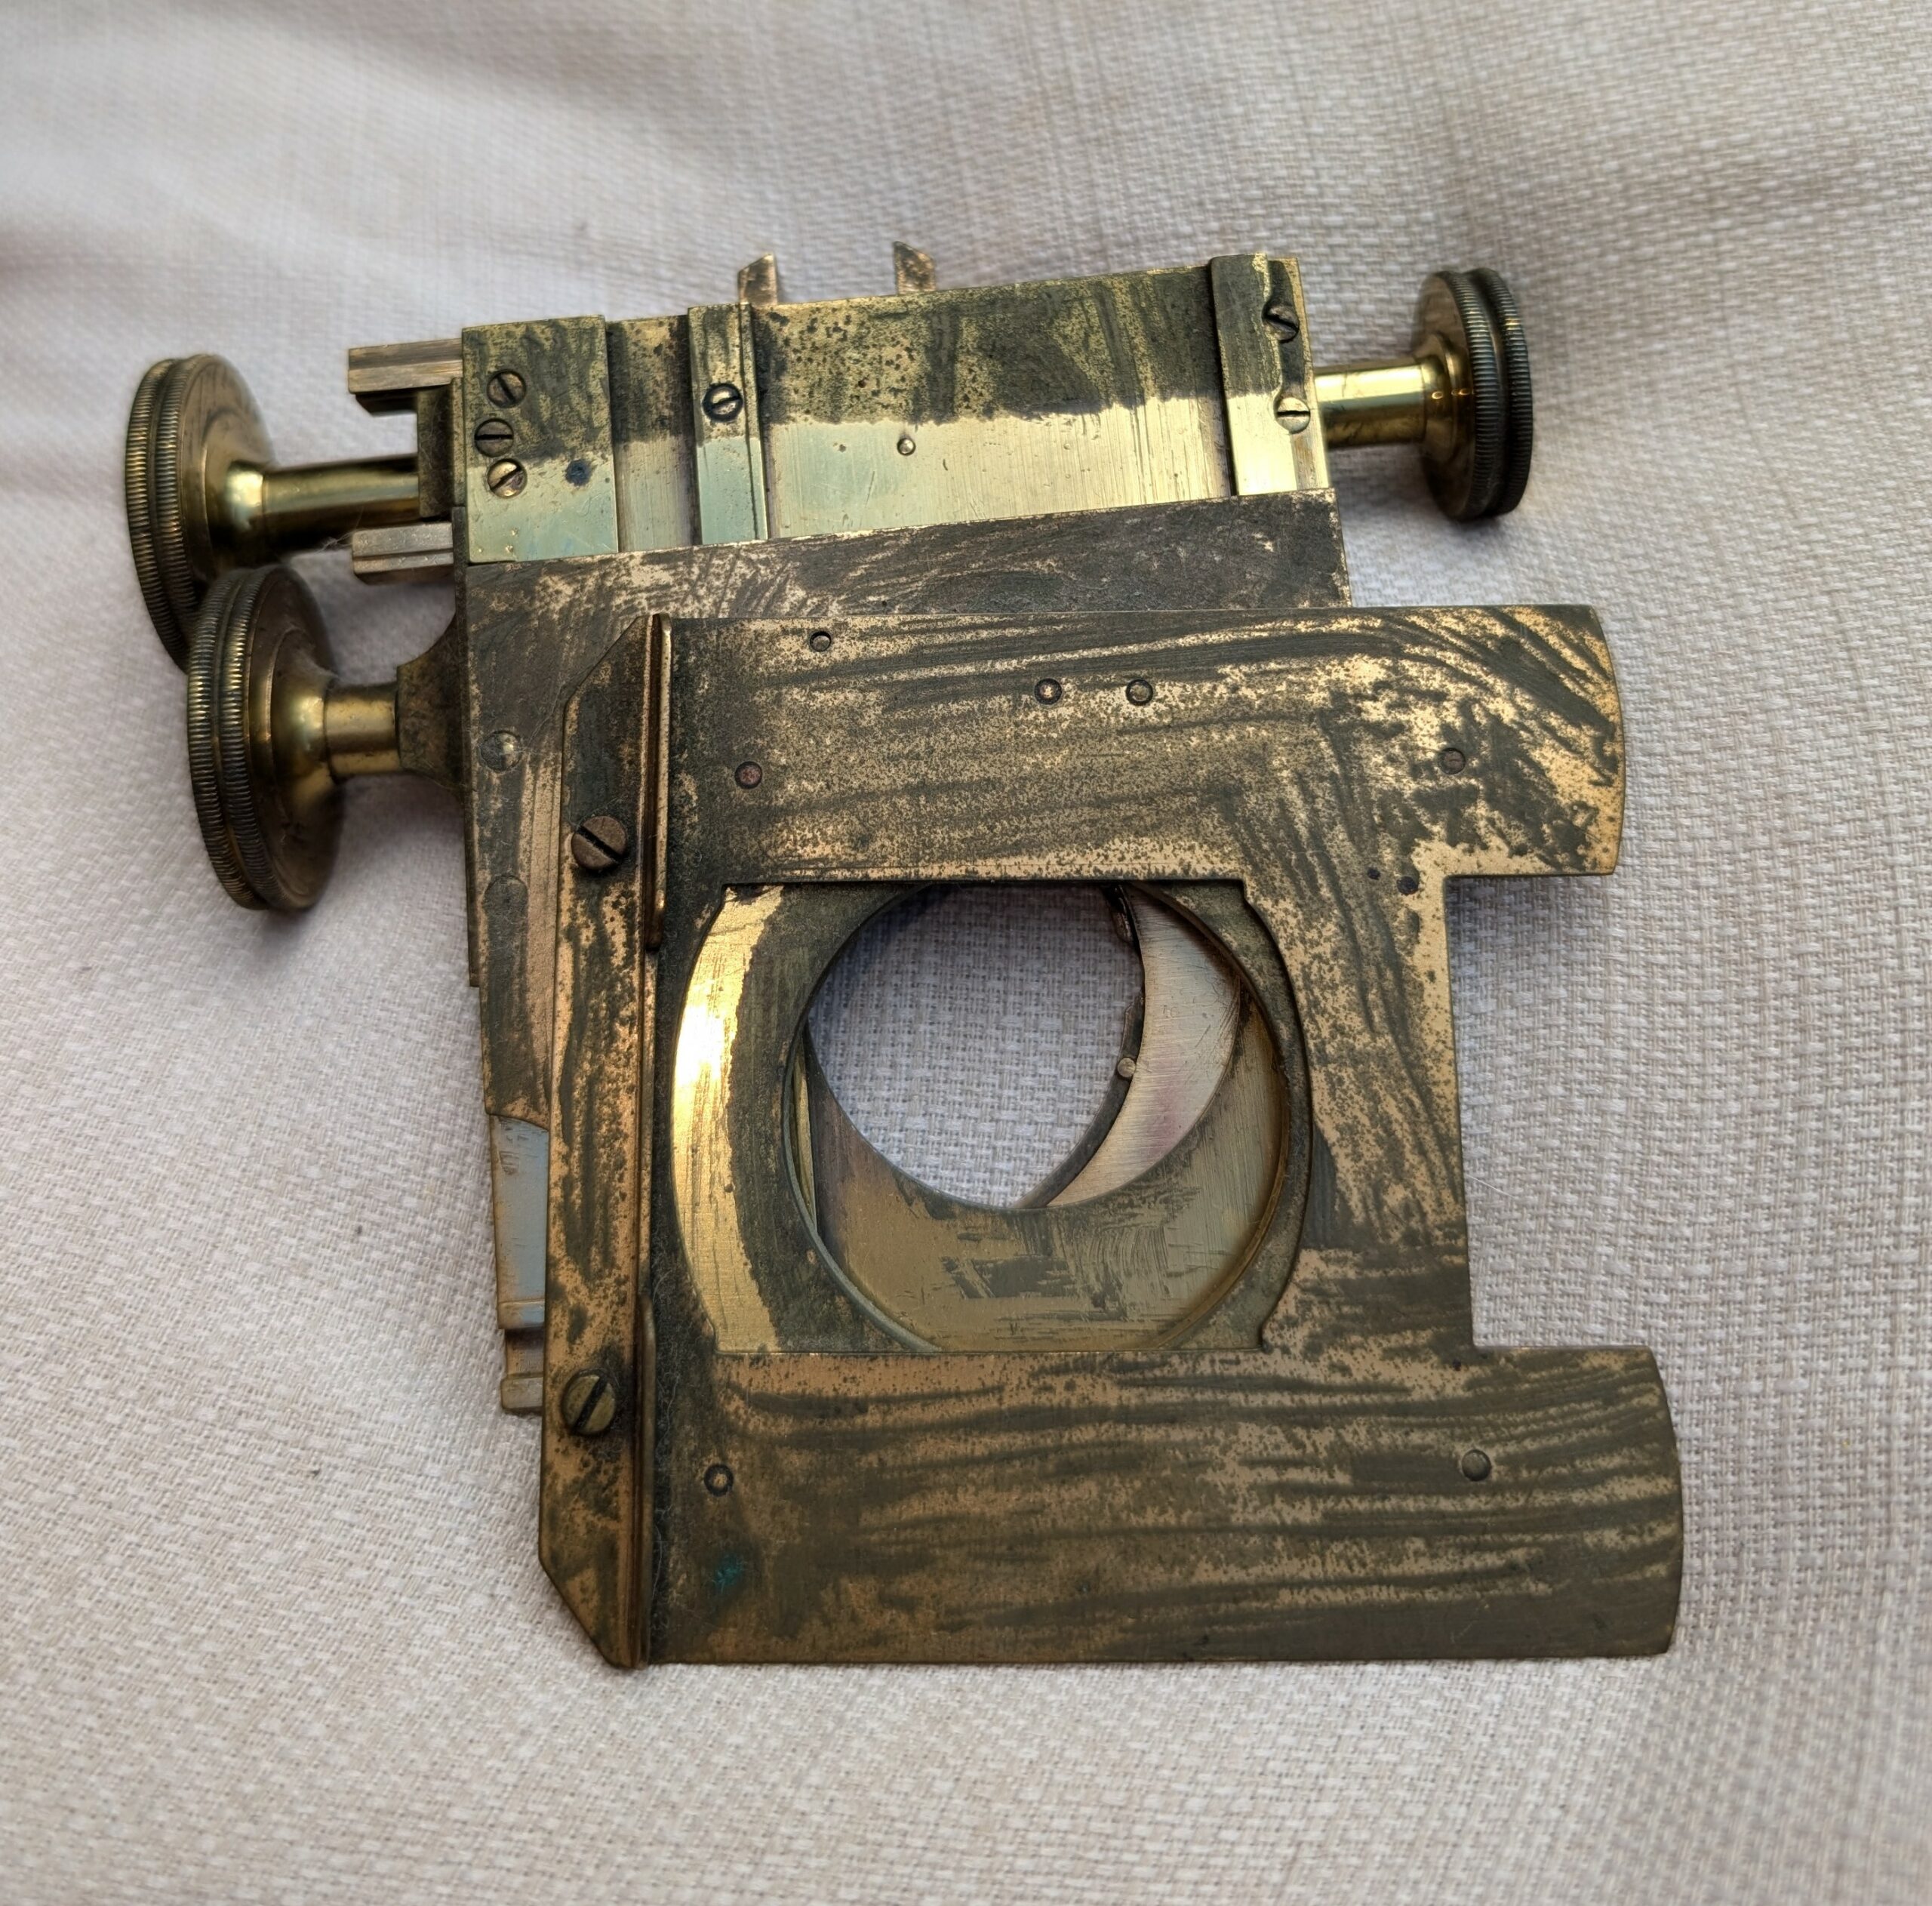
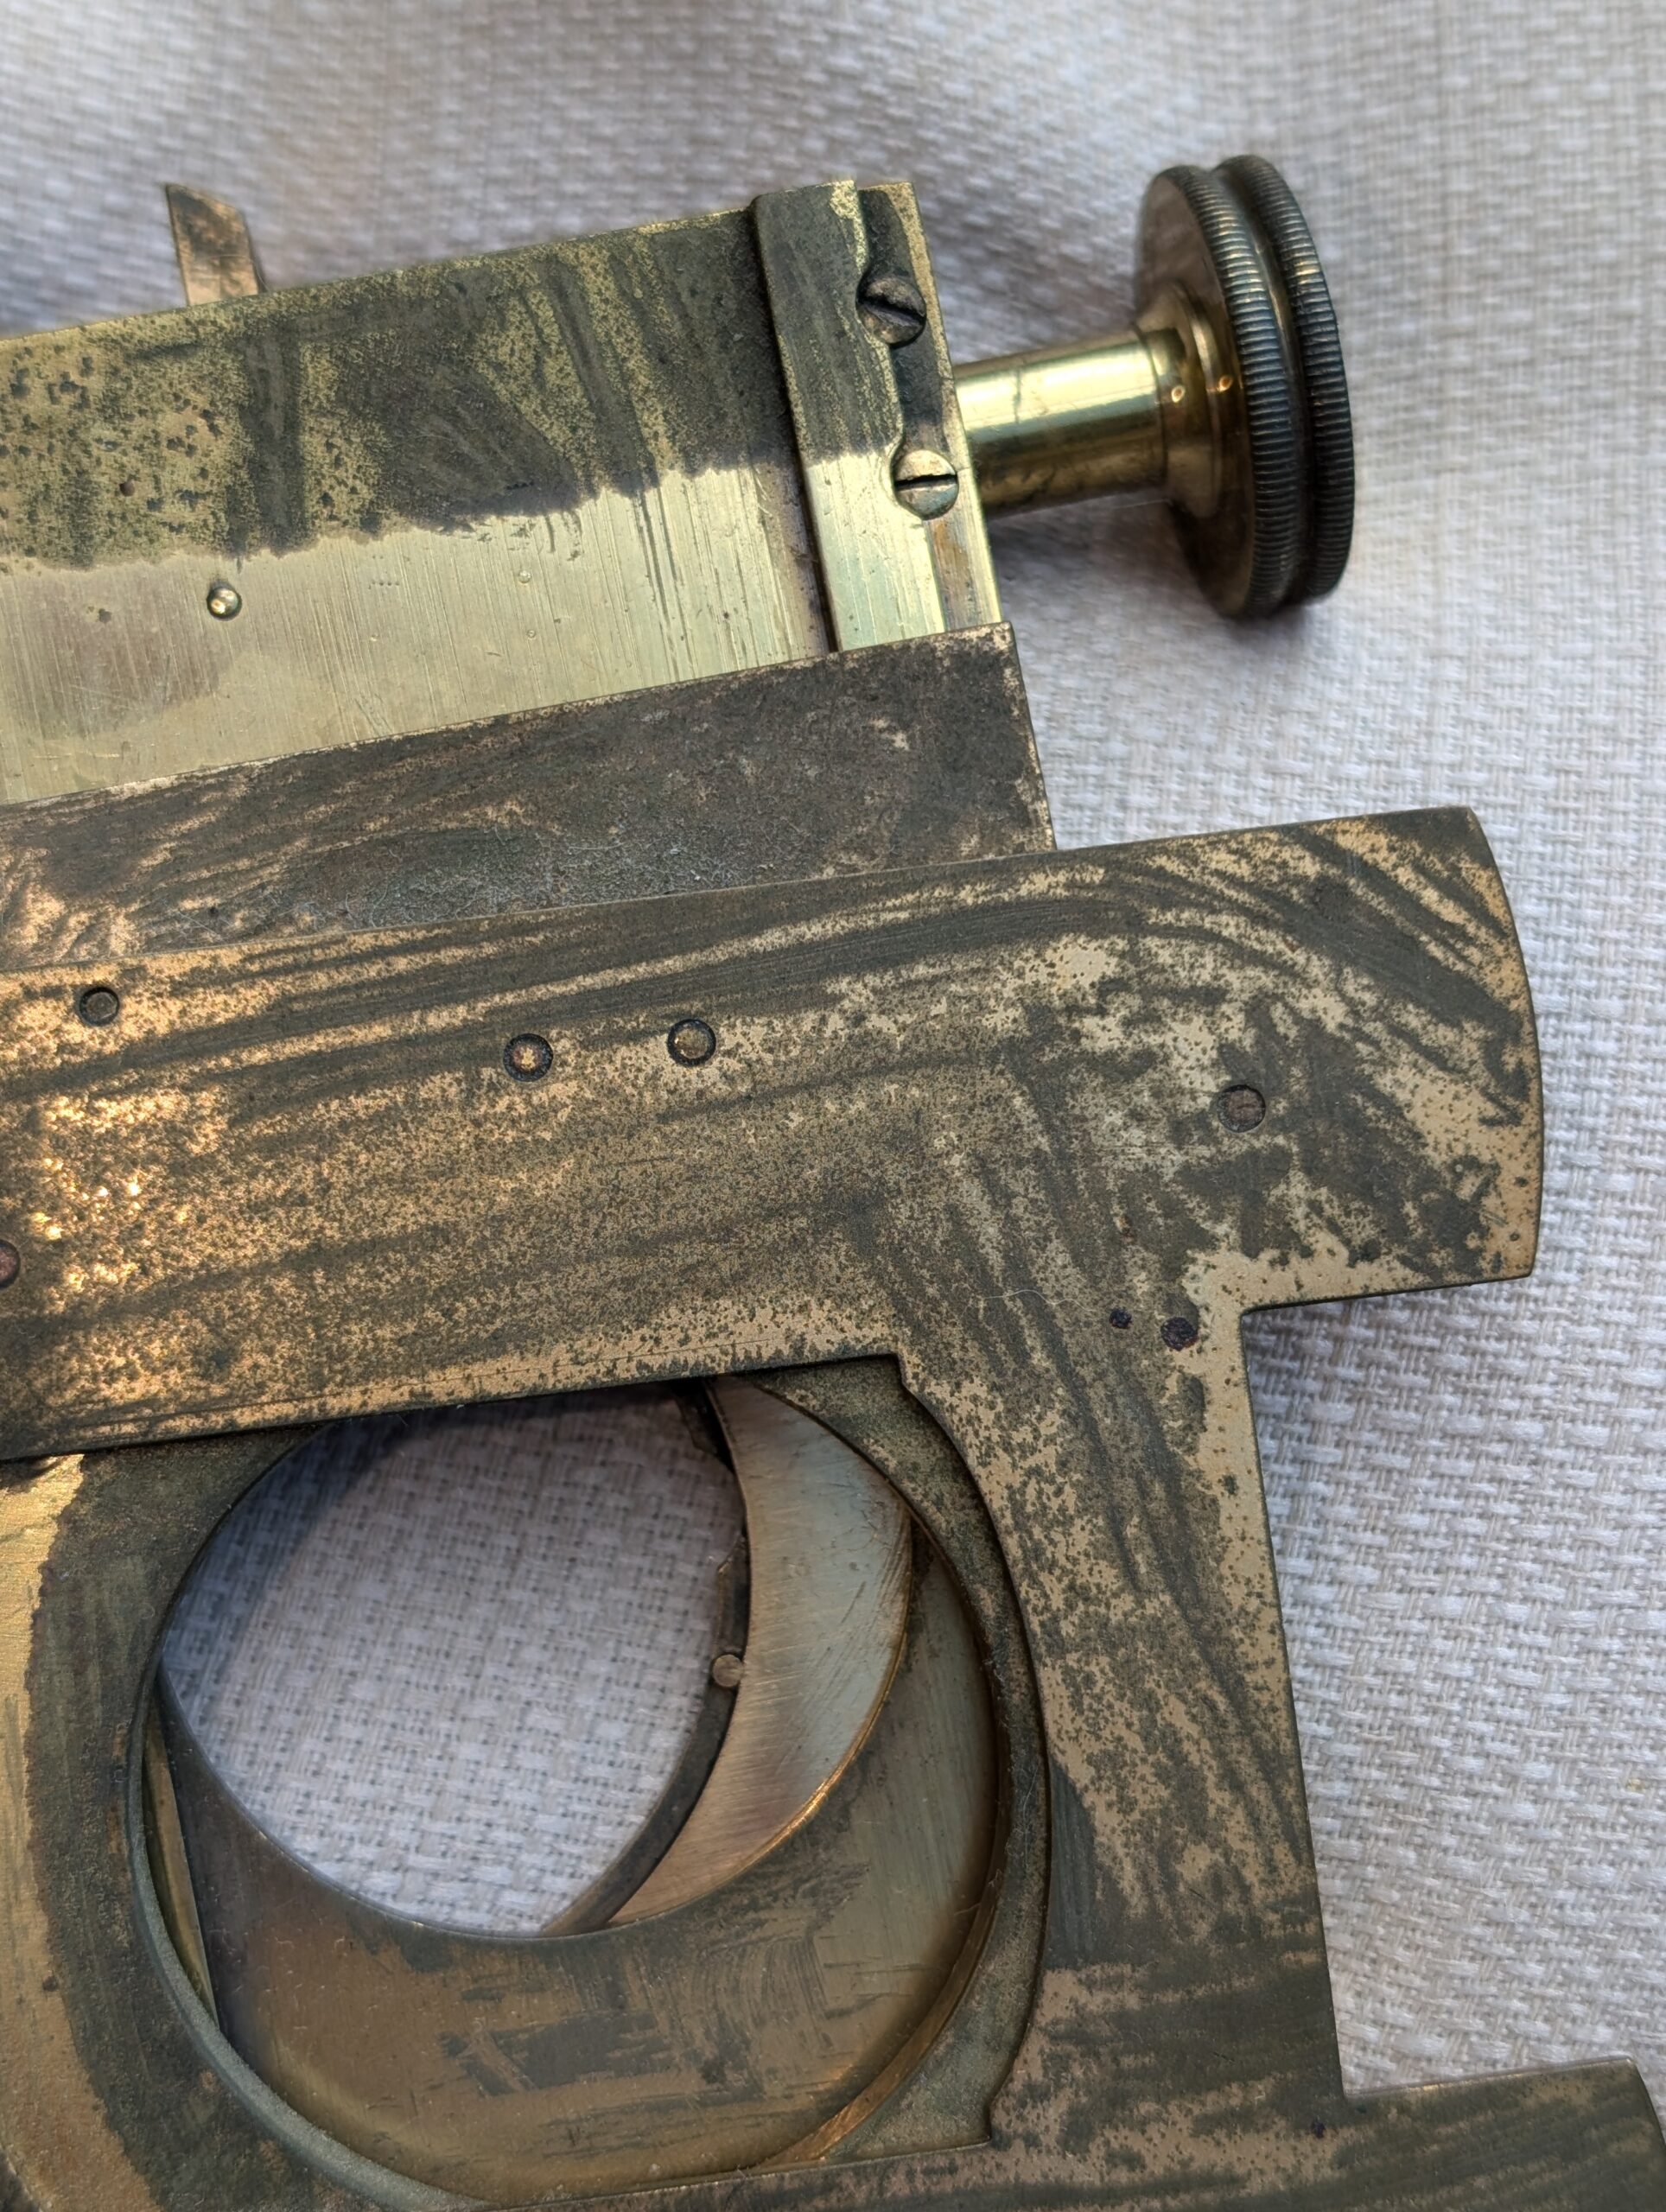
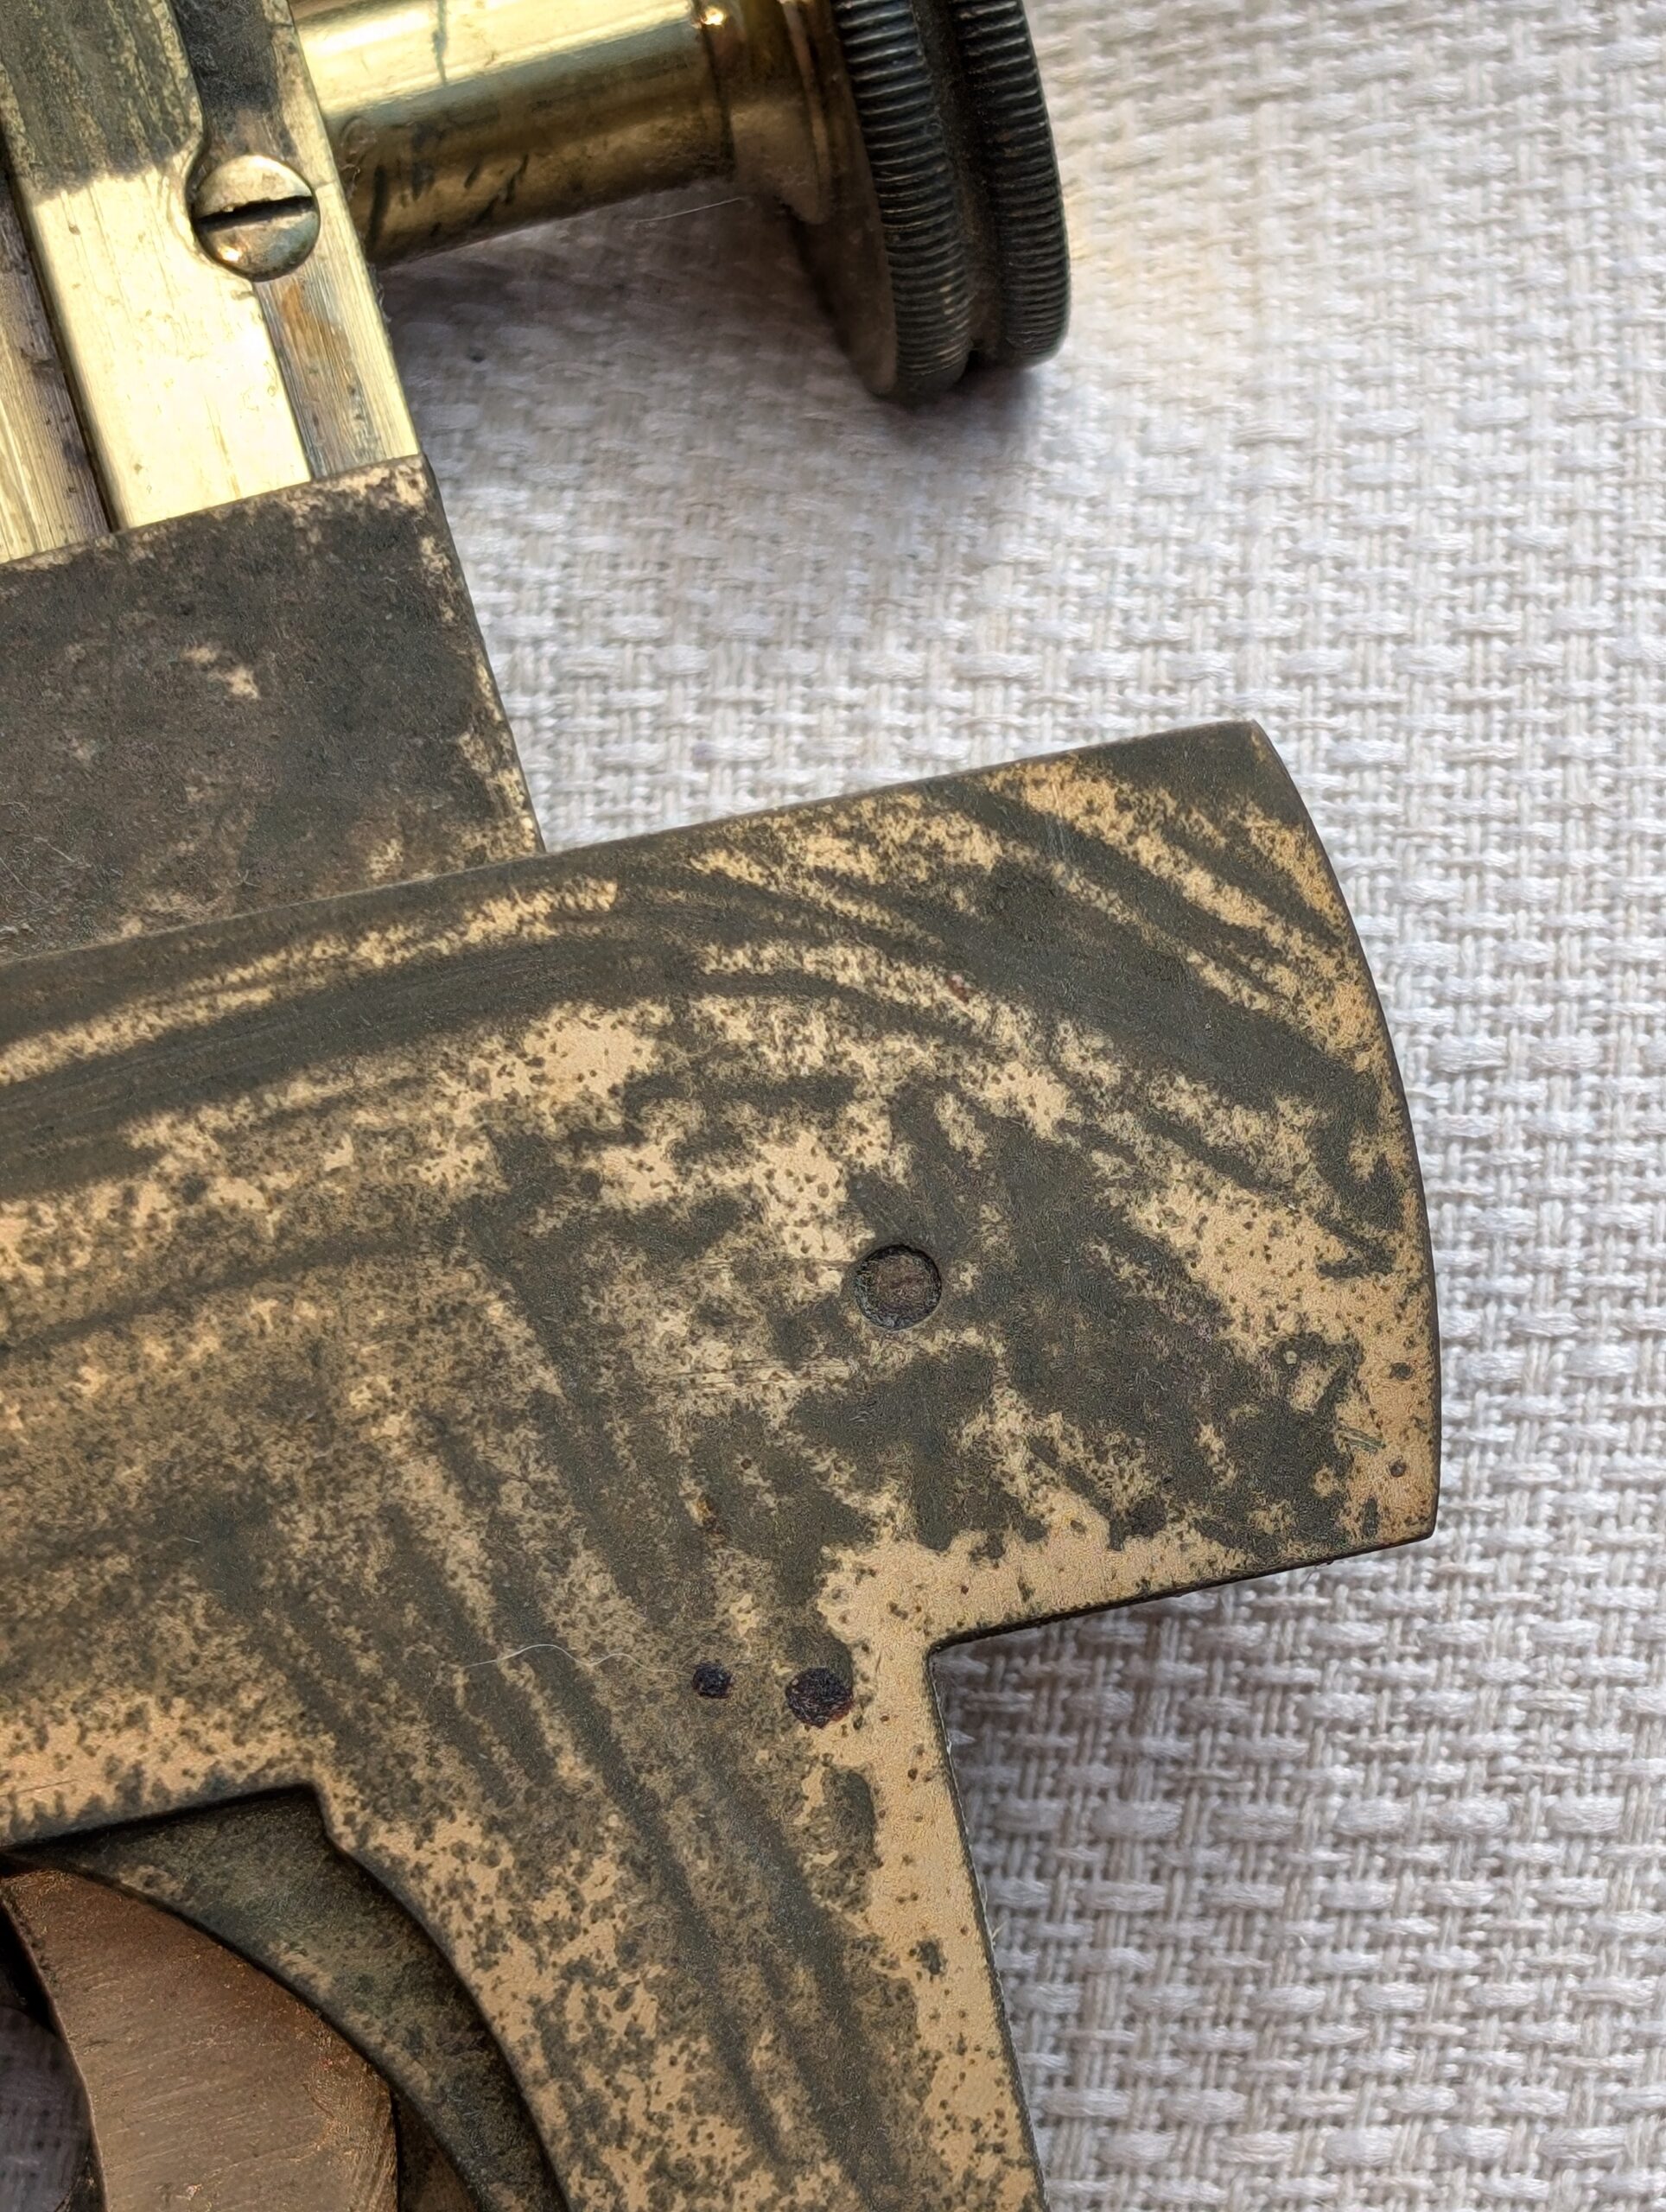
Not sure what happened to this poor thing

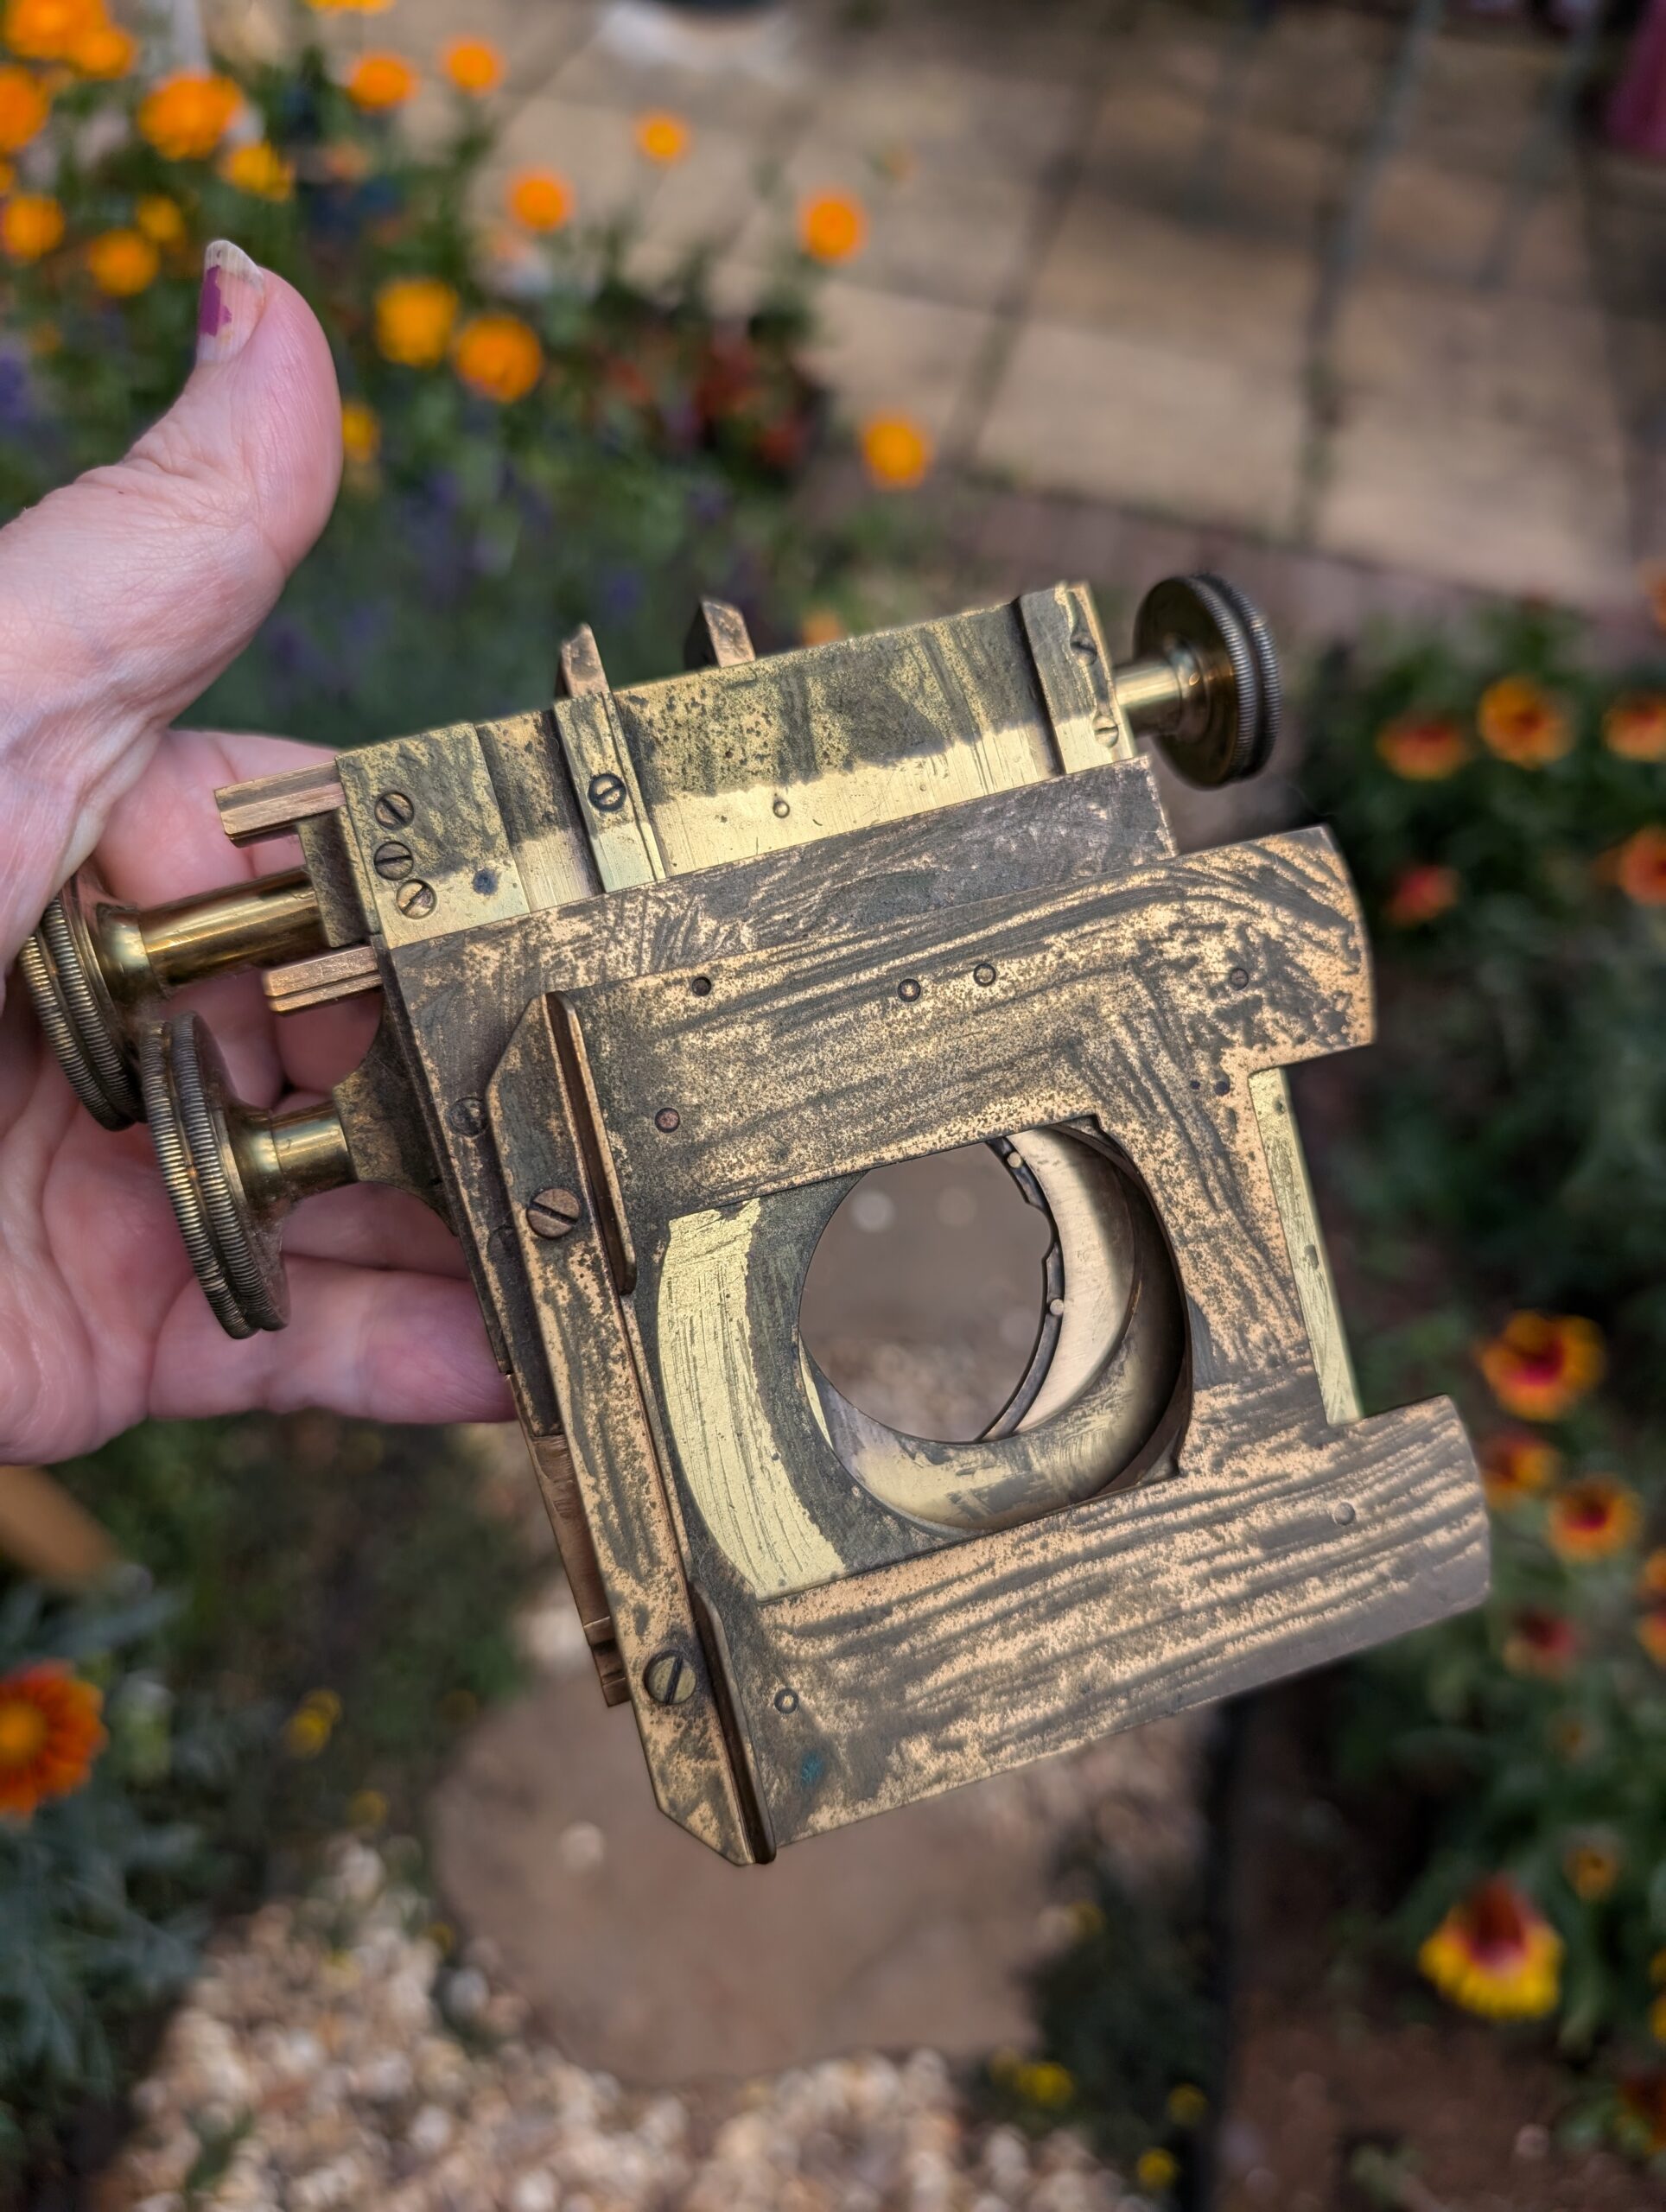
This is the stage from a smith, Beck and Beck Best microscope. I’m not sure what happened to the poor thing! The entire microscope (not just the stage) is covered in what appears to dirt and mould. However, it is not just dirt, it appears to be varnish encrusted with dirt and mould.

The substance is rock hard and takes a great deal of work to remove. I think the microscope was stored somewhere without a box, varnish or something similar has been spilled on it and dirt has fallen into the still-wet coating. At least that’s what it looks like. I have finished restoring most of the microscope, just the stage left to do.

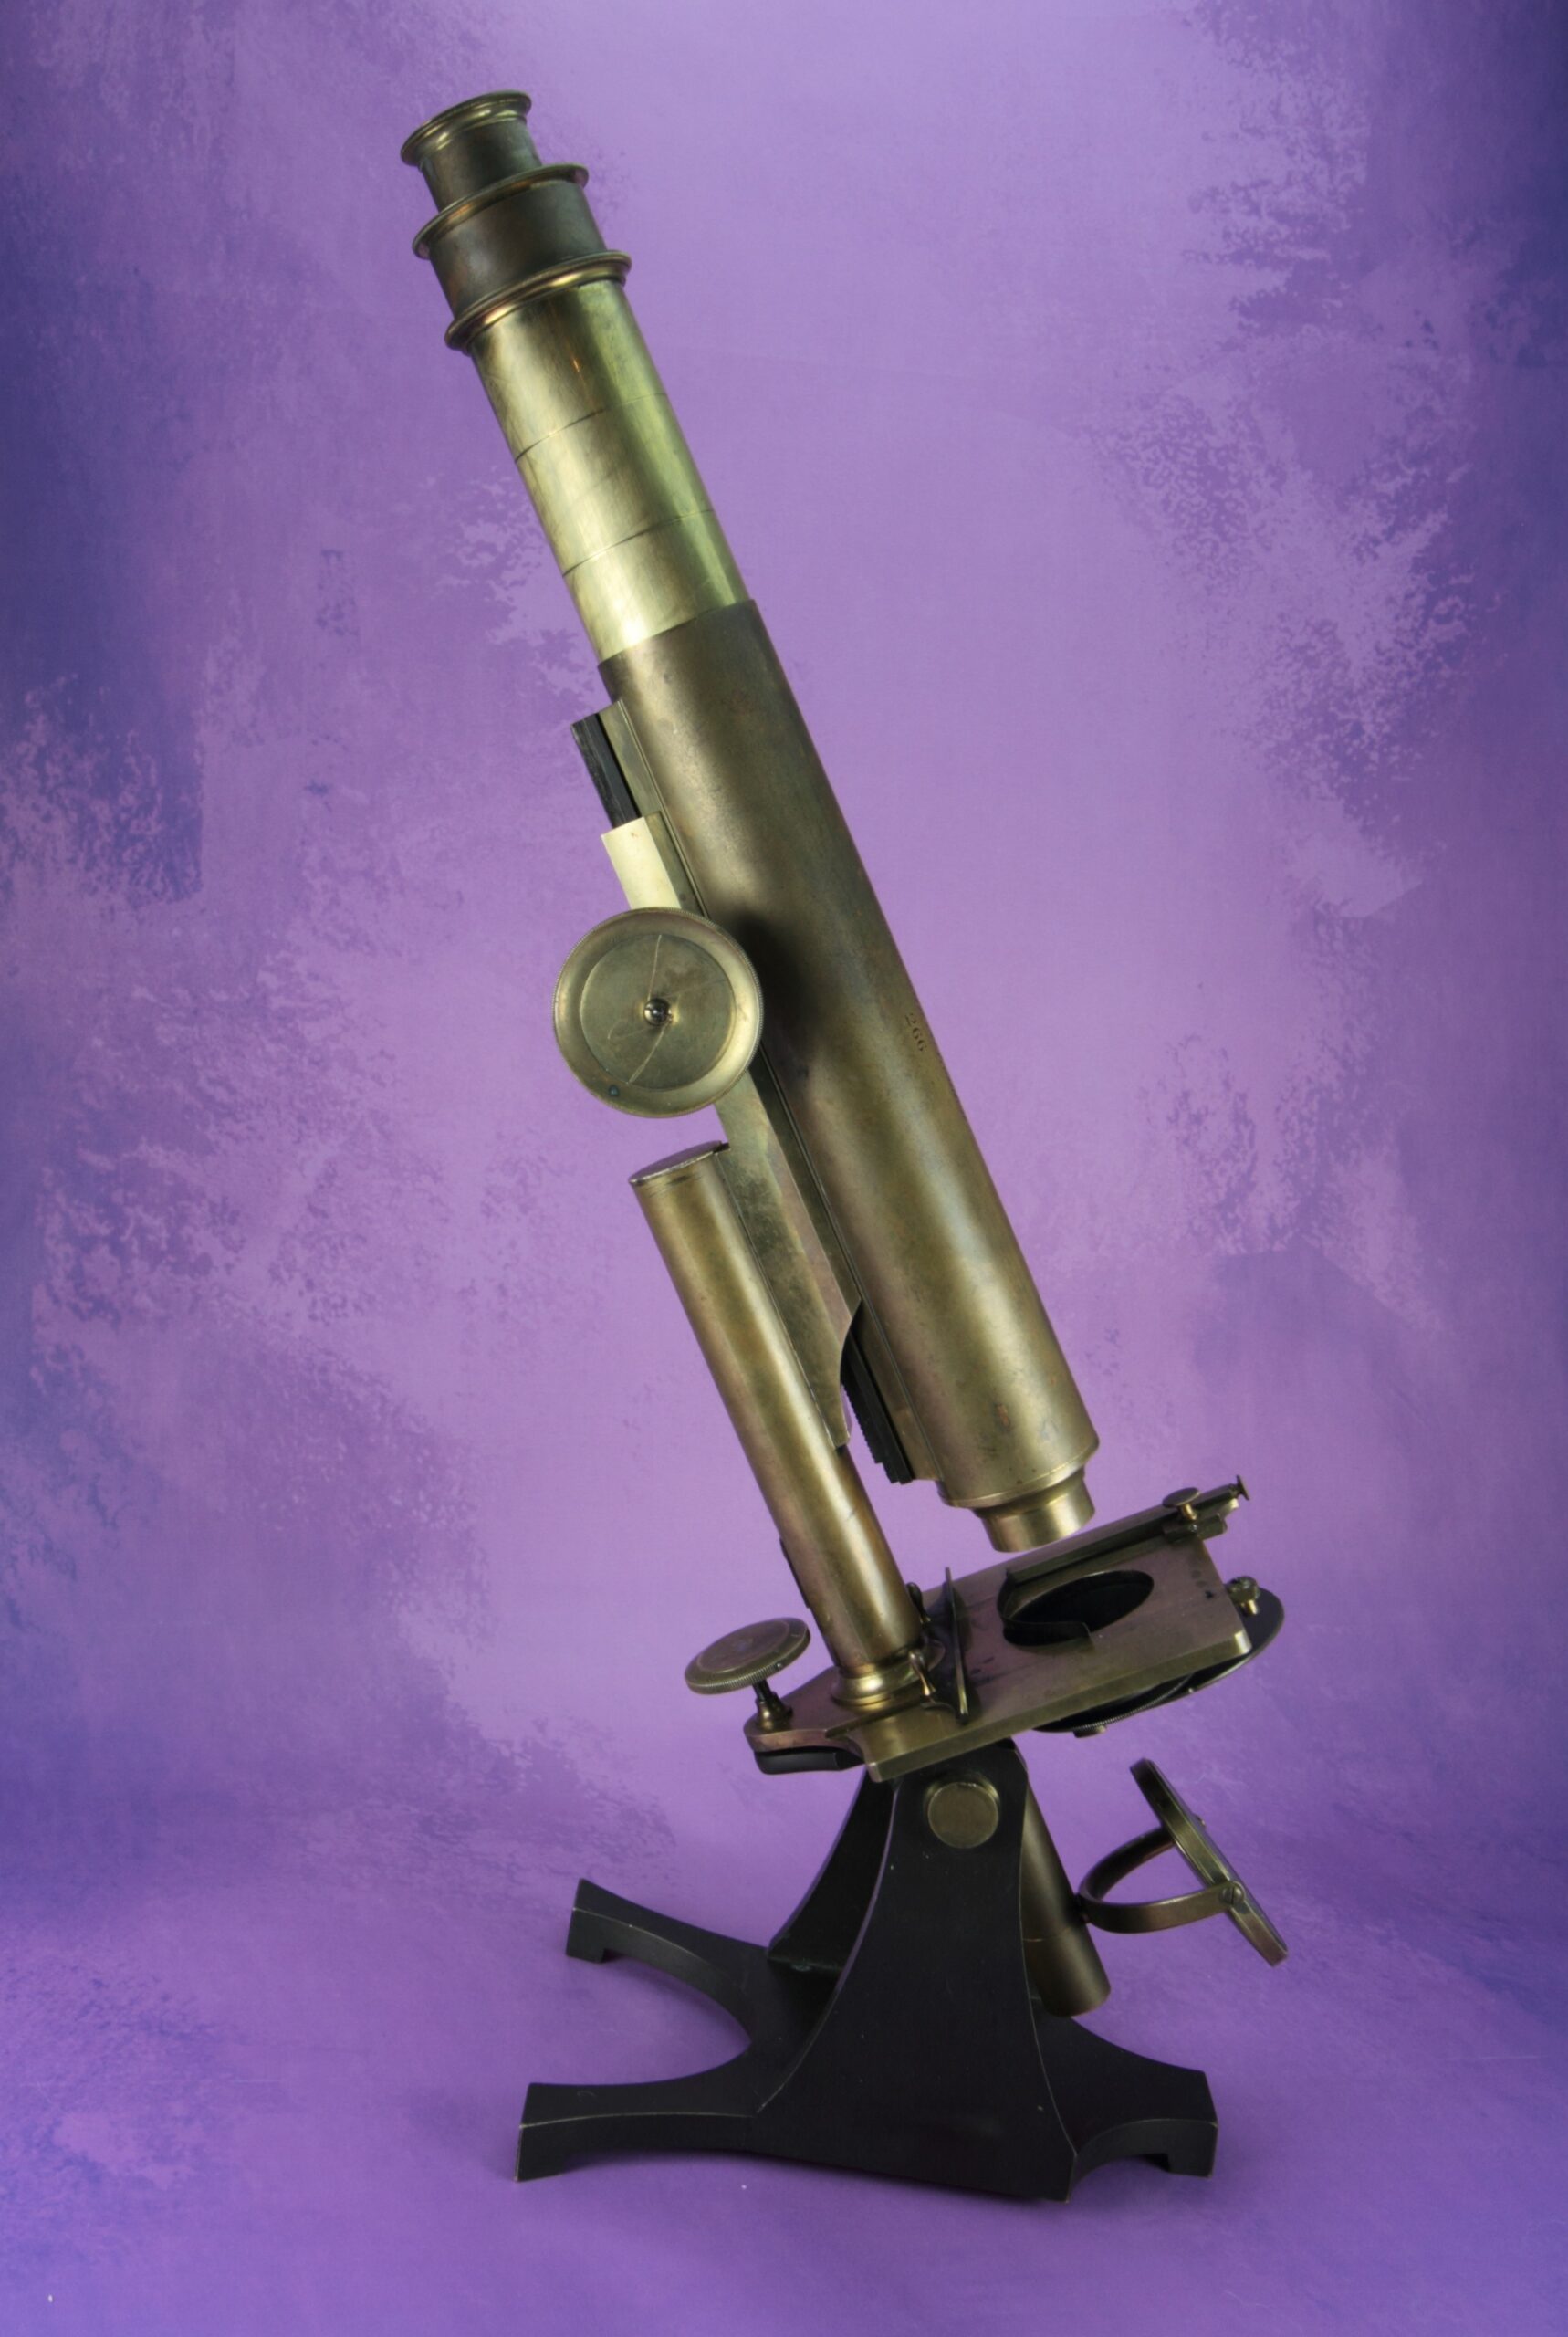
I shall post a picture of the microscope when it is completed. I need to get on, I have two telecopes and two oher microscopes to do..
Mastered it!

Just a quick note to let people know that I was recently awarded a Masters Degree in Preventive Conservation with distinction. Well, I have my final marks – I don’t have the certificate yet, that should arrive in the next few weeks. I shall post a picture when the certificate arrives. Unsurprisingly, my dissertation was written about the lacquers used on Edwardian and Victorian scientific instruments.

It’s my first Arts degree, my other degrees and PhD are in the sciences so it’s quite exciting. I’m an artist!

A condenser for a Beck

This Beck had no lacquer left although it was in good condition, not only did the owner want the microscope re-lacquered; he wanted a new condenser made so he didn’t need to use the original, separate bullseye condenser. This presented quite a challenge as there is very limited space under the microscope stage and any condenser would have to be in keeping with Beck microscopes of the period.

Construction

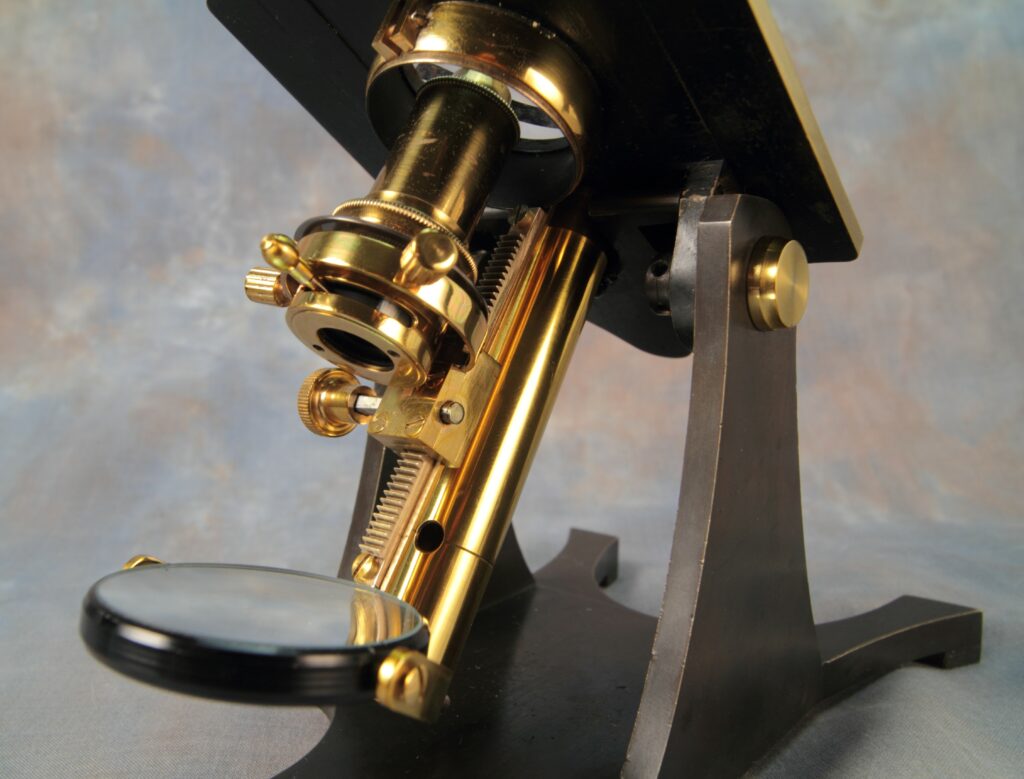
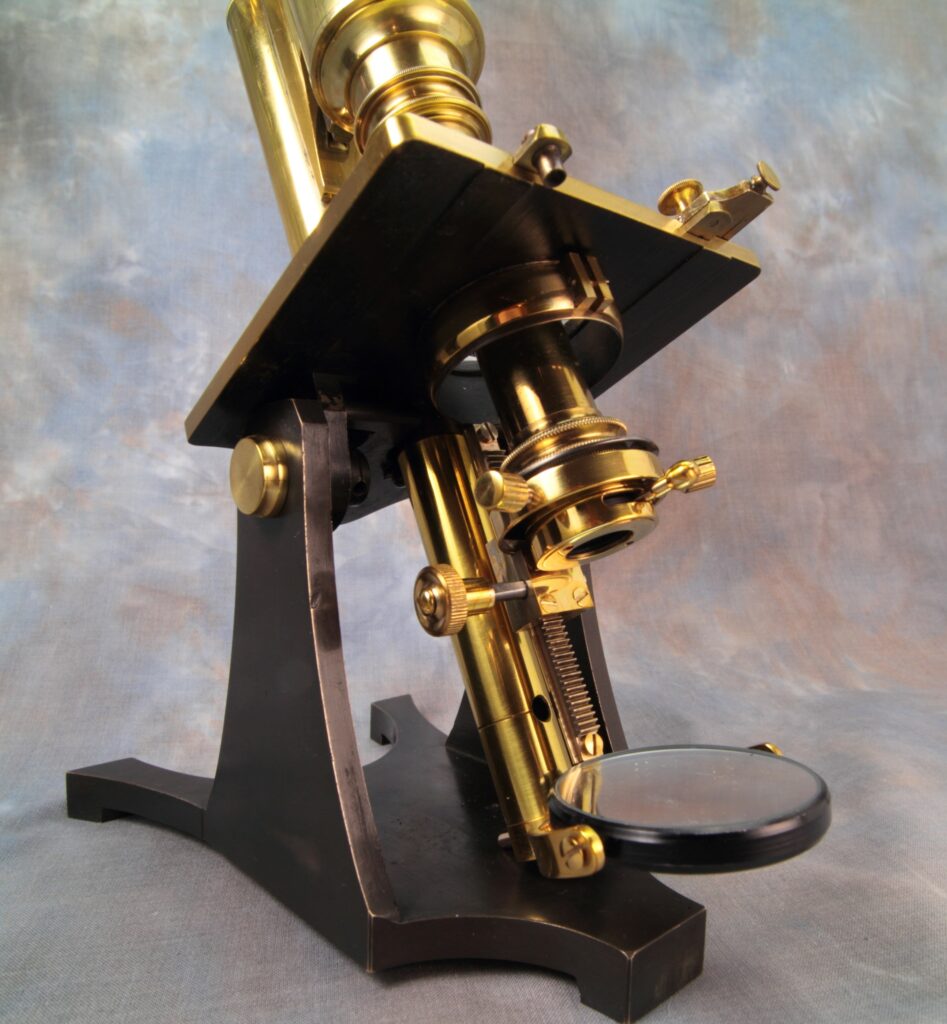
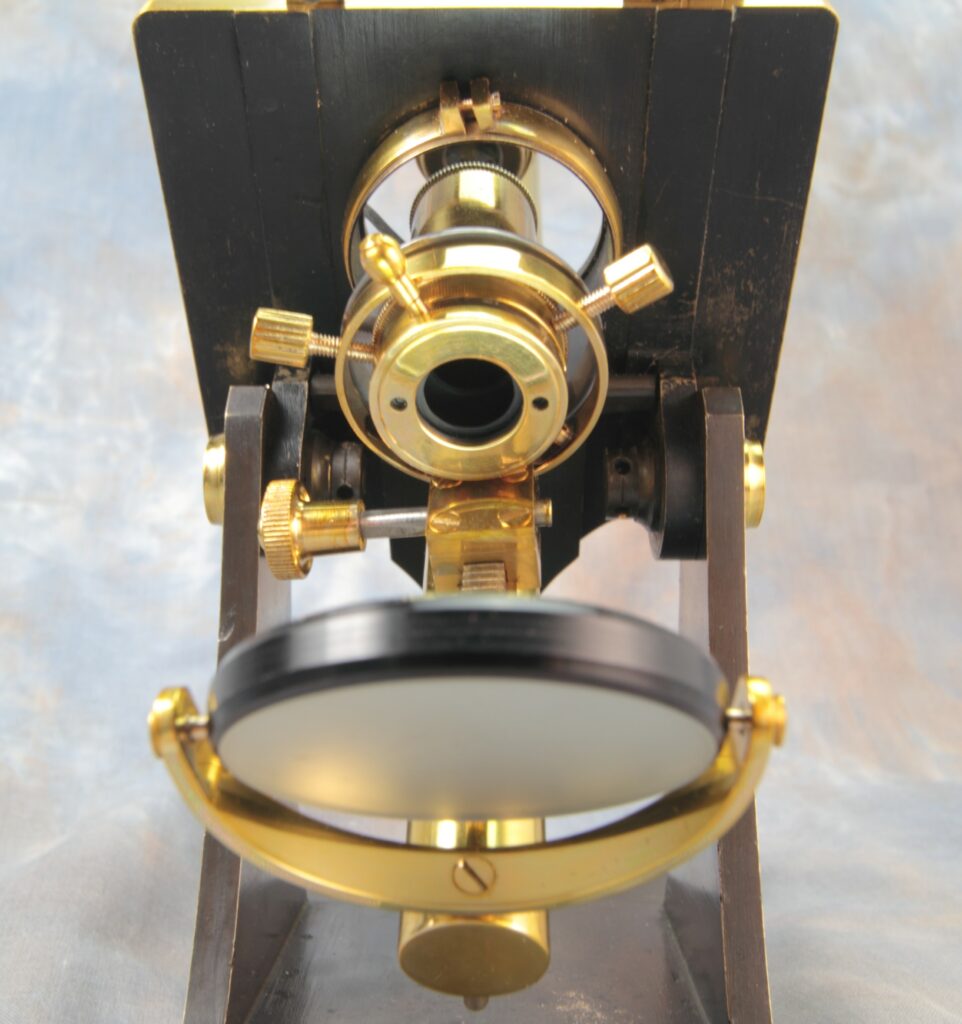
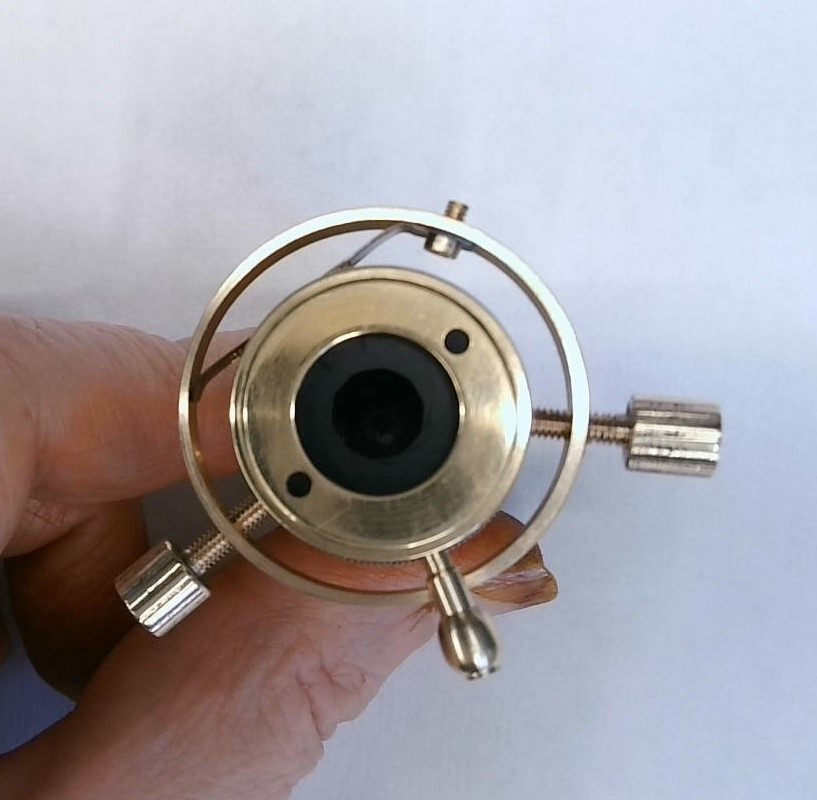
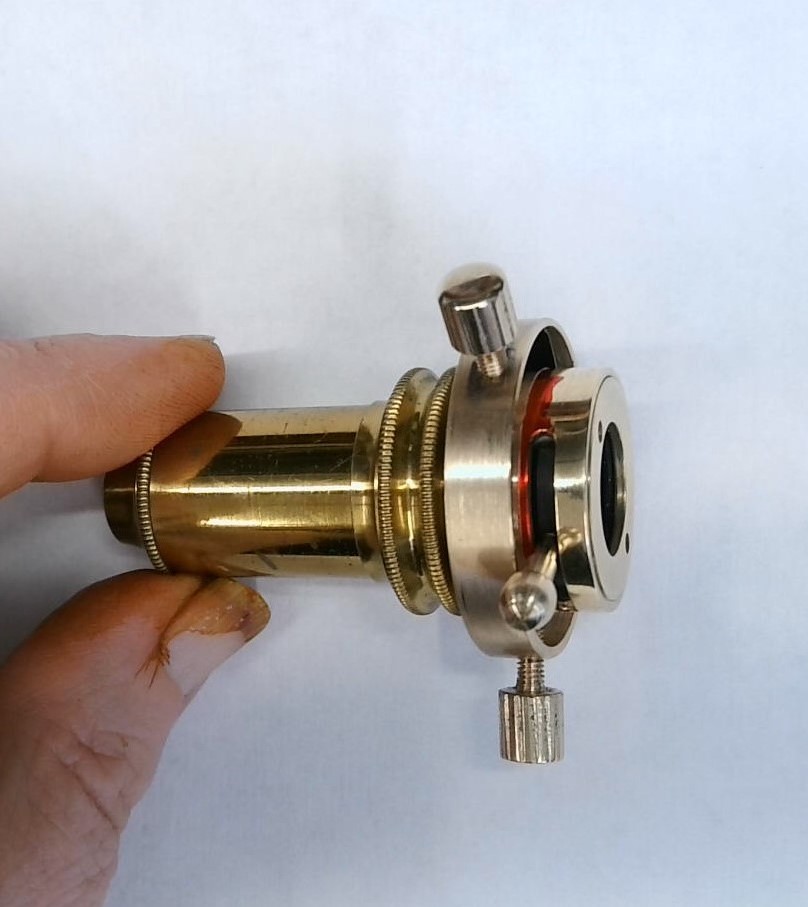
A 1/4″ objective was used as a condenser lens and a tiny aperture iris was obtained. The aperture iris and condenser were fixed inside a ring with centering screws (see gallery below for images) and the objective was attached via an RMS thread. The rack which carries the condenser unit was attached to another ring clamped onto the bottom of the stage (which originally carried the aperture wheel). This was convenient because the new condenser could be removed easily and the original aperture wheel reattached, no permanent alterations are required.

The original mirror was positioned in such a way that there was insufficient travel for the condenser on the rack, insufficient travel made the whole thing rather pointless so to overcome this a small sliding tube was inserted inside the tube which carried the original mirror – once again avoiding the need to make any permanent changes to the microscope. The new tube was turned down so that it had a marginally smaller outer diameter than the original one in the manner of an aerial. The new tube can be pulled down from inside the original tube when required and pushes back up to allow the microscope to be stored in the upright position.

A coat of lacquer and the new condenser was magically transformed! I think Beck would be happy.

Drawing of part of condenser

Happy New Year

Happy New Year! What will 2022 hold for us I wonder? For me there will certainly be more microscopes and plenty of lacquer. By the end of the year I should have completed my MA in preventive conservation too. I have been doing my MA part time and the first year went very well, my grades were good and I enjoyed it. I know more about relative humidity and antique conservation than I ever wanted to know and I am currently obsessing over the relative humidity in my workshop.

When the workshop was first built it had a few small leaks, the relative humidity was too high and mould developed around the edges of the room. I started monitoring the temperature and relative humidty and I bought a small dehumidifier which helped a great deal. Recently my dehumidifer broke down so I have a new one (a Meaco DD8L) which is much more energy efficient and generally more snazzy. Rather than running constantly like my old one did, it takes a sample of the air every 30 minutes and turns on if necessary saving a great deal of electricity. It certainly does what it says. You can see the humidity gradually increase and then drop again as the machine switches on. My humidity sensor is reading about 5% too low, but you get the idea.

Such things bring me joy!

New website, new logo!

Logo

Brass and Glass has a new snazzy website with a new snazzy logo. I’m very pleased with it, I think it looks a bit smarter and it feels more personalized and special now.

My husband is the bearer of a coat of arms (technically his father is the current bearer, but let’s not split hairs). The Thoyts coat of arms consists of gold stars (mullets) on an azure background. In heraldry, the stars originally represented a knight’s spurs although it isn’t always the case. The symbol for the planet Venus is also present and it is unclear what meaning this has, if indeed it has any meaning at all. The meanings of heraldic symbols can be bad puns, their meanings can be lost in time or sometimes they are only there because they look good. The crest is a heath-cock (grouse) rising with the Venus symbol on its chest.

Through marriage the Thoyts family combined their coat of arms with that of the Burfoot family, and I have loosely based my logo on this. My family does not have a coat of arms because I come from a long line of non-conformist peasants, so for my contribution to the new coat of arms I substituted the Burfoot stars for microscopes while keeping the black background. I’m sure the Burfoots would be horrified.

Click on the thumbnails below to see the progression of the Coat of Arms